Are you ready to tackle a challenge and dive into doing some intensive home renovations? If so, learning how to move bathroom plumbing may be right up your alley. This major home project can seem intimidating at first, but with the right know-how and tools, it is possible to complete it with relative ease.
So if you’re ready for an adventure in DIY bathroom renovation, read on! We’ll cover everything from locating existing plumbing fixtures, planning out your new setup, removing old pipelines and pipes, and making connections to the new locations – even including necessary permits for large-scale projects.
Tools and Materials You Will Need to Move Bathroom Plumbing
- Measuring tape
- Pencil and paper
- Pipes (plastic, copper, or PVC)
- Pipe cutter/pipe reamer
- Pipe wrench
- Hammer
- Screwdriver
- Caulk gun/sealant
- Plumber’s putty
- Glue
- Drain stopper
- Nails or screws
- Wire brush
- Utility knife
Step-by-Step Guidelines on How to Move Bathroom Plumbing
Step 1: Locate Plumbing Fixtures that Will Need to be Moved
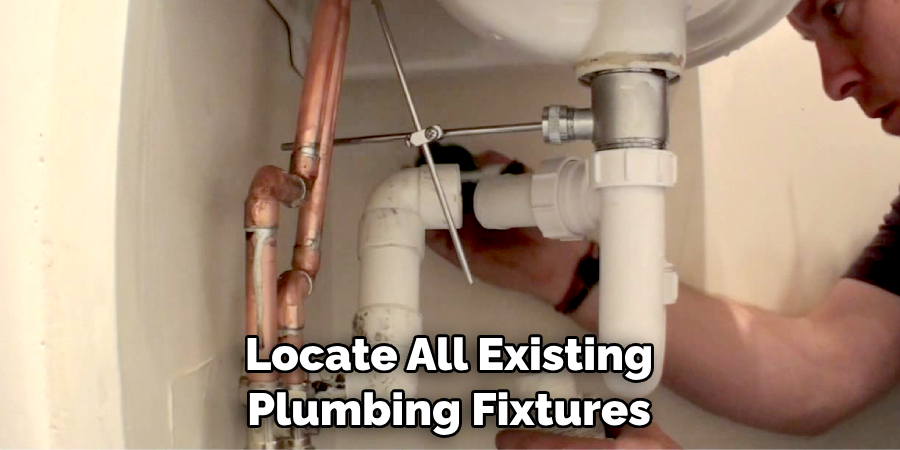
Before beginning any project involving moving plumbing, you’ll need to locate all of the existing plumbing fixtures that will need to be moved. This could include toilets, sinks, showers, and tubs.
Once you have determined which fixtures will be relocated, make sure you measure the distance from each fixture to the wall or floor joists (the point where it’s connected to the house). This will help you plan out the new layout and ensure that everything is connected properly.
Step 2: Plan Out Your New Setup
Once you have determined the locations of your existing fixtures, it’s time to plan out how they’ll be arranged in their new locations. Make sure to measure twice and draw a detailed diagram of your proposed setup for reference. This will make it easier to visualize and plan out the installation process.
Step 3: Remove Old Pipelines and Pipes
Once you have planned out your new setup, it’s time to remove all of the existing pipes and pipelines that need to be moved. Start by turning off the water supply at the main valve (if necessary), then carefully loosen and remove the existing pipes. Be sure to use a wire brush to clean any debris off of the pipe fittings before you begin removing them.
Step 4: Make Connections to New Locations
Now that all of your fixtures are removed and prepared, it’s time to make connections to their new locations. Start by cutting sections of pipe for each connection (which should be included in the measurements taken at the beginning of the project).
Make sure to use a pipe cutter/reamer for precision in cutting. Then, attach each section of pipe with glue or sealant and secure it firmly using pipe wrenches and nails/screws.
Step 5: Install Drain Stoppers
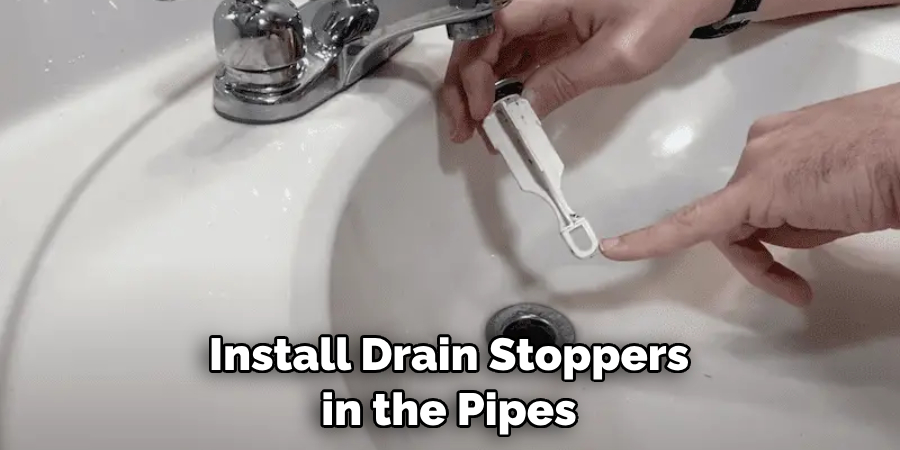
Once all of your pipes and pipelines are connected to the new locations, you’ll need to install drain stoppers in the pipes so that water can be retained in the bathroom. This is an essential step, as failure to do so could result in floods or leaks. Installing the stoppers is relatively easy and can be done with a simple caulk gun.
Step 6: Secure Final Connections
After you’ve installed all of the necessary fixtures and connected them to their new locations, it’s time to secure the final connections. Start by adding a plumber’s putty or caulk to any exposed fittings and sealing them off with a utility knife. This will ensure that water does not leak out of your bathroom pipes.
Finally, turn the water supply back on and check for leaks before fully committing to your new setup.
Following these steps should make the process of moving bathroom plumbing much easier and less daunting. Just remember to always adhere to local building codes and permits when dealing with large-scale projects. With a bit of patience and determination, you’ll be able to complete your project with ease! Good luck!
Additional Tips and Tricks to Move Bathroom Plumbing
- Check for existing pipes in the area before starting to move the plumbing. Make sure that there aren’t any obstacles that will make it difficult to move your fixtures.
- Have a plan of action laid out before beginning the project. Determine what type of pipes you need, where they will be located, and how long it will take to install them properly.
- Make sure that your plumbing supplies are of good quality and will last for many years. Cheap materials can easily break, which could lead to costly repairs down the line.
- If possible, use flexible pipes instead of rigid ones as this will make it much easier to install them in tight spaces or around obstacles.
- Consider hiring a professional plumber to help you with the project. They can ensure that everything is done correctly and safely, and they may even be able to give you tips to make the job easier.
- Follow all local building codes when installing plumbing in your bathroom – this is especially important for any work involving drains or water lines as code violations can result in expensive fines.
- Double-check all connections before turning the water back on – this will help to avoid any flooding or leaks that could occur if a pipe wasn’t tightened properly.
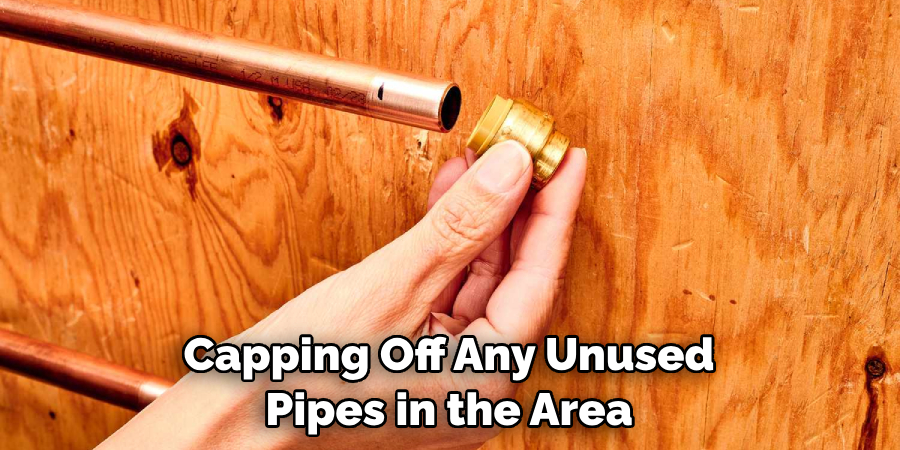
- Consider capping off any unused pipes in the area, as these can become breeding grounds for mold and mildew over time.
- Keep safety in mind when moving your plumbing – make sure to wear protective goggles and gloves, as well as take other necessary precautions.
Following these tips and tricks will help you move your bathroom plumbing smoothly and safely. With a little bit of planning and the right supplies, moving your bathroom plumbing can be a straightforward job that anyone can do. Good luck!
Precautions Need to Follow for Moving Bathroom Plumbing
- Make sure to use the right tools for the job. Before starting any bathroom plumbing project, it is important to have the right set of tools available. This includes a wrench, pliers, a hacksaw, and an adjustable pipe wrench.
- Understand how all of the pipes work together. It is also important to understand how all of the pipes in the bathroom are connected. Knowing where each one is located and how they all connect can help to make the process of moving plumbing much easier.
- Know when to call a professional for help. Moving bathroom plumbing can be complicated, so it is important to know when it is time to get help from a professional plumber. This is especially true if the project involves moving water lines and draining lines, as these can be more difficult to handle.
- Shut off the main water supply before starting any work. Before starting any plumbing project, it is important to shut off the main water supply to avoid flooding or other accidents.
- Take measures to protect the flooring and walls of the bathroom. Moving plumbing can be a messy process, so it is important to take extra precautions to protect the flooring and walls of the bathroom. This includes taping down drop cloths and using plastic sheeting to avoid damage during the project.
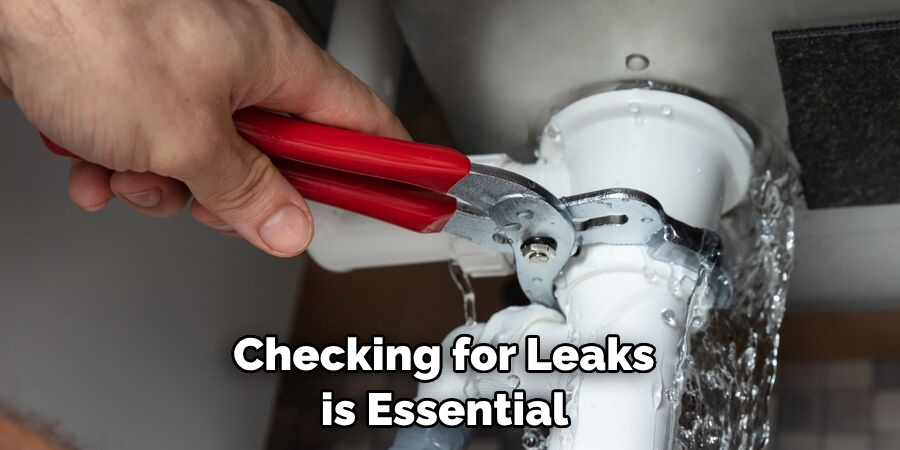
- Don’t forget to check for leaks once all of the work has been completed. Checking for leaks is an essential part of all plumbing projects, and this is especially true when it comes to moving bathroom plumbing. It is important to check the new pipes for any signs of leakage before turning the water back on.
- Reattach toilets and fixtures according to local codes. When reattaching toilets and other fixtures, it is important to make sure that they are installed according to local codes and regulations. This includes making sure that the water supply lines and drain lines are properly connected and secure.
Following these precautions can help ensure that moving bathroom plumbing is done correctly, safely, and efficiently. Knowing how to move bathroom plumbing can also save time, and money, and prevent damage from occurring during the process.
It is important to take all of these steps to ensure that the job is done correctly and safely.
Conclusion
Although moving bathroom plumbing can be a tricky job to tackle, with the right preparation and resources, it’s an achievable feat. Before beginning any plumbing repairs, it’s important to obtain all the necessary materials – and of course, the necessary permits.
It’s smart to have a plan in place before starting as well. When possible, consider seeking help from a professional who is experienced in this area.
It’s easy to get overwhelmed by the many tasks that involve moving bathroom plumbing and identifying potential risks along the way. Having an expert guide you along every step of your journey will ensure that the entire process proceeds smoothly.
By following these tips about how to move bathroom plumbing, your project should be completed on time and without hassle or worry. There are endless sources of information available at your fingertips – make sure you take advantage so you can confidently jump into this endeavor!

