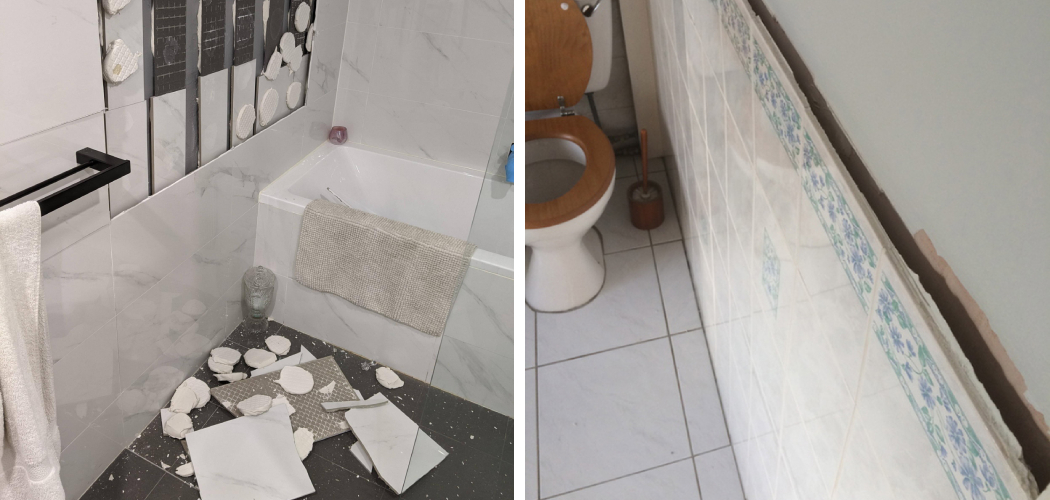
Are you trying to fix the tiles that are coming away from your wall? If so, you’ve come to the right place. This blog post will cover all the steps necessary to repair a tiled area that’s starting to look rough around the edges.
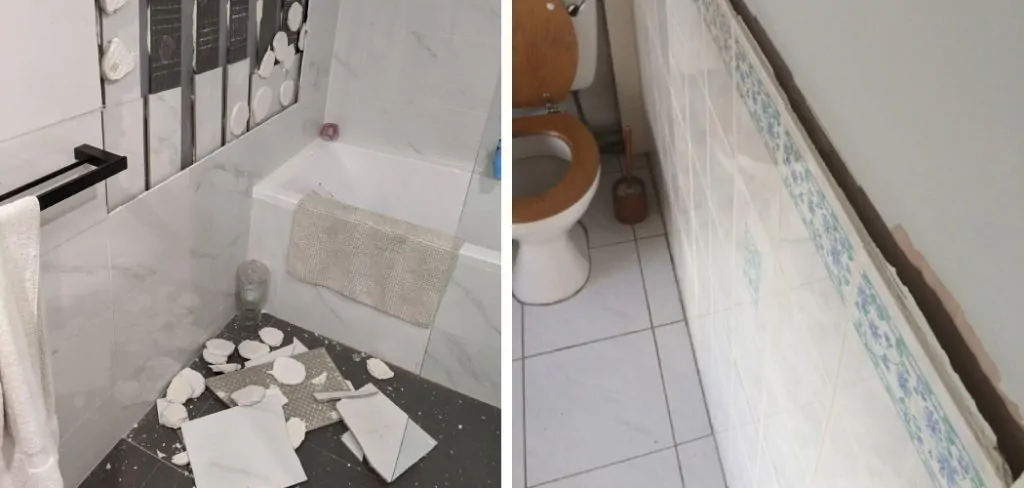
From gathering supplies and removing old tiles to mortar mixing and proper installation techniques, we have everything covered in easy-to-follow detail. No matter what your experience level is with home repairs, this guide on how to fix tiles coming away from wall will help you complete a beautiful tile project for any room!
Needed Tools and Materials
Given below is a list of tools and materials that you’ll need to fix tiles coming away from the wall:
- A Hammer
- Utility Knife
- Tile Spacers
- Grout Trowel
- Two Buckets for Mixing Tile Grout and Thin Set Mortar
- Notched Trowel
- Grout Float
Step-by-step Instructions on How to Fix Tiles Coming Away From Wall
Step 1: Remove the Loose Tiles From the Wall
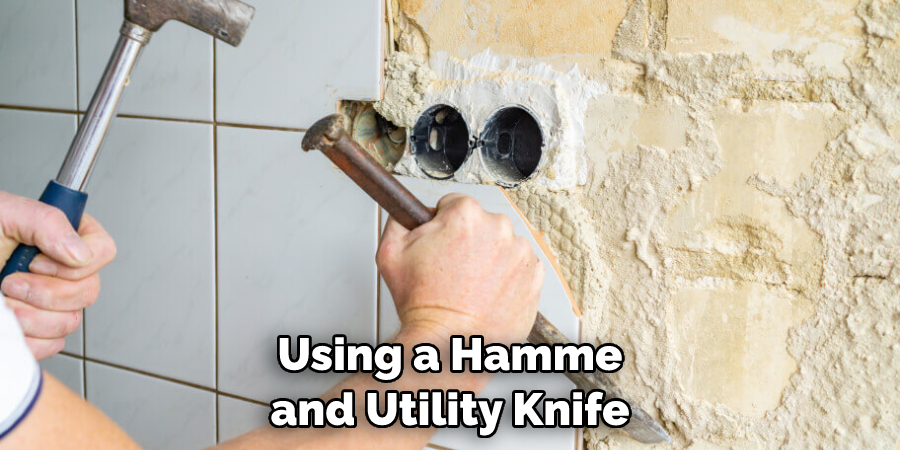
Gently remove the tiles from the wall using a hammer and utility knife. Be careful not to damage any of the other tiles on the wall while doing this. It is also important to wear safety glasses at all times when removing these tiles in order to protect your eyes. If you have trouble removing any of the tiles, you can also use a grout removal tool. But be gentle to avoid scratching or damaging the surrounding surfaces. Otherwise, all tiles should come away easily.
Step 2: Clean the Wall Surface
Once all of the loose tiles have been removed, clean and dry the wall surface with a damp cloth or sponge to remove any dust or dirt. Allow the wall to completely dry before proceeding. It is also important to inspect the wall surface for any cracks or holes and fill them with a patching compound in order to create a smooth, flat surface. This will help the new tiles adhere better.
Step 3: Prepare New Tiles for Installation
Before installing new tiles, they should be prepared by laying them out on a flat surface and checking for any potential chips or cracks. Once any damaged tiles have been identified, they should be thrown away and replaced with new ones. It is also important to measure the area where the tiles are being replaced and mark out their placement using a pencil. Once done, cut your new tiles to size using a tile cutter or chisel and make sure all of them are uniform in size.
Step 4: Install the First set of Tiles
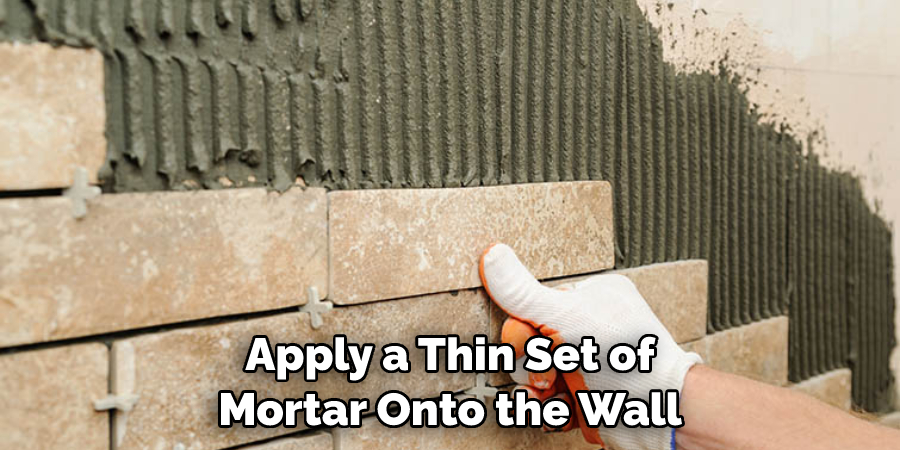
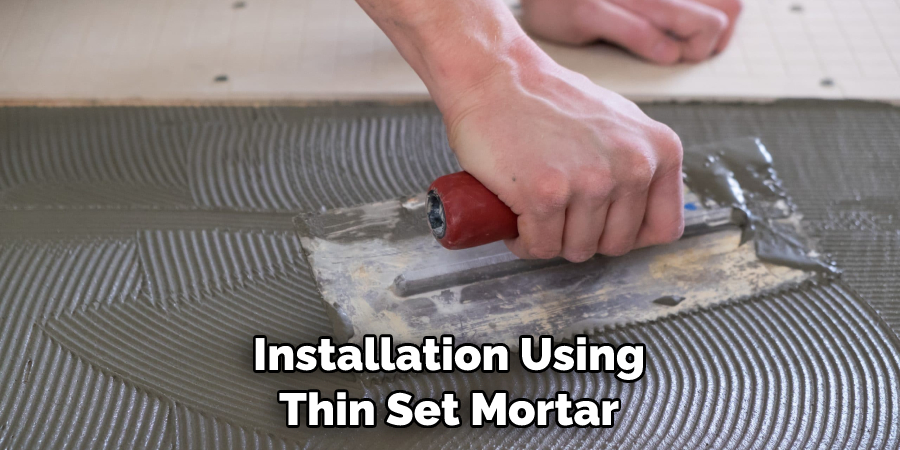
Now it’s time to start placing the first set of tiles onto the wall. Use a notched trowel to apply a thin set of mortar onto the wall and press the tiles into place. Make sure to leave enough space between each tile for the grout by using tile spacers. But be sure to remove the tile spacers as soon as the tiles have been pressed into place. You can also use a grout float to press down the tiles and get rid of any air pockets.
Step 5: Install Additional Tiles
Continue installing additional rows of tiles in the same manner, taking care to check that each row is level and even with the other rows before applying mortar. This will ensure that the finished product looks professional and aesthetically pleasing. It is also important to use the least amount of mortar possible in order to avoid any excess buildup on the tiles. It can be especially time-consuming to remove this excess mortar.
Step 6: Allow the Tiles to Set
Once all of the tiles have been installed, allow them to set and dry for at least 24 hours before proceeding with grouting. It is best to cover the area with plastic or a drop cloth in order to keep dust and debris from settling on the wet tile. But be sure to keep the plastic in place until the tiles are completely dry and ready for grouting.
Step 7: Mix Grout
Mix grout according to the package directions in a bucket until it achieves a thick, paste-like consistency. You can use a grout float to help mix the grout if necessary. Once done, allow the grout mixture to sit for 10 minutes before proceeding. This will give it time to thicken and become easier to work with.
Step 8: Apply Grout to the Tiles
Using a grout float, spread the grout over the tiles and press it into all of the spaces between them. Be sure to fill each space completely and wipe away any excess grout with a damp cloth or sponge. Although it is important to take your time and work the grout into all of the spaces, try not to overwork the grout as this can cause cracking.
Step 9: Allow Grout to Set
Allow the grout to set for at least 24 hours before sealing it. It is best to cover the area with plastic or a drop cloth in order to keep dust and debris from settling on the wet grout. But be sure to keep the plastic in place until the grout has completely dried and is ready for sealing. However, if you have mixed the grout with a sealant additive, no additional sealing is necessary.
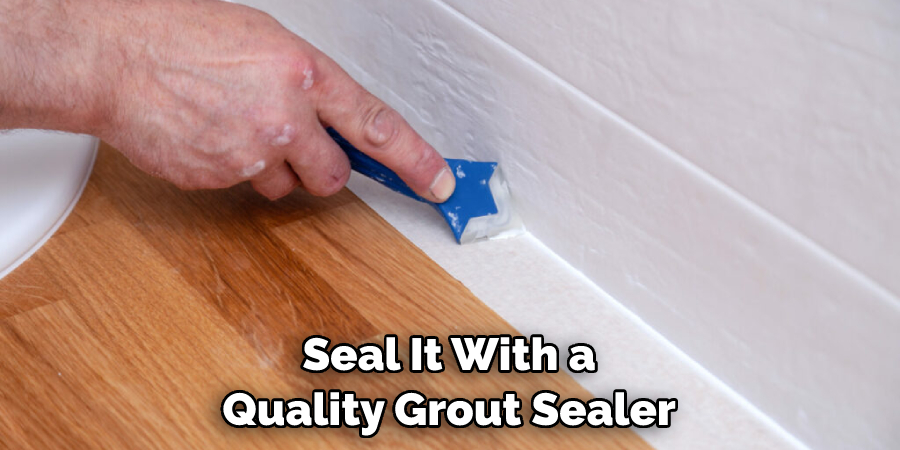
Step 10: Seal the Grout
Once the grout has been set, seal it with a quality grout sealer in order to protect it from water damage and staining. Allow the sealer to dry completely according to the package directions. Always use the best quality sealer available in order to ensure a long-lasting finish.
Step 11: Enjoy Your Newly Installed Tiles!
And that’s it! Now you can enjoy your newly installed tiles and admire all of your hard work. With just a few simple steps, you can easily fix tiles coming away from the wall and make any room look beautiful again. Always remember to follow the manufacturer’s instructions for best results and safety.
Do You Need to Hire a Professional?
Although the steps outlined above are fairly straightforward, they require a certain level of skill and knowledge in order to achieve proper results. If you don’t feel comfortable attempting this project on your own, it may be best to hire a professional tile installer. They have the experience necessary to ensure that your tiles are properly installed and will last for years to come.
No matter which route you decide to take, we hope this blog post on how to fix tiles coming away from wall has been helpful. If you have any additional questions or concerns, feel free to reach out to us and one of our experts will be happy to assist!
How Much Will It Cost?
The cost of fixing tiles coming away from a wall will depend on the size and scope of the project. If you’re planning to install new tiles, prices vary depending on the type and quality of tile being used. Generally speaking, professional installation services start around $3-$4 per square foot and can increase from there depending on how complex the job is.
If you’re simply looking to repair existing tiles, it is possible to do so without needing to hire a professional. However, if you’re not familiar with tile installation, we recommend seeking help from an experienced contractor in order to ensure the best results.
Frequently Asked Questions
Q: What is the Best Way to Repair Tiles Coming Away From a Wall?
A: The best way t repair tiles coming away from a wall is to remove the old tiles, clean and dry the wall surface, prepare new tiles for installation, install them using thin-set mortar and grout, seal the grout with a quality grout sealer, and allow everything to completely dry before application.
Q: Do I Need to Hire a Professional for Tile Installation?
A: It is possible to install tiles on your own, however, doing so requires a certain level of skill and knowledge. If you’re not confident in your ability to complete the project, it may be best to hire a professional tile installer who has the experience necessary for successful tile installation.
Q: How Much Does Tile Installation Cost?
A: The cost of tile installation will depend on the size and scope of the project. For professional installation services, prices usually start around $3-$4 per square foot and can increase from there depending on the complexity of the job. If you’re looking to simply repair existing tiles, it is possible to do so without needing to hire a professional.
Q: What Should I Do if My Tiles Start to Come Away From the Wall?
A: If your tiles start to come away from the wall, you should remove them and inspect the wall surface for any damage. Once the wall has been cleaned and dried, you can then prepare new tiles for installation using thin-set mortar and grout. Finally, seal the grout with a quality grout sealer to protect it from water damage and staining.
By following these steps, you should be able to successfully fix tiles coming away from the wall and make any room look beautiful again.
Conclusion
To summarize how to fix tiles coming away from wall, fixing tiles that are coming away from the wall is a rather simple process. All you need are basic DIY skills, caulking, and readily available materials such as thin-set mortar or epoxy
adhesive. However, it’s worth double-checking any damage on the tiles and grout to identify if the issue needs to be addressed by a professional. Above all else, make sure that any potential problems with your tiled wall are identified and fixed quickly to avoid any further damage occurring.
Don’t forget: prevention is always better than a cure! If you don’t have the time nor the right materials for this job try getting in touch with one of your local handyman services – they can usually provide a quick-fix solution in no time at all! With these tips in mind, you now have the knowledge to maintain stylish tiles wherever they may be in your home.

