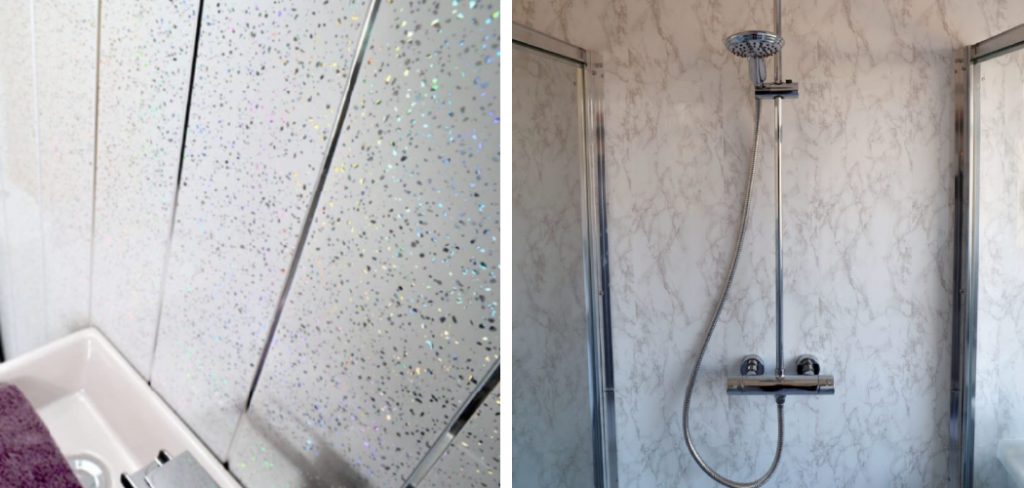
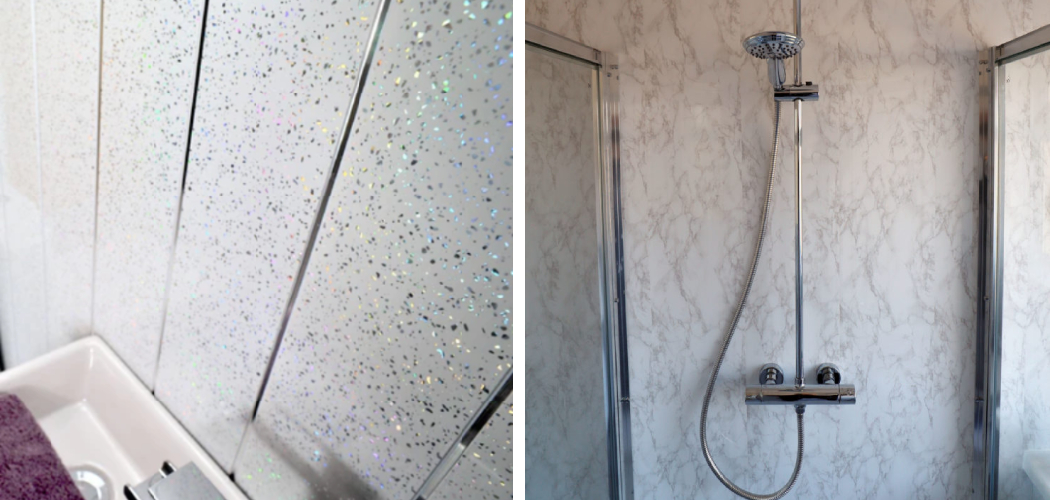
Do you struggle with how to fix your bathroom panels? It’s easy to think that fixing broken paneling requires a lot of time and effort; however, it doesn’t have to be difficult. There are many steps you can take to effectively repair bathroom panels without the help of a professional. In this blog post, we will discuss exactly what needs to be done in order for you to successfully get your paneling back in working condition.

We’ll cover prep work all the way through the installation process and also provide instructions on how to fix bathroom panels. So if you’re ready for your next bathroom DIY project—or just want some more info on tackling one—let’s dive into how you can easily fix those pesky panels!
Things to Remember While Fixing Bathroom Panels
1. Right Materials
Make sure you’re working with the correct materials. Knowing what type of panels you have and the proper method for replacing them is essential for successful panel repairs. The right materials also include the right tools. Check with your local hardware store to find out what will work best for your particular project.
2. Dealing With Mold and Mildew
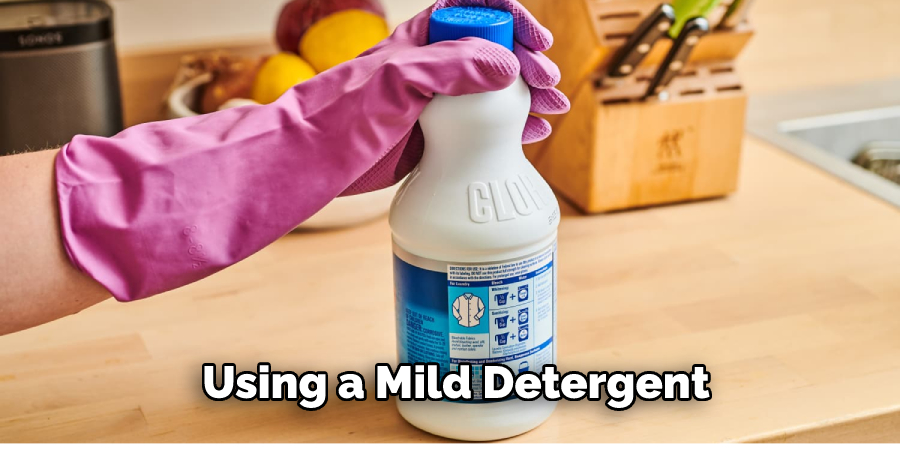
If necessary, you’ll need to clean the affected area first by using a mild detergent or bleach solution. Doing this before you start working on the panels can help prevent any mold or mildew from settling in the grooves and crevices of the paneling.

3. Preparing and Measuring
Once you’ve acquired all the necessary materials, it’s time to start prepping them for installation. Measure out the area you’re going to be repairing so that you can get an accurate fit when replacing your panels. Mark the top and bottom of the area, and then measure again to make sure you have the exact measurement for your new panels.
Required Items
- Hammer
- Nails
- Screwdriver
- Saw or knife
- Measuring tape
- Replacement panels
How to Fix Bathroom Panels in 10 Easy Ways
1. Remove the Damaged Panel
Remove the damaged panel by using a hammer and nails or a screwdriver to pry it away from the wall. If there are any nails left in the wall, use pliers to remove them. Damaged panels can also be removed with a saw or knife if necessary.
2. Clean the Area
Using mild detergent and warm water, clean the area where the damaged panel was located. This step is important to prevent any mold or mildew from settling in the crevices of the paneling.
3. Measure and Cut Replacement Panel
Measure the area you’re going to be replacing, and then use your measuring tape to mark the top and bottom of the area. Cut a replacement panel to fit those measurements, making sure it’s slightly larger than the actual size in order to have some wiggle room when installing it.
4. Dry Fit and Install
Next, dry fit the panel and check for a proper fit. If it needs to be trimmed down, do so very carefully. Once you have the proper measurements, nail or screw the replacement panel into place.
5. Caulk Around Edges
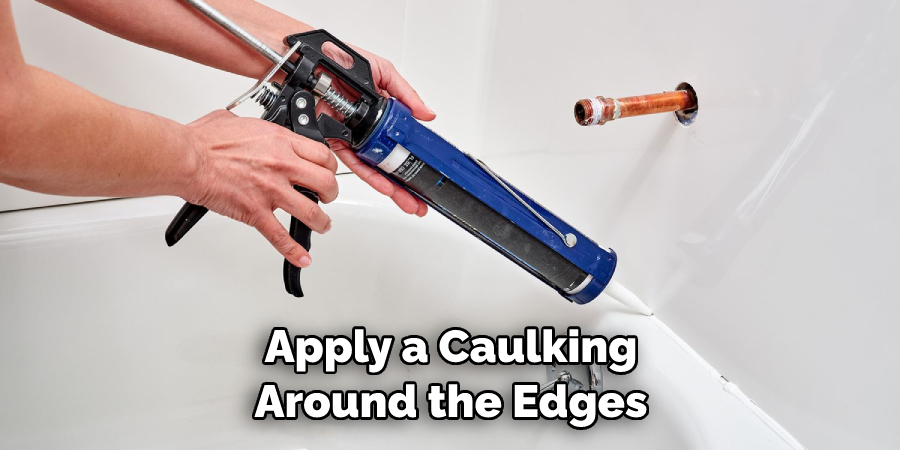
Using a caulk gun, apply a thin bead of caulking around the edges of the paneling where it meets with the wall. This will help ensure a tight seal and prevent any water from seeping in.

6. Sand Down Edges
Once the caulk has dried, sand down any rough edges of the paneling for a smoother finish. Make sure to also sand down any ridges or uneven spots that may have occurred during installation.
7. Paint
If desired, apply a coat of paint to ensure the paneling matches the rest of your bathroom’s decor. Make sure to allow ample time for the paint to dry before you move on to the next step. Painting is optional, but it’s a great way to give your bathroom a facelift.
8. Replace and Secure Moldings
If the damaged panel removed had any trim or molding, reinstall them in their original places. Use nails or screws to secure them into place. Molding is a great way to add an extra layer of protection against water damage.
9. Add Finishing Touches
To finish off the look, add any other decorative touches you wish—such as wallpaper or picture frames. This step is completely up to you!

10. Enjoy!
You’ve done it! Sit back and enjoy the fruits of your labor. Your newly installed paneling looks great, and you can rest assured that it will last for many years to come.
With just a few simple steps, you can easily fix bathroom panels without the help of a professional. By following the instructions outlined in this blog post, you will be on your way to having beautiful and functioning panels in no time!
8 Safety Precautions to Follow When Fixing Bathroom Panels
When it comes to bathroom panels, taking the proper safety precautions is essential. From using the right tools to wearing protective wear, here are 8 safety precautions that you should follow when fixing bathroom panels:
- Wear appropriate clothing. Always make sure to wear appropriate clothing for any repair work in your bathroom. This includes pants and a long-sleeve shirt, as well as closed-toe shoes.
- Wear protective gear. When it comes to working with any tools that involve power, always wear goggles and gloves for protection. This way, you will protect your eyes and hands from splinters or debris that can fly up when cutting or drilling into the paneling.
- Make sure the area is well-ventilated. This will help to reduce any exposure to hazardous fumes from the paneling or tools being used. Making sure that windows are open and fans are running is a good idea to ensure proper ventilation.
- Check for any damaged areas on the panels. Before beginning any work, it’s important to check for any structural damage or weak spots on the panels. If you find any, use a patch kit or other materials to repair them before continuing with the job.
- Use the correct tools and attachments. When fixing bathroom panels, make sure to use the proper tools for the job. This means using a hammer, saw, or drill with appropriate bit sizes, screws, or nails that are suited for paneling and other materials as necessary.
- Measure twice and cut once. Before cutting any panels into place, take some time to measure and make sure the pieces are cut accurately. Cutting too deep or off-center can damage the paneling, making it unusable.
- Use a level when placing panels in place. When attaching the panels to the wall, always use a level to ensure that they are straight and properly aligned before securing them into place.
- Clean up messes quickly. When working with paneling, it’s important to clean up any debris or dust that may have accumulated in the area. This will help keep your bathroom tidy and prevent any accidents from occurring.
Following these 8 safety precautions when fixing bathroom panels is essential for ensuring a successful job and preventing injuries from taking place. Taking some time to plan your project and make sure all the right tools are on hand can go a long way in helping you get the job done quickly and safely.
Frequently Asked Questions
How Often Do You Need to Fix Bathroom Panels?
The frequency with which you need to fix your bathroom panels will depend on the type of panel you have and how much wear and tear it has seen. Generally, PVC and acrylic panels should be inspected every few months for signs of damage, such as cracking, warping, or fading.
If you notice any issues, these should be repaired promptly to prevent further damage from occurring. Wood and laminate panels may need to be repaired less often but should still be inspected regularly for signs of damage.

What Types of Tools Do I Need to Fix Bathroom Panels?
The tools you’ll need will depend on the type of panel and the nature of the repair needed. Generally, basic hand tools such as a utility knife, screwdriver, hammer, and wood glue are all that’s required for most repairs. For larger jobs, such as replacing panels or installing new ones, you may need more specialized tools.
Conclusion
All in all, repairing bathroom panels can be a challenging task. It’s important to take the right steps on how to fix bathroom panels in order to ensure long-lasting results and avoid any potential damage.
The way to start is by assessing the extent of the damage and making sure that all surfaces are clean and dry before doing anything else. Decide if you want to replace the panel, apply a special type of paint, or you should glue it back together.
Also, make sure you use an appropriate adhesive for the material being used and check for coverage and compatibility before applying. All of this will help guarantee that your efforts won’t go in vain! In a nutshell, diagnosis and preparation are key when maintaining or restoring bathroom panels – so take your time and do things right!

