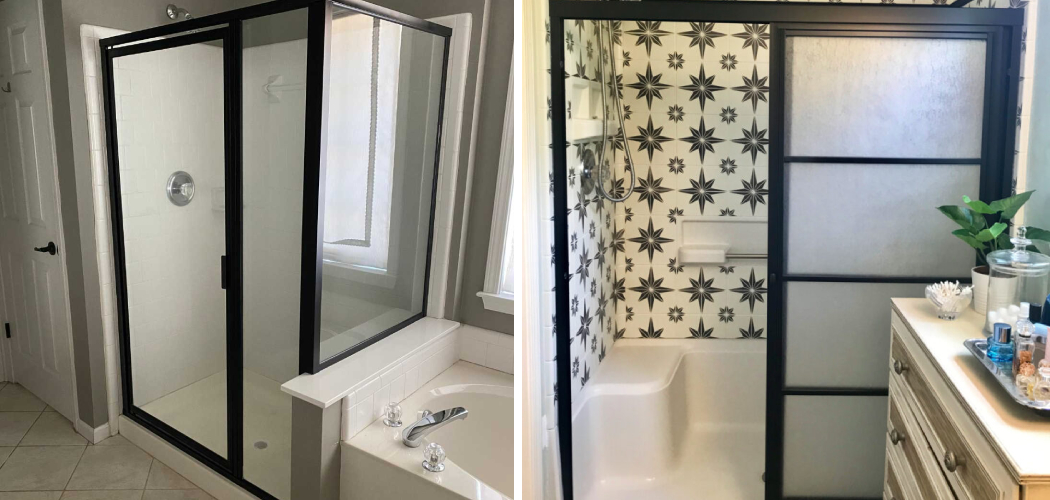
Do you have an outdated shower door trim that’s making your bathroom look unappealing? Painting shower door trim is a surefire way to instantly upgrade the look of your bathroom. Looking for an easy, cost-effective way to give your shower and bath area a much-needed refresh? Painting the trim on your shower door is the perfect solution! Not only can it make a huge difference in creating a more inviting space, but it’s also surprisingly simple.
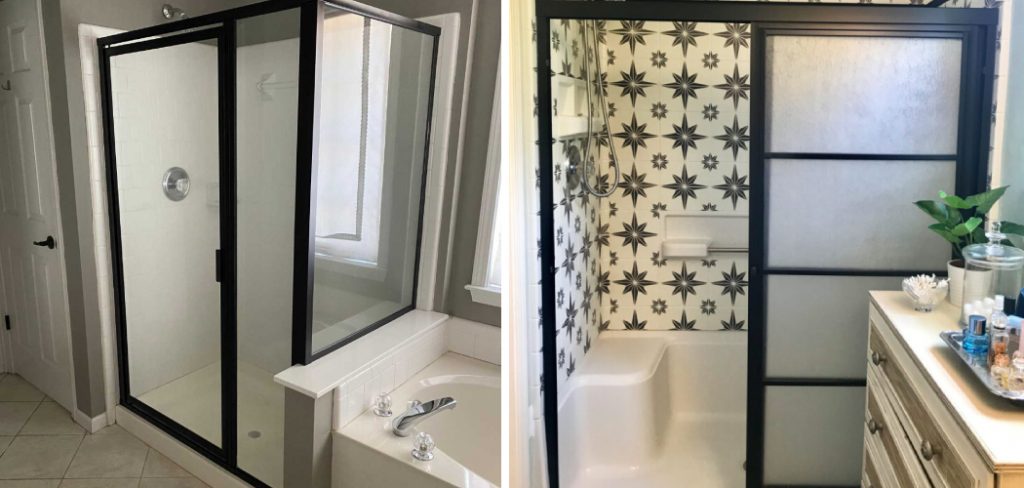
In this blog post, we’ll show you how to do it step by step with ease, so you won’t be stuck staring at chipped paint any longer. Read on to find out exactly what supplies are necessary and get helpful tips about getting started on painting your shower door trim today! If you’re ready to put away those paint swatches and get started on transforming your bathroom’s decor, read on for all of our top tips for how to paint shower door trim like a pro.
The Benefits of Painting Shower Door Trim
1. Add Style
Painting your shower door trim has many benefits. Aside from instantly giving your bathroom a more updated look, painting the trim can help protect it from water damage and other wear and tear. It will also make future cleaning much easier, as dirt and grime can be wiped away with ease. This is especially helpful for those who live in humid climates or have a lot of shower use.
2. Boost the Value of Your Home
Painting your shower door trim is also a great way to increase the value of your home when it comes time to sell. A newly painted bathtub or shower enclosure will instantly make any bathroom look more modern and inviting, which will be sure to help you get top dollar when it’s time to put your home on the market.
Materials Needed
- Sandpaper or sanding block
- Drop cloths
- Painters tape
- Primer and paint for metal surfaces
- Foam brushes
- Paint tray
- Roller and roller covers
- Protective eyewear and gloves
Preparation for Painting Shower Door Trim
- Sand the surface of the trim before you start painting. This will help create a smoother finish after priming and painting is complete. Be sure to wear protective gloves while sanding, as the particles can be harsh on your skin.
- Clean the trim with a damp cloth to remove dirt and debris. This will help ensure that the paint adheres better and won’t chip off easily.
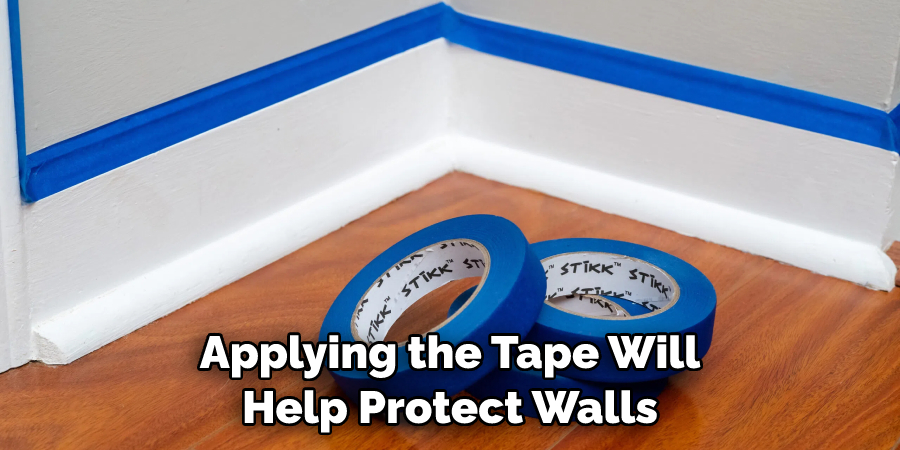
- Apply painter’s tape around any areas near the trim that you don’t want to accidentally get painted. Applying the tape will help protect your walls and fixtures from any splatter or drips.
How to Paint Shower Door Trim in 4 Steps
Step 1: Sand and Clean
Once your trim is sanded and cleaned, you can begin painting. Start by applying a coat of primer to the metal surface of the trim. It is an important step in prepping the surface for paint, as it will help fill any gaps or imperfections in the metal trim.
Step 2: Prime and Paint
Once the primer has dried, you can start painting with a brush or roller. When selecting a paint, make sure to use one specifically designed for metal surfaces, as this will help ensure a longer-lasting finish. Start by painting the edges of the trim and then move to larger areas using long, even strokes.
Step 3: Let Dry
Once you’ve finished painting, let it dry completely. Depending on the type of paint you used, this could take anywhere from 1-4 hours. Once the paint is completely dry, you can apply a second coat for added protection.
Step 4: Apply Clear Coat
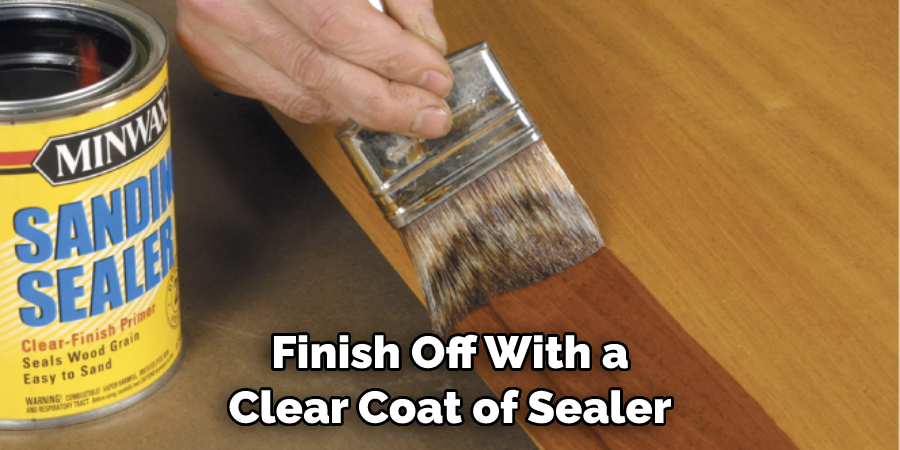
Once the second coat of paint has dried, finish off with a clear coat of sealer or lacquer. This will help protect your newly painted shower door trim from water damage and make it easier to clean.
Follow these few simple steps on how to paint shower door trim, and you’ll be able to enjoy a beautiful, freshly painted shower door trim in no time! With minimal effort and cost, you can transform the look of your bathroom and make it seem new again. So what are you waiting for? Get started on painting those shower door trims today!
8 Common Mistakes to Avoid
When it comes to painting shower door trim, there are a few common mistakes that you should avoid. Here are eight of the most important ones:
- Not cleaning the surface properly. Make sure to use an appropriate cleaner for your chosen type of paint before starting your project. This will ensure that any dirt or debris is removed and won’t affect the quality of your finished product.
- Not sanding the surface before painting. Sanding is an important part of the preparation process and will help ensure that your paint job looks professional. Use fine-grit sandpaper to smooth out any rough edges or imperfections on the trim.
- Applying too thick of a coat of paint. It is important to use thin coats as this will allow the paint to dry evenly and more quickly. Make sure you apply an even amount of paint over the entire area being painted and avoid layering it on too heavily in one spot.
- Not using a primer before painting. Primer helps the topcoat adhere better, so it is important to invest in a good quality primer. This will also help the paint last longer and provide better coverage.
- Not using masking tape when necessary. Masking tape can be used to protect door frames or other surfaces from being accidentally painted over. Make sure you use the correct width of the tape for the areas you are painting so that you don’t get any paint seepage.
- Not using an appropriate brush or roller. Different types of brushes and rollers are designed for different types of paint, so make sure you choose one that is suitable for your particular project. Also, be sure to clean the brush thoroughly after each use as this will help keep it in good condition for future projects.
- Not allowing enough time for the paint to dry. Different types of paint require different amounts of drying time, so make sure you read the instructions on your particular brand before starting your project. This will help ensure that the paint job looks its best and lasts longer.
- Not investing in good quality supplies. Investing in good quality paints, primers, brushes and rollers is essential for achieving the best results. Cheap supplies will not give you the same finish as high-quality ones, so always make sure to buy from reputable brands.
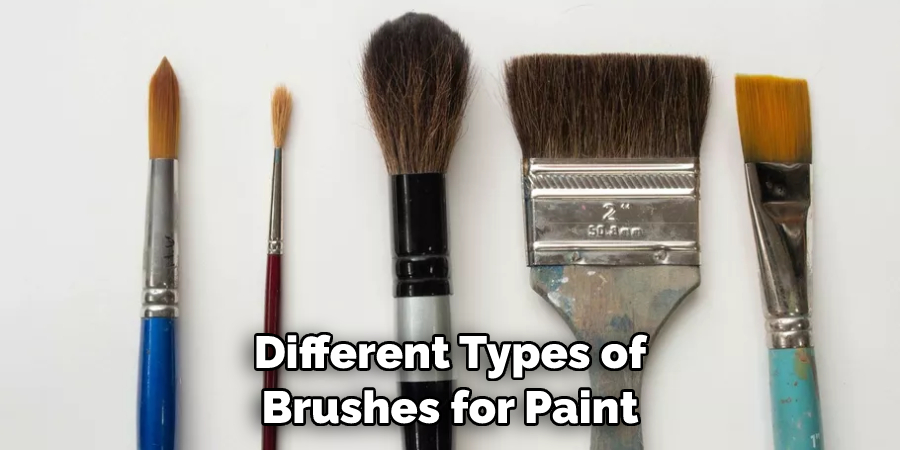
Following these simple tips will help you paint your shower door trim like a pro! Good luck with your project!
7 Additional Tips for Painting Shower Door Trim
In addition to the above tips, there are a few extra things you should keep in mind when painting shower door trim.
- Make sure to check the weather forecast before starting your project. It is best to avoid painting in extreme temperatures as this could cause the paint to dry too quickly or too slowly.
- Always wear protective gear when painting, such as safety glasses and a dust mask. This will help keep you safe from any harmful vapors that may be released during the process.
- If possible, try to paint outdoors or in a well-ventilated area. This will help reduce the risk of any fumes lingering in your home.
- Don’t be afraid to experiment with different colors and finishes! Painting shower door trim can be a fun and creative project that allows you to express yourself while also improving the look of your bathroom.
- Apply varnish or sealant after painting to protect the paint and help it last longer. This is especially important for areas that may be exposed to water on a regular basis, such as shower door trim.
- Consider using a spray gun if you want an even and consistent finish. While this may require a bit more effort, it will be worth it in the end!
- Test out any colors or finishes before starting your project. This will help you avoid any unwanted surprises when it comes to the finished product.
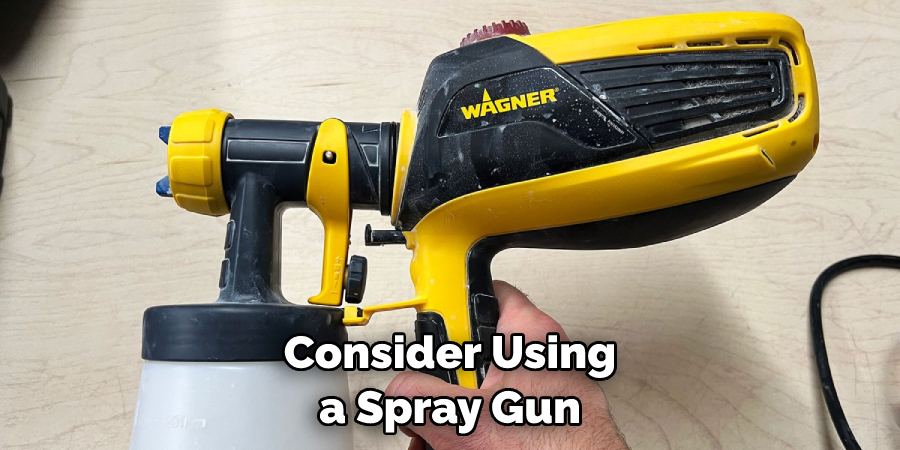
By keeping these tips on how to paint shower door trim in mind, you can ensure that your shower door trim painting project goes smoothly and has beautiful results!
7 Cleaning Tips for Painting Shower Door Trim
Once you’ve finished painting your shower door trim, it is important to clean up the area properly. Here are a few tips for cleaning up after a painting project:
- Wear protective gear such as safety glasses and gloves while cleaning. This will help protect you from any harmful fumes or materials that may be released during the cleaning process.
- Use an appropriate cleaner for your chosen type of paint, such as a solvent or detergent-based cleaner. Be sure to read and follow the instructions on the product to ensure safe use and effective results.
- Use a damp cloth to wipe away any excess paint from surfaces such as walls or countertops that may have been accidentally covered with paint.
- Remove any masking tape or painter’s tape carefully, as pulling it away too quickly could result in the paint being removed along with it.
- Rinse off any brushes used in the project using mild soap and warm water, then store them in a dry and airtight location. Rinsing off the brushes soon after use will help keep them in good condition for future projects.
- Use a vacuum cleaner to remove any dust or debris from the area where you were painting, as this can help reduce the risk of paint splatter when applying subsequent coats.
- Dispose of any paint cans or other materials responsibly in order to protect the environment and ensure safe use for everyone.

Following these tips on how to paint shower door trim will help you keep your painting area clean and tidy so that you can enjoy the results of your hard work!
Frequently Asked Questions
How Long Will It Take to Finish the Project?
The amount of time it will take to complete the project mostly depends on how quickly you can work and the size of the area being painted. Generally speaking, a standard-sized shower door trim painting project should take anywhere from 4-6 hours to complete.
What Paint Should I Use?
The type of paint you use will depend on the particular material that your shower door trim is made of. Generally speaking, acrylic paint is a good choice for most materials. It is also important to remember to invest in a good quality primer, as this will help ensure better coverage and longer-lasting results.
Are There Any Dangerous Chemicals Involved?
Yes, it is important to remember that paint contains a variety of chemicals and solvents that can be harmful if inhaled or ingested. It is important to wear protective gear such as safety glasses and a dust mask while painting, and make sure to work in a well-ventilated area whenever possible.

Conclusion
With a few simple and affordable items and steps on how to paint shower door trim, you can easily paint the trim around your shower door and give it a new fresh look.
Changing the paint color of your shower door trim might even make you want to spend more time in the shower! Doing this project yourself will help you save money from hiring a professional painter and reduce the stress of worrying about someone else’s mistakes affecting your bathroom space.
Not to mention, it’s also incredibly satisfying to create something meaningful with your own hands. Overall, painting your own shower door trim is highly rewarding since it only requires basic supplies and tools, not to mention that it won’t take long at all for you to finish the job.
So, if painting seems like something you would like to do for yourself, go ahead and show off your artistic talent by giving this project some love – you certainly won’t be disappointed with how awesome it will turn out!

