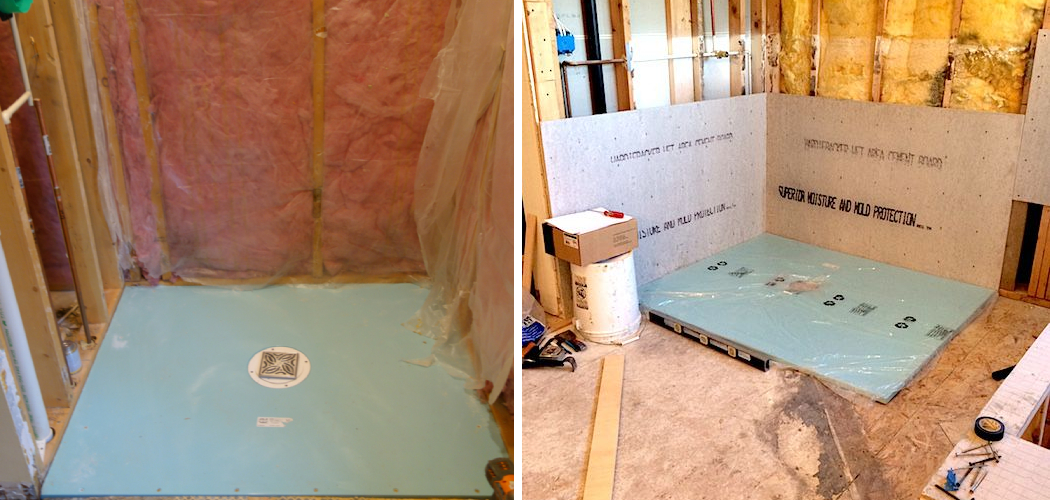
Zero-entry showers are becoming increasingly popular among builders and homeowners alike because they offer a unique design element that makes your bathroom look modern and stylish.
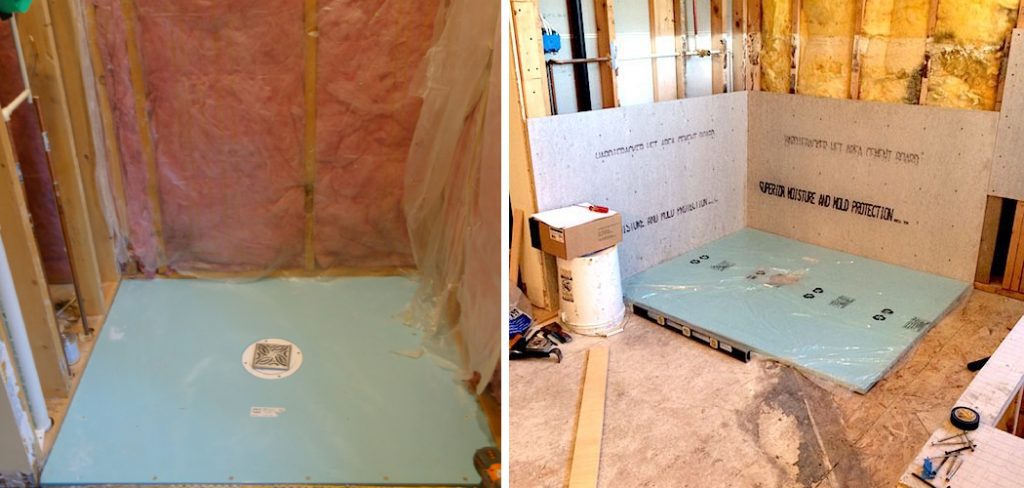
Not only do they give the room an attractive boost, but zero-entry showers make it easier to access the shower as no threshold is required. Plus, not having a step or lip leading into the shower can make cleaning easier, as water won’t pool at the bottom of the door.
Zero-entry showers can give your bathroom an elegant and modern look. It will also be more accessible for people with limited mobility, as there is no navigation threshold or step. The zero-entry design also helps keep water from pooling at the bottom of the door, making it easier to clean up after showering. In this blog post, You will learn how to build a zero entry shower.
Materials You Will Need
- Stud finder
- Level
- Drywall saw
- Chalk line
- Measuring tape
- Circular saw
- Jigsaw
- Sandpaper or sanding block
- Acrylic shower wall panels, glue, and sealant
- Caulk gun
- Silicone caulk
- Shower drain
Step by Step Processes for How to Build a Zero Entry Shower
Step 1: Inspect
Begin by inspecting the area you’ll be working on and ensuring it is level before starting. You may need to use a stud finder or level to check for any inclines in the floor. Use a measuring tape and chalk line to mark and measure out the area of your shower so you can begin cutting the wallboard.
Step 2: Cut the Wallboard
Cut along your marked lines with a drywall saw or jigsaw. Be careful to cut where necessary and leave extra space for adjusting later. Install the shower pan in place using silicone caulk and a caulk gun. Make sure it is firmly in place before continuing.
Step 3: Install the Acrylic Wall Panels
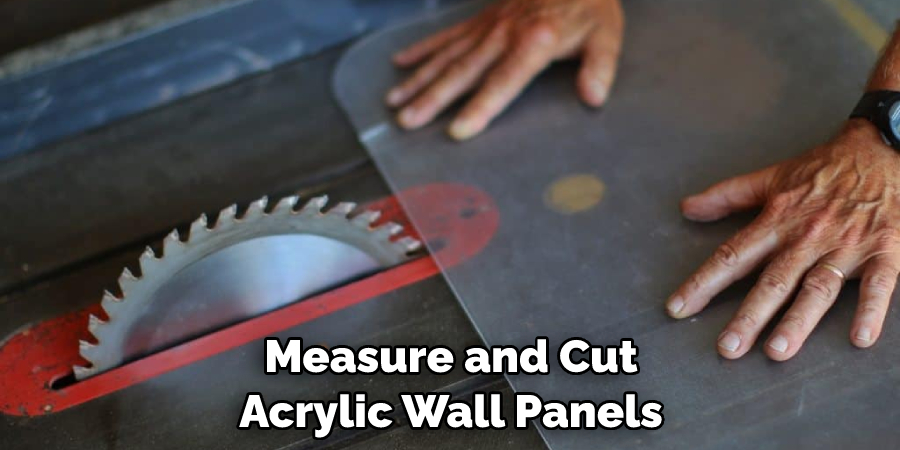
Measure and cut acrylic wall panels to fit the space you have marked out, then glue them with an adhesive sealant. Connect the drain to the shower pan and secure it in place.
Step 4: Finish Any Cut Edges
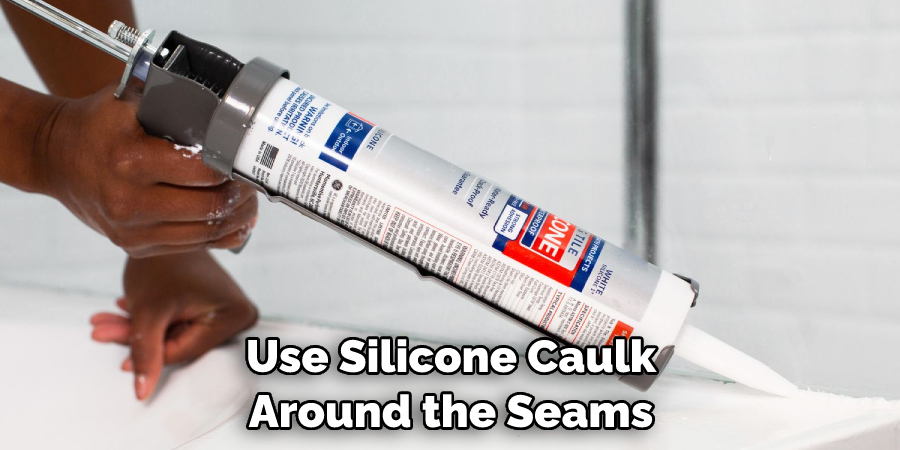
If there are any rough-cut edges around your newly installed shower, use a sanding block or sandpaper to smooth them out. When you are happy with the fit of your walls and floors, use silicone caulk to seal all the seams. This will help protect against water leakage and prevent mold from forming.
Step 5: Install Shower Fixtures
Depending on the type of shower you are building, you may need to install fixtures like faucets, handles, or a showerhead. Once everything is installed, testing the shower for any potential leaks is important. Fill up the tub and check for water spots or drips around the drain or walls. If you find any, use caulk to seal them up before showering.
Tips for How to Build a Zero Entry Shower
- Wear safety glasses and gloves when working with any tools.
- Make sure the area is well-ventilated while you are working.
- Be careful not to cut into any wiring or plumbing while cutting out the wallboard.
- Seal all the seams in your shower pan, walls, and floor tightly to prevent water leaks.
- Follow the manufacturer’s instructions for any fixtures or tools you use.
- Test for leaks after installation to ensure your shower is safe and secure.
What Are the Best Water-proofing Techniques for a Zero Entry Shower?
The best way to waterproof a zero-entry shower is by combining sealants and caulks. Use silicone caulk around the seams of your shower pan, walls, and floor. You should also use an adhesive sealant on any acrylic wall panels you install. It’s also important to check for leaks after installation and caulk any found spots.
Additionally, using a shower liner can help provide additional protection against water damage and mold formation. Following the manufacturer’s instructions when installing your zero-entry shower is important to ensure it is properly sealed and waterproofed.
How Should You Seal the Edges of Your Zero Entry Shower?
The edges of a zero-entry shower should be sealed with silicone caulk. Use an approved product specifically designed for sealing showers and apply it in thin layers around the seams of your shower pan, walls, and floor. Additionally, if you have any acrylic wall panels installed, seal the edges with an adhesive sealant. Testing for potential leaks after installation and caulking any found spots is important.
This will help protect against water damage and mold formation in your shower. You can create a stylish and modern-looking bathroom with the right materials, tools, and knowledge to build a zero-entry shower! Following the steps outlined in this blog post will ensure your shower is safe and long-lasting.
How Important Is It to Choose Slip-resistant Tiles for Your Zero Entry Shower?
When installing a zero-entry shower, one of the most important decisions you must make is choosing tiles. While many varieties are available in shape and size, slip resistance is one factor you must pay attention to.
With no lip or curb, your shower floor will be flat and smooth, which means any wet spills will create an extremely slippery surface. To prevent the risk of injuries, it is essential to install tiles specifically designed for a zero-entry shower with a slip-resistant coating.
Consider using textured tiles available in different patterns, such as pebble and tile mosaic designs. Textured tiles provide extra grip even when wet and make it easier to avoid slipping. It is also a good idea to ensure that your chosen tiles are rated for outdoor use, as they will be exposed to the elements throughout all four seasons. Ensure the grout you use to lay the tiles can withstand extreme temperatures and humidity levels.
How Can You Ensure Your Zero Entry Shower is Properly Ventilated?
It is important to ensure your zero-entry shower is properly ventilated. This means ensuring adequate airflow in and out of the bathroom to prevent any stagnant moisture or mildew from collecting inside.
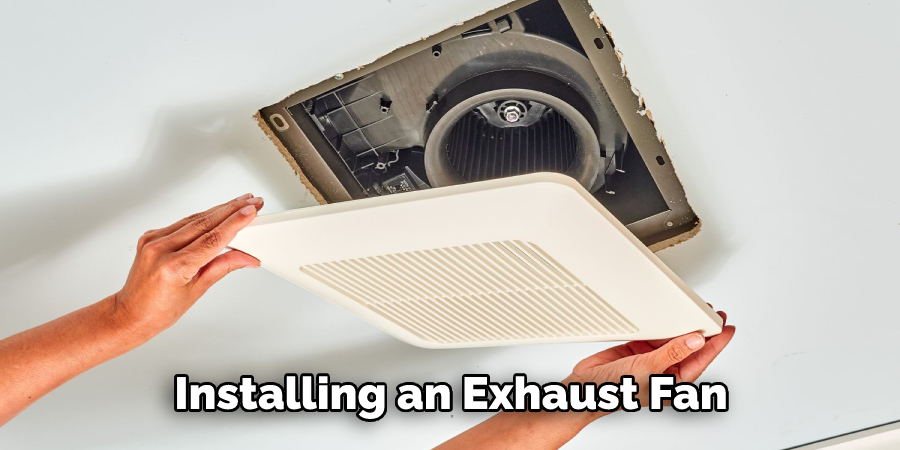
Good ventilation can be achieved by installing an exhaust fan, ensuring it is properly sized for the bathroom space, and introducing fresh air into the room with a window or an air intake vent. Also, consider installing a dehumidifier to keep the moisture levels in check. These steps will help ensure your zero-entry shower remains dry and free from mildew growth.
How Often Should You Clean and Maintain Your Zero Entry Shower?
It is important to regularly clean and maintain your zero-entry shower to keep it looking its best. This includes wiping down the walls, floors, and fixtures with an appropriate cleaner. You should also check the grout regularly for any signs of mildew or discoloration. If any issues require more intensive cleaning than just a simple wipe-down, it is best to contact a professional for assistance.
Aside from regular cleaning, you should also inspect the shower every month to check for any signs of wear and tear that may require attention. This can include checking the caulking around the fixtures and examining the grout lines for any cracks or loose tiles.
If any issues are spotted, it is best to address them quickly to prevent any further damage. By taking the proper steps to clean and maintain your zero-entry shower, you can ensure that it remains looking its best for years to come.
What Other Considerations Should You Consider When Building a Zero Entry Shower?
When building a zero-entry shower, consider a few other considerations. This includes making sure that the floor slope is manageable, as this could make it difficult to stand or walk in the shower without slipping.
You should also consider the type of doors and walls you’ll be using for your shower space. Choosing materials such as glass or tile can help to create a more luxurious look and feel in your bathroom.
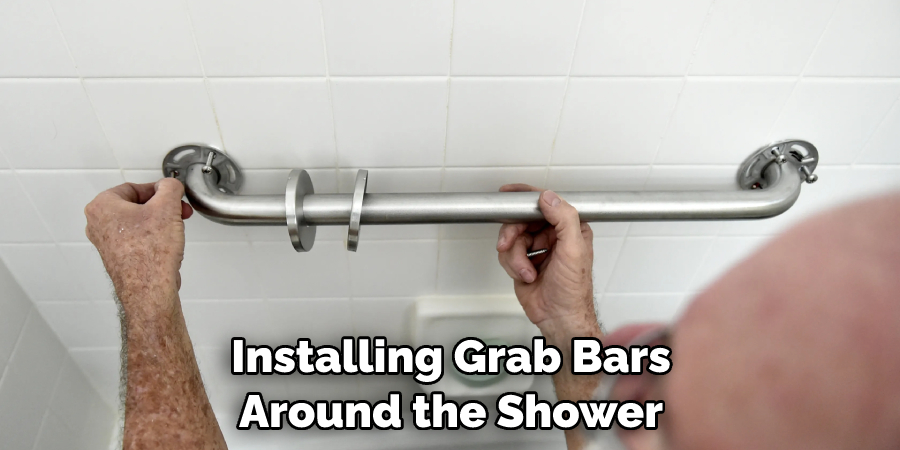
Finally, it is important to consider any safety measures you’ll need to take when building your zero-entry shower. This includes making sure that the floor is non-slip and installing grab bars around the shower space for added stability. These steps will ensure that your shower is as safe and comfortable as possible for everyone who uses it.
Conclusion
In conclusion, building a zero-entry shower can be an exciting and rewarding project. With careful planning and the right materials, you can create a beautiful, functional, and aesthetically pleasing space. From choosing the type of tiles to selecting the accessories, many possibilities exist to make your dream bathroom come alive.
Don’t forget to think of safety when installing the components; it is important to ensure everything is secure and safe for you and your family. I hope reading this post has helped you learn how to build a zero entry shower. Make sure the safety precautions are carried out in the order listed.

