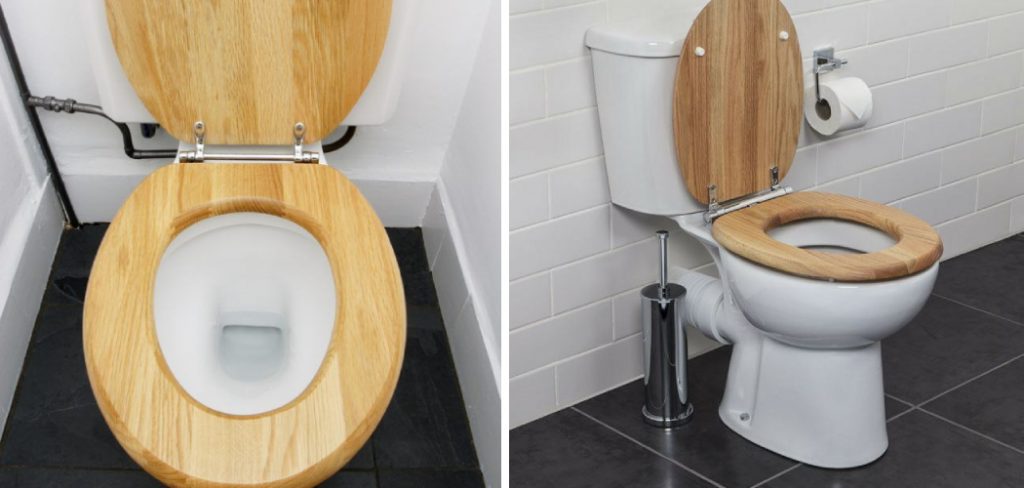
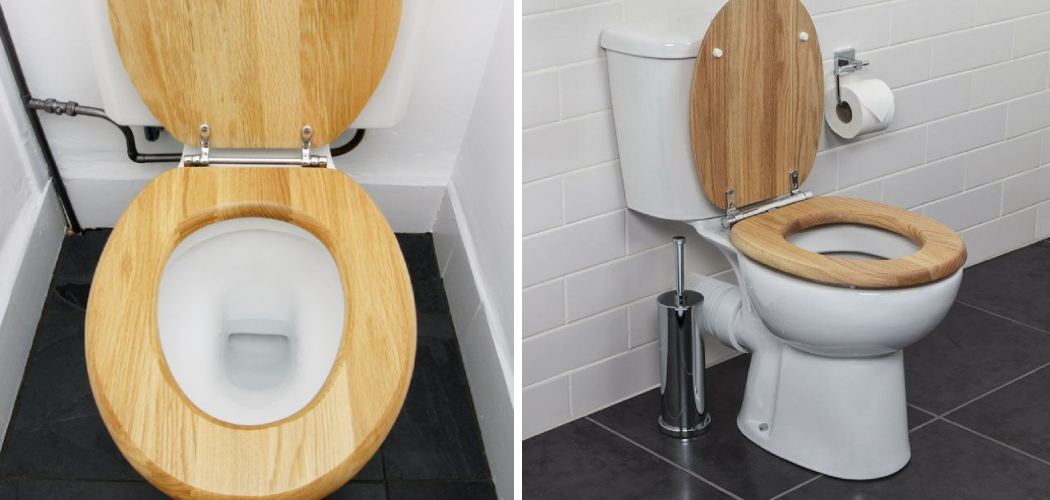
Wooden toilet seats are more expensive, attractive, and durable than plastic ones. But they require special care to ensure they last long and look good. Fortunately, cleaning a wooden toilet seat is easy if you follow the right steps.

Cleaning a wooden toilet seat is easier than cleaning one made of plastic or metal. Unlike these materials, wood does not easily harbor bacteria, meaning it will remain clean much longer and require less frequent deep-cleaning efforts.
Additionally, wood looks more attractive and can enhance the décor of your bathroom. Despite its benefits, you should still clean it regularly to keep it looking its best. In this blog post, You will learn in detail how to clean wooden toilet seat.
Step-by-Step Processes for How to Clean Wooden Toilet Seat
Step 1: Inspect
Before you begin cleaning, it is important to inspect your toilet seat for any damage or discoloration. It can be hard to spot, but if some areas of the wood appear darker or splintered, these will require special attention.
Step 2: Vacuum
Vacuuming your wooden toilet seat is the most effective way to remove dirt and dust. Use a soft brush attachment on your vacuum cleaner to gently remove debris from the surface of the seat. Using a damp cloth, wipe down the entire toilet seat. Be sure not to leave any water or soap residue behind, as it can cause wood staining.
Step 3: Disinfect
Mix a small amount of mild detergent in warm water and apply it to the seat using a soft sponge. Leave for 5 minutes before wiping off with a damp cloth. Using a clean, dry cloth, thoroughly dry the toilet seat. This will ensure no moisture is left behind and the wood won’t warp or crack.

Step 4: Polish
Apply a small amount of furniture polish to the seat using a soft cloth. This will restore the finish and prevent future damage from occurring. Be sure not to use too much, as it can cause staining or streaking on your toilet seat. Apply a small amount of mineral oil onto the wood using a soft cloth. This will help protect it from water damage and add shine to the surface.
Step 5: Wax
Apply a thin layer of beeswax onto the wood using a soft cloth. This will provide extra protection and also a pleasant smell. If there are any scratches or dents in your toilet seat, use a repair kit to fill them in. This will help protect the wood from further damage and make it look as good as new.
Now that you have finished cleaning and protecting your wooden toilet seat, enjoy the results of your hard work. Not only will it look great, but it will be much easier to keep clean in the future. Use a soft brush attachment on your vacuum cleaner regularly to remove dirt and dust from the surface of the toilet seat. This will help maintain its natural shine and prevent dirt build-up.
Precautions for How to Clean Wooden Toilet Seat
- Wear protective clothing such as gloves and masks when cleaning the wooden toilet seat. This will protect you from any bacteria or germs that may be present on the surface of the wood.
- Always test a small area before using any cleaner or solution for deep cleaning your wooden toilet seat. This will help ensure it won’t damage the wood’s finish or color.
- Use a damp cloth to wipe down your wooden toilet seat after every use. This will help maintain its cleanliness and prevent any dirt or grime buildup.
- When cleaning with a type of cleaner, make sure it is specifically meant for wood surfaces so as not to damage the finish or leave a residue.
- When deep cleaning your wooden toilet seat, gently scrub gently using a soft brush or sponge with small circular motions. This will help eliminate any stuck-on dirt or grime that may be present on the surface of the wood.
- Use only mild soaps and cleaners when cleaning your wooden toilet seat to avoid any damage to the wood’s finish or color.
- After cleaning, dry your wooden toilet seat with a clean, soft cloth for best results.

Additionally, it is important to regularly check your wooden toilet seat for any signs of warping or damage caused by moisture or water exposure. If you notice any such issues, it is best to replace the seat as soon as possible to prevent further damage.
How Can You Prevent Stains on the Wood Surface?
To keep your wooden toilet seat looking like new, it’s important to take proper care of it. Start by regularly wiping down the wood with a soft, dry cloth. This will help remove dirt and dust accumulating on its surface over time.
Additionally, you can use a gentle all-purpose cleaner to wipe away any stains on your wooden toilet seat. To further protect the wood, you can apply a sealant or varnish to the surface every few months. This will help keep dirt and moisture out while preventing fading or cracking of the wood.
When using any cleaning products on your wooden toilet seat, always test them in an inconspicuous spot first to ensure they won’t damage or discolor the wood. Also, remember to use a mild cleaner specifically designed for wooden surfaces. Strong chemicals like bleach could ruin your toilet seat instead of cleaning it.
Is There a Way to Remove Any Existing Stains?
There is a way to remove stains from your wooden toilet seat. You can start by using a soft cloth or brush to apply a gentle cleaning solution of warm water and mild soap.
Gently scrub the stained area with the cloth, ensuring not to use harsh chemicals that could damage the finish on your wooden toilet seat. If this doesn’t work, you can try a commercial cleaner designed for wood finishes. Test the cleaner on an inconspicuous area first, and follow the manufacturer’s instructions.

How Can You Maintain and Protect Your Wooden Toilet Seat?
To keep your wooden toilet seat looking new for years to come, it’s important to take preventative steps in maintenance. Use a protective mat or pad on the toilet seat to prevent scratches. Wipe the toilet seat with a soft cloth and a mild soap solution from warm water for daily maintenance.
Additionally, it’s important to periodically apply wood polish or wax to help protect your wooden toilet seat from moisture and dirt damage. Following these steps can keep your wooden toilet seat looking shiny and new for many years.
How Often Should You Clean Your Wooden Toilet Seat?
Cleaning your wooden toilet seat should be part of your regular cleaning routine. You should clean it at least once a week or more often if needed. This will help ensure that the wood stays in good condition and prevent any dirt and bacteria build-up on the surface.
Use a mild cleanser such as a bathroom cleaner or mild soap and water when cleaning. Use a soft cloth to wipe away dirt or grime, then rinse the cleanser with clean water. Dry the seat completely with a soft towel.
If stubborn dirt doesn’t come off, use a wooden toilet seat cleaner specifically for cleaning wood surfaces. This cleaner is formulated to keep the wood from getting scratched or damaged. Once you’ve cleaned your wooden toilet seat, wipe it down with a clean cloth before putting it back on the toilet.
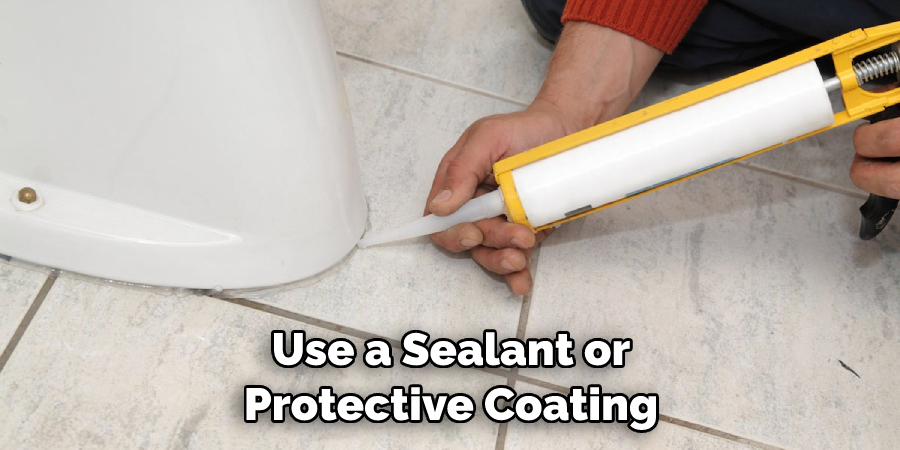
To further protect your wooden toilet seat and keep it looking its best, use a sealant or protective coating designed specifically for wood surfaces. This will help to protect the wood from damage caused by water and will also make it easier to keep it clean.

Conclusion
In conclusion, cleaning a wooden toilet seat effectively and efficiently keeps your bathroom hygienic. You can remove dirt, grime, and bacteria with the right materials and methods without damaging the wood surface. Begin by dusting off any debris with a soft cloth or duster. Then use warm water and mild soap to clean the wood gently but thoroughly.
To prevent future build-up, wipe down the seat with a wood cleaner or rub in some natural oil to protect it. Regular maintenance and cleaning ensure your wooden toilet seat can remain clean and safe for many years. I hope this article has been beneficial for learning how to clean wooden toilet seat. Make Sure the preventive measures are followed chronologically.

