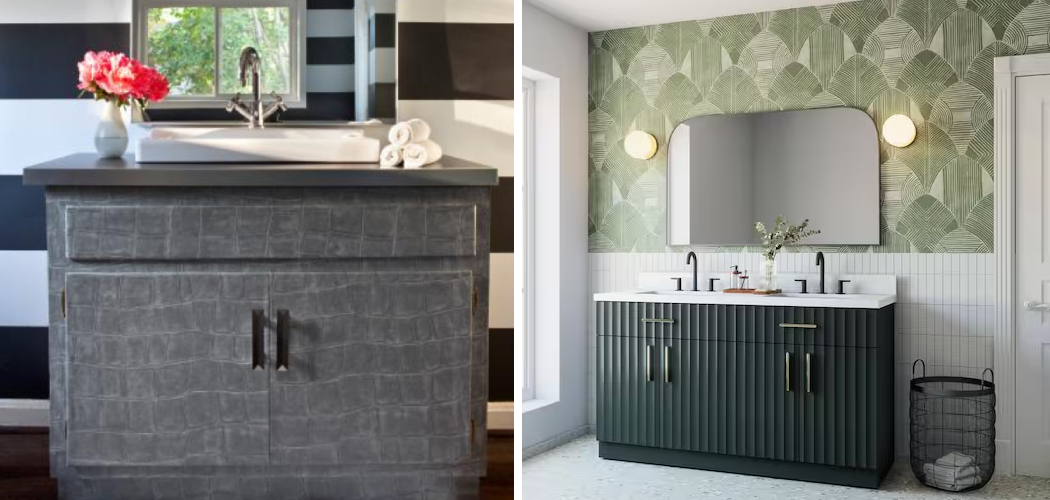
Sometimes a little makeover can go a long way when it comes to improving the look of your bathroom. A dated vanity can be an eyesore, but by taking on a DIY project you can easily give your vanity and bathroom an upgrade without having to purchase expensive new materials or fixtures.
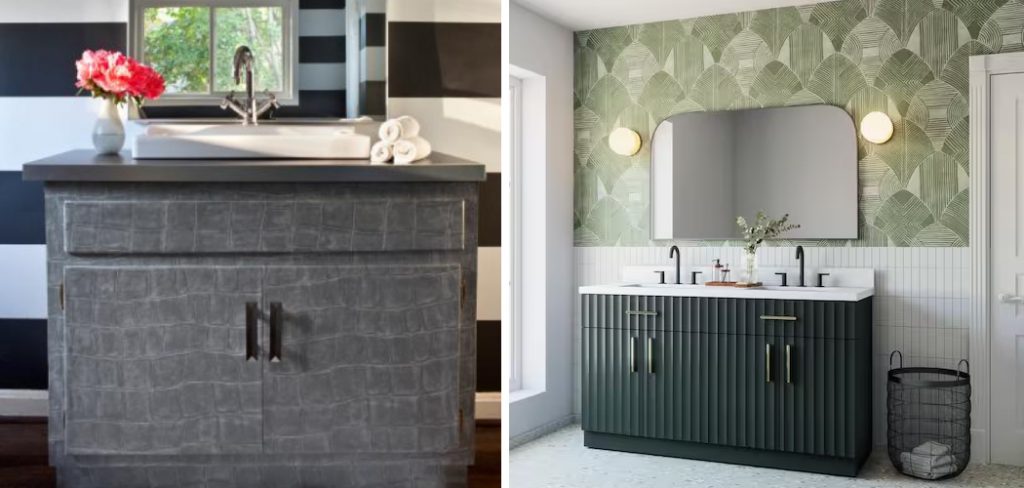
Here’s how to successfully update and transform your outdated bathroom vanity into something modern and aesthetically pleasing; all while staying within budget! Keep reading this article on how to update bathroom vanity for more great tips.
Advantages and Disadvantages
Given below are the advantages and disadvantages of updating your bathroom vanity.
Advantages:
- Easier Than Replacing a Vanity Altogether
- Potential to Add More Storage
- This Can Be Done on Any Budget
- Personalize the Look of Your Bathroom With Paint, Handles, and Fixtures
Disadvantages:
- Time-consuming
- Takes Up Space When Workspaces Are Limited
- May Not Be Able to Salvage Existing Vanity Depending on the Condition
10 Simple Step-by-step Guides on How to Update Bathroom Vanity
Step 1: Prepare the Vanity for Remodeling
Before you get started on any remodeling project, it’s essential to have a clean working area. To prepare your vanity for remodeling, start by removing any existing knobs or hardware. Then use a putty knife and scraper to remove any paint or sealant from the surface. Finish up with a light sanding of the entire vanity to create an even, smooth texture.
Step 2: Choose a New Color and Style
Now it’s time to decide on a new look for your vanity. You can choose from a variety of colors and styles to match your bathroom decor. If you’re feeling daring, try a bright hue like teal or yellow for a fun pop of color. For a more classic look, go with white and add complementary details such as gold knobs or an intricate patterned backsplash.
Step 3: Apply Primer
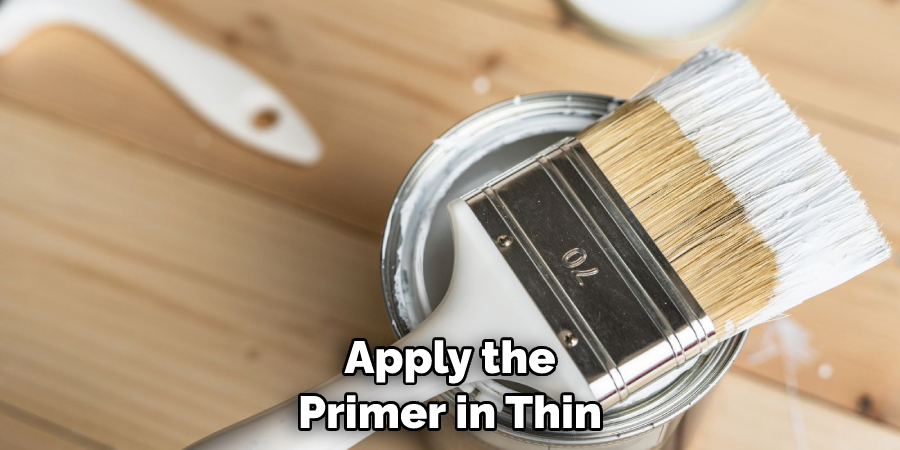
Once you have chosen your new paint color and style, it’s time to apply the primer. To ensure a proper bond between the paint and the surface, use a quality bonding primer suitable for your vanity material. Apply the primer in thin, even coats with a brush or roller. It’s important to give the primer time to dry before moving on to the next step. It’s also a good idea to sand the surface lightly between coats for a smooth finish.
Step 4: Paint the Base
Now it’s time to paint! Start by painting the base of your vanity with the desired color. Use a brush and roller to apply the paint in thin, even coats. Allow each coat to dry completely before applying the next layer. This will ensure a smooth, even finish. But before you move on to the next step, make sure to wait a few days after painting for the paint to fully cure. It’s important to give the paint time to harden so it won’t chip or peel.
Step 5: Paint the Doors and Drawers
Once you’ve completed painting the base, move on to painting the doors and drawers of your vanity. To achieve a professional finish, use a high-quality paintbrush and take your time when painting these smaller components. You may also want to use a spray gun for larger areas like the doors and drawers, as this will help you achieve even coverage. It’s important to wait several days after painting the doors and drawers for the paint to fully dry and cure.
Step 6: Add New Knobs and Fixtures
Now that you have completed the painting process, it’s time to add new knobs or fixtures. Choose from a variety of styles and colors to create the perfect look for your vanity. It’s important to measure carefully and make sure the new knobs fit perfectly before installing them. It’s also important to use the correct hardware when installing knobs or fixtures. This will help ensure that they are securely attached and won’t come loose.

Step 7: Install a New Countertop
To really give your vanity an upgrade, consider replacing the existing countertop with a new one. Choose from natural stone, quartz, or even engineered wood for a fresh and modern look. Once you’ve chosen your desired material, have it professionally installed for the best results. But before you install the new countertop, make sure to measure carefully and ensure a perfect fit. This will help prevent any gaps or uneven lines.
Step 8: Add New Hardware
Adding new hardware is an easy way to change the look of your vanity. Choose from a variety of styles and finishes such as brass, chrome, or brushed nickel. These small details can go a long way in creating the perfect finished look for your vanity. It’s also important to use the correct size and type of screws when installing new hardware. Although it may seem like a small step, adding new hardware can really make a big impact!
Step 9: Install Backsplash
A backsplash can be a great way to add texture and interest to your vanity. Choose from a variety of materials to create the perfect look for your bathroom. From sleek glass tiles to colorful ceramic, there are plenty of options when it comes to creating the perfect backsplash for your vanity! You can also install the backsplash yourself, or hire a professional for the best results.

However you choose to install it, adding a backsplash is sure to make your vanity look brand new.
Step 10: Make Final Touches
Once you’ve completed all the major steps, it’s time to make the final touches. Add a few small details such as towel bars, sconces, or shelves to create the perfect home spa experience. With a few simple changes and additions, your outdated vanity can be transformed into something completely different! Always remember to double-check measurements and use the correct hardware when making additions or changes.
Following these steps on how to update bathroom vanity will give you a beautiful new vanity that will be the envy of all your friends! Get creative and have fun with it. With just a bit of effort, you can easily update your bathroom vanity with minimal cost. Good luck and happy remodeling!
Do You Need to Hire Professionals?
If you’re worried about your remodeling skills, there’s no need to worry. You can hire professionals to help with the job from start to finish. Professional contractors and carpenters have the skills and experience necessary to get the job done right. They can also give you advice on materials and styles that best suit your needs. Hiring a professional to update your bathroom vanity is a great way to ensure that the job will be done with precision and skill.
How Much Will It Cost?
The cost of updating your bathroom vanity will depend on the materials you choose and how much work is required. Replacement countertops, knobs, fixtures, and other hardware can vary greatly in price depending on quality and size. Additionally, if you plan to hire a professional to install any of these items, that too will add to the total cost. However, with careful planning and budgeting, it is possible to find materials that will fit your desired look while also staying within your budget.
Frequently Asked Questions
Q: What Type of Paint Should I Use to Update My Bathroom Vanity?
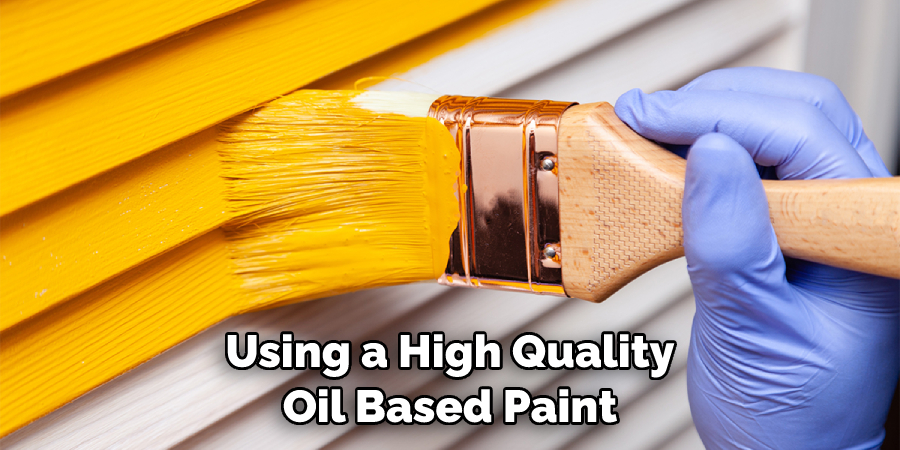
A: For best results, we recommend using a high-quality latex or oil-based paint on your vanity. This will ensure even coverage and durability over time. It is important to apply the paint in thin, even coats and allow each layer to dry completely before adding the next.
Q: How Can I Update My Vanity Without Replacing the Countertop?
A: If you don’t want to replace the countertop, there are still several ways to update your vanity. Consider adding a backsplash for texture and interest or installing a new hardware such as drawer pulls and knobs. You can also paint the vanity in a new color to completely transform its look.
Q: What Type of Material Is Best for Updating My Bathroom Vanity?
A: The type of material you choose will depend on your budget and style preference. Popular materials include natural stone, quartz, engineered wood, and laminate. Each material has its own advantages and disadvantages, so it is important to research and weigh your options before making a final decision.
Q: How Long Will It Take to Update My Bathroom Vanity?
A: The amount of time required to complete the project will depend on the materials you choose and the complexity of the work. Generally, it can take anywhere from several hours up to several days to update a bathroom vanity depending on the size and scope of the project. It is important to take your time and work carefully to ensure quality results.
Conclusion
With a few simple steps and tools, anyone can update their bathroom vanity in an afternoon, leaving them to admire the upgraded cabinetry for years to come.
Furthermore, if you are considering replacing your existing vanity rather than updating it, consider the environmental and economic benefits of simply refurbishing your old cabinet. Whether you prefer a modernized look or a makeover with rustic charm, make sure to keep these considerations in mind as you tackle your next project.
With the right approach and attitude, no updating project is too daunting. So get out there and start giving your bathroom vanity the upgrade it deserves! Thanks for reading this article on how to update bathroom vanity.

