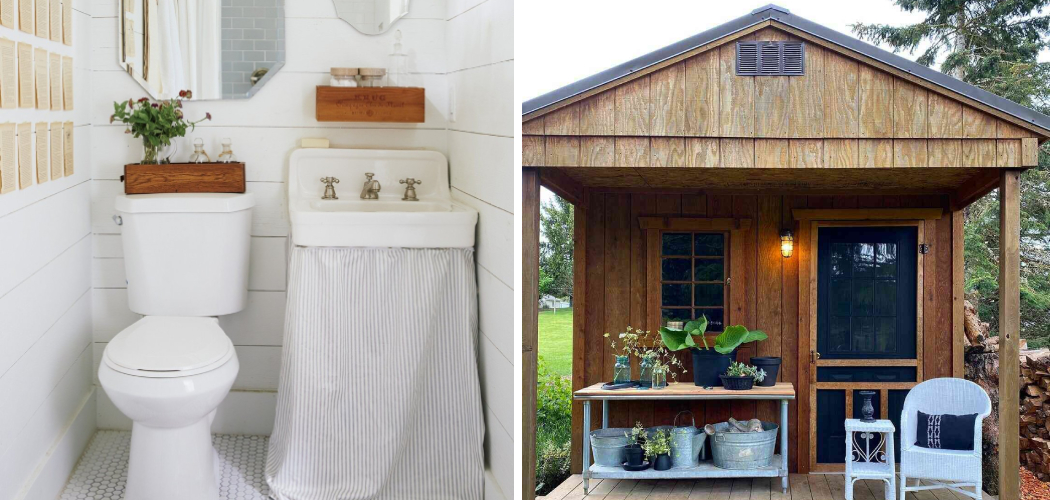
Are you dreaming of having the perfect outdoor relaxation space? It can be difficult to find time to truly relax and unwind these days, so why not make your own happy place by installing a bathroom in your shed?
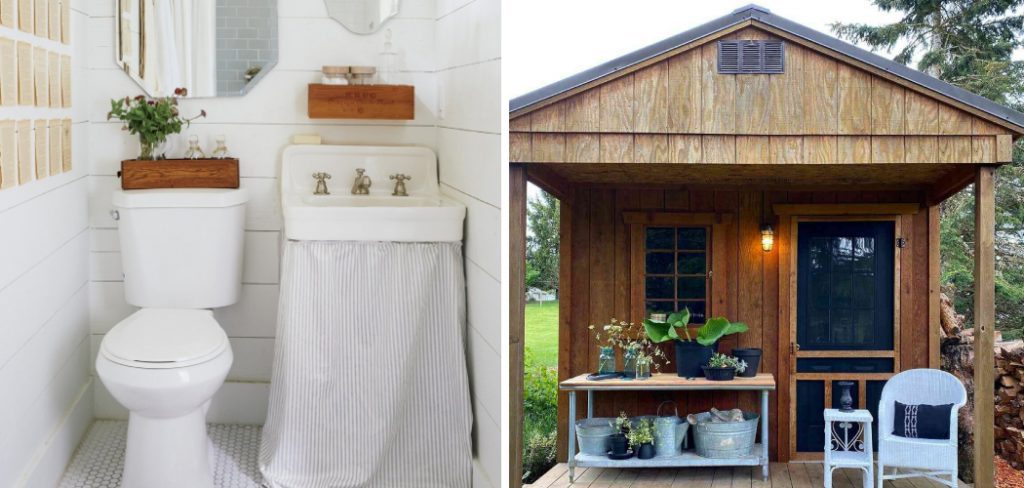
Installing a bathroom in your shed gives you the comforts of home while still allowing you to enjoy some fresh air and get away from the bustle of everyday life. If DIY projects interest you or if this is all new territory for you, we’ve got everything that you need to know about putting together a functional bathroom in a shed.
In this blog post on how to put a bathroom in a shed, we’ll cover what type of materials are necessary, how much it will cost, and various tips to ensure that everything goes smoothly throughout the installation process. So let’s get started–you’ll be taking baths in no time!
Needed Tools and Materials
Given below is a list of materials and tools you’ll need to turn your shed into the perfect bathroom oasis:
- A Sink, Shower, and/or Toilet
- Pvc Pipe and Connectors
- Electrical Wiring and Conduit
- Waterproofing Material (Sealant or Tar)
- Plumbing Fixtures (Showerhead, Faucets, Etc.)
- Drywall and/or Insulation
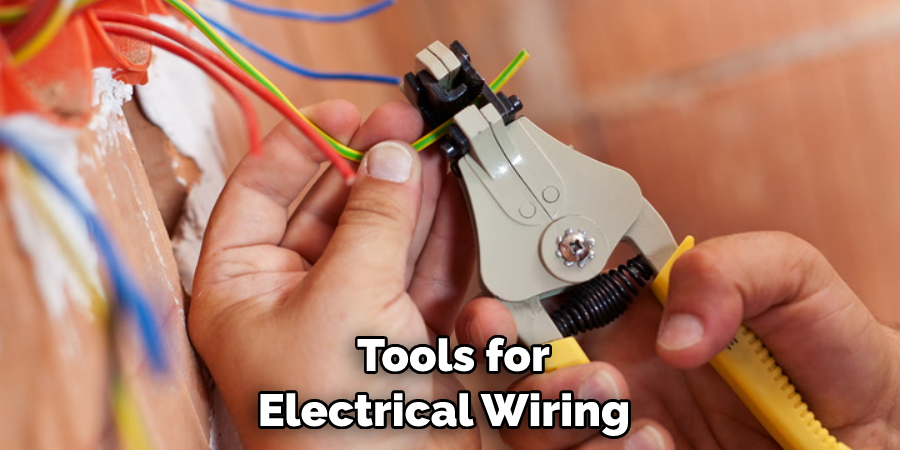
- Tools for Electrical Wiring, Plumbing, and Construction
11 Step-by-step Guides on How to Put a Bathroom in a Shed
Step 1: Plan and Prepare
Before you start any DIY project, it’s important to have a plan. Think about what type of fixtures you want in your bathroom (shower, toilet, sink), and make sure that the space is large enough for all of them. You should also take measurements of the area to ensure that all of your materials will fit. But most importantly, you’ll need to make sure that the space is safe and secure–you don’t want any water or electrical leaks!
Step 2: Install Electrical Wiring
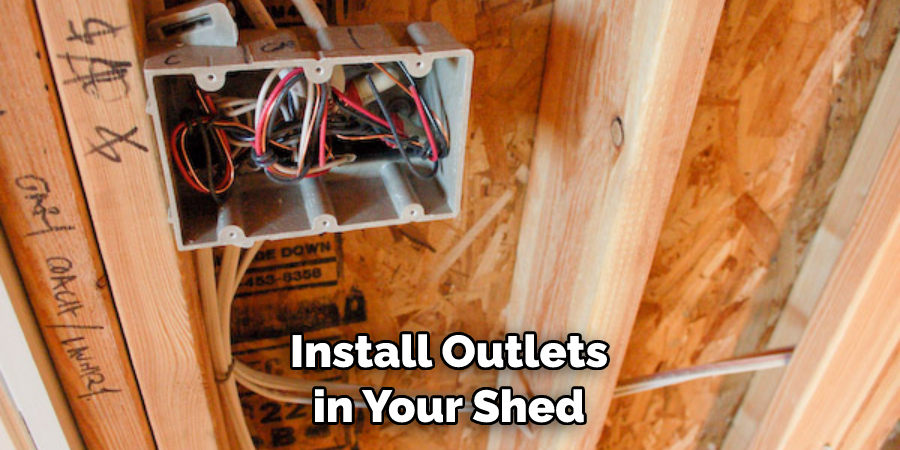
Any time you are dealing with electricity, safety should be your top priority. Make sure that any electrical wiring is installed according to local codes and regulations. If you don’t feel comfortable doing the work yourself, hire an electrician to help. It’s always better to be safe than sorry. This is also when you’ll need to install outlets in your shed for any appliances you may want to use.
Step 3: Install Plumbing Fixtures
You’ll need to install plumbing fixtures such as a sink, shower, and/or toilet. This will require careful planning, as you’ll need to make sure that the pipes run properly between all of the fixtures.
But don’t forget to waterproof all of the connections! PVC pipes are a great option, as they are easy to install and relatively inexpensive. It’s important to make sure that all of your plumbing is up to code, so be sure to check with local regulations before proceeding.
Step 4: Hire a Professional
If you don’t feel comfortable doing any of the work yourself, it’s a good idea to hire a professional. Make sure that you get quotes from multiple contractors so that you can get the best possible deal. You may even want to get references from people who have used the contractor in the past. This will help you make sure that you’re getting quality workmanship at a fair price.
Step 5: Install Insulation and Drywall
Once all of your plumbing and electrical work is done, it’s time to insulate and drywall the bathroom. Make sure that all of the insulation is properly installed to ensure that no cold air or moisture can get in. Otherwise, you could have problems with mold and mildew.
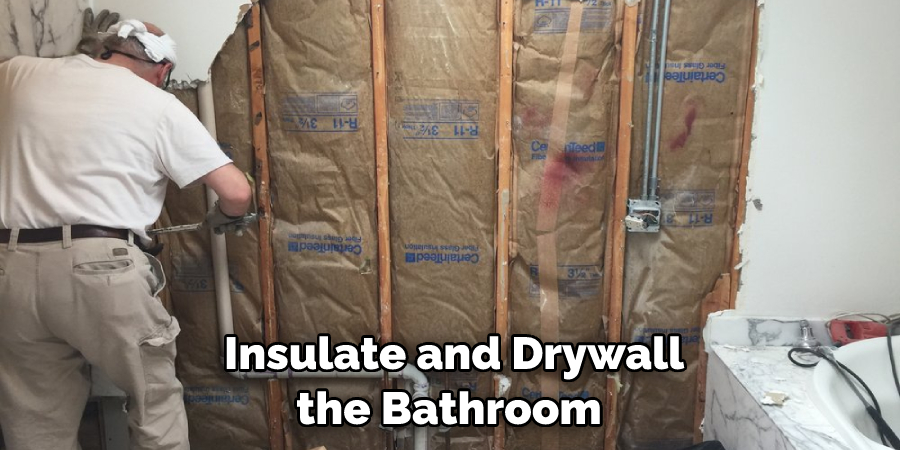
Drywall is a great option for walls and ceilings, as it looks nice and is relatively inexpensive. When installing drywall, make sure that you use screws instead of nails to ensure that the wall will stay in place.
Step 6: Install Waterproofing Material
A wet area such as a bathroom needs to be properly waterproofed in order to prevent mold and mildew from taking root. Make sure that you use a good quality sealant or tar around all of the fixtures in order to keep water from seeping through. You can also install a waterproof membrane on the floor and walls of your bathroom to make sure that everything stays dry.
Step 7: Install Plumbing Fixtures
Once all of the electrical and plumbing work is done, it’s time to install the fixtures themselves. Make sure that you follow the manufacturer’s instructions carefully in order to ensure that everything will fit properly and function correctly. You may also want to enlist the help of a professional plumber for this part, just to make sure that everything is installed properly.
Step 8: Test and Troubleshoot
Once all of the fixtures are installed, it’s time to test them out. Make sure that everything is running correctly and there are no leaks or other issues. This is also a good time to fix any minor problems such as loose connections or faulty wiring. If you’re having any trouble, don’t hesitate to enlist the help of a professional.
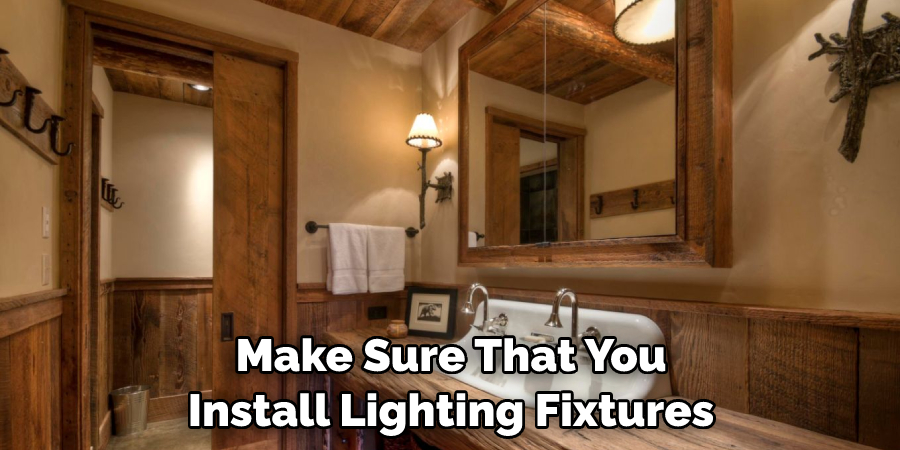
Step 9: Install Lighting
Lighting can make a big difference in the atmosphere of your bathroom. Make sure that you install lighting fixtures that are appropriate for the area and will provide enough light to see what you’re doing. But make sure that you don’t go overboard, as too much light can be overstimulating.
Step 10: Add Decorations
Your bathroom is almost ready! Now it’s time to add the finishing touches, such as towels, rugs, and other decorations. This is your chance to make the space truly yours and give it a personal touch. However, make sure that you don’t use anything too bulky or fragile in the bathroom, as it could get damaged by water or steam.
Step 11: Enjoy Your New Space
Congratulations! You’ve done it – you have successfully put together a functional bathroom in your shed. Now it’s time to enjoy your new oasis and the serenity that comes with having your own outdoor bathroom. Always remember to keep it clean and well-maintained, so that you can continue to enjoy your space for years to come!
Following these 11 steps on how to put a bathroom in a shed, you can easily put a bathroom in your shed and create a peaceful getaway. Whether you choose to make the bathroom rustic or modern, adding it to your home will be an amazing improvement that you’ll love.
Additional Tips
- Make Sure to Get the Necessary Permits and Follow All Local Codes and Regulations When Putting Together Your Bathroom.
- If You’re Not Comfortable Doing All of the Work Yourself, Hire a Professional to Help With Parts That Are Out of Your Comfort Zone.
- Don’t Forget to Add Some Decorations! Even a Simple Addition Like a Vase of Flowers or a Scented Candle Can Make a Big Difference in the Atmosphere of Your New Space.
- Have Fun! Installing a Bathroom in Your Shed is a Great Way to Give Yourself Some Extra Relaxation Time and Create the Perfect Outdoor Getaway.
Now that you’ve got all the information you need about how to put a bathroom in a shed, it’s time to get started. With a little preparation and planning, you’ll have your own outdoor oasis in no time!
If you need more help throughout the process, there are plenty of resources online or you can even hire a professional if necessary. Good luck with your project – enjoy your new bathroom!
Frequently Asked Questions
Q: What Type of Materials Do I Need to Install a Bathroom in My Shed?
A: The materials needed to install a bathroom in a shed include plumbing fixtures such as a sink, shower, and/or toilet; PVC pipe and connectors; electrical wiring and conduit; waterproofing material; drywall and/or insulation; and tools for electrical wiring, plumbing, and construction.
Q: How Long Does It Take to Put a Bathroom in a Shed?
A: It depends on the size of the bathroom and your skill level. In general, an experienced DIYer should be able to finish this project within a few days. If you’re not as confident about your abilities or if you’re working with a larger bathroom, it may take longer.
Q: How Much Does It Cost to Put a Bathroom in a Shed?
A: The cost of adding a bathroom to your shed can vary greatly depending on the size of the bathroom and the materials used. As a rough estimate, plan for at least $500 for materials, plus any additional costs for labor if you choose to hire a professional.
Q: Do I Need a Building Permit to Put a Bathroom in My Shed?
A: Yes, depending on where you live you may need to obtain a building permit before starting your project. Check with your local authorities for more information.
Conclusion
In conclusion on how to put a bathroom in a shed, putting a bathroom in a shed is an ideal way to add value and functionality to your space. With the right preparation and the proper materials, anyone can transform their shed into a convenient full-service bathroom.
With careful planning and consideration, it will ensure that the project runs as smoothly as possible and produces great results. When you finish, you can sit back and relax in your newly renovated space, eliminating the need to leave your backyard oasis for basic necessities. Put a bathroom in your shed today and enjoy all the benefits of being able to stay in one place even while going about your daily routines.

