Do you have old, cracked, or stained caulking around your bathroom tiles? Nothing can make a bathroom look old and dingy faster than old, stubborn caulking. Over time, caulk can deteriorate due to moisture and mold.
Recaulking bathroom tiles is a relatively simple DIY project that can make a big difference in improving the look of your bathroom. In this blog post, we’ll show you how to recaulk bathroom tile easily and effectively.
Can You Recaulk the Bathroom Tile?
Bathrooms can take a real beating – especially regarding the tile. Hard water and years of use can make your bathroom dingy and tired. Fortunately, you don’t have to live with a bathroom that looks past its prime. By re-caulking the tile, you can give any bathroom a fresh, clean look that will last for years. But before you jump in, there are a few things to consider.
First, you’ll need to remove the old caulk, which can be messy and time-consuming. You’ll also need to ensure the new caulk is applied correctly, or you could be looking at leaks and water damage down the road. With a little patience and attention to detail, however, the process is simpler than you might think – and the results are well worth the effort.
Why Should You Recaulk Bathroom Tile?
If you’re a homeowner, you know maintenance is key to keeping your space in top shape. One area that often gets overlooked, however, is the bathroom. Specifically, the caulking around your shower or bathtub tile. You might be wondering: why bother? Well, for starters, old caulking can create the perfect environment for mold and mildew growth, which can be harmful to your health and difficult to remove.
Additionally, a fresh layer of caulk can help seal any gaps or cracks that may have formed over time, preventing water damage and ensuring a longer lifespan for your tile. So, if you want to keep your bathroom looking and feeling as good as new, it’s worth taking the time to recaulk those tiles.
How to Recaulk Bathroom Tile for a Fresh, Clean Look
1. Gather Your Materials
Before getting started, you’ll need to gather some materials. You’ll need a tube of caulk, a caulk gun, a utility knife or razor blade, a plastic scraper or putty knife, and some painter’s tape. Additionally, you may want to wear latex gloves and eye protection to protect your skin and eyes.
2. Remove Old Caulk
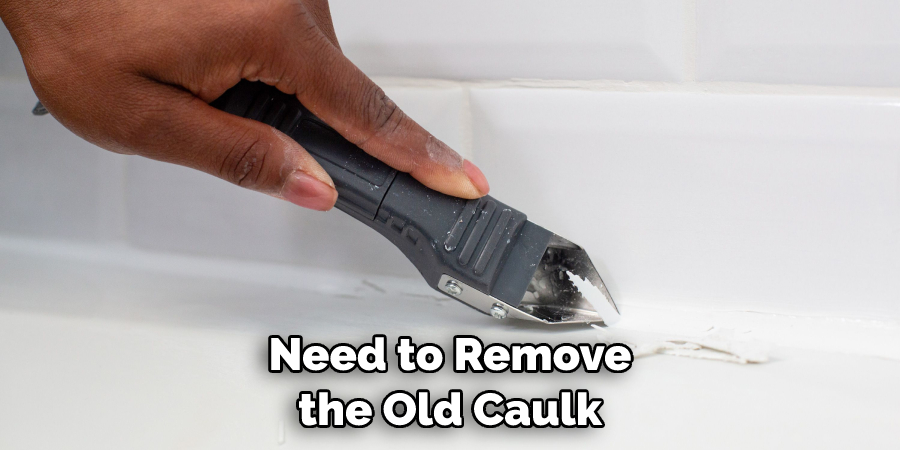
The first step is to remove old caulk. Using a utility knife or razor blade, slice along the edges of the caulk, trying to peel the strip off in one go. If the old caulk isn’t coming off easily, use a plastic scraper or putty knife. Be careful not to scratch the tiles with sharp tools. Remove as much of the old caulk as possible.
3. Clean the Area
After the old caulk is removed, thoroughly clean the area with a mildew cleaner to remove any remaining dirt, caulk, or grime. Once the area is clean, rinse with water and dry with a clean towel.
4. Apply New Caulk
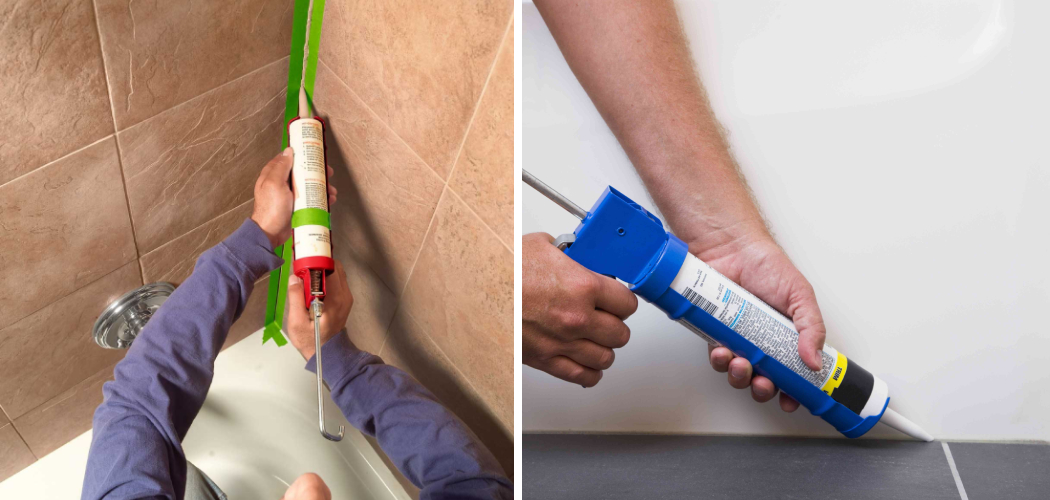
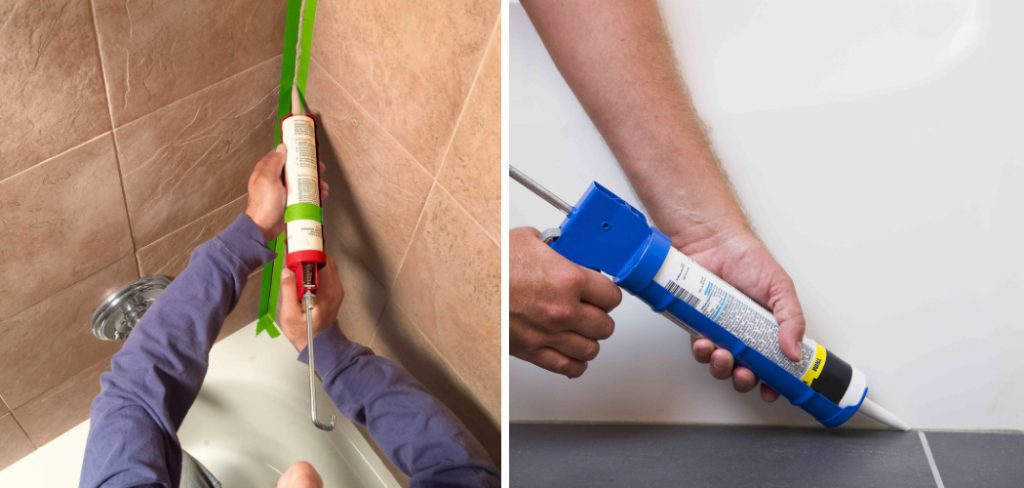
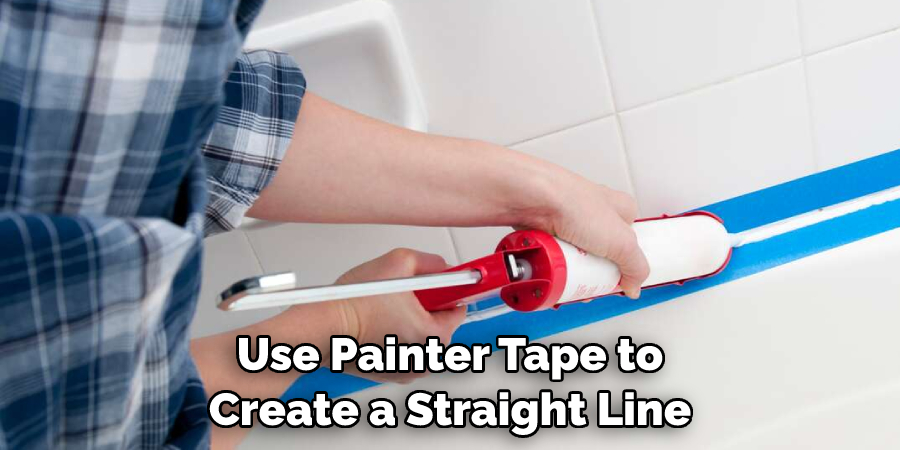
After cleaning and drying the area, you’re ready to apply the new caulk. Load the caulk gun and apply a smooth and even layer of caulk along the seam between the tile and the bathtub or sink. Hold the gun at a 45-degree angle and apply a steady stream of caulk without stopping. Use painter’s tape to create a straight line and keep the caulk looking neat and clean.
5. Smooth the Caulk
Once you’ve applied the caulk, use a dampened paper towel to smooth and shape the line. Smooth the caulk in one direction, straightening any rough or jagged areas. After you’ve smoothed the caulk, wait for it to set according to the manufacturer’s instructions before using the bathtub or sink.
6. Allow the Caulk to Cure
Once you’ve applied the caulk, it’s important to allow it to cure properly. Generally, this takes anywhere from 24-48 hours. During this time, try not to use the area where you’ve applied the caulk, as this could cause damage or compromise its adhesion.
7. Finish Up
After the caulk has cured, it’s time to finish up. Clean up any excess caulk and remove the painter’s tape. To maintain your new caulking job, regularly check for signs of wear or deterioration and reapply caulk as needed. With regular care and maintenance, you should be able to keep your bathroom tile looking fresh and clean for years to come!
That’s it! You’ve now learned how to recaulk bathroom tile. With a few simple tools and materials, you can make your bathrooms look brand new quickly! It’s important to remember that regular maintenance is key for keeping your tiled surfaces looking great.
Be sure to regularly check for signs of wear or deterioration and reapply caulk when needed. You should also clean the area with a mildew cleaner every few months to maintain a sanitary and healthy environment. With regular care, you’ll be able to keep your bathroom tile looking great for many years!
5 Considerations Things When You Need to Recaulk Bathroom Tile
1. Materials Needed
When recaulking bathroom tile, it is important to ensure you have all the necessary materials. This includes a caulk gun, caulk remover, painter’s tape, a utility knife, and a damp rag. Additionally, you must ensure you have the right type of caulk for your particular application. Different types of caulk are available for specific tasks, such as waterproofing or mildew resistance.
2. Clean the Area
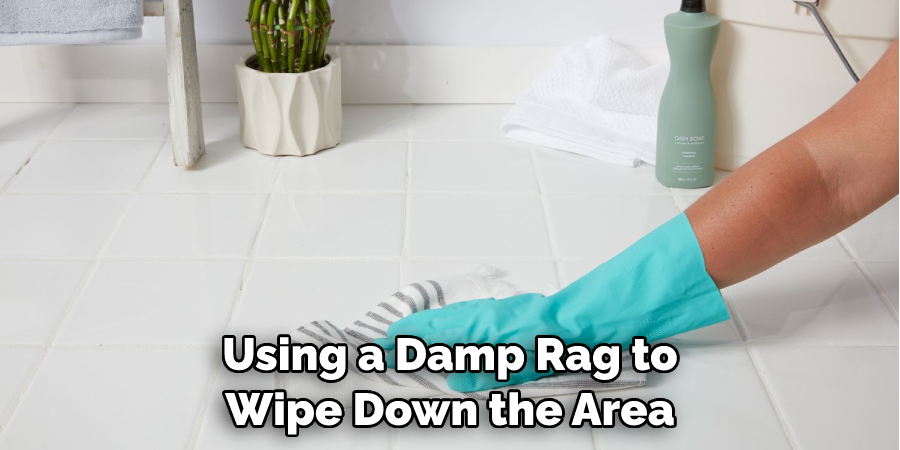
Before applying new caulk, you need to ensure the area is clean and free from dirt and debris. This can be done by using a damp rag to wipe down the area and remove any dirt or grime that may be present. It is also important to remove any old caulk that may still be present to ensure that the new caulk adheres properly.
3. Apply Painter’s Tape
Once the area has been cleaned, it is important to apply painter’s tape around the edges of the tile where you will be applying new caulk. This will help ensure that your lines are even and straight when applying the new caulk and will also help keep your lines neat once applied.
4. Cut Nozzle Tip at an Angle
Before applying new caulk, it is important to cut off the nozzle tip of your caulking gun at an angle so that it creates a thin line when squeezed out of the tube. This will help ensure that your lines are even and straight when applying new caulk and will also help prevent excess mess from occurring once it has been applied.
5. Apply Evenly & Smooth Out
Once you have cut off the nozzle tip of your caulking gun at an angle and filled in all of your gaps with new caulk, it is important to use a damp rag or finger to smooth out any bumps or ridges to create an even surface before allowing it time to dry completely.
Benefits of Recaulk Bathroom Tile
Recaulking your bathroom tile might seem tedious, but the benefits are worth the effort. Not only does it improve the overall appearance of your bathroom, but it also helps prevent water damage and mold growth. Cracks and gaps in old caulking can allow water to seep behind the tiles, causing damage and creating a breeding ground for mold.
By recaulking, you can ensure that your bathroom stays dry and mold-free. It can save you money in the long run by preventing costly repairs. So, take the time to recaulk your bathroom tile and enjoy a beautiful and healthy bathroom.
Some Common Mistakes People Make When Trying to Recaulk Bathroom Tile
Maintaining a clean and pristine bathroom is a crucial aspect of home maintenance, and recaulking bathroom tiles is vital. However, people often make mistakes while recaulking, leading to water damage, mold growth, and unsightly cracks. One of the most common mistakes is not preparing the surface properly before starting the process.
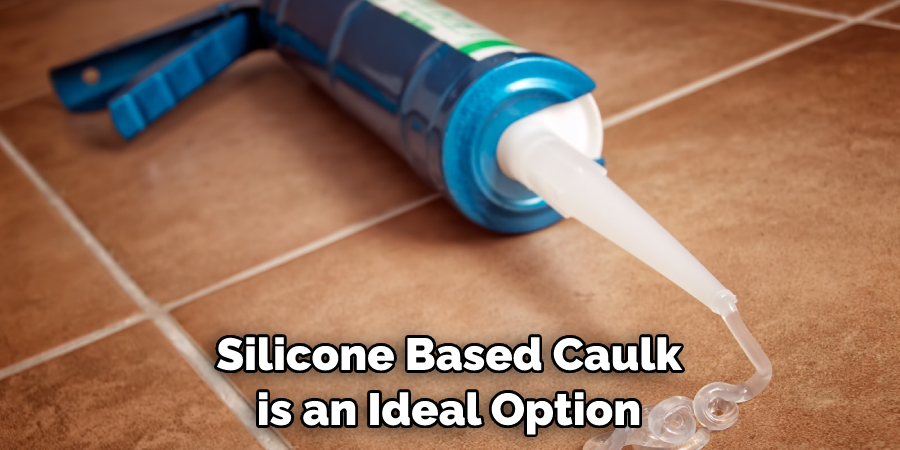
Failure to remove the old caulk, dirt, and grime can cause the new caulk to peel off quickly. Another mistake is using the wrong type of caulk. Silicone-based caulk is an ideal option as it is waterproof and durable, but latex-based caulk can crack and shrink when exposed to moisture.
Additionally, people make common mistakes by applying too much or too little caulk, not smoothing out the caulk properly, or not allowing enough time to dry. By avoiding these mistakes, you can ensure a safe and durable recaulking of bathroom tiles guaranteed to last for years.
Conclusion
Recaulking your bathroom tiles is a simple DIY project to make your bathroom look brand new. Following these easy steps, you can remove old and damaged caulk and install new and fresh caulk. Remember to wear gloves and eye protection, and allow ample caulk to dry before using the bathtub or sink. So, make your bathroom shine with some hard work and some new caulk! Thanks for reading our post about how to recaulk bathroom tile.

