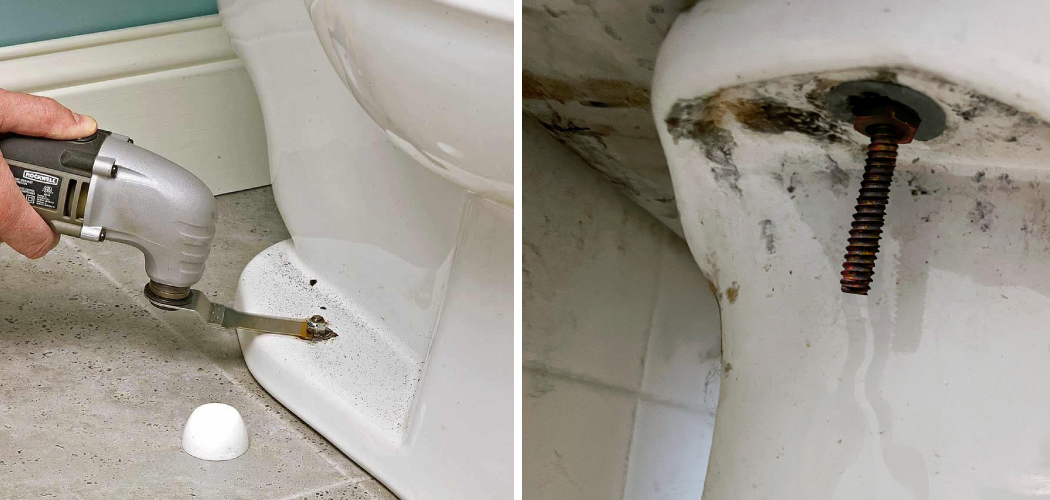
Are you trying to remove rusted toilet tank bolts and don’t know how? It can be a difficult task, but with the right tools and steps, you can do it.
When it comes to dealing with rust, toilet tank bolts are one of the most commonly found parts in a home that can be challenging. While rusted toilet tank bolts may appear daunting and difficult to replace, there is no need to fear—with the right tools, you can easily take care of this issue and have your bathroom looking new again.
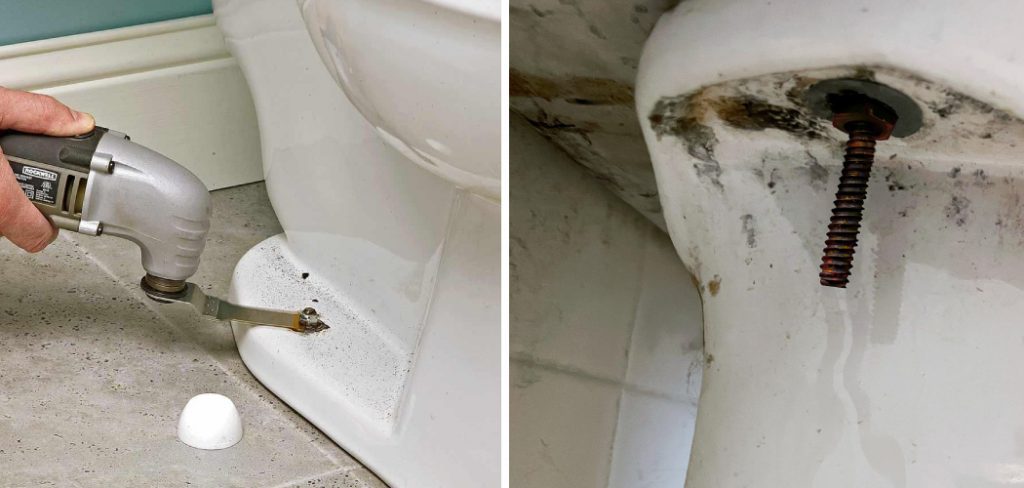
This article will provide you with step-by-step instructions for removing rusted out toilet tank bolts so that you can give your bathroom an instant update without having to hire out professional services.
Read on for our top tips on how to remove rusted toilet tank bolts in no time!
What Will You Need?
To remove rusted out toilet tank bolts, you will need the following items:
- WD-40
- Pliers or vise grips
- Rust converter
- Screwdriver
- Hammer
Once you have gathered the necessary supplies, it’s time to get started.
10 Easy Steps on How to Remove Rusted Toilet Tank Bolts
Step 1: Spray on WD-40
Spray some WD-40 onto the rusted out bolts to help loosen them. Allow the WD-40 to work for a few minutes before moving on to Step 2. If the bolts are very stubborn, you may need to spray on more WD-40 and wait a little longer.
Step 2: Use Pliers or Vise Grips
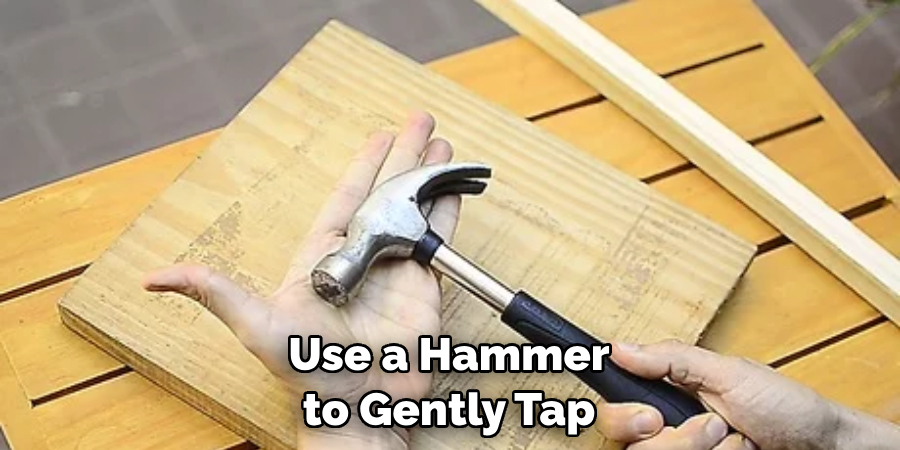
Gently grab the rusted out bolts with either a pair of pliers or vise grips. Try to get as much grip on them as possible and twist back and forth lightly in order to loosen them up. You can also use a hammer to gently tap the pliers or vise grips onto the bolts for extra leverage.
Step 3: Apply Rust Converter
If you are still having difficulty loosening the rusted out bolts, apply a little rust converter to the area. This will help break down some of the rust and make it easier to remove the bolts. Don’t forget to wear gloves and other protective gear when applying the rust converter.
Step 4: Use a Screwdriver
Insert a screwdriver into one of the holes on either side of the rusted bolt and turn in order to loosen it further. Make sure you are using a screwdriver the same size as the hole in which the bolt sits. Otherwise, you could damage the hole and make it harder to remove the rusty bolt.
Step 5: Use a Hammer
If all else fails, grab a hammer and gently tap around the edges of the rusted bolt to try and loosen it up. Don’t hit too hard, or you could break the tank! Additionally, try to use a rubber or plastic hammer rather than a metal one. Repeat steps 1-5 for the other bolt. Ensure you are careful not to damage either of them as you go.
Step 6: Remove Bolts and Washer
Once both bolts have been loosened up, remove them along with the washer that sits between them. Use pliers or vise grips to take out the bolts and washer carefully. It will be easier if someone else holds the tank in place while you do this.
Step 7: Clean the Area
Once the bolts and washer have been removed, clean the area with a cloth to remove any residual rust. Try to get rid of as much rust as possible, as this will prevent further damage in the future. Moreover, it is a good idea to put some rust-proofing spray in the holes where the bolts used to be in order to prevent further corrosion.
Step 8: Apply New Washer
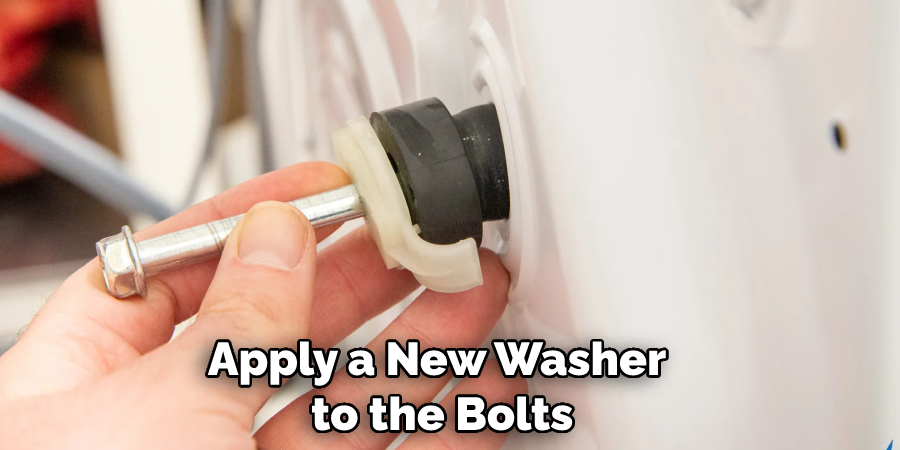
Apply a new washer to the bolts and then screw them back into place. Make sure the washer is fully seated before tightening. Because the washer helps create a seal, it is important to ensure it is completely secure.
Step 9: Test It Out
Once both bolts are tightened down, test out how well they’ve been secured by tugging on the toilet tank gently. If there is no movement, you know that the bolts have been properly installed! Ensure the tank is completely secure before using it for any other purpose.
Step 10: Enjoy!
Finally, you can sit back and enjoy the satisfaction of having successfully removed and replaced those rusted out toilet tank bolts! With these simple steps, you can be sure your toilet will stay securely in place for years. Be sure to follow all of the instructions carefully in order to ensure a safe and successful outcome!
By following these easy steps, you can easily remove and replace rusted toilet tank bolts. This is a relatively simple task that any homeowner can complete with the right tools and some patience. Just make sure to wear protective gear when dealing with rust or other chemicals, as they can be hazardous to your health!
5 Additional Tips and Tricks
1. To loosen a rusted toilet tank bolt, use penetrating oil. Apply it liberally to the rust and wait 15 minutes before attempting to unscrew the bolts.
2. Make sure that your wrench is securely attached to the bolt head before you attempt to turn it, as this will eliminate any possibility of stripping it.
3. If the bolt still doesn’t budge, try tapping gently on its top with a hammer or mallet. This may help break up some of the corrosion and make turning easier.
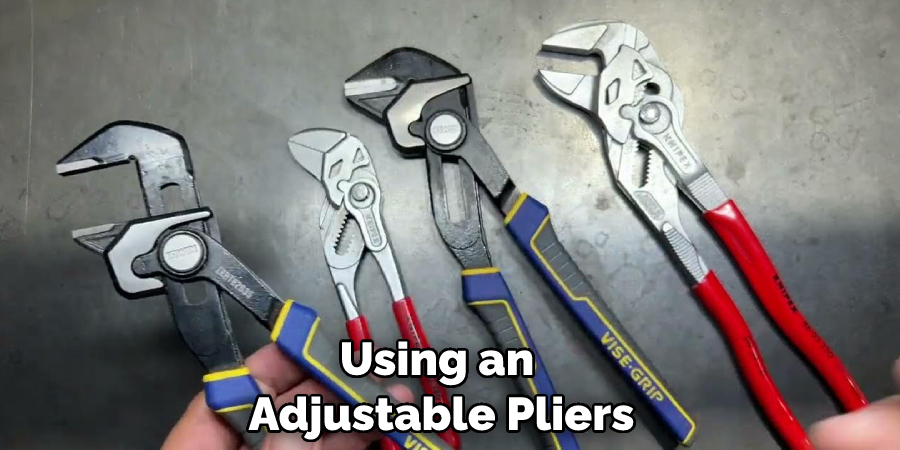
4. If you can’t get enough purchase on the bolt head itself, try using an adjustable pliers as an alternative for additional torque, but ensure that you don’t apply too much force.
5. If all else fails, it may be necessary to use a power drill and remove the bolt head by drilling through it. Make sure that you wear safety goggles when doing this, as small metal fragments can fly off during the drilling process.
Once you have removed the rusted toilet tank bolts, make sure to inspect them closely for any signs of wear or damage. If they are still in good condition, reinstall them using new washers and nuts, so your toilet is securely held in place. Taking these extra steps will ensure that your toilet tank remains firmly fixed and reduce the possibility of future problems.
5 Things You Should Avoid
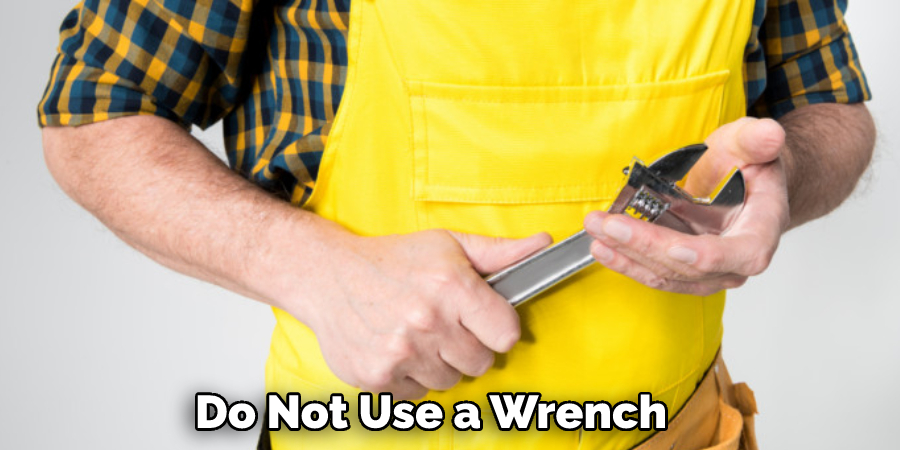
1. Do not use a wrench or other metal item to try and unscrew the bolts. This can damage the tank and make the bolts even more difficult to remove.
2. Trying to force it out with brute strength should be avoided as well – this is likely to do more harm than good in the form of either damaging the toilet or not actually being able to get the bolts out at all.
3. When attempting to loosen rusted toilet tank bolts, don’t use too much pressure as this could strip them completely, making them impossible to remove without breaking apart the entire tank.
4. Avoid using strong chemicals such as muriatic acid – these are highly corrosive and may cause further damage if used incorrectly.
5. Don’t attempt to use an angle grinder – this should be a last resort, as it can potentially cause more problems than solutions when removing rusted toilet tank bolts.
If you find yourself in the situation of needing to remove rusted toilet tank bolts, take your time and avoid any of the above mentioned methods. There are several ways to remove them with minimal effort and risk of damage safely. Look out for our next article, which will cover how to do just that!
Is It Safe to Use Wd40 in Toilet Tank?
When it comes to removing rusted toilet tank bolts, WD40 can be a great tool. It effectively loosens and breaks up rust buildup, making unscrewing the bolts easier.
However, it should be noted that WD40 is flammable, so you should take extra care when working with it around your toilet and make sure there are no open flames or sources of sparks nearby.
Additionally, avoid using WD40 near any electrical wiring, as this could create a dangerous situation. In general, it is best not to use WD40 in your toilet tank unless absolutely necessary. Always exercise caution when dealing with chemicals and flammable liquids – safety first!
Conclusion
Overall, dealing with rusted toilet tank bolts can be a difficult and tedious process, but following the steps outlined in this blog post will help you successfully remove your rusted toilet tank bolts. It may take multiple attempts and time, but remembering to use a lubricant such as WD-40 or Liquid Wrench and taking all necessary safety precautions can certainly make the job easier. And if all else fails, you might have to replace the bolts altogether.
Removing rusted toilet tank bolts is a challenge – but with some patience and using the right techniques, it doesn’t have to be overwhelming. Doing a little bit of research before attempting any type of repair is always a good idea to prevent any potential damage or further complications down the road.
Hopefully, the article on how to remove rusted toilet tank bolts has been helpful in showing how to tackle this issue. Good luck!

