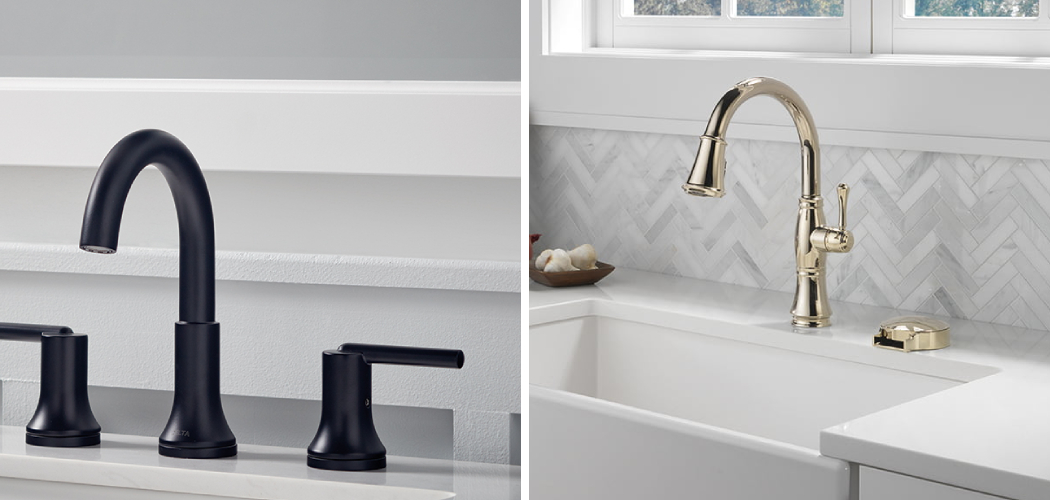
Are you curious about how your bathroom faucet works? Although a faucet may seem like a simple device, it has several components that work together to deliver water when you turn on the handle.
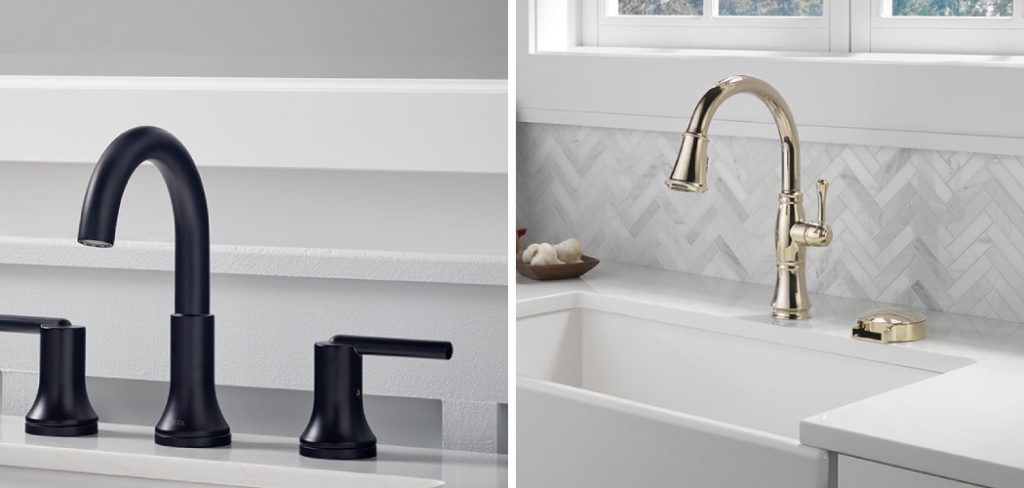
Understanding how does a bathroom faucet work begins with recognizing its essential components and the basic principles of fluid mechanics. A faucet is a device designed to control the flow of water from a plumbing system.
It comprises several parts, including the spout, handles, valve, aerator, and various seals and washers. When you turn the handles, the valve opens or closes, regulating the water flow and temperature.
This straightforward yet ingenious mechanism makes our daily routines like washing hands, brushing teeth, and grooming, more convenient and efficient. In this guide, we’ll explore the intricate workings of a bathroom faucet, from the moment you twist the handle to the water flowing out the spout.
What Are the Benefits of Understanding How a Bathroom Faucet Works?
Understanding how your bathroom faucet works can help you troubleshoot potential problems and avoid costly repairs.
By knowing the different components and their functions, you can identify any issues that may arise and take necessary actions to fix them. Understanding how water flows through a faucet can also help you conserve water and save on utility bills.
Furthermore, knowing how a faucet works can also empower you to make informed decisions when it comes to purchasing a new one. With the variety of styles and features available in the market, understanding the inner workings of a faucet can help you choose one that best suits your needs and preferences.
Overall, learning about how a bathroom faucet works satisfies our curiosity and has practical benefits that can improve our daily lives and save us money in the long run.
What Will You Need?
Before diving into the inner workings of a bathroom faucet, let’s gather some materials to help you better understand the concepts discussed in this guide. Here are some items you may want to have on hand:
- A Diagram or Picture of a Faucet: This visual aid can serve as a reference when discussing the different components and their functions.
- A Wrench Set: You may need to make minor adjustments or repairs on your faucet, and a wrench set can come in handy.
- A Towel: It’s always a good idea to have a towel nearby to dry up any water spills during disassembly.
- Basic Plumbing Knowledge: You do not need to be an expert plumber, but having some basic knowledge about pipes and plumbing systems can help you understand the concepts better.
- Curiosity and a Willingness to Learn: Understanding how things work is always exciting, so bring your curiosity and eagerness to learn about bathroom faucets!

Once you have these items ready, let’s examine the different components of a bathroom faucet and how they work together to deliver water.
10 Easy Steps on How Does a Bathroom Faucet Work
Step 1. Turn Off the Water Supply:
Before you start disassembling or inspecting your bathroom faucet, it is crucial to turn off the water supply to prevent any unwanted flooding or water damage. Locate the water shut-off valves beneath your sink.
These valves are typically small, round knobs or lever handles that can be turned clockwise to stop the flow of water. You may have two separate valves, one for hot water and one for cold. Once both valves are turned off, open the faucet handles to ensure no water pressure is left in the system. This simple step lays the groundwork for a safe and dry inspection process.
Step 2. Plug the Drain:
To avoid losing any small parts down the drain, use a sink plug or a cloth to cover the drain hole. Faucets are composed of many small components such as screws, washers, and seals, which can easily slip into the drain during disassembly. Plugging the drain protects your plumbing from potential blockages and ensures you do not lose any crucial parts.
Step 3. Remove the Faucet Handles:
The next step involves removing the faucet handles to get to the internal components. Handles are usually attached with screws that are concealed under decorative caps. Carefully pry off these caps using a flat-head screwdriver.
Once exposed, use an appropriate screwdriver to remove the screws and lift off the handles. At this stage, you should pay attention to how the handles are attached for easy reassembly later.
Step 4. Unscrew the Bonnet Nut:
After successfully removing the faucet handles, you must unscrew the bonnet nut to access the valve assembly.
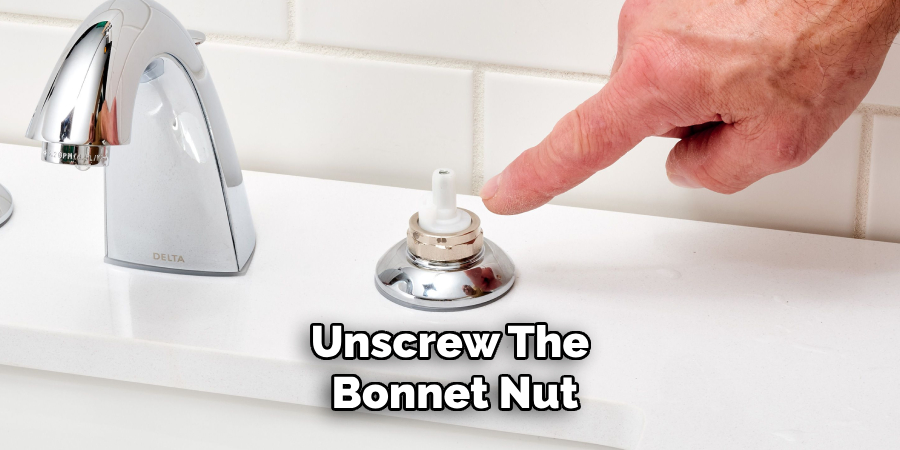
The bonnet nut, often located directly beneath the handles, is a crucial component that holds the faucet cartridge or valve in place. You will need an adjustable wrench or a pair of pliers to unscrew the bonnet nut. Grip the nut firmly and turn it counterclockwise until it loosens.
During this step, it’s essential to proceed with caution. The bonnet nut can sometimes be tightly secured, and excessive force might damage the surrounding fixtures or the nut itself. If it’s particularly stubborn, applying a small amount of penetrating oil can help loosen any corrosion or mineral buildup that might be causing resistance. Make sure to wipe away any oil residue with a towel afterward.
Once the bonnet nut is removed, place it in a safe spot along with the other components you have already disassembled.
This action will reveal the inner workings of the faucet, including the valve stem or cartridge, depending on your faucet model. Whether you are dealing with a compression-style faucet or a cartridge-type faucet, understanding the role of the bonnet nut is vital. It is this part that secures the internal mechanism responsible for regulating water flow and temperature.
Step 5. Remove the Valve Cartridge or Stem:
You can now access the valve cartridge or stem with the bonnet nut out of the way.
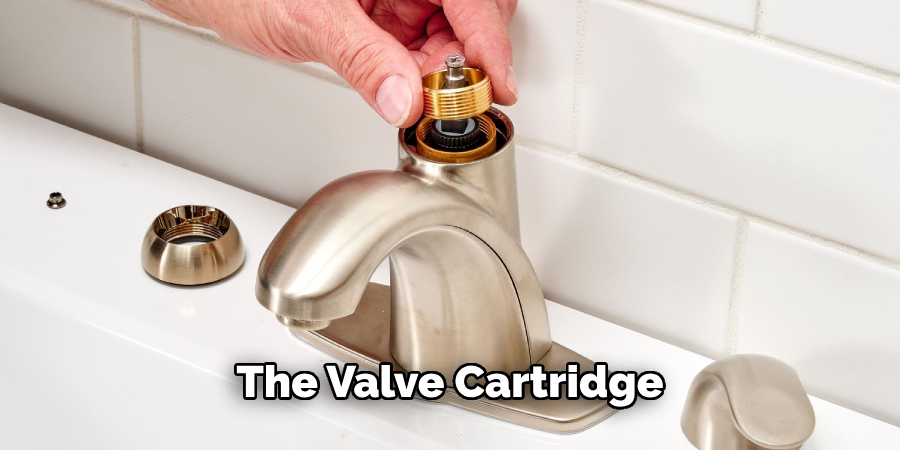
The valve cartridge or stem is the core component that regulates water flow through the faucet. Depending on your faucet type, this part may look different. Carefully pull the cartridge or stem straight up and out of the faucet body.
You might encounter some resistance due to mineral deposits or corrosion, so a gentle wiggle can help loosen it.
If you struggle to remove the component by hand, a cartridge puller tool can be an invaluable aid, especially for cartridge faucets. Note the orientation and positioning of the cartridge or stem, as this will be important when reassembling the faucet. Place the removed part in a safe location along with other disassembled components.
Inspect the cartridge or stem for any signs of wear and tear, such as cracks or significant mineral buildup. Replacing worn parts now can save you time and effort in the future. Additionally, compare the old part with a new replacement, if you have one on hand, to ensure compatibility.
Step 6. Inspect and Clean the Components:
Once the valve cartridge or stem has been removed, thoroughly inspect and clean all accessible components. Look for any signs of damage, such as cracks, corrosion, or excessive wear, that could affect the faucet’s performance.
To clean these parts, you can use a soft brush and a solution of equal parts water and vinegar, which is effective at removing mineral deposits and grime. Soak the components in this solution for a few minutes, then gently scrub away any build-up. You may need a toothbrush or a small scrub brush for stubborn deposits.
It’s crucial to ensure that all parts are completely clean before reassembling the faucet to maintain optimal functionality. After cleaning, rinse the components with clear water and dry them thoroughly with a towel. Clean and well-maintained parts are essential for preventing leaks and ensuring smooth operation of your faucet.
Step 7. Replace Any Damaged Components:
If during the inspection phase, you identified any damaged or excessively worn components, now is the time to replace them.
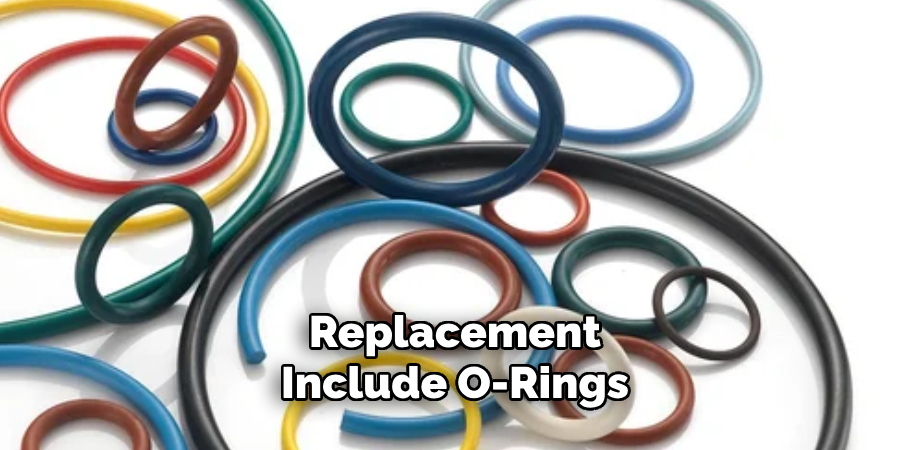
Common parts needing replacement include O-rings, washers, or the cartridge itself. Make sure you have the correct replacement parts that match your faucet model.
Begin by installing any new O-rings or washers, ensuring they are seated properly in their designated grooves. If you are replacing the entire valve cartridge, carefully position the new cartridge in the faucet body, aligning it in the same orientation as the old one. This prevents issues with water flow and temperature regulation once the faucet is reassembled.
Proper and precise replacement of damaged parts is crucial for restoring your faucet to its optimal condition. Additionally, applying a small amount of plumber’s grease to the new components can help ensure smooth operation and extend the faucet’s lifespan.
Step 8. Reassemble the Faucet:
With all components inspected, cleaned, and replaced as necessary, you can now begin reassembling the faucet. Start by reinserting the valve cartridge or stem back into the faucet body, making sure it is properly aligned.
Follow by screwing the bonnet nut back into place, securing it firmly with your adjustable wrench or pliers while avoiding excessive force that could cause damage.
Next, reattach the faucet handles by aligning them with the valve stems or cartridges and securing them with the screws you previously removed. Replace the decorative caps over the screw holes to give the faucet a finished look.
Throughout this process, pay attention to the alignment and tension of each part to ensure proper function. Test the handles to ensure they move smoothly and feel securely attached.
Step 9. Turn On the Water Supply:
After fully reassembling the faucet, you can turn the water supply back on. Open the shut-off valves beneath the sink by turning them counterclockwise. Check for any leaks around the base of the faucet or the handles, and tighten any components if necessary to stop any leaking.
Slowly open the faucet handles to allow water to flow through and flush out any air trapped within the pipes. Observe the water flow and adjust the handles to check the faucet’s smooth operation.
Step 10. Test for Proper Functioning:
The final step is to test the faucet to ensure all repairs and replacements are successful. Turn the faucet on and off, checking for any leaks or drips that could indicate a misplaced component. Test both hot and cold water functions to confirm that the temperature settings are working correctly.
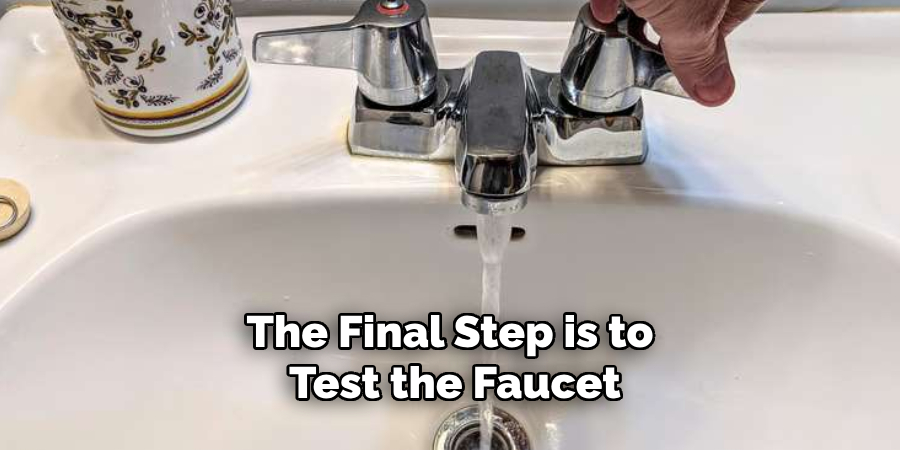
If everything operates smoothly without leaks or irregularities, you have successfully completed the repair or maintenance of your bathroom faucet. Congratulations! Your faucet should now be functioning efficiently, delivering water without any hitches. Ensure to periodically maintain your faucet to prolong its life and ensure consistent performance.
5 Additional Tips and Tricks
- Routine Maintenance: Check the faucet regularly for leaks and drips. Over time, small issues can become significant and expensive to repair. Ensure the faucet parts remain in good condition to maintain optimal functionality.
- Use the Correct Tools: When making repairs or adjustments to your faucet, use the appropriate tools. This helps prevent damage to the faucet components and ensures a proper fit when assembling various parts.
- Understand the O-rings’ Role: O-rings play a critical role in preventing leaks in the faucet. Familiarize yourself with their position and function, and be prepared to replace them if signs of wear appear. They are inexpensive and easy to replace.
- Regular Cleaning: Mineral buildup can affect the performance of your faucet. Use a mixture of vinegar and water to clean the aerator and other parts periodically to ensure smooth water flow and prevent blockages.
- Know the Type of Faucet: Different faucet types (compression, ball, cartridge, and ceramic disc) have distinct mechanisms. Understanding the specific type of your faucet will make it easier to diagnose issues and perform repairs correctly.
With these additional tips and tricks, you can maintain your faucet’s functionality and prevent costly repairs in the future.
5 Things You Should Avoid
- Ignoring Small Leaks: Even minor leaks can lead to significant water wastage and damage over time. Address any leaks promptly to maintain faucet efficiency and avoid costly water bills.
- Using Excessive Force: Applying too much force when turning the faucet on or off or when making adjustments can damage internal components. Always use gentle, steady pressure to extend the lifespan of your faucet.
- Neglecting Regular Cleaning: Overlooking routine faucet cleaning can lead to mineral buildup and blockages, affecting water flow and pressure. Regularly clean your faucet to prevent clogs and maintain optimal performance.
- Using Harsh Chemicals: Strong chemical cleaners can corrode or damage faucet parts. Opt for milder, non-abrasive cleaning solutions, such as a mixture of vinegar and water, to keep your faucet in good condition.
- Improper Installation: Installing a faucet incorrectly can lead to leaks, inefficiency, and potential damage. If you’re unsure about the installation process, consult the manufacturer’s instructions or hire a professional to ensure proper setup.
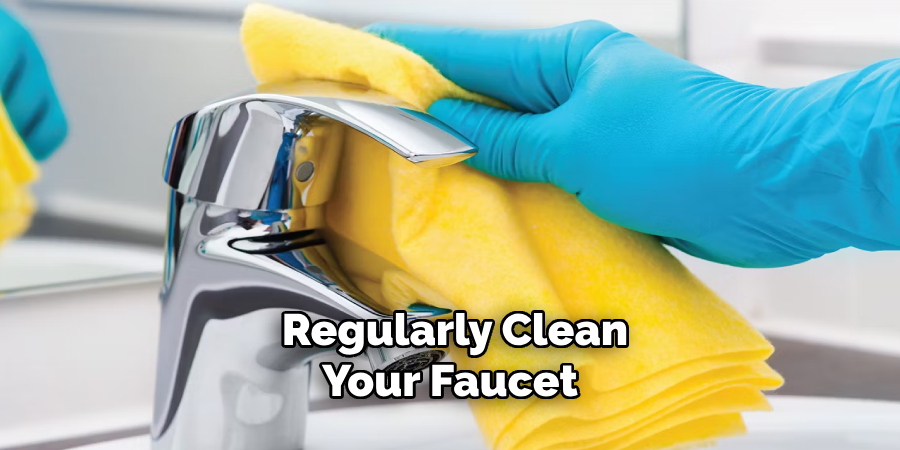
By avoiding these common mistakes, you can prolong the life of your faucet and maintain its efficient performance for years.
How Can You Add Personality to Your Bathroom Faucet?
Your bathroom faucet is functional and can add a touch of personal style to your bathroom. Here are some ideas to help you add personality to your faucet:
- Choose Unique Finishes: Instead of traditional chrome or stainless steel, consider opting for unique finishes like brushed nickel, matte black, or gold to make a statement.
- Experiment with Different Faucet Styles: From traditional to modern, there are various faucet styles to choose from. Select one that reflects your personal taste and complements the overall design of your bathroom.
- Add Decorative Accents: To elevate the visual appeal of your faucet, consider adding decorative accents like intricate handles or a stylish spout.
- Install a Motion Sensor Faucet: For a modern and convenient touch, consider installing a motion sensor faucet that turns on and off with a hand wave.
- Accessorize with Decorative Bowls or Plants: Place decorative bowls or plants near the faucet to add a natural and personalized touch to your bathroom space.
With these tips, you can transform your bathroom faucet from purely functional to an eye-catching element in your bathroom design. So, make sure to choose a faucet that meets your needs, reflects your style, and adds character to your space.
Can You Connect a Hose to Your Bathroom Faucet?
Yes, it is possible to connect a hose to your bathroom faucet.
However, this will depend on the type of faucet you have. Some faucets may come with an aerator that can be removed and replaced with a hose attachment. If your faucet does not have this feature, you can purchase an adapter that attaches to the spout and allows you to connect a hose.
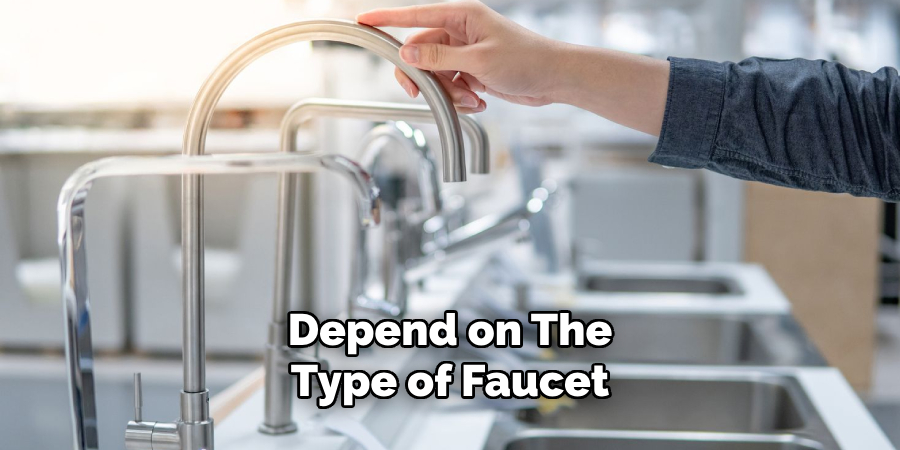
Before making any modifications or purchasing an adapter, check the manufacturer’s instructions to ensure compatibility and proper installation. Additionally, be careful not to damage the faucet or create leaks when attaching a hose.
Conclusion
Understanding how does a bathroom faucet work can help in both its maintenance and troubleshooting. At its core, a faucet controls the flow of water by manipulating an internal valve. When you turn the handle, the valve either opens to allow water to flow or closes to stop it.
Different types of faucets—compression, ball, cartridge, and ceramic disc—use distinct mechanisms to achieve this control. Compression faucets rely on rubber washers to create a seal, while ball faucets use a rotating ball with spring-loaded rubber seals.
Cartridge faucets utilize a moving cartridge, and ceramic disc faucets employ two ceramic discs to regulate water flow. Knowing the specific mechanics of your faucet type can aid in identifying problems and performing repairs correctly.
Regular maintenance, utilizing the correct tools, and understanding the components such as O-rings and aerators are key to keeping your faucet in good working condition.
By being proactive with care and addressing issues promptly, you can ensure a long lifespan and efficient performance from your bathroom faucet.

