Are you someone who enjoys taking a relaxing bath after a long day? If so, you’ve probably used a bathtub diverter before without even realizing it.
A bathtub diverter is an essential component in many bathroom setups, designed to control water flow between the tub faucet and the showerhead. Understanding how a bathtub diverter works can enhance one’s ability to effectively manage water usage while ensuring a seamless transition between a bath and a shower. Typically, the diverter is activated by pulling up a lever or turning a knob, which redirects the water’s path from the faucet to the showerhead.
In this article on how does a bathtub diverter work, we’ll explore the different types of diverters, their mechanisms, and tips on troubleshooting common issues.
What Will You Need?
Before we dive into the specifics of how a bathtub diverter works, here are some tools you might need in case you encounter any problems:
- Wrench
- Screwdriver
- Pliers
- Replacement washers or O-rings (if necessary)
Now, let’s look at the different types of diverters and their functions.
10 Easy Steps on How Does a Bathtub Diverter Work
Step 1. Identify the Diverter Type:
The first step in understanding your bathtub diverter is identifying the specific type you have installed in your bathroom. There are generally three main types of bathtub diverters:
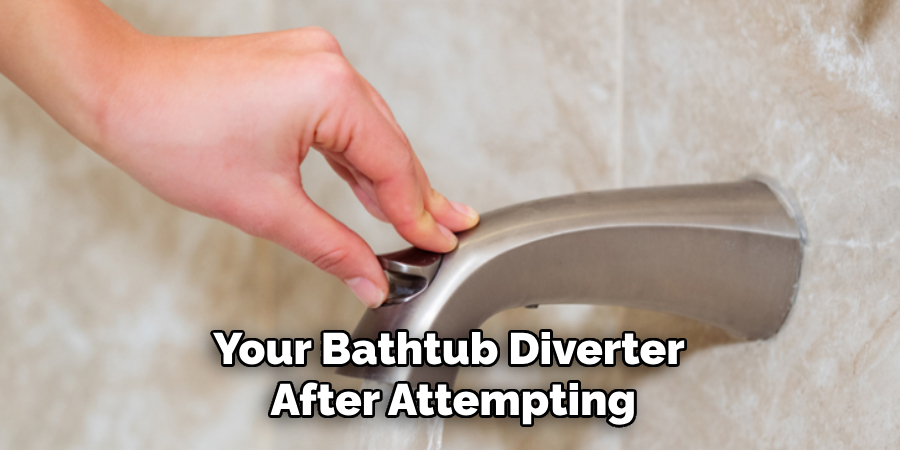
- Tee Diverter: This is the most common diverter and is usually found in the tub spout. It typically has a small lever on top of the spout, which you pull up to divert water to the showerhead.
- Two-Valve Diverter: Found between the hot and cold water knobs, a two-valve diverter allows you to control the flow of water by turning a separate handle or knob.
- Three-Valve Diverter: Usually found in older installations, a three-valve diverter uses a third handle between the hot and cold controls to direct water to either the tub or the shower.

Understanding which type of diverter you have will aid in troubleshooting and efficiently performing any maintenance tasks. Each type may require a slightly different approach to repairs or replacements. It’s important to visually inspect your faucet setup and mechanism to determine its design, as this identification will guide the subsequent steps.
Step 2. Turn Off the Water Supply:
Before proceeding with any repairs or maintenance, ensure the water supply to the bathtub is turned off. This step is crucial for preventing water damage and providing a safe working environment. Locate the main water valve for your bathroom and turn it off completely. If you’re unsure where this is, trace the pipes under your sink or in the basement to find the shut-off valve. Once the water supply is turned off, test the faucet to ensure no water flows out, confirming it’s safe to proceed to the next steps.
Step 3. Remove the Diverter Handle or Knob:
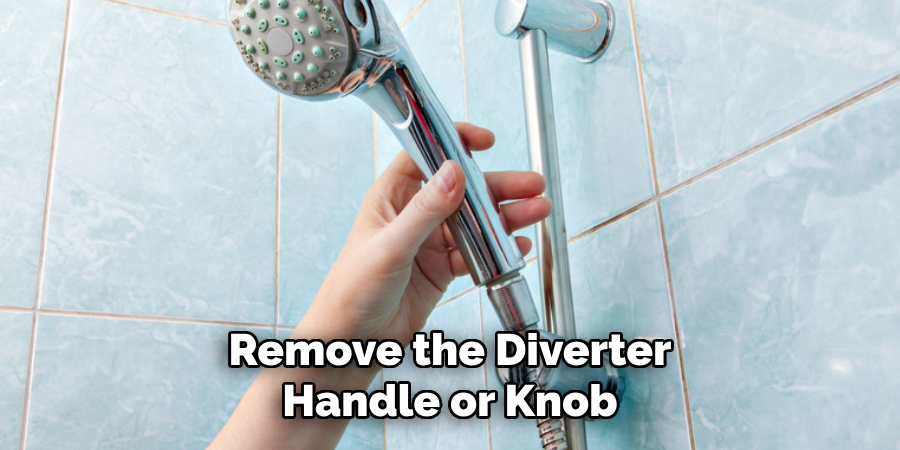
To remove the diverter handle or knob, begin by inspecting the handle or knob for any visible screws or fasteners. Typically, the screws are hidden beneath decorative caps that can be gently pried off with a flathead screwdriver. Be careful not to scratch the finish of the handle or faucet. Once the cap is removed, use a screwdriver to unscrew the diverter handle from its position.
If the handle appears to be stuck, applying a gentle back-and-forth motion can help loosen it without causing damage. With the handle or knob removed, you should have access to the internal components of the diverter, allowing you to further inspect the mechanism for wear or damage. This step is essential in routine maintenance or addressing problems such as leaks or ineffective water diversion. Remember to keep all removed parts organized for easy reassembly later.
Step 4. Inspect the Diverter Mechanism:
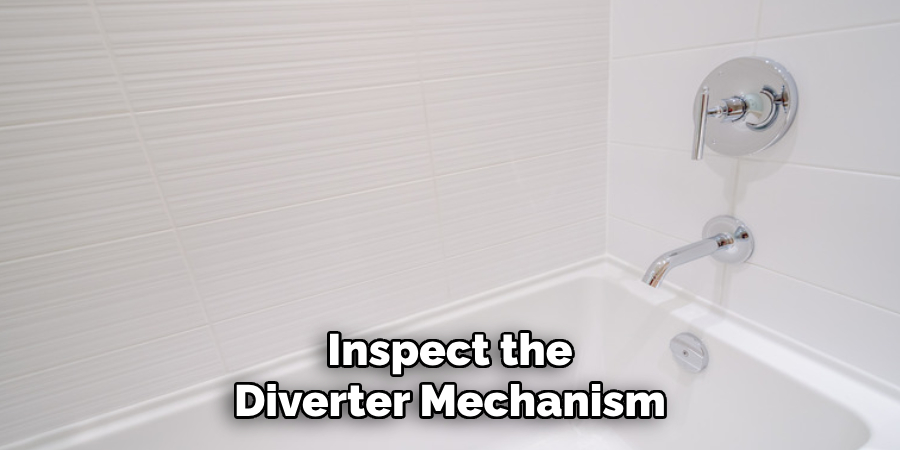
Once you have access to the internal components of the diverter, carefully inspect the mechanism for any signs of wear, corrosion, or damage. Look for any broken parts, worn-out washers, or mineral buildup that might hinder its performance. Mineral deposits can often cause the diverter to stick or not seal properly, leading to inefficient water flow.
If you notice any worn or damaged parts, replacing them with compatible replacements is essential. For mineral buildup, use a suitable cleaning solution to remove the deposits gently. This inspection is crucial as it allows you to diagnose potential issues that might require repairs and ensures your bathtub diverter functions smoothly.
Step 5. Replace Worn-Out Components:
If your inspection reveals damaged or worn-out components, replacing them is essential for restoring the functionality of your bathtub diverter. Begin by identifying the parts that need replacing, such as washers, O-rings, or any broken pieces of the diverter assembly. It’s important to use replacement parts that match the specifications and size of the original ones to ensure a proper fit and seal.
You can typically find these parts at a hardware store or through the manufacturer. Carefully remove the faulty components and install the new ones, ensuring each piece is securely in place. If you need help with the correct parts or installation process, consult the diverter’s manual or seek professional assistance. Replacing worn-out components will enhance the diverter’s performance, reducing the likelihood of leaks and ensuring a steady flow of water between the tub and shower.
Step 6. Reassemble the Diverter:
After inspecting and replacing any necessary components, it’s time to reassemble the diverter to ensure it functions properly. Begin by reversing the steps you took when disassembling the mechanism. Carefully align the diverter handle or knob back into position and securely fasten it with the screws you removed earlier. Make sure not to overtighten the screws, as this could strip the threads or damage the handle.
Once the handle is in place, replace any decorative caps you removed, pressing them back gently to prevent scratching or damaging the finish. This reassembly process ensures that all parts are correctly aligned and attached, keeping the diverter in optimal working condition for the long term.
Step 7. Turn On the Water Supply:
With the diverter reassembled, the next step is to turn the water supply back on and check for leaks or issues with water flow. Return to the main water valve and slowly turn it on, allowing the pipes to fill gently. After opening the valve completely, test the faucet by turning it on and switching between the tub and shower functions.
Observe if the water diverts correctly and confirm no leaks around the handle or spout. If problems arise, such as leaks or improper diversion, revisit the previous steps to ensure all components are correctly installed and secured. This final check is crucial for ensuring your bathtub diverter operates smoothly and provides reliable performance.
Step 8. Perform Regular Maintenance:
To ensure your bathtub diverter continues to function correctly and to prevent future issues, it’s vital to incorporate regular maintenance into your routine. At least once a year, take some time to quickly inspect your faucet and diverter handle. Check for any signs of wear, buildup, or potential leaks.
A simple cleaning with mild vinegar and water can help remove mineral deposits that accumulate over time, keeping the mechanism in good working condition. Consider replacing washers or seals if you notice any gradual deterioration to maintain optimal performance. By staying proactive with maintenance, you can extend the lifespan of your bathtub diverter and enjoy hassle-free water flow for years to come.
Step 9. Troubleshoot Common Issues:
If your bathtub diverter is still not functioning as expected after following the reassembly and inspection steps, troubleshoot some common issues. First, double-check that all components are installed correctly and that none have been skipped or improperly attached. Ensure there are no blockages or residual debris in the diverter mechanism or water lines that can impede the flow.
Test the diverter under different temperatures and water pressures to identify if it’s a temperature-specific problem or linked to pressure fluctuations. Applying a silicone-based lubricant to the moving parts can ease the mechanism if the diverter handle is still hard to operate. Should these troubleshooting efforts not resolve the issues, it may be time to consult with a plumbing professional for a more in-depth diagnosis. Identifying and resolving minor problems early prevents bigger and more costly repairs in the future.
Step 10. Seek Professional Help if Necessary:
If you cannot resolve the issues with your bathtub diverter after attempting the troubleshooting steps, it may be time to seek professional assistance. A licensed plumber can offer a thorough inspection and pinpoint the exact problem, which might be more profound or more complex than a simple fix. Professionals have the expertise and equipment to address issues beyond basic DIY repairs, ensuring the diverter is repaired correctly and efficiently.
Hiring a professional not only saves time but also provides peace of mind, knowing that the job is done to standards. Don’t hesitate to reach out for help, especially if you’re unfamiliar with plumbing systems or if the problem persists despite repeated efforts.
By following these ten steps, you can effectively repair and maintain your bathtub diverter for seamless water flow and a functional bathroom.
Conclusion
A bathtub diverter is a crucial component in the operation of a dual-function faucet. It allows users to seamlessly transition between filling the tub and using the shower.
The diverter valve directs water flow either to the tub spout or the showerhead, based on the position set by the user. This mechanism typically sits within the faucet assembly, and its effectiveness relies on intact seals and correctly fitting parts. Proper maintenance, including regular inspections and timely replacement of worn components, is essential to ensure optimal performance and prevent leaks or water flow issues.
Understanding how does a bathtub diverter work enhances the reliability and convenience of your bathroom fixtures.

