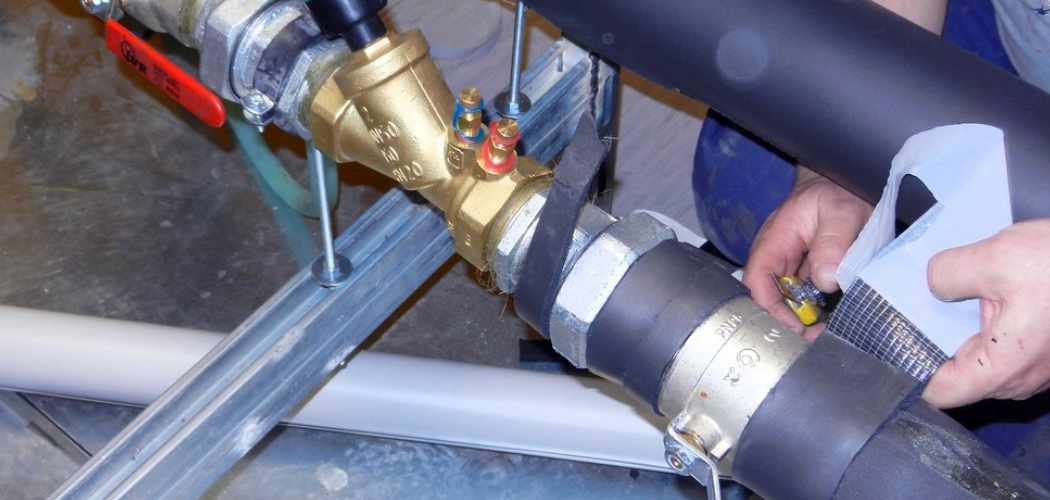
Heat tape is a practical solution designed to prevent pipes from freezing during cold weather. It functions by providing a consistent source of heat maintaining the pipe’s temperature above freezing.
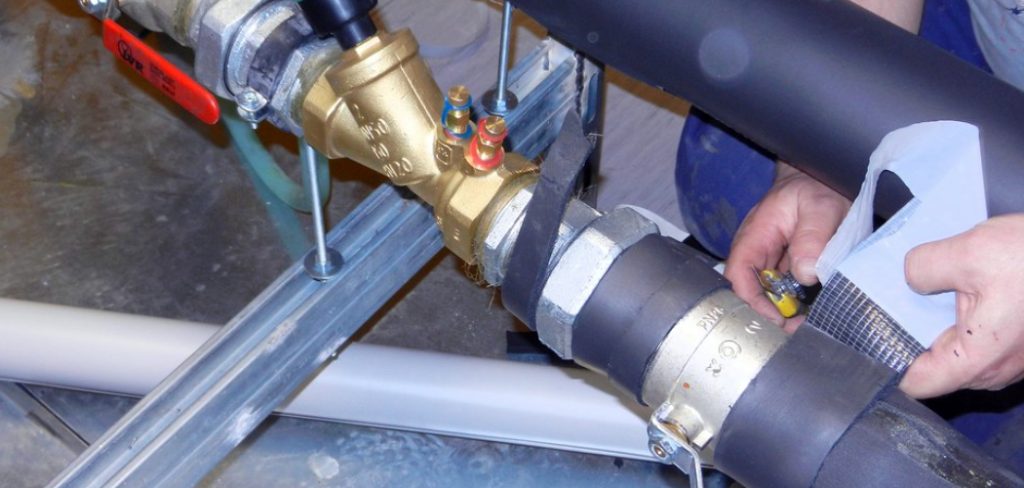
This is especially useful for exposed pipes in unheated areas, such as basements, crawl spaces, or outdoor locations. By ensuring water continues to flow smoothly, heat tape helps protect against the costly damage that can result from burst pipes. Understanding how heat tape works can help homeowners make informed choices to safeguard their plumbing systems during winter.
In this blog post on how does heat tape work on pipes, we will discuss the different types of heat tape, how it works, and some important considerations to keep in mind when using it.
Why Do Pipes Freeze?
Water expands when frozen, putting pressure on pipes and causing them to burst. When the temperature drops below freezing, unprotected or under-insulated pipes can quickly freeze. This is a common problem in regions with harsh winter weather.
Exposure to cold air is not the only factor that contributes to frozen pipes; stagnant water in low-flow areas of plumbing systems can also become a breeding ground for ice build-up.
Needed Materials
Before understanding how heat tape works, it is essential to gather the necessary materials. These may include:
Heat Tape:
There are different types of heat tapes available in the market, such as self-regulating and constant-wattage heat tapes. Each type has its own set of advantages and disadvantages. It is essential to understand the differences between them to choose the most suitable one for your needs.
Insulation:
Insulation helps retain heat and prevent freezing. You can use materials like fiberglass or foam pipe insulation to wrap around the pipes before installing heat tape.
Electrical Outlet:
Heat tapes require a power source, so make sure there is an electrical outlet nearby where you plan to install it.
8 Step-by-step Guidelines on How Does Heat Tape Work on Pipes
Step 1: Measure the Length
Before installing heat tape, measure the length of the pipe that needs protection. This ensures that you purchase the correct amount of heat tape to cover the entire exposed pipe.
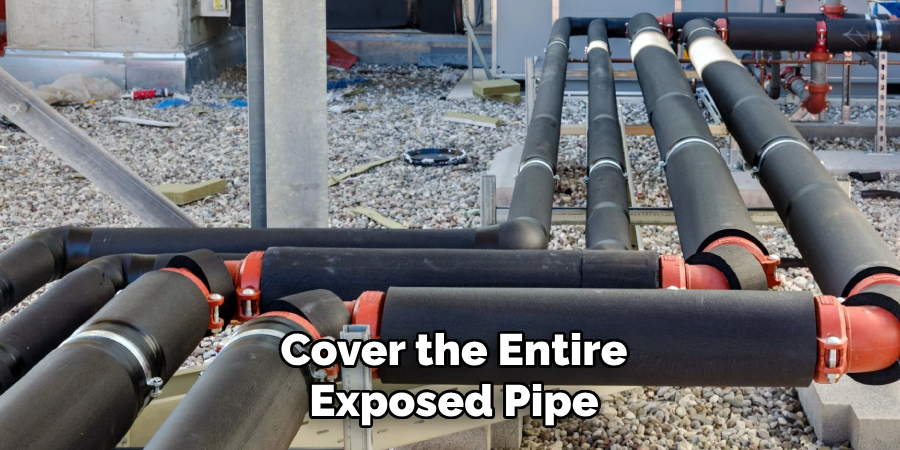
Use a measuring tape to get an accurate measurement, and note any areas with bends or fittings that may require additional length. Having the proper length of heat tape is critical to ensure even and efficient heating along the pipe.
Step 2: Prepare the Pipe
Before applying the heat tape, thoroughly clean the pipe to ensure it is free from dust, dirt, and grease. Use a damp cloth or sponge to wipe down the surface and allow it to dry completely. This step is crucial, as a clean pipe surface promotes better adherence to the heat tape and ensures optimal heat transfer.
Additionally, inspect the pipe for any damage, such as cracks or leaks, and repair them before installation to prevent further issues.
Step 3: Wrap the Pipe with Insulation
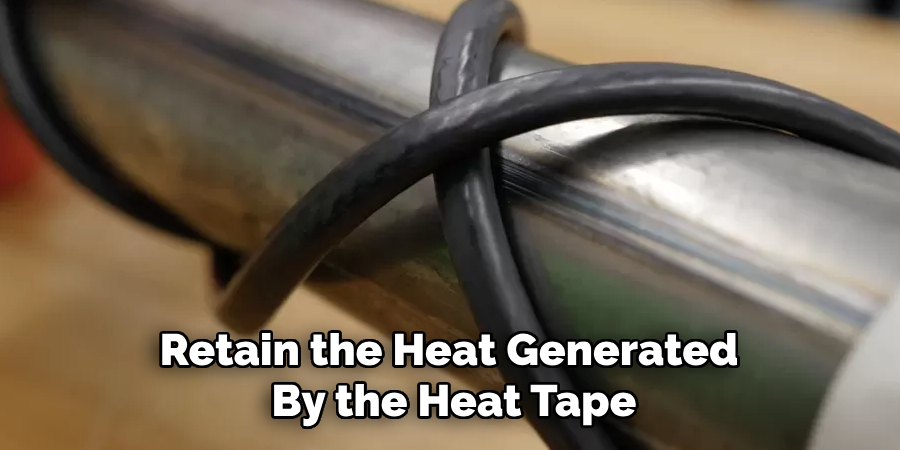
After securing the heat tape onto the pipe, the next step is to wrap the pipe with insulation. This adds an extra layer of protection by helping to retain the heat generated by the heat tape, ensuring the pipe remains above freezing temperatures. Use a suitable insulation material, such as foam pipe insulation or fiberglass wrap, and cover the entire length of the pipe, including bends and fittings.
Make sure the insulation fits snugly around the pipe without compressing the heat tape, as this could reduce its efficiency. Secure the insulation in place with tape or ties, ensuring no sections are left exposed to cold air. Proper insulation will enhance the effectiveness of the heat tape and provide long-lasting winter protection for your pipes.
Step 4: Install the Heat Tape
Once the insulation is in place, it’s time to install the heat tape. A self-regulating heat tape adjusts its heat output according to changes in temperature, making it a safer and more energy-efficient option.
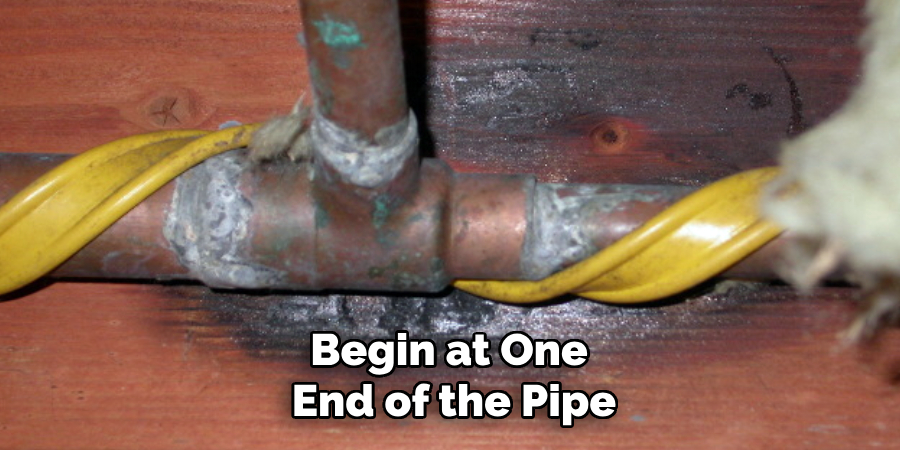
Unroll the heat tape and follow the manufacturer’s instructions for proper installation. Typically, you will need to wrap it around the pipe in a spiral pattern, with a slight overlap between each turn. Ensure there are no gaps or loose areas along the length of the pipe to ensure even heating.
Step 5: Secure with Tape or Ties
After installing the heat tape, secure it in place using heat-resistant tape or plastic ties. This ensures that the heat tape remains in contact with the pipe and does not shift or loosen over time. Begin at one end of the pipe and work your way to the other, attaching the tape or ties at regular intervals along the length of the heat tape.
Be careful not to overtighten, as this could damage the heat tape or create uneven heating. Properly securing the heat tape is essential for effective operation and long-lasting protection against freezing temperatures.
Step 6: Connect to a Power Source
Once the heat tape is installed and secured, plug it into an electrical outlet. You may need an extension cord if the nearest outlet is too far away. Ensure that the power source can handle the heat tape’s wattage to prevent any issues.
Following the manufacturer’s instructions, test the heat tape to ensure it is functioning correctly. The heat tape should feel warm to the touch but not hot.
Step 7: Monitor Regularly
Even with proper installation and insulation, it is essential to monitor your pipes regularly during extreme cold weather conditions. Check for any signs of freezing or reduced water flow, such as low water pressure or no water at all. If you notice any issues, consider increasing the heat tape’s wattage or adding additional insulation to prevent future problems.
If the temperature rises above freezing, unplug the heat tape to avoid unnecessary energy consumption.
Step 8: Disconnect in Warmer Weather
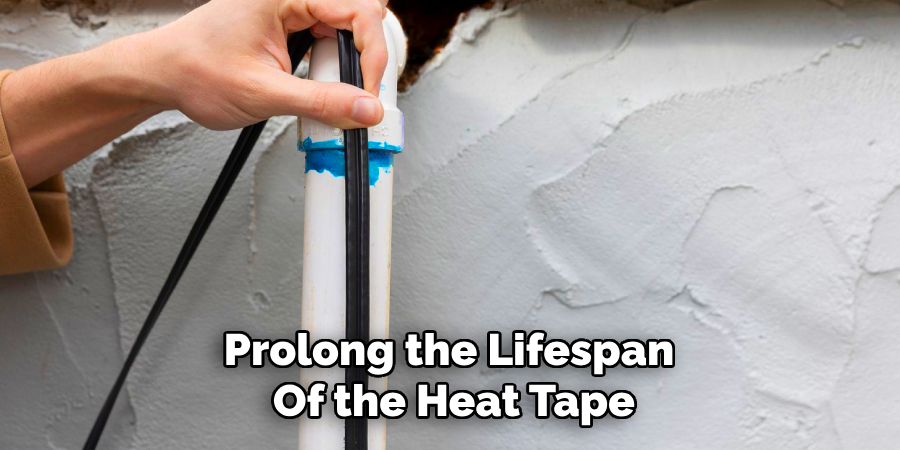
When temperatures rise above freezing, it is safe to disconnect and remove the heat tape from your pipes. This will help save energy and prolong the lifespan of the heat tape. Proper storage is crucial for future use; make sure to follow the manufacturer’s instructions on how to pack and store the heat tape properly.
Following these step-by-step guidelines on how does heat tape work on pipes will ensure that your heat tape works effectively in preventing frozen pipes and providing winter protection for your plumbing system. Regular maintenance and monitoring are key to ensuring the longevity of the heat tape and protecting your pipes from winter weather conditions.
Important Considerations
- Never overlap heat tapes or cross over one another as this could cause overheating and damage to both tapes.
- Do not use extension cords with heat tapes as they can overload and create a fire hazard.
- Install heat tapes on outdoor pipes before the first freeze of the season to prevent any damage or emergencies.
- When in doubt, consult a professional plumber for proper installation and maintenance of heat tapes.
Keep your pipes protected all winter long with the help of heat tape. Follow these guidelines for proper installation and maintenance to ensure your plumbing system stays safe and functional during extreme cold weather conditions.
Additional Tips
- Consider using foam pipe insulation under the heat tape for extra protection against freezing temperatures.
- Use a heat tape with built-in thermostat control for more energy-efficient heating.
- Check the heat tape periodically for wear and tear and replace it if necessary.
- Insulate any remaining exposed areas of the pipe, such as joints and fittings, with heat-resistant tape or insulation sleeves for added protection.
- If your pipes have frozen in the past, consider installing a backup power source for the heat tape in case of a power outage.
Frequently Asked Questions
Q1: Can Heat Tape Be Left on All Year Round?
A: No, it is recommended to disconnect and remove the heat tape during warmer months to prevent unnecessary energy consumption and prolong its lifespan. The heat tape should only be used during freezing temperatures.
Q2: Can Heat Tape Be Used on Plastic Pipes?
A: Yes, heat tape is safe to use on both metal and plastic pipes. However, it is essential to follow the manufacturer’s instructions and ensure that the heat tape does not come in contact with any flammable materials.
Q3: How Long Does Heat Tape Last?
A: On average, heat tapes can last for up to 10 years with proper installation and maintenance. However, factors such as usage patterns and extreme weather conditions can affect its lifespan. It is important to regularly monitor the heat tape for any signs of wear or damage and replace it if necessary.
Conclusion
Heat tape is an effective and reliable solution for protecting your pipes during freezing weather conditions. By following the proper installation steps on how does heat tape work on pipes, conducting regular maintenance, and adhering to manufacturers’ guidelines, you can safeguard your plumbing system from costly damage caused by frozen or burst pipes.
Remember to invest in quality heat tape and take preventative measures to ensure optimal performance and energy efficiency throughout the winter season. With careful planning and attention to detail, you can keep your pipes safe and functional, even in the harshest winter climates.

