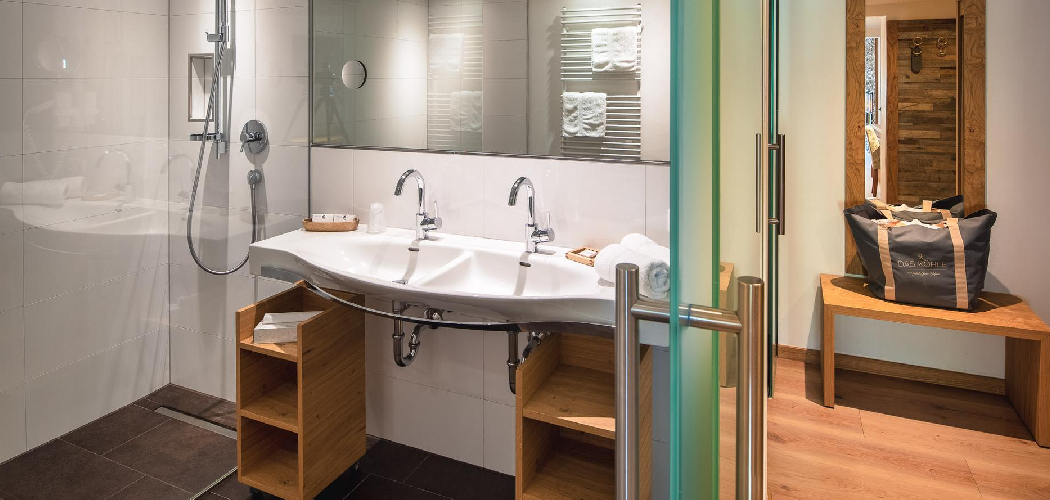
Adding a shower to a half bath can significantly enhance its functionality and improve the overall value of your home. While half baths typically consist of just a toilet and sink, integrating a shower creates a more versatile space that can accommodate guests and family members alike, making it ideal for busy households.
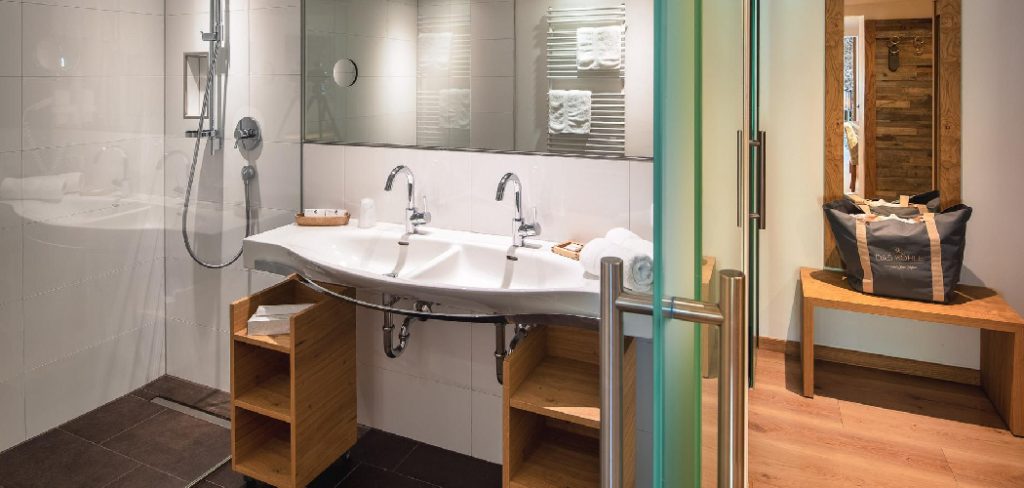
This guide on how to add a shower to a half bath will walk you through the essential steps, considerations, and design options to successfully transform your half bath into a full one, ensuring that you make the most out of your available space while maintaining a stylish and comfortable environment.
Why Add a Shower to a Half Bath?
Incorporating a shower into a half bath serves multiple purposes that go beyond mere convenience. Firstly, it significantly increases the usability of the space, allowing for quick and efficient bathing options without necessitating access to a full bathroom. This is especially beneficial for guests or family members who may require a quick freshening up. Secondly, adding a shower can raise the overall value of your home, making it more appealing to potential buyers.
The enhancement not only modernizes the bathroom but also appeals to growing families or individuals seeking rental properties that offer more amenities. Lastly, with the right design, a shower can complement the existing decor and add an element of luxury to what was once a utilitarian space, creating a more inviting atmosphere.
Needed Materials
Stud Finder:
A stud finder is a necessary tool to locate the studs in your walls and ensure that they are sturdy enough to support a shower.
Shower Base:
This will serve as the foundation for your shower. It’s essential to choose one with high-quality materials and proper sizing for your space.
Shower Fixtures:
These include a showerhead, faucet handles, and any additional features you may want, such as body jets or steam systems.
Tile or Surround Materials:
Choose durable and water-resistant materials for your shower walls, such as tile or acrylic surrounds.
Waterproofing Materials:
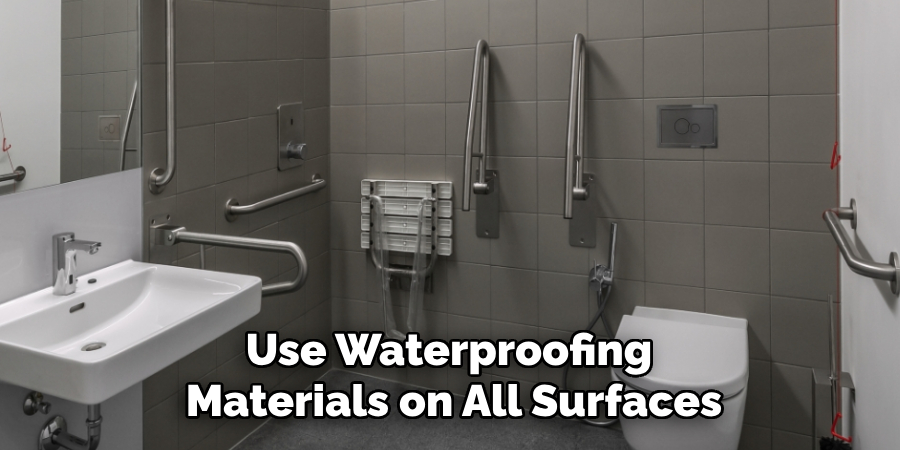
To prevent leaks and moisture damage, make sure to use waterproofing materials on all surfaces that will be exposed to water.
Plumbing Tools:
Depending on the complexity of your shower installation, you may need various plumbing tools such as wrenches, pipes, and fittings.
8 Step-by-step Guidelines on How to Add a Shower to a Half Bath
Step 1: Determine the Shower Location
The first step in adding a shower to your half bath is to carefully determine the most suitable location for the new fixture. Consider factors such as available space, existing plumbing, and the overall layout of the bathroom. Ideally, the shower should be positioned in a way that maximizes accessibility while minimizing disruption to the flow of the room.
Take measurements to ensure the location accommodates the shower base and any additional fixtures comfortably. Also, assess the proximity to water supply lines and drainage, as these will influence your installation options and plumbing requirements.
Step 2: Plan the Design and Layout
Before making any purchases or starting your installation, it’s crucial to have a clear plan in place. Consider factors such as the style of shower you want (e.g., walk-in, corner, alcove), the type of materials you will use, and any special features or additions you want to include.
Create a detailed layout that includes measurements and placement for all fixtures to ensure everything fits seamlessly.
Step 3: Locate Studs in Walls
Once you have determined the shower location and planned the design, the next step is to locate the studs in the walls where the shower will be installed. Using a stud finder, carefully scan the area to identify where the studs are located, as these will provide the necessary support for your shower fixtures and installation.
Mark the stud locations with a pencil to create a clear reference. This step is crucial, as securing the shower base and fixtures to studs will ensure stability and safety. If any electrical wiring or plumbing is present, take care to avoid these while working in the area. Having an accurate understanding of the wall structure will help facilitate a successful installation.
Step 4: Prepare the Plumbing
With the shower location and design planned, it’s time to prepare the plumbing for installation. First, turn off the water supply to the half bath to prevent any accidental leaks during the process. Next, assess the existing plumbing layout to determine how best to connect your new shower fixtures. You may need to reroute existing pipes or install new ones, which can involve cutting through walls or floors.
It’s vital to select the appropriate pipe materials, such as PEX or copper, depending on your existing system. Ensure all fittings are secured tightly to prevent leaks. Finally, verify that you have adequate drainage for the shower base; this may require adjusting the position of the drain as necessary. Proper plumbing preparation will ensure a seamless installation and long-lasting functionality for your new shower.
Step 5: Install the Shower Base
Once the plumbing is in place, it’s time to install the shower base. Follow the manufacturer’s instructions carefully, ensuring that you have a secure and level fit. Use shims if necessary to create an even surface. Once in place, attach the base to the studs using screws or bolts for added stability.
Ensure proper alignment with your drain and any other fixtures or features you plan to include in your shower. It may also be helpful to seal any gaps between the shower base and walls with waterproofing materials at this stage.
Step 6: Waterproof Your Shower Walls
To prevent damage from moisture and potential leaks, it’s crucial to waterproof your shower walls thoroughly. This can involve applying a membrane or sealant to all surfaces that will be exposed to water, including the shower base and surrounding walls. Follow the instructions for your chosen product carefully, and take care to cover all areas evenly.
You may also choose to install a vapor barrier behind the shower walls for added protection. This step is essential, as it will help maintain the integrity of your bathroom and prevent potential issues in the future.
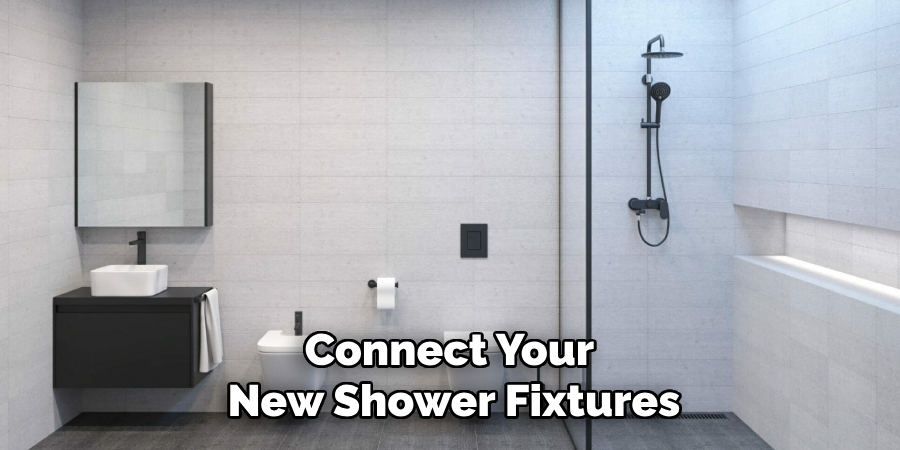
Step 7: Install Shower Fixtures
With the shower base and walls prepared, it’s time to install your chosen fixtures. Begin by installing the showerhead according to the manufacturer’s instructions, taking care not to over-tighten any fittings. Next, attach the faucet handles and any other features such as body jets or steam systems as desired.
Ensure proper alignment with your plumbing connections and adjust as needed before securing them tightly in place. This is also a good time to install any additional hardware, such as shelves or soap dishes.
Step 8: Finish Up
Once all fixtures are installed and in place, it’s time to finish up the installation. This may involve adding trim or caulk around the edges of your shower walls for a polished look. Take care to seal any gaps thoroughly to prevent moisture from seeping in.
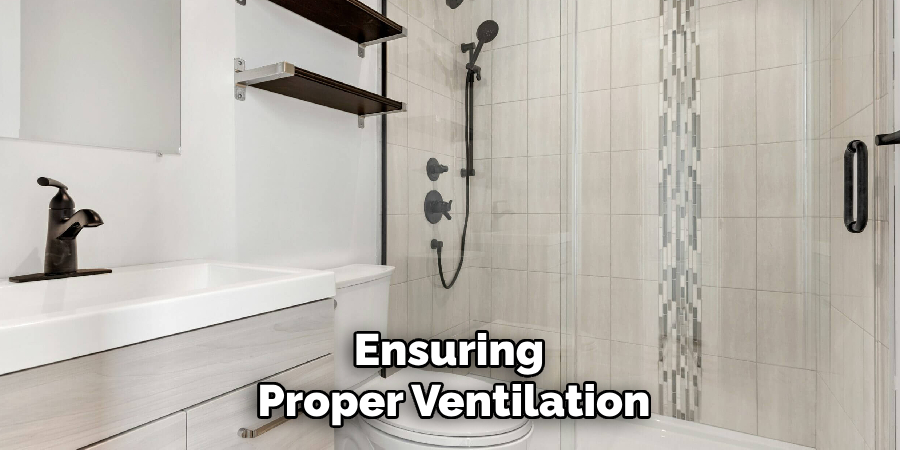
Finally, turn the water supply back on and test your new shower for functionality and leaks. Make any necessary adjustments before enjoying your newly added half-bath shower! Ensure proper ventilation in the bathroom to prevent mold and mildew growth.
Following these steps on how to add a shower to a half bath will help ensure a successful and functional half bath shower installation. Remember to take your time, carefully plan, and consult professionals if needed for any complex plumbing or structural work. With proper care and maintenance, your new shower will be a valuable addition to your home for years to come. Happy renovating!
Frequently Asked Questions
Q: Can I Add a Shower to My Half Bath Without Professional Help?
A: While some individuals may have the skills and experience to install a shower themselves, it’s generally recommended to seek professional help for this type of project. Proper plumbing and waterproofing are essential for safety and functionality, so it’s best to consult with a licensed contractor or plumber before proceeding.
Q: How Much Space Do I Need for a Half Bath Shower?
A: The amount of space needed will vary depending on the type of shower you choose. For example, a walk-in shower may require more room than a corner or alcove shower. It’s crucial to take accurate measurements and consider any additional fixtures or features you plan to include when determining the necessary space.
Q: What Type of Materials Should I Use for My Half Bath Shower?
A: The materials you choose for your shower will depend on personal preference, budget, and the design of your half bath. Common options include tile, acrylic, stone, or glass. It’s important to select materials that are durable and water-resistant to ensure long-lasting functionality.
Q: Can I Add a Shower to Any Half Bath?
A: While it is possible to add a shower to most half baths, there may be limitations based on the existing plumbing and layout. Consulting with a professional can help determine if adding a shower is feasible for your specific bathroom. Always check local building codes before proceeding with any renovations or installations in your home.
Conclusion
Adding a shower to your half bath can significantly enhance both the functionality and value of your home. By following the outlined steps on how to add a shower to a half bath methodically, from planning the layout to installing fixtures, you can achieve a successful installation while minimising potential issues. Proper plumbing preparation and waterproofing are crucial to ensure long-lasting performance and prevent water damage.
With careful attention to detail and a bit of effort, your new shower will provide a refreshing oasis for you and your guests, transforming your half bath into a more enjoyable and practical space. Enjoy your upgraded bathroom!

