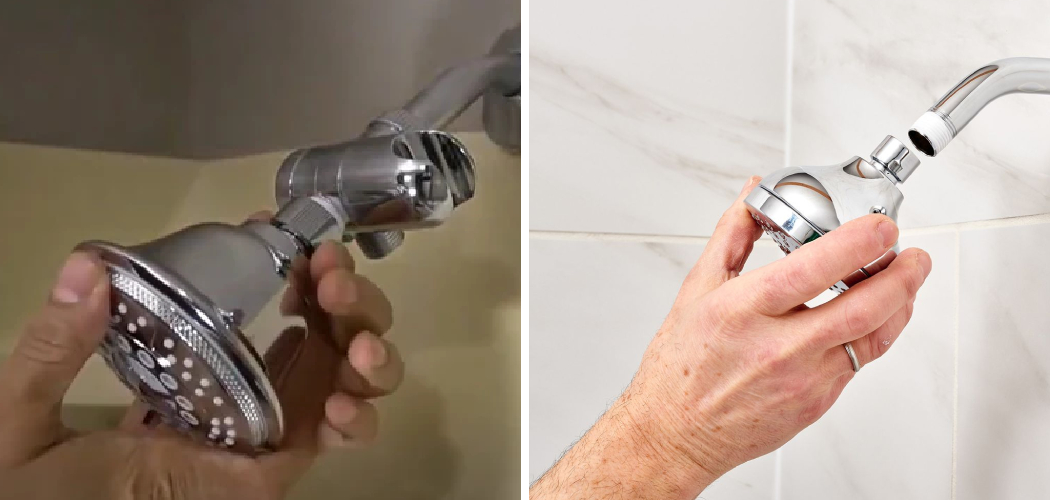
Are you tired of using a fixed showerhead and want to upgrade to something more versatile? A handheld showerhead could be the solution you are looking for. With a handheld shower head, you can easily control the water flow and direction, making it convenient for different showering needs.
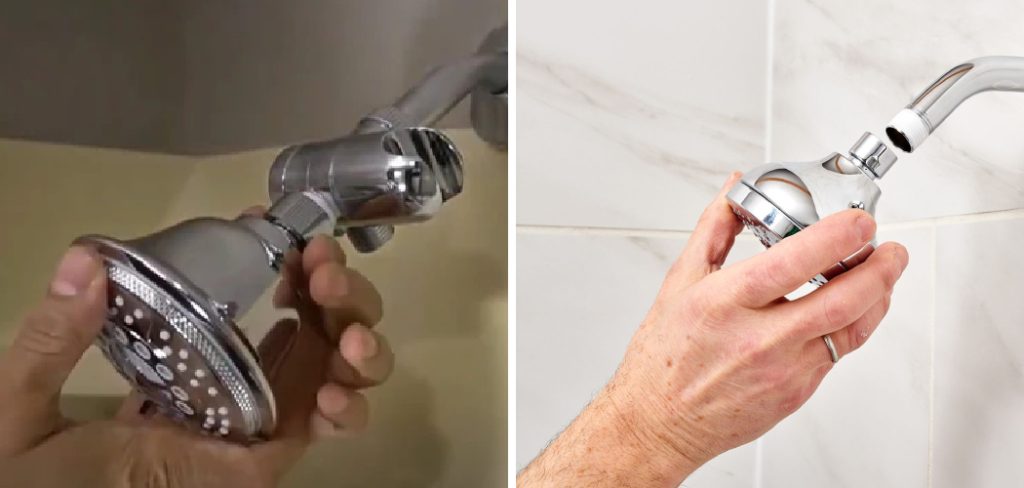
Adding a handheld shower head to your bathroom setup can greatly enhance your showering experience by offering increased flexibility and convenience. Whether you want to make it easier to rinse off, clean the shower area, or help children and pets bathe, a handheld shower head is a versatile addition.
This guide will walk you through the process of how to add handheld shower head, from selecting the right model to completing the installation. With just a few simple steps, you can transform your everyday shower routine, making it more enjoyable and functional.
What Are the Benefits of a Handheld Shower Head?
Before we dive into the installation process, let’s take a look at some of the benefits of adding a handheld shower head to your bathroom:
- Versatility: The ability to hold and direct water flow with one hand makes it easier to rinse off, clean hard-to-reach areas, and assist in bathing children or pets.
- Customizable Water Flow: Many handheld shower heads have different spray settings, allowing you to choose between a gentle rain-like spray and a more powerful massage setting.
- Cost-effective: Installing a handheld shower head can be more cost-effective than renovating your entire bathroom to accommodate a new fixed shower head.
- Easy Installation: With the right tools and instructions, adding a handheld shower head can be simple and straightforward.
- Ideal for All Ages: Whether you have mobility issues or just prefer the convenience of a handheld shower head, it is a great option for people of all ages.
These are just a few of the many benefits that a handheld showerhead can offer. Now, let’s move on to the steps for how to add handheld shower head.
What Will You Need?
Before you begin, ensure you have all the necessary tools and materials for the installation process. Here’s a list of items that will come in handy:
- Handheld Shower Head Kit: This should include the handheld shower head, hose, and mounting bracket.
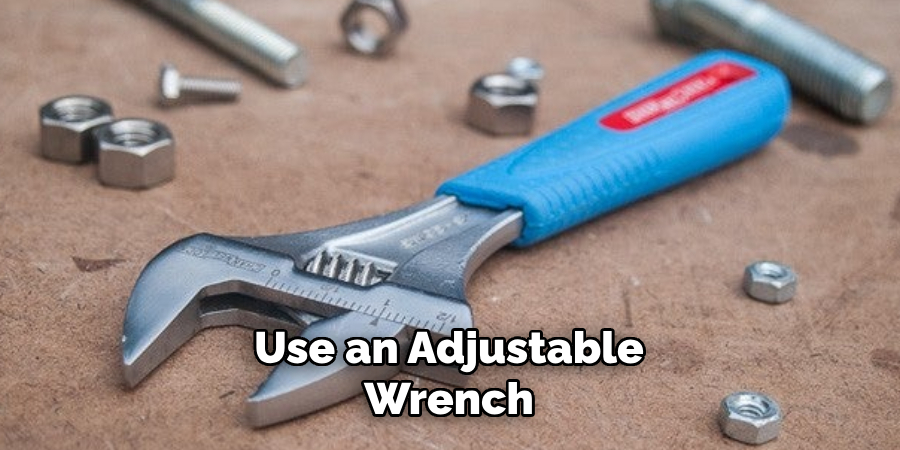
- Adjustable Wrench or Pliers: These will be used to tighten and loosen fittings.
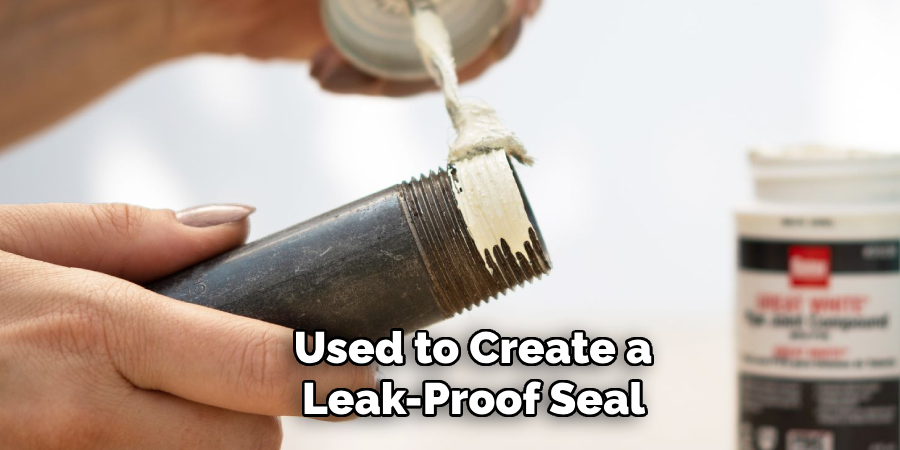
- Teflon Tape: This is used to create a leak-proof seal on threaded connections.
- Towel or Cloth: To protect the shower surface and prevent any scratches.
- Step Ladder (Optional): If you have a high shower head, a step ladder may be necessary for easier access.
Once you have all these items ready, it’s time to move on to the installation process.
10 Easy Steps on How to Add Handheld Shower Head
Step 1: Prepare Your Shower Area
Before installing the handheld shower head, ensure your shower area is clean and clear of any obstacles. This will ensure that you have enough space to work comfortably. Place a towel or cloth over the shower surface to prevent any potential scratches or damage.
Step 2: Remove the Existing Shower Head
Using an adjustable wrench or pliers, carefully loosen the existing shower head by turning it counterclockwise.
If the shower head is particularly tight, applying a little extra force may be necessary, but be gentle to avoid damaging the shower arm or pipe. Once it is loose enough, you should be able to unscrew it the rest of the way by hand.
Place the removed shower head aside, as you may want to keep it for future use. Inspect the shower arm threads for any old Teflon tape or debris, and clean them off to ensure a smooth installation of the new shower head.
Step 3: Apply Teflon Tape
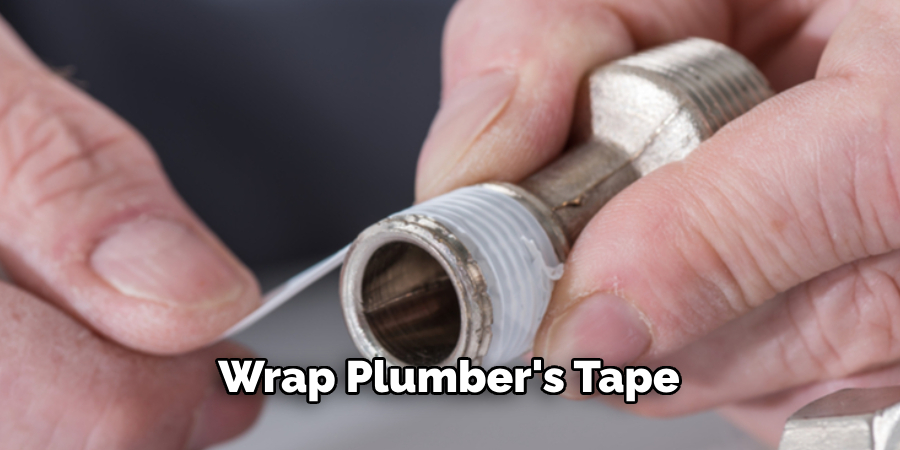
Wrap the shower arm threads with Teflon tape to create a leak-proof seal. Begin at the base of the threads and wrap it clockwise, overlapping each layer slightly, for two to three rotations around the entire circumference of the threads.
This ensures a tight and secure fit for the new handheld shower head assembly, preventing any water leaks. Make sure the Teflon tape is applied smoothly without any wrinkles or gaps.
Step 4: Attach the Mounting Bracket
Next, it’s time to attach the mounting bracket to hold the handheld shower head in place when it’s not in use. Take the mounting bracket from your handheld shower head kit and screw it onto the shower arm where the original shower head was attached.
Use your hand to initially tighten the bracket, then use an adjustable wrench or pliers to give it a final secure turn. Be careful not to overtighten, as this could damage the bracket or the shower arm. Once the bracket is firmly attached, gently shake it to ensure it is securely in place.
Step 5: Connect the Shower Hose
Now, you must connect one end of the shower hose to the mounting bracket and the other to the handheld shower head.
First, attach the hose to the mounting bracket by screwing it onto the threaded connection on the bracket, making sure to tighten it securely by hand. Use an adjustable wrench to ensure a snug fit, but avoid overtightening. Repeat the process of connecting the other end of the hose to the handheld shower head, ensuring a tight connection to prevent water leaks.
Ensure the rubber washers in the kit are in place at both connection points, as they help create a watertight seal.
Step 6: Test the Handheld Shower Head
Before you start using your new handheld shower head, testing it for leaks is important.
Turn on the water and observe the connections at both ends of the hose and the mounting bracket. If you notice any leaking, turn off the water and tighten the connections a bit more. If the leaks persist, you may need to reapply Teflon tape to the threaded connections or replace the rubber washers. Once you’re satisfied with no leaks, check the water flow to ensure it functions properly.
Step 7: Adjust the Mounting Bracket
Once you are confident that the handheld shower head and hose are securely connected and leak-free, it’s time to adjust the mounting bracket for optimal use and position the bracket at a comfortable height and angle to hold the handheld shower head when not used, most mounting brackets allow for some degree of adjustment, so make sure it suits your preferred showering position.
Once you find the perfect spot, make any necessary adjustments to tighten the bracket securely. This will ensure that the handheld shower head remains stable when placed in the bracket during showering.
Step 8: Secure the Hose
Consider securing the hose to keep your shower area neat and prevent the hose from interfering with your movement.
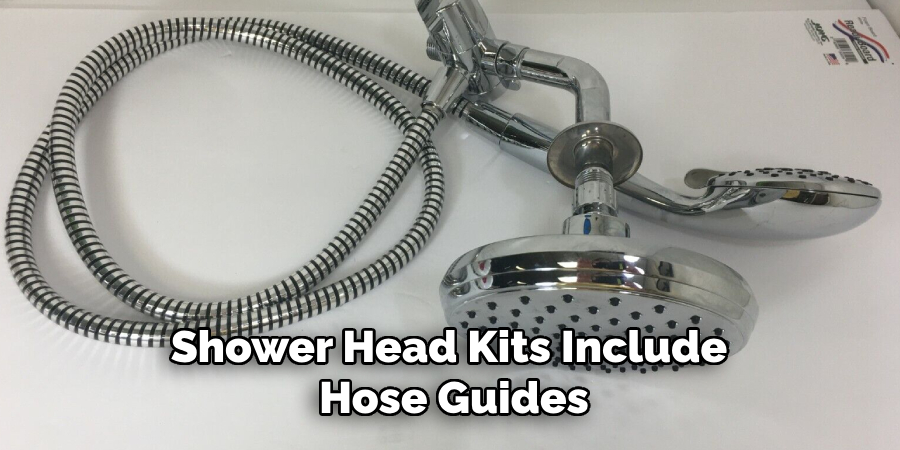
Some handheld shower head kits include hose guides or brackets that can be attached to the shower wall. Install these guides according to the manufacturer’s instructions, typically using adhesive or screws to hold the hose in place and out of the way when not in use.
This step is optional but can enhance your shower setup’s overall functionality and aesthetics. Make sure any adhesive used is suitable for bathroom environments to ensure durability.
Step 9: Position the Handheld Shower Head
After securing the hose, it’s time to position the handheld shower head in the mounted bracket. Ensure the shower head is seated correctly in the bracket, with the nozzle facing towards the shower area.
This will help keep the water in the shower and prevent unnecessary splashing. Double-check that the shower head is easily reachable and can be conveniently removed from the bracket and returned with minimal effort during use.
Ensure the hose has enough slack to allow a full range of motion without putting strain on the connections.
Step 10: Final Adjustments and Clean-Up
With everything in place, make any final adjustments to the shower head’s position and the hose’s alignment to ensure optimal use and accessibility.
Test the handheld shower head again to confirm there are no leaks and consistent water flow. After testing, clean up your work area by removing any tools, Teflon tape remnants, and the towel or cloth used to protect the shower surface.
Dispose of any packaging material from the handheld shower head kit appropriately. Congratulations! You’ve successfully installed your new handheld shower head and can now enjoy its enhanced convenience and flexibility.
By following these simple steps, you can easily install a handheld shower head in your bathroom and upgrade your showering experience.
5 Additional Tips and Tricks
- Choose the Right Mounting Location: Ensure you select a spot on your shower wall that allows for easy access and comfortable reach. This will enhance the utility and convenience of your handheld showerhead.
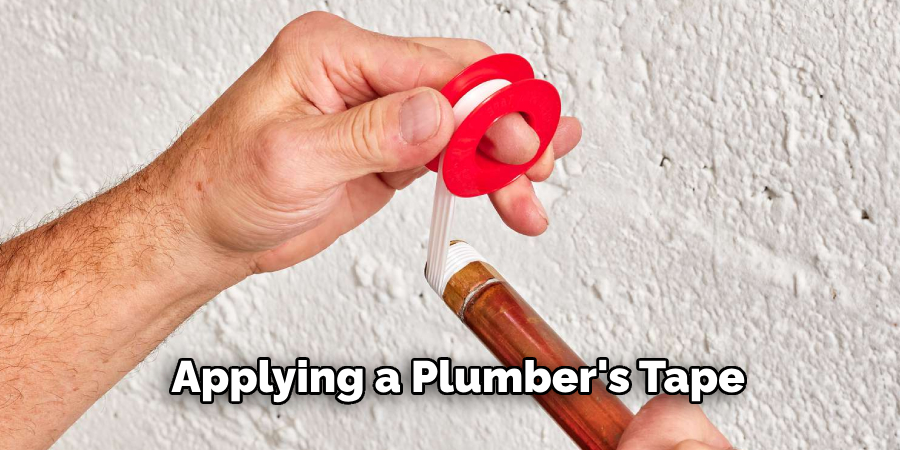
- Use Plumber’s Tape: Applying a plumber’s tape to the threads of the shower arm can help prevent leaks and ensure a secure fit. Wrap the tape tightly around the threads before attaching the shower head.
- Check Water Pressure: Before installing your new shower head, check the water pressure in your bathroom. Handheld shower heads often come with flow restrictors; if the pressure is too low, you may need to remove the restrictor.
- Secure the Hose Properly: Ensure that the hose is securely fastened to both the handheld shower head and the base. A loose connection can lead to leaks and reduced water flow.
- Test for Leaks: After installation, turn on the water to check for any leaks. If you notice any, tighten the connections further and reapply the plumber’s tape if necessary. Always test under different water pressures to ensure everything is secure.
By following these additional tips and tricks, you can ensure a successful installation and optimal performance from your handheld shower head.
5 Things You Should Avoid
- Skipping the Instructions: Always read and follow the manufacturer’s instructions carefully. Ignoring these guidelines can result in improper installation, which may lead to leaks, damage, or even voiding the warranty.
- Over-Tightening Connections: While it’s important to ensure a secure fit, over-tightening can damage threads or crack components. Tighten connections just enough to prevent leaks without using excessive force.
- Using the Wrong Tools: Avoid using inappropriate tools that can damage the fittings. Using tools like adjustable pliers improperly could warp or scratch the shower head and connections. Always use the tools recommended by the manufacturer.
- Neglecting to Clean Threads: Before attaching the new shower head, ensure the threads on the shower arm are clean and free from old plumber’s tape or debris. Remnants can prevent a proper seal, leading to leaks.
- Forgetting to Turn Off the Water Supply: This might seem obvious, but it’s essential to remember to turn off the water supply before beginning your installation. Failing to do so can result in a messy situation and potential water damage.
By avoiding these common mistakes, you can ensure a smooth and efficient installation process for your handheld shower head.
What Type of Handheld Shower Head Should You Choose?
When it comes to selecting a handheld shower head, there are several options available on the market. Here are some factors to consider when making your decision:
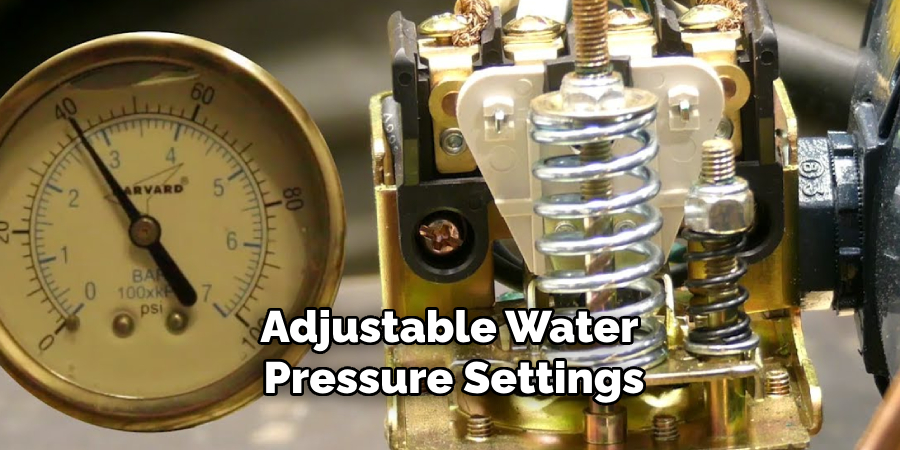
- Water Pressure: If you prefer a strong and invigorating spray, look for a shower head with adjustable water pressure settings or one that is specifically designed to increase pressure.
- Shower Head Size: Handheld shower heads come in various sizes, from small compact models to larger ones with multiple settings. Consider the size of your shower and personal preference when choosing the size of the shower head.
- Material and Finish: Most handheld shower heads are made from plastic or metal, each with its own benefits. Plastic models tend to be lighter and more affordable, while metal models are more durable and have a higher-end look.
- Spray Settings: Some handheld shower heads come with different spray settings, such as massage or mist options. Consider what features are important to you and choose a model that offers those options.
- Budget: Handheld shower heads can range in price from budget-friendly options to high-end models. Determine your budget beforehand and prioritize what features are most important to you.
By considering these factors, you can choose the right handheld shower head that meets your specific needs and preferences.
How to Convert Fixed Shower Head to Handheld?
Converting a fixed shower head to a handheld one is relatively simple and can be done in just a few steps. Here’s how:
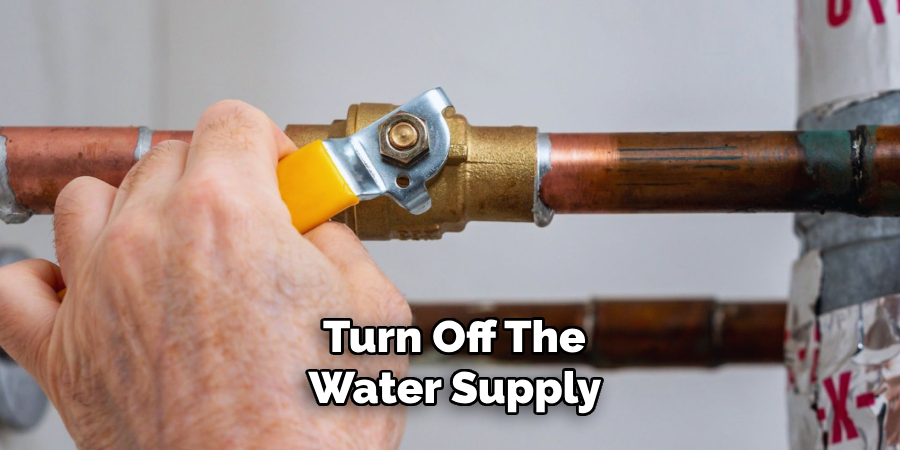
- Remove the Fixed Shower Head: First, turn off the water supply to your shower. Then, use an adjustable wrench or pliers to unscrew and remove the fixed shower head from the shower arm.
- Attach the Diverter Valve: A diverter valve is necessary to switch between a fixed and handheld shower head. Wrap plumber’s tape around the threads, then attach the diverter valve to the shower arm.
- Attach the Handheld Shower Head Hose: Screw one end of the hose onto the diverter valve, ensuring it is secure. Then, screw the other end onto the handheld shower head.
- Turn On the Water: Once everything is securely attached, turn on the water supply and test the new handheld shower head for leaks and proper water flow.
- Adjust as Needed: If you’re not happy with the position of your new handheld shower head, you can adjust it by loosening or tightening connections until it’s in the desired position.
By following these steps, you can easily convert your fixed shower head to a handheld one and enjoy the added convenience and versatility.
How Do You Attach a Shower Arm?
Attaching a shower arm is an essential step in the installation process of any shower head. Here’s how:
- Measure and Mark: Start by measuring the desired height for your shower arm and marking it on the wall with a pencil.
- Drill Holes: Use a drill bit suitable for your bathroom tiles or wall material to drill holes at the marked spots.
- Insert Wall Anchors: Place wall anchors into the drilled holes and tap them in gently with a hammer until they’re flush with the surface.
- Attach the Shower Arm Flange: Wrap plumber’s tape around the threads of the shower arm flange, then insert it into one of the holes and screw it into place. Repeat for the remaining holes.
- Attach the Shower Arm: Screw the shower arm onto the flange, ensuring a secure fit and proper alignment.
With these steps, you can easily attach a shower arm for your new handheld shower head or replace an old one.
Conclusion
How to add handheld shower head can greatly enhance your showering experience, offering increased flexibility, convenience, and even potential water-saving benefits.
By following the outlined steps for converting a fixed shower head to a handheld one, you can easily complete the installation process independently, avoiding common pitfalls and ensuring a successful setup.
Remember to select a shower head that fits your specific needs by considering factors such as water pressure, size, material, spray settings, and budget. With careful planning and the right tools, you can quickly enjoy the versatility and comfort of a handheld shower head.

