A bathroom sink drain stopper is a simple yet essential component that helps control the flow of water in the basin, making it easier to fill or drain the sink as needed. Over time, the stopper may become misaligned or require adjustments to function properly. Fortunately, adjusting or fixing a sink drain stopper is a straightforward task that you can easily handle with just a few tools and some basic guidance.
This tutorial will walk you through the necessary steps on How to adjust a bathroom sink drain stopper to ensure your sink drain stopper operates smoothly and effectively.
Why Is Adjusting a Bathroom Sink Drain Stopper Important?
A properly functioning sink drain stopper ensures convenience and efficiency in your daily routine. Over time, a misaligned or faulty stopper can lead to water not draining properly, causing inconvenience and even potential water buildup or overflow. Proper adjustment helps maintain a secure seal when you need to fill the basin, preventing water leakage.
Additionally, ensuring the stopper operates smoothly can prevent debris from clogging the drain, which could lead to more significant plumbing issues down the line. Regularly addressing and adjusting the stopper helps to extend its lifespan and keeps your bathroom sink in optimal condition.
Needed Materials
Screwdriver:
You will need a Phillips head or flathead screwdriver, depending on the type of stopper you have.
Adjustable Pliers:
Adjustable pliers allow you to grip and turn different sizes of nuts and bolts, making it easier to adjust the stopper.
Clean Rag:
A clean rag will come in handy when handling any greasy or dirty parts of the sink drain stopper. It helps protect your hands and keeps your work area clean.
8 Step-by-step Guides on How to Adjust a Bathroom Sink Drain Stopper
Step 1: Remove the Stopper From the Drain
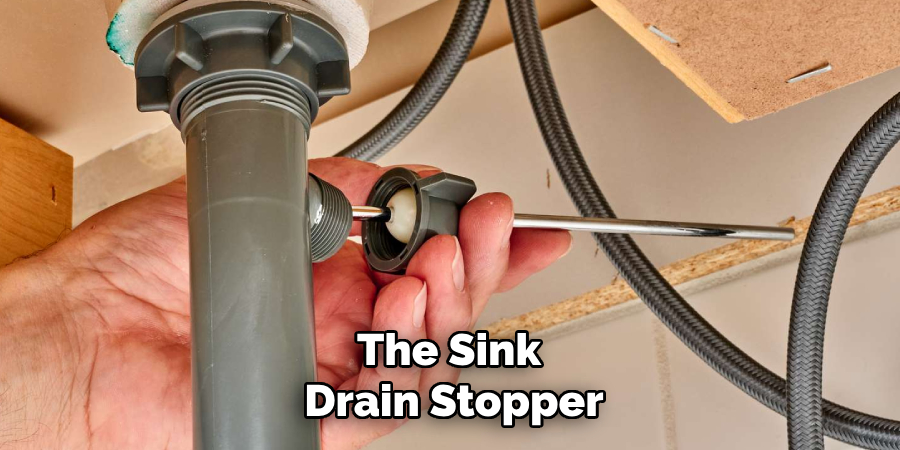
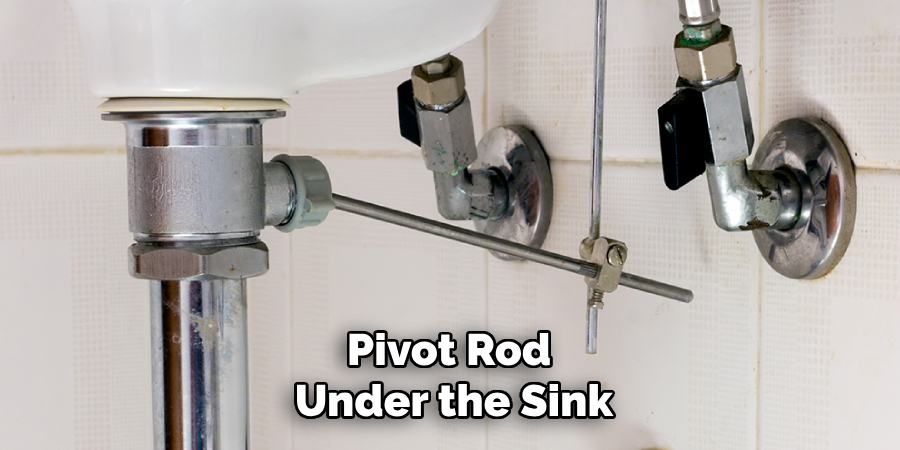
Begin by locating the stopper in your sink’s drain. Pull upward on the stopper to see if it can be removed easily. If the stopper is connected to a pivot rod underneath the sink, you will need to disconnect it first. Look under the sink basin and locate the pivot rod, which is typically attached to a metal or plastic clip.
Use your adjustable pliers or fingers to loosen the nut holding the pivot rod in place, then gently slide the rod out of the stopper mechanism. Once disconnected, remove the stopper from the drain and set it aside for cleaning or adjustment.
Step 2: Clean the Stopper and Drain
Before making any adjustments, it’s essential to clean both the stopper and drain thoroughly. Use a clean rag or paper towel to wipe away any debris or buildup that may have accumulated on the stopper or inside the drain. A dirty stopper can cause issues with proper drainage, so take the time to ensure it’s free of any dirt, hair, or soap scum.
It’s also a good idea to clean the drain itself with a specialized cleaner to remove any built-up grime or clogs that could affect water flow.
Step 3: Identify the Type of Stopper You Have
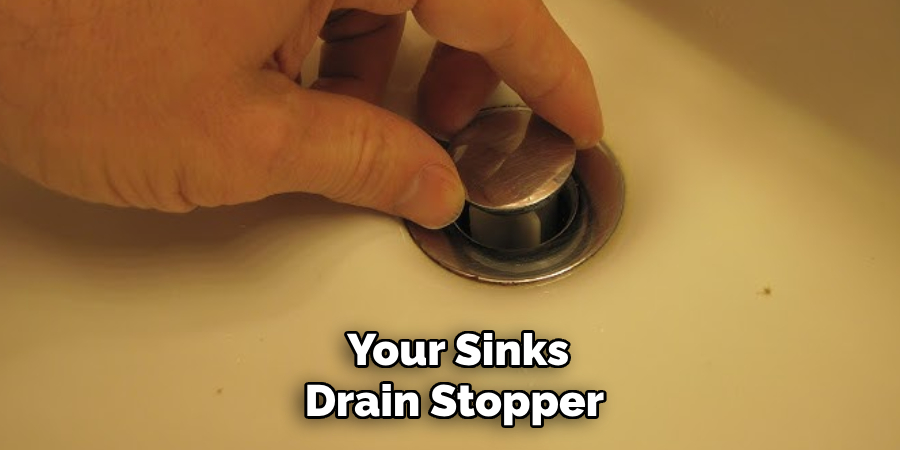
There are several types of bathroom sink drain stoppers, and identifying the one installed in your sink is crucial for proper adjustments. The most common types include lift-and-turn, push-and-pull, pop-up, and toe-touch stoppers. Examine the stopper closely to determine its design and mechanism.
If the stopper is connected to a pivot rod under the sink, it is likely a pop-up stopper. Lift-and-turn stoppers typically have a small knob that can be twisted to open or close the drain. Push-and-pull stoppers function similarly but require you to push or pull the stopper itself. Toe-touch stoppers operate by pressing down with your toe to open or close them.
Knowing the type of stopper you are working with will help you move forward with the correct adjustment steps tailored to its specific mechanism.
Step 4: Adjust the Stopper Height
If you have a pop-up stopper, you may need to adjust the height of the stopper. To do this, locate the adjustment rod at the back of the drain and loosen it with your pliers or by hand. Move the rod up or down as needed to achieve your desired stopper height, then tighten the nut to secure it in place.
It’s essential to find the right balance between a stopper that is too high, which can cause water leakage, and one that is too low, causing poor drainage.
Step 5: Check the Pivot Rod
For pop-up stoppers connected to a pivot rod, it’s crucial to ensure the rod is correctly positioned and secure. If needed, adjust the position of the pivot rod by loosening its nut and moving it up or down. Make sure it aligns with both the stopper mechanism and drain opening before tightening the nut again.
Otherwise, if the pivot rod is damaged or bent, it will need to be replaced for proper function.
Step 6: Adjust the Stopper Seal
For lift-and-turn and push-and-pull stoppers, adjusting the seal may be necessary. These types of stoppers have a rubber gasket that creates a seal between the stopper and the drain opening.
To adjust the seal, start by loosening and removing any screws that hold it in place with your screwdriver. Then, reposition the gasket around the stopper’s base so that it forms a tight seal when closed. Finally, secure it back in place with the screws.
Step 7: Check for Debris
If the stopper still does not function properly after making adjustments, debris may cause a blockage. Using your rag or pliers, check the inside of the drain and remove any hair or buildup that could be preventing proper drainage.
If you have a pop-up stopper, also check the pivot rod for any debris or knots that could be hindering its movement.
Step 8: Reattach the Stopper and Test
Once you are satisfied with your adjustments, reattach the stopper to the pivot rod (if necessary) by sliding it back onto the rod and securing it with its nut.
Then, test the stopper’s function by filling up the sink with water and observing for proper drainage. If everything looks good, congratulations! You have successfully adjusted your bathroom sink drain stopper.
Following these steps on How to adjust a bathroom sink drain stopper regularly will help keep your stopper in good condition and prevent costly plumbing issues in the future. Remember to clean the stopper and drain regularly, as well as check for any necessary adjustments. With proper care, your bathroom sink will continue functioning smoothly for years to come. Happy DIY-ing!
Additional Tips
Regular Maintenance:
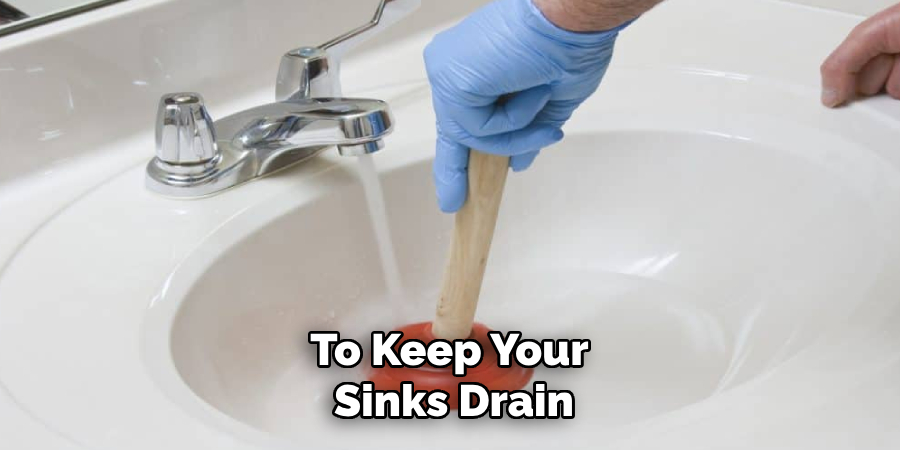
To keep your sink’s drain stopper functioning smoothly, clean it every few weeks to prevent buildup of debris such as soap scum, hair, and grime.
Replacement Parts:
If your sink’s drain stopper is damaged beyond repair, it’s important to purchase the proper replacement parts. Take note of the type and brand of your current stopper before buying a new one to ensure compatibility. Additionally, be sure to turn off the water supply and follow manufacturer instructions for installation.
Consult a Professional:
While adjusting a bathroom sink drain stopper can be done by most individuals, if you encounter any issues or are unsure about the process, it’s always best to consult a professional plumber for assistance. They have the necessary tools and expertise to handle any complications that may arise during adjustment or replacement.
Frequently Asked Questions
Q: How Often Should I Clean My Bathroom Sink Drain Stopper?
A: It’s recommended to clean your sink’s drain stopper every few weeks to prevent buildup and maintain proper function. It’s also a good idea to clean it more frequently if you notice any slow drainage or debris accumulation.
Q: Can I Adjust a Bathroom Sink Drain Stopper Without Tools?
A: Some adjustments, such as adjusting the stopper height, can be done by hand or with pliers. However, it’s recommended to have basic tools such as a screwdriver and pliers on hand for more complex adjustments or replacement.
Q: What Should I Do if My Sink’s Drain Stopper is Stuck Closed?
A: If your sink’s drain stopper is stuck in the closed position, try gently twisting or wiggling it while pulling up at the same time. If that doesn’t work, follow the steps outlined above for adjusting the stopper seal.
Conclusion
Adjusting a bathroom sink drain stopper may seem like a daunting task at first, but with the right tools and guidance, it becomes a straightforward process. By following the step-by-step instructions on How to adjust a bathroom sink drain stopper outlined above, you can ensure your sink functions properly and efficiently without the need for professional assistance.
Regular maintenance and cleaning are key to prolonging the life of your stopper and preventing future issues. With a little care and attention, your sink will remain in excellent working condition, saving you time and money in the long run. Take pride in your DIY skills and enjoy the satisfaction of solving the problem yourself!

