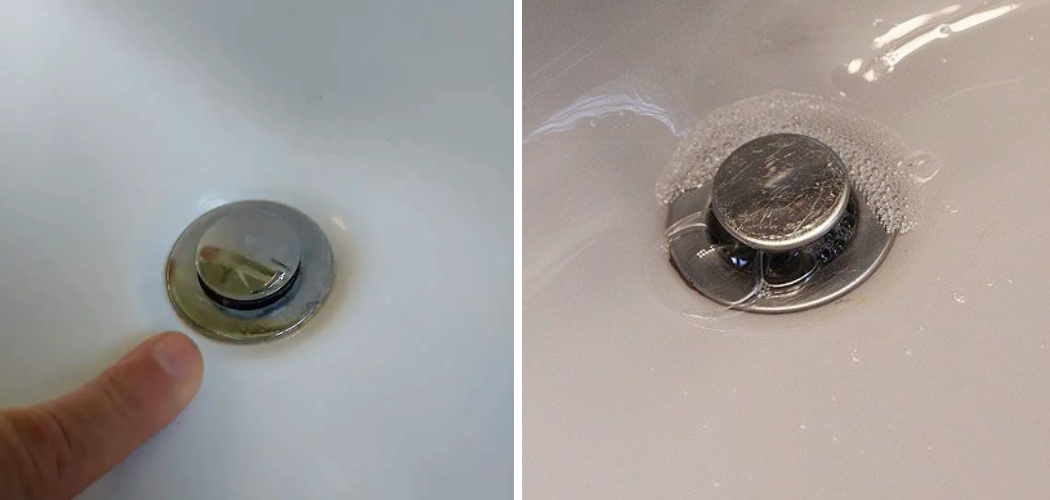
Are you having trouble with your sink stopper? Is it not closing properly or constantly getting stuck? Don’t worry, adjusting a sink stopper is a simple task that can be done in just a few minutes. In this blog post, we will provide a step-by-step guide on how to adjust a sink stopper. Whether you’re a seasoned DIYer or a beginner, this guide is easy to follow and will have your sink working properly in no time.
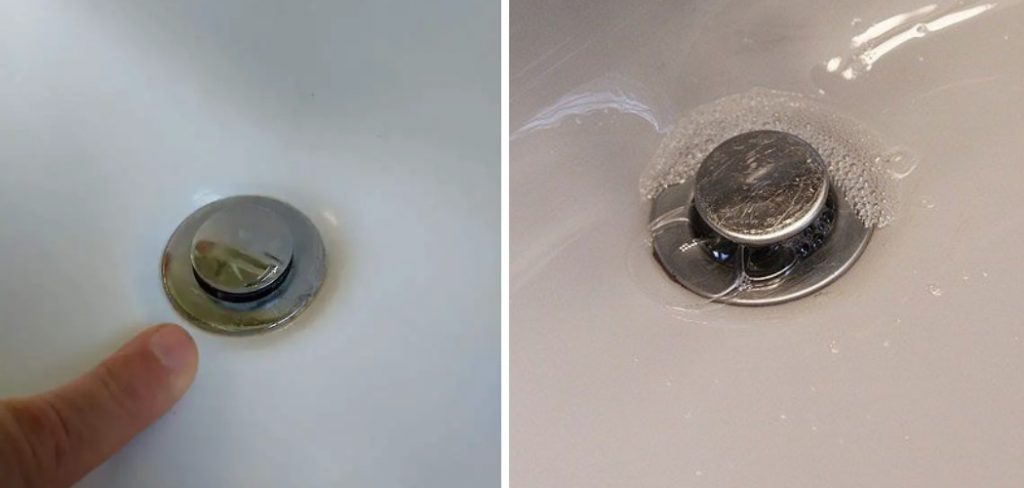
Can You Adjust a Sink Stopper?
We all know the frustration of a sink stopper that won’t stay in place. Maybe you’ve tried pushing it down harder or jiggling it around, but it continues to pop up, leaving you with a sink full of water. The good news is that adjusting a sink stopper is a relatively simple fix.
You can easily adjust your sink stopper to stay put with just a few tools and some basic knowledge. No more holding it down with your hand while you perform your daily hygiene routine, no more accidentally losing small items down the drain because the stopper won’t stay in place. So, let’s dive in and learn how to adjust a sink stopper once and for all.
Why Should You Adjust a Sink Stopper?
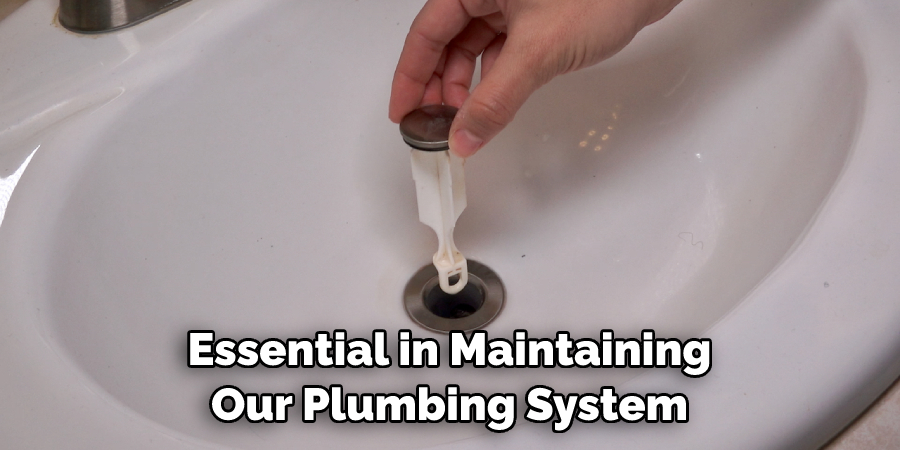
Sink stoppers are often taken for granted in our daily routine, but they are essential in maintaining our plumbing system. Over time, sink stoppers can become clogged with debris or wear out, causing water to drain slowly.
Not only is this an inconvenience, but it can also lead to more significant plumbing issues. By adjusting your sink stopper, you can ensure proper water flow and prevent potential damage to your plumbing system.
Plus, a smooth-running sink ensures more efficient and stress-free mornings as you prepare for the day ahead. Taking the time to adjust your sink stopper may seem like a small task, but it can have a big impact on the functionality and longevity of your plumbing system.
How to Adjust a Sink Stopper: A Step-by-Step Guide
Step 1: Remove the Stopper from the Drain
The first step in adjusting a sink stopper is to remove it from the drain. To do this, you will need to locate the stopper and find the horizontal rod that connects the stopper to the lift arm. Once you’ve located the rod, use pliers or your hands to unscrew the clevis that connects the rod to the stopper. Gently pull the stopper out of the drain and set it aside.
Step 2: Adjust the Height of the Stopper
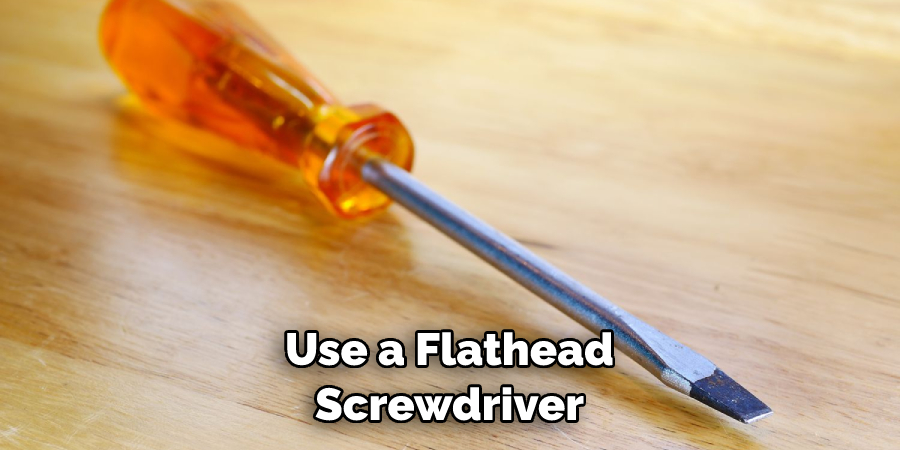
Now that you have removed the stopper, you can adjust its height. Find the adjustable screw located at the base of the stopper and use a flathead screwdriver to unscrew it.
Once the screw is removed, you can adjust the stopper’s height by moving it up or down. This will allow you to set the stopper at the desired height to ensure a proper seal.
Step 3: Adjust the Length of the Horizontal Rod
If your sink stopper is not closing properly, it may be because the horizontal rod is too long or too short. To adjust the length of the rod, you will need to locate the clip that connects the rod to the lift arm. Slide the clip up or down the rod until you achieve the desired length. Make sure to test the stopper after adjusting the rod to ensure it is closing properly.
Step 4: Reattach the Stopper to the Drain
Once you have adjusted the stopper to your desired height and adjusted the length of the horizontal rod, it’s time to reattach the stopper to the drain. First, reattach the clevis to the horizontal rod, making sure it is screwed in tightly.
Then, insert the stopper back into the drain and push down on the rod to make sure it is properly secured. Finally, test the stopper to ensure it is closing properly and creating a tight seal.
Step 5: Check for Leaks
After you’ve adjusted the sink stopper, it’s important to check for any leaks around the drain. Run water and observe if any water is pooling around the sink. If you notice any leaks, it may be due to a loose connection or a damaged sealing ring. You may need to tighten the connections or replace the sealing ring to eliminate any leaks.
Step 6: Adjust the Lift Arm
The lift arm is the vertical rod that connects the stopper to the sink lever. If the sinking lever is not lifting or lowering the stopper properly, you may need to adjust the lift arm. To do this, locate the clip on the end of the lift arm and use pliers to loosen it. Then, move the lift arm up or down until it is at the desired height.
Step 7: Test the Stopper
Once you have completed all of these steps, it’s important to test the stopper to make sure everything is working properly. Turn on the water and check that the stopper is sealing tightly and there are no leaks. If there are any issues, you may need to go back and adjust the stopper or lift arm.
With these steps, you can easily adjust your sink stopper and ensure it is properly sealed without any leaks. Be sure to take extra caution when adjusting the components of the sink stopper to ensure everything is secure and working correctly. If you find yourself in over your head, it’s always best to call a professional plumber for assistance. Your sink stopper should now be properly adjusted and ready for use!
5 Considerations Things When You Need to Adjust a Sink Stopper
1. Identify the Type of Stopper You Have
The first step in adjusting a sink stopper is to identify the type of stopper you have. There are two main types: lift-and-turn stoppers and push-and-pull stoppers. Lift-and-turn stoppers are operated by turning the knob on top of the stopper, while push-and-pull stoppers are operated by pushing or pulling on the knob. Knowing which type of stopper you have will make it easier to adjust it correctly.
2. Check for Obstructions
Once you’ve identified the type of stopper you have, check to see if there are any obstructions that could be preventing it from working properly. This could include debris or hair lodged in the drain or around the mechanism that operates the stopper. If there are any obstructions, remove them before attempting to adjust the stopper.
3. Adjust the Linkage
If your sink has a lift-and-turn stopper, check if the linkage between the knob and the mechanism is secure and properly adjusted. If not, adjust it until it is tight and secure so that it can operate correctly when you turn the knob. For push-and-pull stoppers, make sure that all components are connected securely so that they can move freely when you press or pull on them.
4. Clean and Lubricate
Cleaning and lubricating your sink’s components is an important step in adjusting a sink stopper and maintaining its functionality over time. Use a soft cloth to clean away any dirt or debris around your drain, and then lubricate all moving parts with silicone spray or white lithium grease to ensure they move freely without sticking or squeaking when used.

5. Test It Out
Once you’ve adjusted your sink’s components, test out your work by running some water into your sink and operating your sink’s lever or knob to raise and lower your sink’s plug or basket strainer assembly up and down several times to make sure everything is working properly before using it again normally.
By following these steps, you can properly adjust any sink stopper quickly and easily. Remember that it is important to regularly check your sink’s components for obstructions or loose parts so the stopper continues to operate correctly over time.
If you experience any issues with your sink’s mechanism, contact a professional plumber for assistance. With a few simple steps, you can restore your sink’s functionality and enjoy the convenience of using it again.
5 Benefits of Adjust a Sink Stopper
1. Easier to Clean
One of the primary benefits of adjusting a sink stopper is that it makes it easier to clean the sink. When the stopper is properly adjusted, it can prevent debris and food particles from entering the drain, which can help to reduce clogs and make cleaning the sink much simpler. Additionally, adjusting the stopper can also make it easier to reach all areas of the sink when cleaning.
2. Prevents Clogs
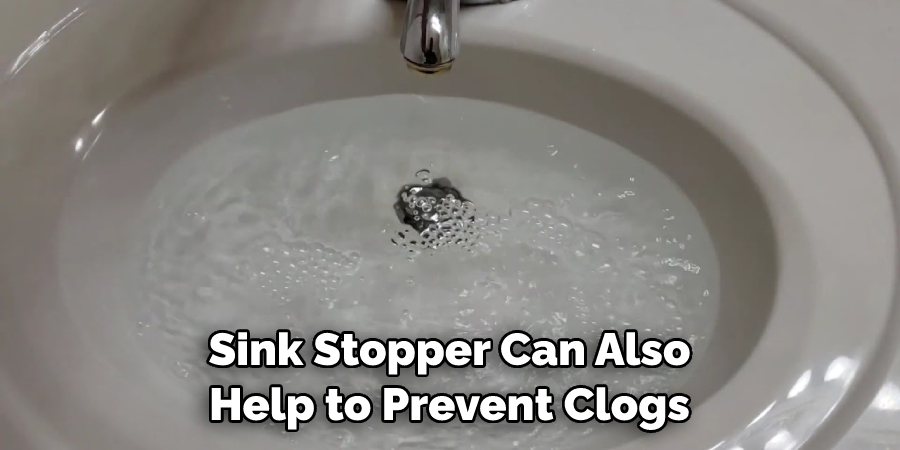
Adjusting a sink stopper can also help to prevent clogs in your drains. If the stopper is not properly adjusted, water and debris can enter the drain, which can lead to clogs over time. By adjusting the stopper so that it fits snugly against the drain opening, you can ensure that no water or debris enters your plumbing system.
3. Keeps Water in the Sink
Adjusting a sink stopper can also help to keep water in your sink rather than spilling onto your countertop or floor. If your stopper is not adjusted correctly, it may not fit snugly against the drain opening, which could cause water to leak out of your sink when it is filled with water. Adjusting your sink stopper will ensure that all of the water stays in your sink where it belongs.
4. Saves Money on Repairs
Adjusting a sink stopper can also save you money on repairs in the long run as it helps to prevent costly clogs from forming in your plumbing system.
Clogged drains are one of the most common plumbing problems homeowners face and they often require professional repair services, which can be quite expensive if left unchecked for too long. By regularly adjusting your sink stoppers, you can help to reduce or even eliminate this expense altogether.
5. Easy DIY Project
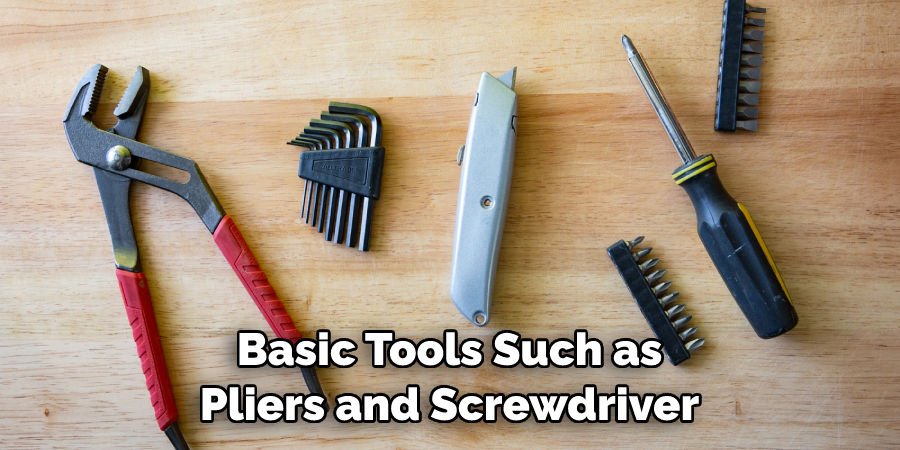
Finally, adjusting a sink stopper is an easy DIY project that anyone with basic DIY skills should be able to complete without any issue. All you need are some basic tools such as pliers and screwdriver issues, and you should be able to adjust your own sinks in just a few minutes without having to hire a professional plumber or handyman service. So why not give it a try today? It could save you time and money in the long run!
Conclusion
Adjusting a sink stopper can be a quick and easy fix for any sink issues you may be experiencing. By following this step-by-step guide, you can adjust the height of your stopper and the length of the horizontal rod to ensure a proper seal and proper function. With just a few minutes, you can have your sink working like new again. Thanks for reading our post about how to adjust a sink stopper.

