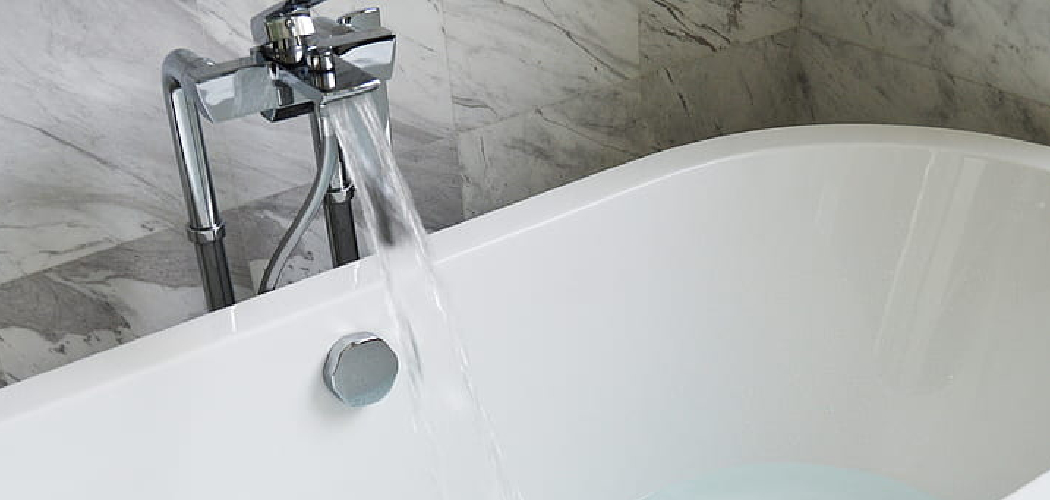
Adjusting the flow on a bath tap is a straightforward yet essential skill for achieving the desired water pressure and temperature while bathing. Whether you’re dealing with a modern mixer tap or traditional separate hot and cold taps, understanding how to control the flow can enhance your comfort and help conserve water.
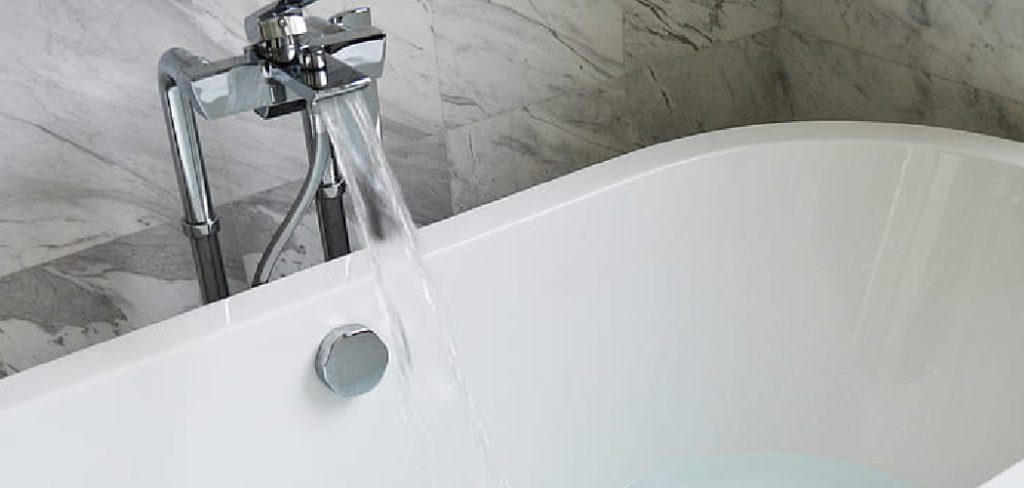
This guide on How to adjust the flow on a bath tap will walk you through the steps to adjust the water flow effectively, ensuring a perfect bathing experience every time.
Why Adjust the Flow on a Bath Tap?
There are several reasons why adjusting the flow on a bath tap is necessary. Firstly, it allows you to control the water pressure and temperature, making your bathing experience more comfortable and enjoyable. Secondly, adjusting the flow can help conserve water by preventing wastage or excessive use. This is not only beneficial for the environment but also for reducing your water bill.
Additionally, adjusting the flow on a bath tap can also prevent splashing and potential accidents caused by high water pressure.
It is essential to note that adjusting the flow on a bath tap may vary depending on the type of tap you have. Therefore, it’s crucial to identify your tap type before attempting any adjustments.
Needed Materials
Bath Tap:
- Modern Mixer Taps or Traditional Separate Hot and Cold Taps
Tools:
- Adjustable Wrench or Pliers (If Needed)
8 Steps on How to Adjust the Flow on a Bath Tap
Step 1: Identify Your Tap Type
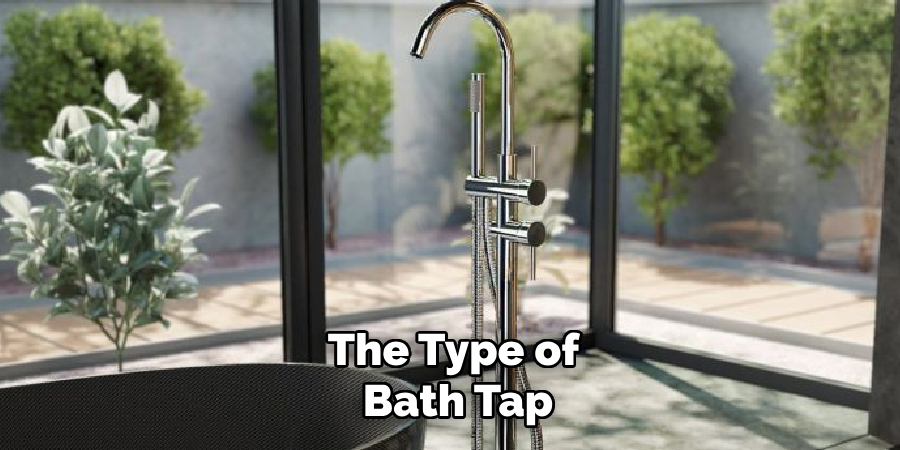
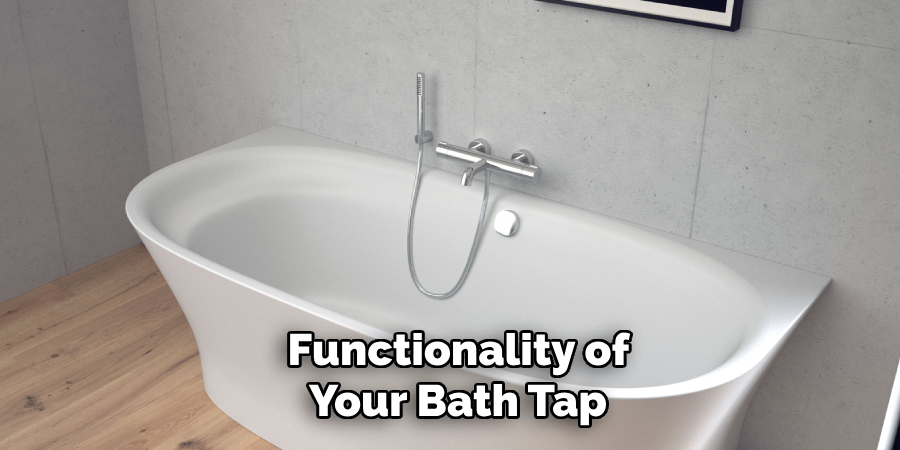
Before making any adjustments, it is crucial to identify the type of bath tap you are working with. There are typically two main types of taps to consider: modern mixer taps and traditional separate hot and cold taps. Modern mixer taps combine hot and cold water flows into a single stream, allowing you to control the temperature and pressure with one handle or lever.
On the other hand, traditional taps have separate handles for hot and cold water, requiring individual adjustments for each. Understanding your tap type will guide you in determining the appropriate method for adjusting the water flow. Take a moment to examine your tap and confirm its design before proceeding to the next step.
Step 2: Locate the Flow Control
Once you have identified your tap type, locate the flow control. Mixer taps typically have a single handle or lever on top of the tap. For traditional separate hot and cold taps, you will find two individual handles for hot and cold water flow control. This step may seem obvious, but it’s essential to avoid any confusion during adjustment.
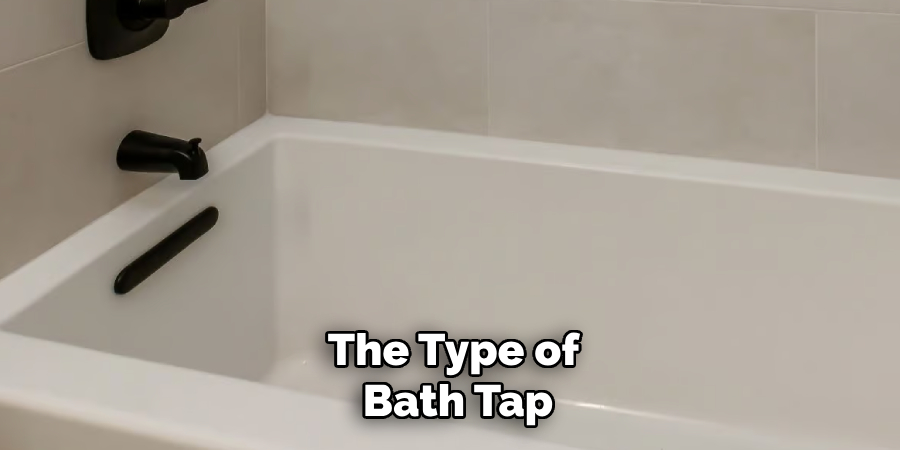
It is worth noting that some mixer taps may have a separate flow control knob or button that needs to be adjusted before using the main handle or lever. In this case, make sure to locate and adjust the flow control knob/button as well.
Step 3: Turn on the Tap
With the flow control located, proceed to turn on the tap. Start by gradually turning or lifting the handle, lever, or individual knobs, depending on your tap type. This step allows you to observe the current water flow and pressure. For mixer taps, slowly move the handle or lever to find the desired combination of hot and cold water.
For traditional taps, begin by turning on one handle at a time, either hot or cold, and adjust accordingly. Be cautious not to open the tap fully at first, as high water pressure might cause splashing or discomfort. Testing the initial flow will help you determine the adjustments needed for an ideal bathing experience.
Step 4: Adjust the Flow Control
Based on your observations from Step 3, make any necessary adjustments to the flow control. For mixer taps, you can typically adjust the temperature and pressure by moving the handle or lever left or right, depending on your tap’s design. Turn it in one direction for hotter water and in the opposite direction for colder water. Similarly, push or pull it to increase or decrease pressure, respectively.
For traditional taps, you can adjust the flow of hot and cold water independently by turning each handle clockwise (to reduce flow) or counterclockwise (to increase flow). Find a balance between hot and cold flows that suit your preference. You may need to make minor adjustments multiple times to achieve the desired flow.
Step 5: Test the Water Flow
Once you have made adjustments to the flow control, test the water flow to ensure it meets your desired preferences. Allow the water to run for a few seconds and check both the pressure and temperature. For mixer taps, confirm that the handle or lever is positioned correctly and provides a steady stream of water at the appropriate temperature. For traditional taps, ensure that the balance between the hot and cold handles produces the optimal mix of water flow and heat.
If the water pressure is too high or low, or if the temperature is not as expected, make small adjustments to the flow control as needed. Continue testing until the water flow feels comfortable and consistent. This step ensures a perfect bathing experience without any surprises once you begin filling the tub.
Step 6: Consider Water Conservation
While adjusting the flow on your bath tap, it is essential to consider water conservation. If you are using a mixer tap, be mindful of how far you turn the handle or lever to control the pressure and temperature. Turning it too far may result in unnecessary wastage of water. Similarly, with traditional taps, make sure to shut off the handles completely when not in use to prevent any leaks or drips that could waste water over time.
Step 7: Make Necessary Repairs
If you notice any issues with your tap during the adjustment process, such as leaks or difficulty turning handles/levers, it might be necessary to make repairs before proceeding. For minor issues, using an adjustable wrench or pliers to tighten loose fittings may suffice. However, if you encounter significant problems, it is best to seek professional help from a plumber.
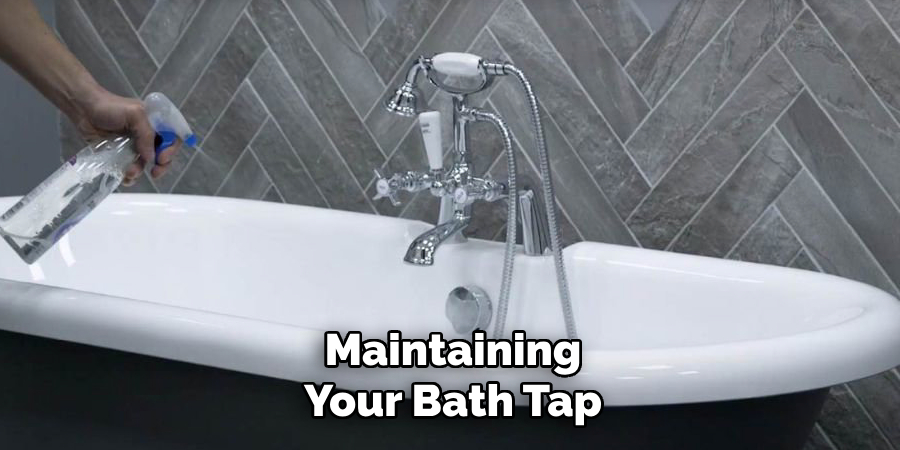
It is always better to address any issues as soon as possible rather than wait for them to worsen and potentially cause accidents or damage. Make sure to regularly inspect your bath tap for any signs of wear and tear and fix them promptly.
Step 8: Enjoy Your Perfectly Adjusted Bath Tap
Congratulations! You have successfully adjusted the flow on your bath tap and can now enjoy a relaxing bath without any surprises or discomfort caused by high water pressure or extreme temperatures.
Remember to turn off the tap completely after use to conserve water and prevent any potential accidents. With these simple steps on How to adjust the flow on a bath tap, you can easily adjust the flow on any bath tap and customize your bathing experience to suit your preferences.
Do You Need to Use Professionals?
Deciding whether to involve professionals in adjusting your bath tap depends on the complexity of the task and your comfort level with DIY work. If the adjustments are straightforward, such as turning handles or levers to control the flow and temperature, you may not require professional assistance. However, if you encounter issues like leaks, stiff handles, or irregular water flow that simple adjustments can’t resolve, it might be time to call a plumber.
Experienced professionals can identify and fix underlying problems that may not be immediately apparent, such as worn-out washers, damaged cartridges, or issues with water pressure systems. Additionally, hiring a professional ensures that the tap is adjusted or repaired properly, minimizing the risk of further complications. While DIY solutions can be cost-effective, seeking professional help for significant repairs or maintenance safeguards the longevity and functionality of your bath tap.
Frequently Asked Questions
Q1: Can I Use the Same Method to Adjust the Flow on Any Bath Tap?
A1: Yes, these steps can be applied to most types of bath taps, including mixer taps and traditional separate hot and cold taps. However, it is always best to refer to the manufacturer’s instructions for specific details and considerations.
Q2: How Can I Prevent Accidents or Damage While Adjusting the Flow on My Bath Tap?
A2: It is crucial to be cautious and follow safety measures while adjusting the flow on your bath tap. This includes avoiding sudden movements, being mindful of hot water temperatures, and seeking professional help if needed. Additionally, regularly inspecting and maintaining your bath tap can prevent any potential accidents or damage in the future.
Q3: Is Water Conservation Necessary When Adjusting the Flow on a Bath Tap?
A3: Yes, it is always important to practice water conservation when using any household appliance. Be mindful of how far you turn the handle or lever to control water flow and pressure and remember to shut off the tap completely when it is not in use. This helps conserve water and prevent any potential wastage.
Conclusion
Adjusting the flow on your bath tap is a simple yet essential process to ensure a comfortable and enjoyable bathing experience. By following the steps outlined in this guide on How to adjust the flow on a bath tap, you can efficiently manage water pressure and temperature, conserve water, and address any potential issues with your tap.
Regular maintenance and mindfulness during use not only enhance your bath time but also promote long-term efficiency and safety. With these methods, you can take full control of your bath tap and customize the experience to suit your preferences perfectly.

