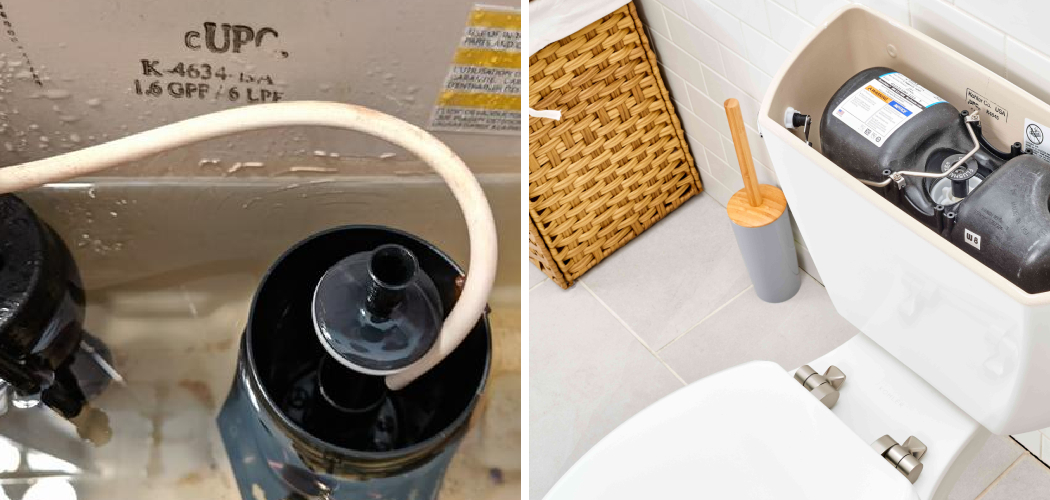
Adjusting the water level in a Kohler toilet bowl is a straightforward process that ensures optimal flushing performance and water efficiency.
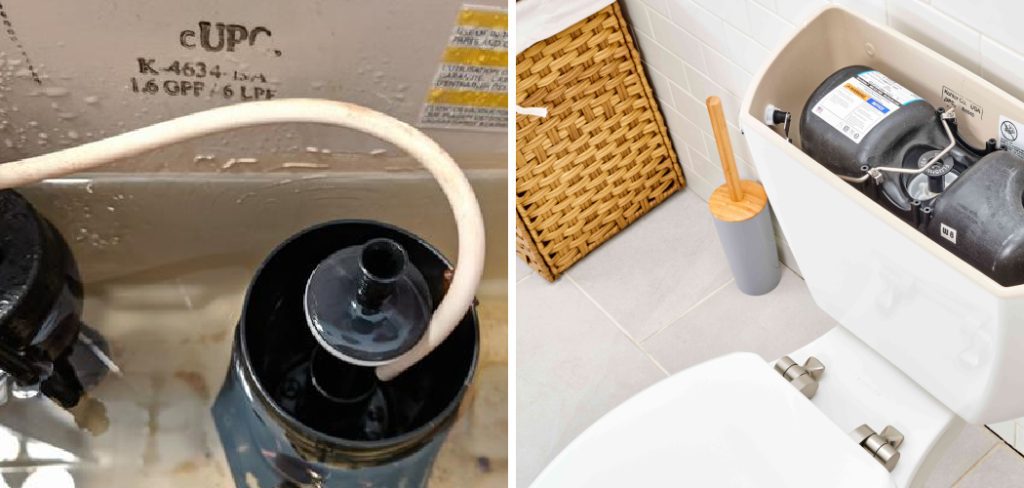
Kohler toilets are equipped with a fill valve that controls the amount of water entering the bowl after each flush. Proper adjustment of this water level can prevent issues like incomplete flushing or excessive water usage.
By understanding the components of your Kohler toilet, including the float and refill tube, you can easily adjust the water level to the manufacturer’s recommended settings. This guide will provide clear, step-by-step instructions on how to adjust water level in kohler toilet bowl, ensuring it operates efficiently and effectively.
Whether you’re troubleshooting water level discrepancies or aiming to conserve water, mastering this adjustment process will help maintain your Kohler toilet’s performance and prolong its lifespan.
Importance of Proper Water Level
Maintaining the proper water level in your Kohler toilet bowl is crucial for several reasons. Firstly, the correct water level ensures an effective flush, which is essential for hygiene and to prevent clogs. If the water level is too low, waste might not be flushed away completely, leading to frequent blockages and the need for repeated flushing, wasting more water in the process.
Conversely, a water level that is too high can result in overflow or unnecessary water consumption, which negatively impacts your utility bills and the environment. By adhering to the recommended water level settings, you not only optimize the toilet’s performance but also enhance water conservation.
Proper water level adjustment helps maintain consistent toilet function, reducing the likelihood of maintenance issues and ensuring a hassle-free, efficient bathroom experience.
The Role of Water Level
The water level in your Kohler toilet bowl plays a pivotal role in its overall functionality and efficiency. The correct water level ensures that enough water is available in the bowl to create the necessary suction for an effective flush, which is essential for removing waste completely. It also affects the bowl’s ability to refill quickly and maintain a proper balance between water saved and flushing efficiency.
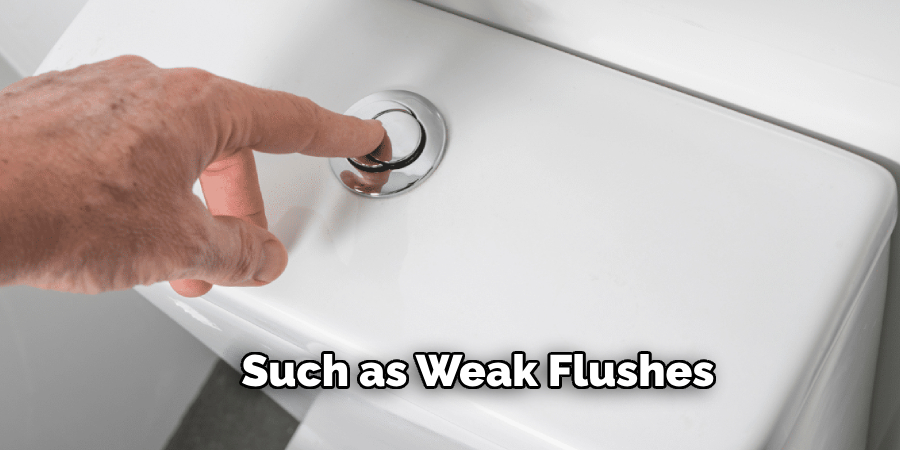
If the water level is not set correctly, it can lead to problems such as weak flushes, where waste remains in the bowl, or excessive water use, which can hike your utility bills and contribute to environmental waste.
Additionally, maintaining the appropriate water level helps in preventing damage to the internal components of the toilet, such as the fill valve and the float mechanism, thereby reducing the frequency of repairs and extending the life of your toilet.
Thus, understanding and managing the water level is crucial for achieving optimal performance, cost-efficiency, and sustainability in your bathroom.
10 Methods How to Adjust Water Level in Kohler Toilet Bowl
1. Locate the Water Level Adjustment Screw
The first step in adjusting the water level in a Kohler toilet bowl is to locate the water level adjustment screw. This screw is typically located on top of the fill valve or near the float mechanism inside the toilet tank. In Kohler toilets, the fill valve and float mechanism are often integrated into a single unit, making it easier to identify the adjustment points.
2. Turn Off the Water Supply
Before making any adjustments to the water level, it’s essential to turn off the water supply to the toilet. Locate the shut-off valve behind or beside the toilet and turn it clockwise to close. Flush the toilet to drain the tank and bowl completely. This step prevents water from refilling the tank while you make adjustments, minimizing the risk of spills or leaks.
3. Adjust the Float Height
In many Kohler toilets, the water level in the bowl is controlled by adjusting the float height. The float is a buoyant device that rises and falls with the water level in the tank. To lower the water level in the bowl, adjust the float downward by turning the adjustment screw clockwise. Conversely, to raise the water level, turn the adjustment screw counterclockwise to raise the float.
4. Check the Water Level in the Tank
After adjusting the float height, turn the water supply back on and allow the tank to refill. Observe the water level inside the tank. The correct water level in the tank is typically marked on the inside of the tank or specified in the toilet’s manual. Adjust the float height until the water level reaches the designated mark or approximately 1 inch below the top of the overflow tube, ensuring proper tank filling and flush performance.
5. Monitor the Bowl Water Level
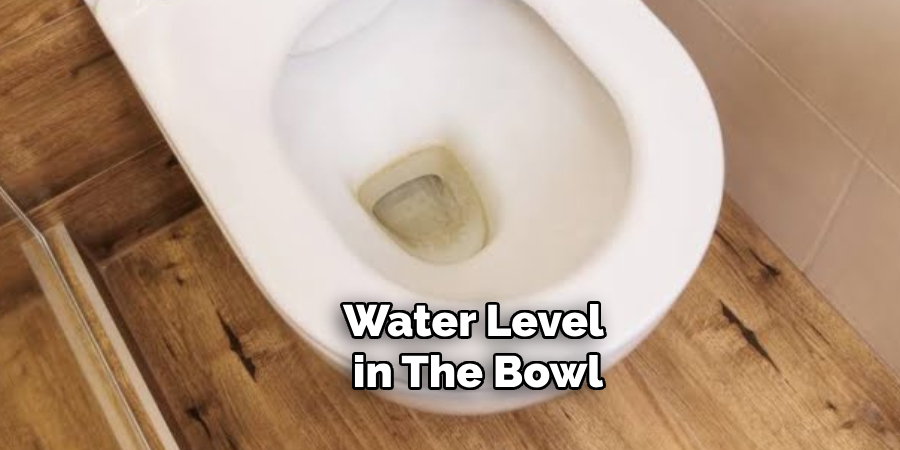
Once you have adjusted the float height to achieve the desired water level in the tank, flush the toilet and observe the water level in the bowl. The water level in the bowl should be approximately halfway up the overflow tube after flushing. If the bowl water level is too high or too low, make further adjustments to the float height as needed until the proper bowl water level is achieved.
6. Test Flush Performance
After adjusting the water level in both the tank and bowl, test the toilet’s flush performance to ensure everything is functioning correctly.
Flush the toilet several times and observe the flushing action and water flow. The toilet should flush smoothly, with adequate water entering the bowl to remove waste effectively. Adjust the float height if necessary to optimize flush performance and water efficiency.
7. Check for Leaks
While testing the flush performance, inspect the toilet and tank for any signs of leaks. Ensure that water is not leaking from the tank into the bowl or onto the floor. Tighten any connections or fittings if leaks are detected. Properly adjusted water levels help prevent leaks and maintain the integrity of the toilet’s operation.
8. Consider Adjusting the Fill Valve
In some Kohler toilets, the water level in the bowl can also be adjusted by modifying the fill valve’s height. The fill valve is responsible for refilling the tank after each flush.
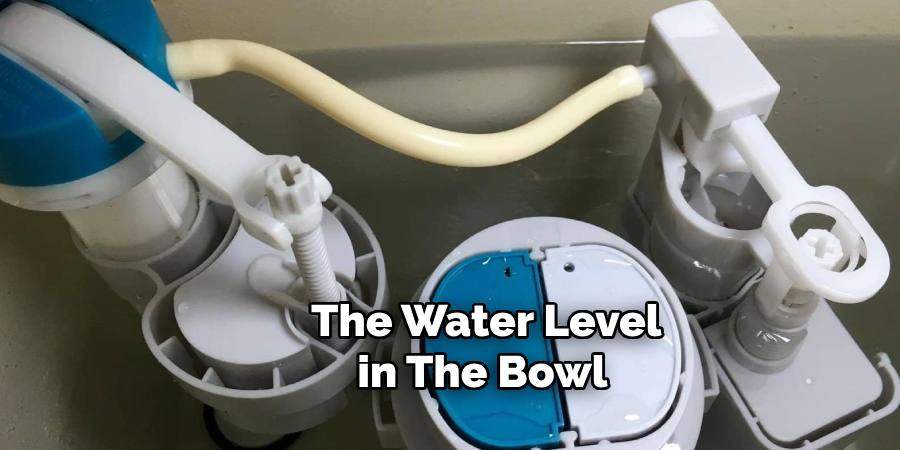
To adjust the fill valve, locate the adjustment rod or screw on the side of the fill valve and adjust it according to the manufacturer’s instructions. Lowering the fill valve height decreases the amount of water entering the tank, which can indirectly affect the bowl water level.
9. Consult the Toilet Manual
If you encounter difficulties or are unsure about adjusting the water level in your Kohler toilet, refer to the toilet’s manual or manufacturer’s instructions.
The manual provides specific guidelines and recommendations for adjusting water levels and troubleshooting common issues. It may also include diagrams or illustrations to help you locate adjustment points and understand the toilet’s internal mechanisms.
10. Regular Maintenance and Monitoring
Once you have successfully adjusted the water level in your Kohler toilet bowl, incorporate regular maintenance practices to ensure continued optimal performance. Periodically check the water level in the tank and bowl to verify that they remain within the desired range.
Inspect the toilet for any signs of leaks, worn components, or mineral buildup that could affect water flow and efficiency. Promptly address any issues to prevent potential damage and maintain the longevity of your Kohler toilet.

Things to Consider When Adjusting Your Kohler Toilet
Tools and Equipment
Before you start adjusting the water level in your Kohler toilet, gather all necessary tools and equipment. Commonly needed items include a flat-head screwdriver, wrench, and pliers. Having these tools on hand ensures a smoother and more efficient adjustment process.
Water Usage
Consider the impact of water usage when adjusting the toilet water level. Lowering the water level can help conserve water, reducing both your water bills and environmental footprint. However, ensure that the bowl still receives sufficient water for effective flushing to prevent clogs and incomplete waste removal.
Toilet Model Specifications
Different Kohler toilet models may have varying internal mechanisms and adjustment methods. Familiarize yourself with the specific model and its components. Refer to the manufacturer’s instructions for model-specific guidelines to avoid any damage during the adjustment process.
Safety Precautions
Safety should always be a priority. Turn off the water supply before starting any adjustments to avoid accidental leaks or spills. If you are unsure about handling certain components, consider consulting a professional plumber to prevent damage or safety hazards.
Water Quality
The quality of your household water supply can influence the toilet’s performance. Hard water with high mineral content can cause buildup and affect the efficiency of internal components. Regularly inspect and clean the components to maintain optimal performance and prevent long-term issues.
Conclusion
Adjusting the water level in a Kohler toilet bowl is a manageable task that enhances flushing efficiency, water conservation, and overall toilet performance. By following these ten comprehensive methods, you can confidently adjust the float height and fill valve to achieve the desired water levels in both the tank and bowl.
Proper adjustment ensures efficient flushing, prevents water waste, and reduces the risk of leaks or operational issues. Thanks for reading, and we hope this has given you some inspiration on how to adjust water level in kohler toilet bowl!

