Ensuring that a tap is properly aligned with a basin is an essential step in achieving both functionality and aesthetic harmony in any bathroom or kitchen. A poorly aligned tap can lead to water spillage, inefficient use, and a less polished appearance. This guide will walk you through the key steps of how to align tap with basin, providing a seamless and efficient setup.

Why Tap and Basin Alignment Matters
The alignment of a tap with a basin is crucial for several reasons. First and foremost, proper alignment ensures efficient water flow directly into the basin, minimizing the risk of water splashing onto surrounding surfaces. This not only keeps the area cleaner but also reduces the likelihood of water damage to countertops and cabinetry.
Additionally, a well-aligned tap promotes ease of use, preventing awkward hand positioning or difficulty in accessing the water stream. From an aesthetic perspective, the alignment enhances the overall design of the space, creating a cohesive and visually pleasing environment. Whether in a modern or traditional setting, achieving proper tap and basin alignment adds to both the functionality and beauty of your bathroom or kitchen.
Tools and Materials Needed
To achieve proper tap and basin alignment, it is essential to have the right tools and materials on hand. Here’s a list of what you’ll need:
- Measuring Tape: For accurate measurements of distances and dimensions.
- Adjustable Wrench: To tighten or loosen fittings as required.
- Plumber’s Tape: To ensure water-tight seals and prevent leaks.
- Level Tool: To confirm that the tap and basin are perfectly aligned.
- Silicone Sealant: For securing the basin and ensuring a durable, waterproof finish.
- Screwdriver Set: To handle various types of screws during installation.
- Cleaning Cloths: To wipe away debris or excess sealant during and after the installation.
Having all these tools and materials ready before starting the project will streamline the process and help you achieve professional results.
10 Methods How to Align Tap with Basin
1. Measure the Central Axis of the Basin
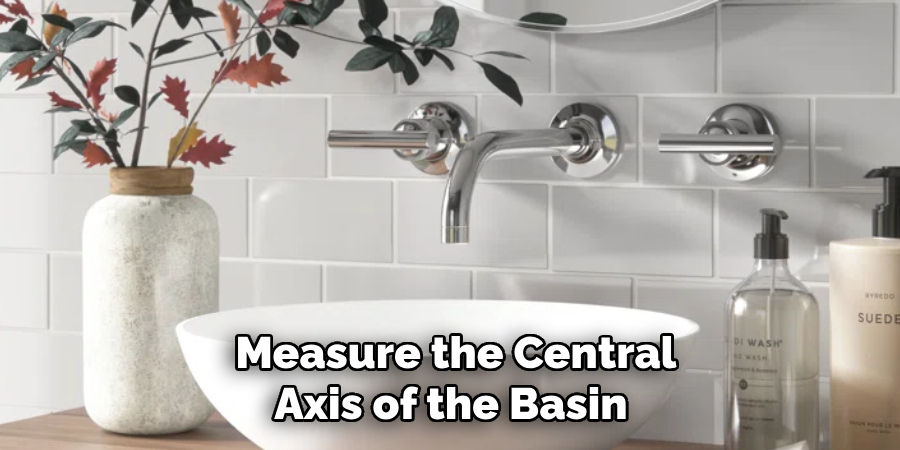
The very first step in aligning a tap with a basin is identifying the central axis of the basin. Most sinks are designed with a symmetrical shape, so the central point of the basin is where the water stream should ideally fall. Use a measuring tape or ruler to measure the full width of the sink, then mark the halfway point using a pencil or masking tape. This point acts as your guide for the tap’s center and ensures the water stream falls squarely into the middle of the bowl, minimizing splashes and maximizing efficiency.

2. Use a Template or Marking Jig for Tap Holes
If you’re drilling a new hole or placing a countertop-mounted tap, using a template can greatly increase accuracy. Some tap manufacturers provide paper templates that show exactly where the tap should be mounted relative to the sink. Alternatively, you can make a DIY jig using cardboard or scrap wood. This helps you avoid guesswork and aligns the tap precisely with the central line of the basin. Mark the drill points clearly and double-check before committing to any holes.
3. Check Spout Reach Against Basin Bowl Depth
Tap alignment isn’t just left-to-right—it’s also about front-to-back placement. A common mistake is installing a tap too far back or forward, causing the water stream to land on the basin edge or even outside of it. Measure the spout’s reach (how far it extends from the base) and ensure that the end of the stream hits the deepest, most central area of the basin. Ideally, the water should flow down the plughole without excessive splashing. Adjust the tap’s mounting position accordingly to achieve the right arc.
4. Align Tap Handle Movement with Wall or Mirror Clearance
When aligning a tap with a basin, don’t overlook the handle movement. Some taps require backward clearance to open fully, especially single-lever mixer taps. If your tap is mounted too close to a wall or mirror, the handle may not lift or swivel properly. During alignment, simulate the full range of motion of the handle to check for obstructions. You might need to shift the tap slightly forward or choose a side-handled or top-handled tap if space is limited.
5. Use a Spirit Level to Ensure Vertical Alignment
A visually crooked tap can throw off the whole look of your basin area. Once the tap is loosely in place, use a small spirit level to check its vertical position. The base should sit flat against the surface, and the body of the tap should be perfectly upright. This ensures that the water stream flows straight and that the tap handle operates smoothly. Tighten mounting nuts gradually while checking with the level to maintain alignment throughout the installation.

6. Account for Basin Curve and Rim Thickness
Many basins have a curved rim or a sloped back edge, which can distort the visual alignment if not accounted for. Before drilling or fixing the tap, visually assess the sink shape from eye level. If the curve is pronounced, it may create the illusion of a slanted tap even when it’s technically straight. In such cases, align with the central line from above, and check from multiple angles before final tightening. Choose a mounting position on the flattest part of the rim if possible.
7. Ensure Proper Gasket and Base Seating
To achieve proper alignment, the base of the tap must sit flush on the mounting surface. If the rubber or metal gasket underneath the tap is off-center or uneven, it can cause the tap to tilt or rotate slightly. Before securing the tap, clean the mounting surface thoroughly and position the gasket precisely. Apply gentle downward pressure as you tighten the mounting nuts to keep the base flat and evenly compressed, ensuring a tight seal and accurate alignment.
8. Align Tap with Other Fixtures for Aesthetic Balance
If your basin is part of a larger setup—like a double sink, vanity, or countertop—aligning the tap with surrounding elements is key to visual harmony. Stand back and assess the symmetry between the tap and nearby fixtures like mirrors, shelves, or cabinetry. In some designs, especially asymmetrical or off-center basins, you may need to align the tap with the overall layout rather than the exact center of the basin. Trust your eye as much as your ruler for a pleasing final look.
9. Tighten Fittings Gradually and Evenly
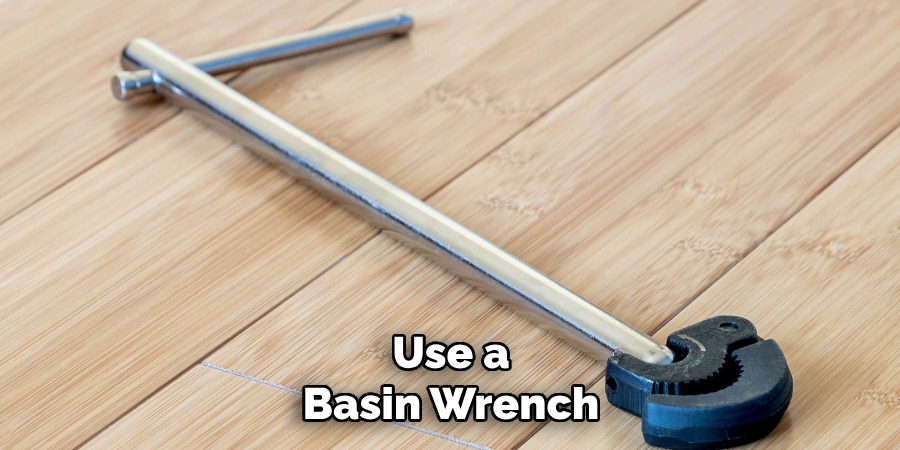
During installation, uneven tightening of the securing nuts under the basin can cause the tap to twist slightly. This is a common reason taps appear misaligned even after careful measuring. Use a basin wrench or adjustable spanner to tighten both sides gradually, alternating turns to apply even pressure. After each turn, recheck the alignment and adjust as necessary. Continue this process until the tap is securely fixed and perfectly straight.

10. Test and Fine-Tune After Installation
Once the tap is fully installed, run water through it and observe the stream. It should flow directly into the center of the basin with minimal splashing. Watch how the water interacts with the basin’s slope and depth. If adjustments are needed, you may be able to loosen the mounting nut slightly and reposition the tap a few millimeters. Fine-tuning at this stage makes a big difference in performance and satisfaction. Don’t forget to wipe away any pencil marks or tape used for guides after confirming proper alignment.
Things to Consider When Choosing a Tap
Selecting the right tap for your basin involves more than just aesthetics. First, consider the height and reach of the tap to ensure it aligns with your basin’s dimensions — a mismatch can cause splashing or discomfort when in use. Next, evaluate the type of water flow you need; for instance, aerated taps minimize water usage while providing a smooth stream. Additionally, take into account the style and finish of the tap to complement the overall design of your space. Materials like brass or stainless steel offer durability, while finishes like chrome or matte black add a unique touch to your setup. Lastly, factor in the installation process and compatibility with your plumbing system to avoid surprises during fitting.
Maintenance and Upkeep
Proper maintenance and regular upkeep of your taps are essential to ensure their longevity and optimal performance. Start by cleaning the taps regularly using a mild soap solution and a soft cloth to prevent the buildup of limescale and grime. Avoid abrasive cleaners or scrubbers that can damage the finish. Periodically check for leaks or drips, as addressing these issues promptly can save water and prevent further damage.

If your taps have aerators, clean them periodically by soaking them in vinegar to remove mineral deposits. For more complex issues, such as reduced water flow or internal malfunctions, consider consulting a professional plumber to avoid further complications. Routine care not only keeps your taps functional but also preserves their appearance over time.
Conclusion
In conclusion, selecting the right tap involves balancing functionality, style, and practicality. By understanding your specific requirements, considering water flow options, and choosing durable materials with a complementary finish, you can ensure your new tap enhances both the efficiency and aesthetics of your space. So, there you have it – a quick and easy guide on how to align tap with basin.

