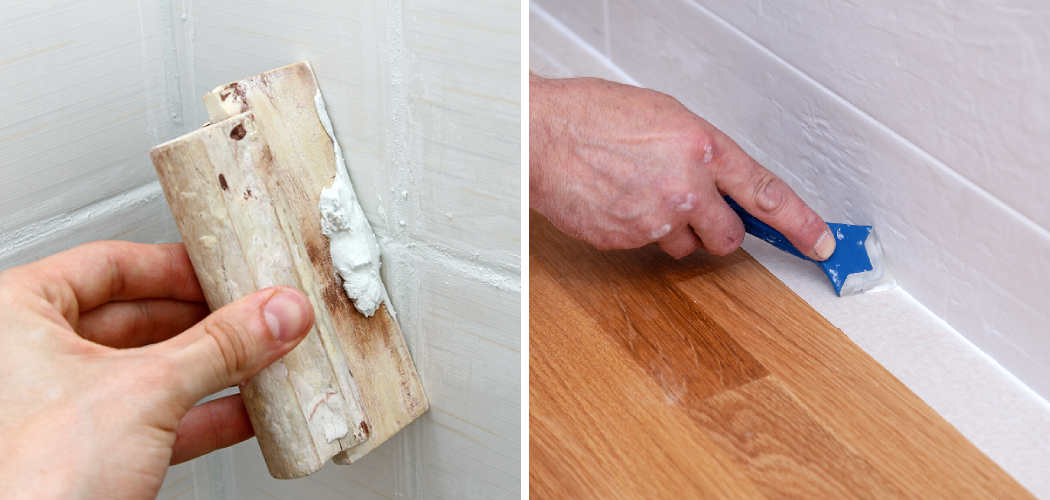
Grout sealer helps to protect the grout and tiles in your shower from staining, discoloration, cracking, and other damage caused by moisture. Applying a grout sealer can also help to prevent mold growth.
Without sealing the grout, water can penetrate deep into the porous material and saturate it with moisture. This moisture can then be a breeding ground for dangerous mold, mildew, and bacteria. Sealing your grout will help to prevent all of this from occurring.
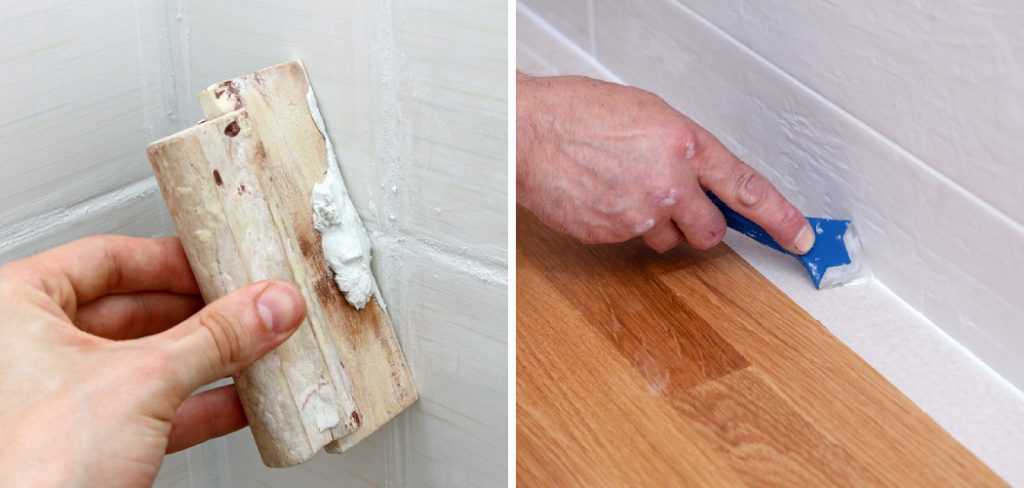
The application of grout sealer in the shower offers numerous advantages. Sealing with a quality grout sealer helps to prevent water from seeping into the porous grout, which can lead to mold, mildew, and other moisture-related issues. Grout sealer also helps protect the tile against staining caused by dirt and oils. In this blog post, You will learn in detail how to apply grout sealer in shower.
Step by Step Processes for How to Apply Grout Sealer in Shower
Step 1: Inspect the Shower
Before you start the process of applying grout sealer, take a look at the shower and make sure all the tiles are firmly in place. If any tiles have come loose or cracked, replace them first before moving on to apply grout sealer.
Step 2: Clean Tile & Grout
Use an old toothbrush and soapy water to scrub away dirt and grim from the tile and grout. Make sure to get into all the nooks and crannies of the grout lines. Once you have finished cleaning, rinse off the shower with fresh water and let it dry completely before applying grout sealer.
Step 3: Apply Grout Sealer
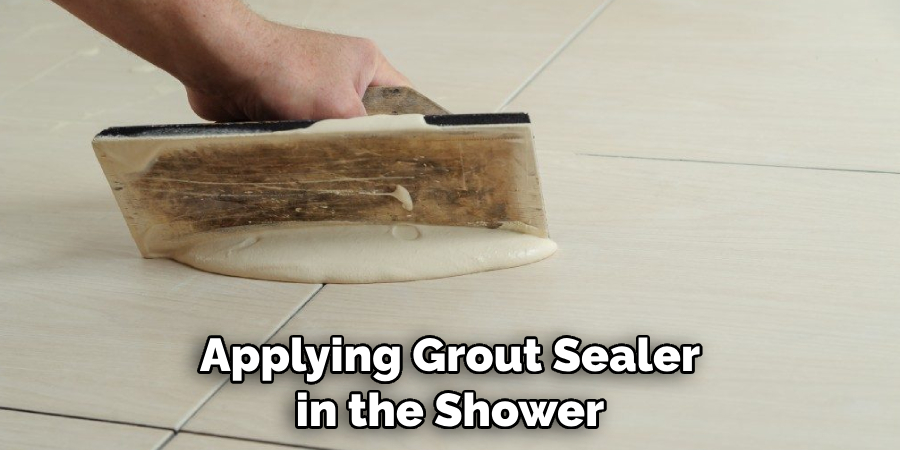
Using a foam brush, begin to apply the grout sealer in even strokes along the grout lines. Make sure to cover all the areas of grout between each tile in order for it to be effective. Let the sealer dry on its own for at least 24 hours.
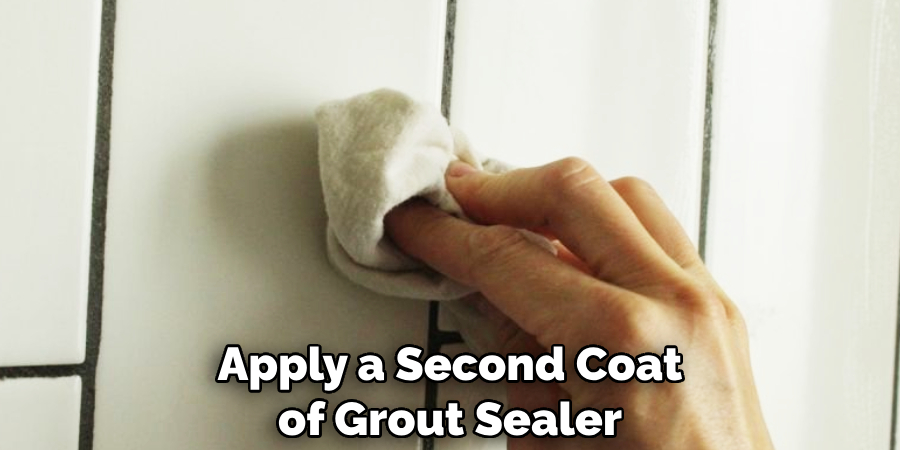
Step 4: Apply a Second Coat of Sealer
If you’re looking for extra protection, you can apply a second coat of grout sealer after the first has dried. Be sure to let it set before using the shower again. Once the grout sealer has been applied and dried, use a damp cloth to wipe away any excess residue.
Step 5: Let Sealer Cure
Grout sealer takes at least 24 hours to cure completely. Be sure not to get the shower wet during this time frame in order for it to work effectively. Once everything has dried, test the sealer by pouring a few drops of water on different areas of the grout to ensure it’s completely sealed. You can now enjoy your newly sealed shower, and rest assured that it is protected from moisture and dirt.
Following these steps, you can easily apply grout sealer in your shower and ensure it is properly sealed to protect your tiles from water damage.
Safety Precautions for How to Apply Grout Sealer in Shower
- Wear protective eyewear, gloves, and a face mask to protect yourself from the fumes of the grout sealer.
- Ensure that your shower is completely dry before applying any grout sealer. Remove any moisture or standing water using a soft cloth or sponge.
- Read the instructions on the grout sealer before applying it.
- Apply the grout sealer in a well-ventilated area or outside, if possible.
- Follow the manufacturer’s instructions regarding application and drying times.
- Always test a small area first to ensure that you are using the right product for your shower tiles and are happy with the results.
- Wipe away any excess grout sealer from your tiles with a soft cloth or sponge to prevent them from drying on the surface and potentially damaging your tiles. Do this as soon as possible before the sealer has fully dried.
Following these safety precautions ensures that your shower is adequately sealed and protected from moisture.
How Often Should You Reapply the Grout Sealer?
After you’ve applied the grout sealer to your shower, it’s important to reapply the sealer regularly. Depending on the type of grout and usage of the shower, this should be done at least once a year or as needed.
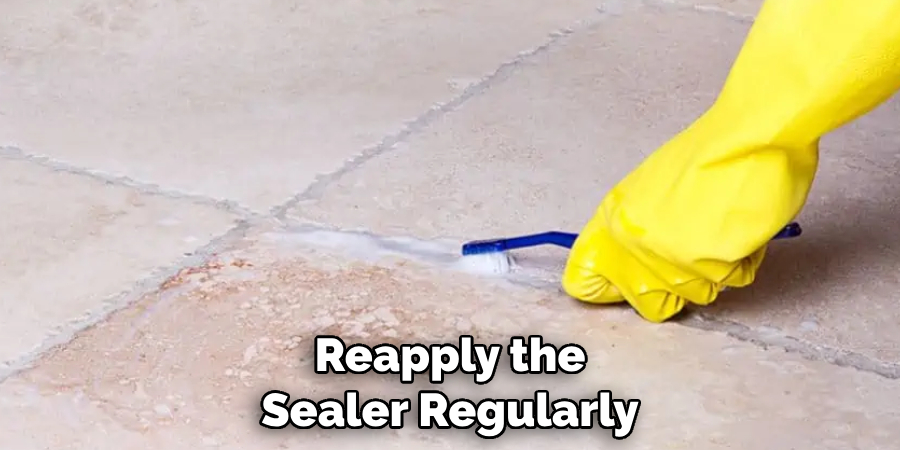
High-traffic showers, like those in commercial spaces, may require more frequent reapplication than residential showers. Before reapplication, check the sealer for any signs of wear or damage that could cause it to fail prematurely.
If you’re unsure if a section needs replacing, test it by wiping away some of the sealers and seeing if your grout is still protected from water or other debris. It’s also important to ensure the sealer is compatible with your grout before reapplying.
When you are ready to reapply the sealer, use a clean sponge or cloth and remove all of the old sealers from the grout lines. Thoroughly dry off any excess water, then apply the new sealer following the manufacturer’s instructions. If you’re using a spray sealer, make sure to cover any nearby surfaces to protect them from overspray.
How Long Should You Wait for the Sealer to Dry Before You Use the Shower Again?
Once you have applied the grout sealer to your shower, you will need to allow it to dry before using the shower again. Depending on the type of sealer used, drying time can vary from several hours up to 24 hours. You must follow the instructions provided by the manufacturer and do not attempt to use your shower until the sealer has been given enough time to set.
In general, you should allow for a minimum of 24 hours before using your shower after applying grout sealer.
It is best to wait an additional 48 or even 72 hours, if possible, for optimal results. This allows the sealer enough time to penetrate deep into the pores of the grout and create an effective seal.
It is also important to ensure that your shower has adequate ventilation while you are waiting for the sealer to dry. Proper airflow will help speed up the drying process, so open a window if possible or turn on a fan in the bathroom. This will help keep humidity levels low and reduce humidity on the walls of your shower.

How Do You Maintain and Clean Your Sealed Shower?
Once you’ve applied grout sealer to your shower, it’s important to maintain it properly for optimal performance. Generally speaking, cleaning a sealed shower is easier than an unsealed one. Here are some tips to keep in mind when maintaining and cleaning your new grout sealer:
- Use mild soap and warm water to clean any dirt or debris that has built up.
- Avoid using harsh chemicals or abrasive cleaning solutions, as they can quickly break down the sealer and diminish its performance.
- Use a soft-bristled brush to gently remove tough stains or grime from the grout lines, but avoid putting too much pressure on the grout.
- For showers with glass enclosures, use a squeegee or lint-free cloth to remove excess water and help prevent the buildup of soap scum.
- Reapply grout sealer as needed, usually every few years or so, depending on how often you use the shower.
- Regularly inspect the grout sealer for signs of wear or damage to ensure it is still performing properly.
By following these tips, you can keep your shower looking great and protect the grout from staining and other damage. Taking good care of your sealed shower will help it last longer and look its best for years to come.
What Are Some Common Mistakes People Make When Applying Grout Sealers in Their Showers?
Applying grout sealer in the shower is an important step in maintaining the appearance and durability of your shower walls. However, it’s easy to make mistakes when applying the sealer improperly.
Here are some common mistakes people make when applying grout sealers in their showers:
- Not Cleaning and Priming the Surface First. Before applying your grout sealer, it’s important to thoroughly clean and prime the surface. Failure to do so may result in a poor bond between the sealer and the grout, leading to premature deterioration of the sealant.
- Applying Too Much Sealer. When applying your grout sealer, it’s important to apply the right amount. Too much sealer can create a mess and cause long-term damage to your shower walls. On the other hand, too little sealer may not provide enough protection against water or dirt.
- Not Letting the Sealant Cure Completely Before Using the Shower. Allowing ample time for the sealant to cure before using your shower is important. If not, you may end up with a sticky residue on your walls that can be hard to remove.
By following these simple steps and avoiding common mistakes, you can ensure that your grout sealer will last longer and provide better protection against water and dirt. That way, you can enjoy a cleaner and more durable shower for years to come.
Can You Apply a Grout Sealer Yourself, or Do You Need to Hire a Professional?
Many homeowners can apply a grout sealer on their own and achieve successful results. However, there are several factors to consider when deciding whether a professional should handle the job.
For starters, if you’re dealing with a complex or unusual shower design, it may be best to hire someone who is experienced in applying a grout sealer. The same can be said if the floor or wall tiles are made of unusual materials, as they may require special sealers and techniques for proper protection.
In addition, it’s important to consider the size of your shower before taking on this DIY project. If you have a large shower area, applying a grout sealer can be very time-consuming and difficult. It’s best to leave this kind of project in the hands of an experienced professional with the necessary skills and equipment to complete the job efficiently.

Finally, you should also consider the cost of hiring a professional versus doing it yourself. While it’s possible to save money by doing the job on your own, it’s important to weigh the risks associated with not getting the job done properly and the potential damage that can occur from using incorrect techniques or products.
Conclusion
In conclusion, applying grout sealer in your shower is a great way to protect your grout from dirt, soil, and water damage. You should always start by cleaning the surface of the tile, then apply the sealer using a brush or roller.
When it comes time to replace any damaged grout, you’ll need to make sure that you use a waterproof sealer to protect it from future damage. With the right preparation and care, your shower will look beautiful for years to come.
I hope reading this post has helped you learn how to apply grout sealer in shower. Make sure the safety precautions are carried out in the order listed.

