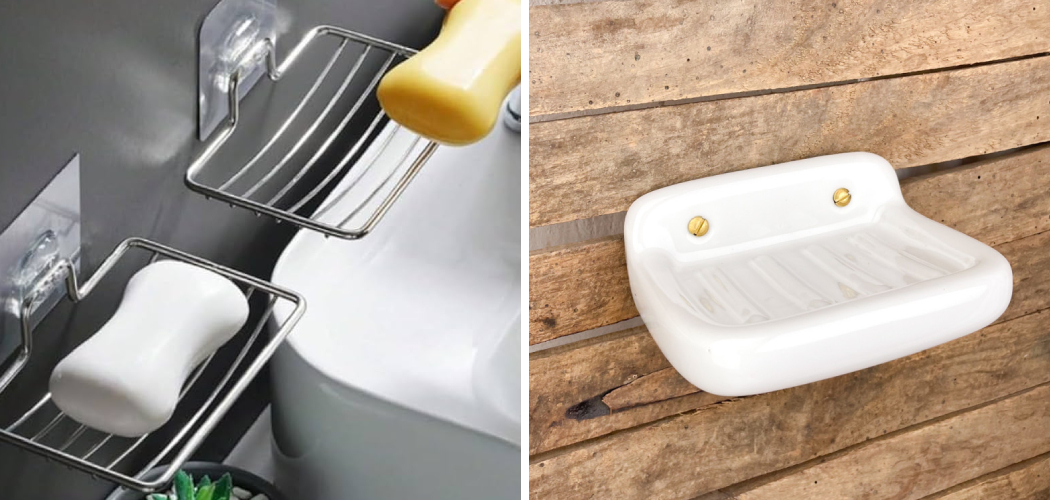
Are you tired of constantly picking up your soap bar from the edge of the sink or bathtub? A wall-mounted soap dish can be a simple and convenient solution to keep your soap within reach while also saving space on your countertop.
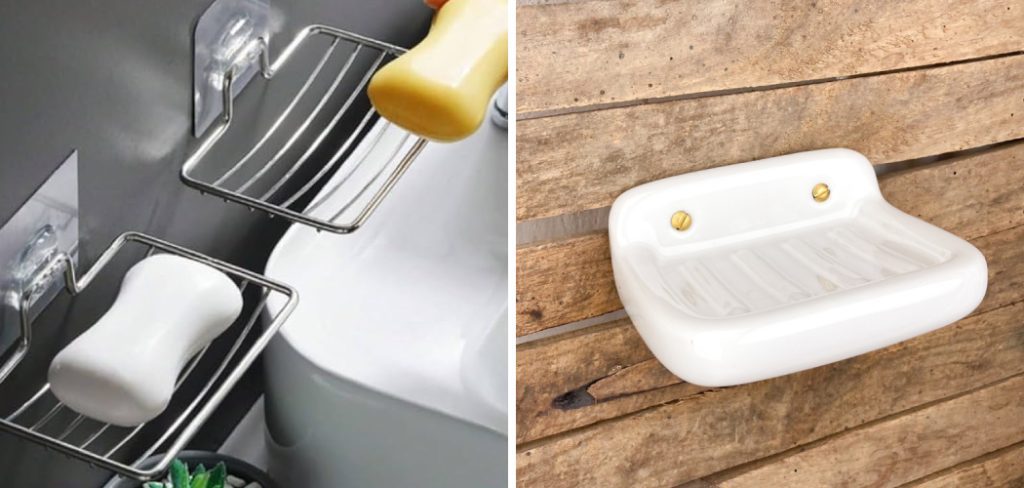
How to attach a wall-mounted soap dish is a straightforward and practical way to enhance the functionality and aesthetics of your bathroom or kitchen. A securely mounted soap dish helps keep your sink area organized and adds a touch of style to the space.
This guide will walk you through the steps and tools required to successfully attach a wall-mounted soap dish, ensuring a sturdy and long-lasting installation. Whether you’re a seasoned DIY enthusiast or a beginner, following these instructions will make the process simple and hassle-free.
What Are the Benefits of a Wall-Mounted Soap Dish?
Before we dive into the steps to attach a wall-mounted soap dish, let’s take a moment to understand why it is a worthwhile investment. Here are some benefits of having a wall-mounted soap dish:
- Saves Space: A wall-mounted soap dish frees up precious counter or sink space, making your bathroom or kitchen look more organized and clutter-free.
- Prevents Soap Residue: When placed on countertops, soap bars can leave behind a sticky residue that can be difficult to clean. A wall-mounted soap dish allows any excess water or residue from the soap to drain quickly, keeping your sink area clean.
- Easy Access: With a wall-mounted soap dish, you no longer have to reach for your soap bar whenever you need to wash your hands. It will always be within arm’s reach, making it convenient and practical.
- Enhances Aesthetics: A well-chosen wall-mounted soap dish can add a decorative touch to your bathroom or kitchen, elevating the overall look and feel of the space.
What Will You Need?
Before we get started, make sure you have the following tools and materials handy:
- A wall-mounted soap dish of your choice
- A stud finder (if mounting on drywall)
- Drill and appropriate drill bits
- Screws or adhesive strips (depending on the type of wall)
- Level
- Pencil
Once you have these items, you can begin the installation process.
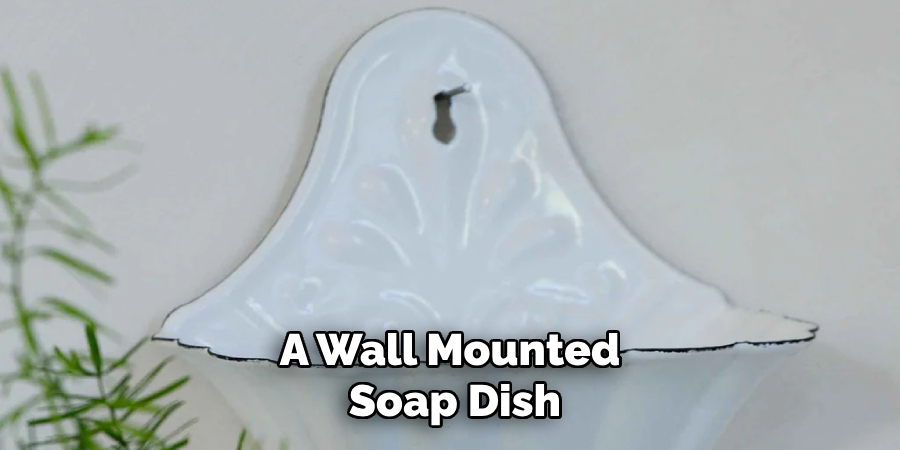
10 Easy Steps on How to Attach a Wall-Mounted Soap Dish
Step 1: Choose the Location
Select a location that is both convenient and practical for everyday use. Consider the height and proximity to the sink, ensuring the soap dish is easy to reach for all users. If you are installing the soap dish in a bathroom, it’s a good idea to place it near the faucet or shower area for quick access. Make sure the dish is positioned close to the countertop or sink basin for a kitchen without obstructing other fixtures or appliances.
Additionally, take note of the wall type—whether it’s tiled, drywall, or any other material—as this will determine the tools and mounting method required. Carefully evaluate the area to avoid interference with pipes or electrical wiring hidden within the wall. Use a stud finder if applicable to ensure a secure installation.
Step 2: Gather Your Tools and Materials
Before starting the installation, ensure you have all the necessary tools and materials ready. Standard tools include a power drill, a level, a measuring tape, screws, wall anchors (if needed), a screwdriver, and adhesive if required by the soap dish design. Double-check that the soap dish is compatible with the mounting surface and has the appropriate mounting hardware. Preparing everything beforehand will save time and make the installation process smooth and efficient.
Step 3: Mark the Installation Spot
Use a measuring tape to determine where the soap dish will be mounted. Mark the spot lightly with a pencil to ensure precise placement. Double-check the measurements to confirm the height and position are suitable for easy access and comfortable use. If the soap dish requires multiple attachment points, use a level to align the marks correctly for a straight and secure fit. Take your time during this step to avoid needing adjustments later on.
Step 4: Drill Holes for Mounting
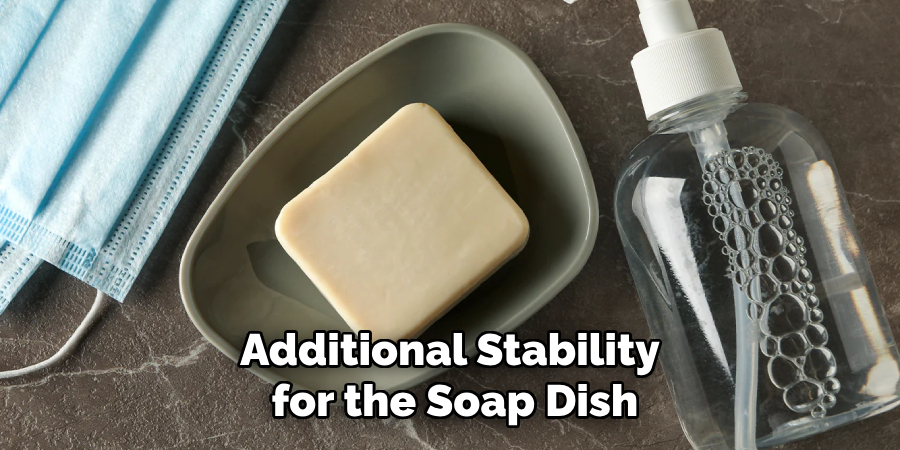
If your soap dish requires screws for installation, use a power drill to create holes at the marked spots. Ensure you use the appropriate drill bit size for the screws or wall anchors that came with your soap dish. If you are mounting on tile, use a drill bit specifically designed for ceramic or tile to avoid cracking the surface. Drill carefully and avoid applying excessive pressure to prevent damage. Once the holes are drilled, insert wall anchors if required to provide additional stability for the soap dish.
Step 5: Attach the Soap Dish
Position the soap dish over the drilled holes, aligning it with the wall anchors or marks. Secure the dish in place by fastening the screws provided, using a screwdriver or power drill as needed. Tighten the screws firmly, but avoid over-tightening, which could damage the soap dish or wall surface. Ensure the soap dish is stable and does not wobble before proceeding. If your soap dish includes a cover or additional components, attach them as directed in the product manual.
Step 6: Clean Up and Final Check
After installing the soap dish, clean the surrounding area to remove any dust or debris created during the drilling process. Use a damp cloth to wipe down the wall surface and the soap dish. Once everything is clean, perform a final check to ensure the installation is secure and the soap dish is level. If any adjustments are needed, loosen the screws slightly, reposition, and retighten. With everything in place, your soap dish is ready for use!
Step 7: Maintenance Tips
To ensure the longevity of your soap dish, regularly check for signs of wear, such as loose screws or cracks in the material. Clean the soap dish periodically to prevent the buildup of soap residue or mold. Use a mild cleaning solution and a soft cloth or sponge to avoid damaging the surface. If the soap dish becomes unstable over time, re-tighten the screws or make necessary adjustments to keep it securely in place.
Proper maintenance will keep your soap dish functional and looking great for years.
Step 8: Replacing a Soap Dish
If you need to replace an old or damaged soap dish, carefully remove the existing one. Unscrew and detach it from the wall, ensuring it does not damage the surface. Clean the area thoroughly to remove any leftover adhesive, soap residue, or debris. Follow the previous steps to install a new soap dish, ensuring the chosen replacement is of compatible size and design. Properly align and secure the new soap dish for optimal functionality and appearance.
Step 9: Troubleshooting Common Issues
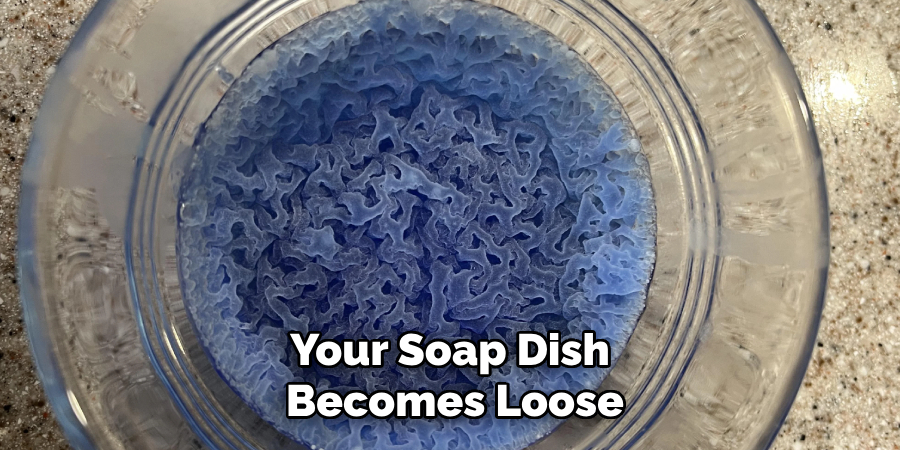
If your soap dish becomes loose or begins to sag, check the screws or adhesive securing it. Tighten loose screws using a proper screwdriver or reapply adhesive as necessary. Clean regularly with warm water and a mild detergent for soap dishes that accumulate excess soap residue or discolor over time. Avoid abrasive cleaners that can damage the surface. If water damage appears around the installation area, ensure the sealant is applied correctly and replace it if necessary to prevent further issues.
Regular maintenance and quick troubleshooting will ensure your soap dish remains in excellent condition.
Step 10: Final Inspection
After completing the installation and addressing any troubleshooting steps, perform a final inspection to ensure the soap dish is securely mounted and properly aligned. Verify that there are no gaps, loose screws, or uneven edges. To maintain your soap dish over time, establish a regular cleaning routine to remove soap buildup and prevent discoloration. Additionally, periodically check for signs of wear or damage, such as rust or cracks, and address these issues promptly to extend the lifespan of your soap dish.
Taking these final steps will help ensure long-term durability and functionality.
Following these steps and tips, you can install a soap dish in your bathroom without any hassle.
5 Things You Should Avoid
- Skipping Surface Preparation: Failing to clean and dry the surface before installation can lead to poor adhesion of the soap dish, causing it to fall off over time.
- Using the Wrong Adhesive or Tools: Avoid using adhesives or tools unsuitable for bathroom environments as they may not provide the required durability or hold under moisture and heat.
- Ignoring Manufacturer Instructions: Not following the specific guidelines provided with the soap dish can result in improper installation or damage to the wall.
- Mounting on Weak or Unsuitable Surfaces: Attaching the soap dish to surfaces like cracked tiles or fragile materials can lead to instability and eventual installation failure.
- Rushing the Drying or Curing Process: Impatiently using the soap dish before the adhesive has fully cured can compromise its hold and cause it to detach from the wall.
Conclusion
How to attach a wall-mounted soap dish requires careful preparation, the right tools, and adherence to instructions.
You can ensure a secure and lasting installation by avoiding common mistakes such as skipping surface preparation or rushing the curing process. Using the correct adhesive, mounting on suitable surfaces, and following manufacturer guidelines will help you achieve a sturdy and reliable result.
With a bit of patience and attention to detail, your soap dish will remain firmly in place, providing convenience and enhancing the functionality of your bathroom.

