Attaching a toilet chain to the handle is a straightforward yet essential task to ensure the proper operation of your toilet’s flushing mechanism. The chain connects the toilet handle to the flapper or flush valve inside the tank, allowing you to initiate the flushing process effectively. Over time, this chain may become disconnected or need adjustment, causing the handle to malfunction.
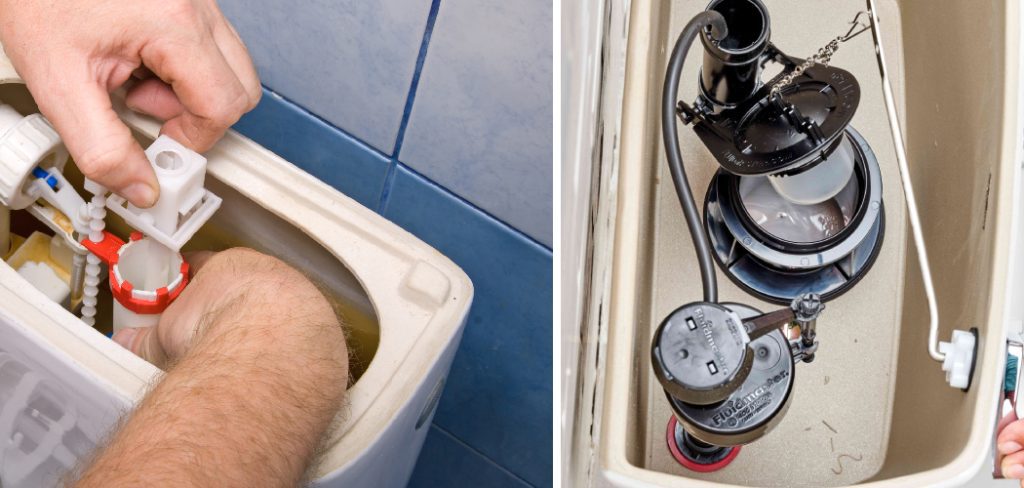
Understanding how to correctly attach or adjust the chain is crucial for maintaining the toilet’s functionality and preventing water waste or potential leaks. This guide will provide clear, step-by-step instructions on how to attach toilet chain to handle, ensuring a reliable flush every time. Whether you’re replacing a broken chain or adjusting the length for optimal performance, following these instructions will help you complete the task efficiently and ensure your toilet operates smoothly.
The Importance of a Functioning Toilet Chain and Handle
The toilet chain and handle play a pivotal role in the proper functioning of your toilet’s flushing mechanism. A fully functional toilet chain ensures that the flapper or flush valve opens and closes correctly, which is essential for a powerful and effective flush. When the chain and handle are working correctly, they prevent common issues such as incomplete flushes, running toilets, and leaks.
A malfunctioning chain or handle can lead to significant water waste, higher utility bills, and potential damage to your bathroom’s infrastructure. Therefore, maintaining the condition of these components is crucial for ensuring the toilet operates efficiently, conserving water, and avoiding costly repairs. Additionally, a smoothly operating toilet enhances the overall comfort and convenience of your home’s bathroom facilities.
Understanding the Toilet Flushing Mechanism
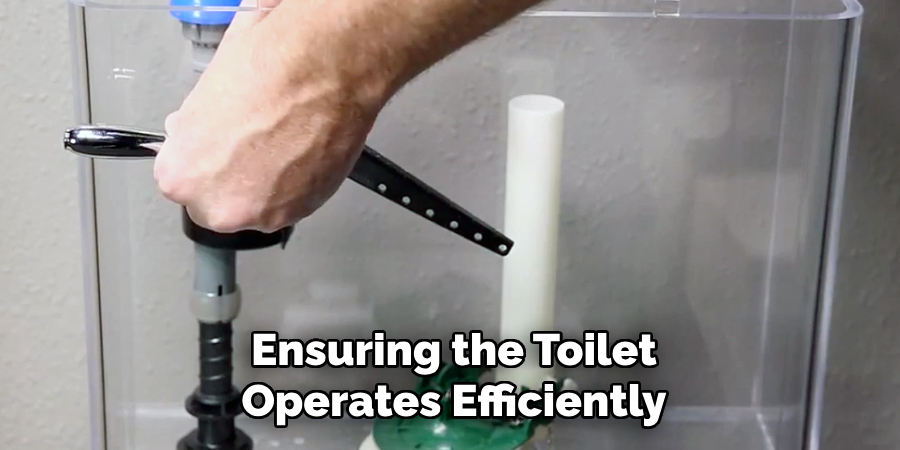
A clear comprehension of the toilet flushing mechanism is fundamental for efficiently attaching or adjusting the toilet chain. The flushing process begins when you press the handle, which lifts the toilet chain connected to the flapper or flush valve inside the tank. This action raises the flapper, allowing water to rush from the tank into the bowl, effectively flushing its contents into the sewer system.
As the tank empties, the flapper falls back into place, sealing the valve and allowing the tank to refill in preparation for the next flush. The chain’s length and tension are critical; too much slack can result in a weak flush or prevent the flapper from sealing correctly, while a chain that is too tight may not allow the flapper to open fully. Understanding these components and their functions ensures that adjustments can be made accurately, thereby maintaining an optimal flush every time.
10 Methods How to Attach Toilet Chain to Handle
1. Understanding the Mechanism
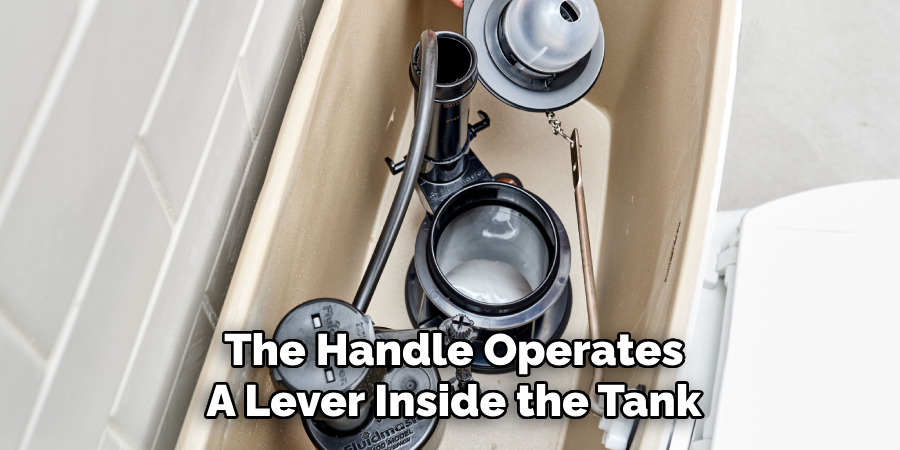
Before attempting to attach the toilet chain, it’s important to understand the basic mechanism of the toilet’s flushing system. The handle operates a lever inside the tank, which pulls the chain attached to the flapper. When the flapper lifts, water flows from the tank into the bowl, initiating the flush. Understanding this mechanism helps you visualize how the chain should be attached and the necessary adjustments for optimal operation. Familiarize yourself with the components: the handle, lever, chain, and flapper.
2. Gathering Necessary Tools and Supplies
To attach the toilet chain to the handle, gather the necessary tools and supplies. Typically, you’ll need a pair of needle-nose pliers and a replacement chain if the existing one is damaged. Ensure the chain is the correct length and has a hook or clip on one end for easy attachment. Having all the tools at hand makes the process smoother and more efficient. If the handle or lever is damaged, you might also need a replacement handle kit.
3. Turning Off the Water Supply
Safety and cleanliness are paramount when working on any plumbing project. Before starting, turn off the water supply to the toilet. Locate the shut-off valve, usually found near the base of the toilet, and turn it clockwise to stop the water flow. Flush the toilet to empty the tank, allowing you to work in a dry environment. This step prevents any accidental water spillage and makes it easier to see and handle the components inside the tank.
4. Removing the Toilet Tank Lid
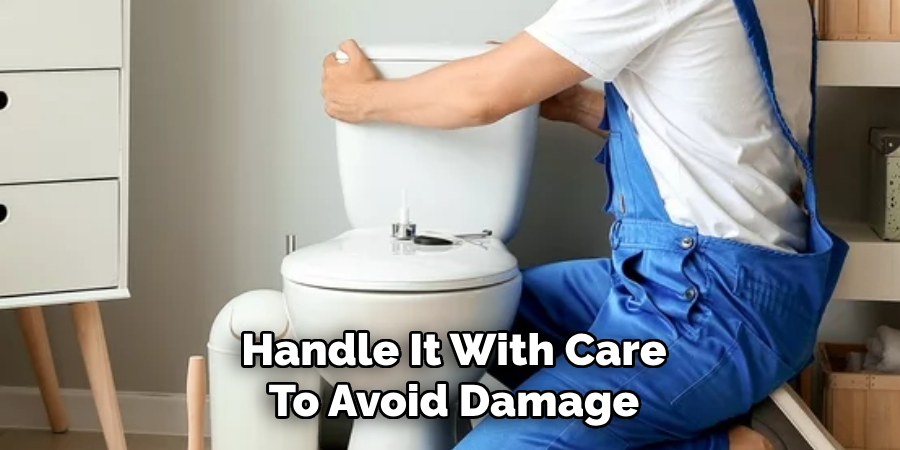
Carefully remove the toilet tank lid and set it aside in a safe place. The lid can be heavy and fragile, so handle it with care to avoid damage. With the lid removed, you have a clear view of the internal components, including the handle, lever, chain, and flapper. This visibility is crucial for correctly attaching the chain and ensuring everything is aligned properly.
5. Inspecting the Chain and Handle
Inspect the chain and handle mechanism for any signs of wear or damage. Check the chain for rust, kinks, or breaks. Ensure the handle and lever move freely and are not corroded or loose. If any components are damaged, replace them before proceeding. A thorough inspection helps identify potential issues that could affect the proper functioning of the toilet after the chain is attached.
6. Attaching the Chain to the Lever
Locate the lever inside the tank, connected to the handle. The lever has several holes for attaching the chain, allowing for length adjustments. Attach the chain to one of the holes using the hook or clip on the end of the chain. Choose a hole that allows the flapper to close completely but not too tight that it holds the flapper open. Proper attachment ensures smooth operation and prevents constant running of the toilet.
7. Adjusting the Chain Length
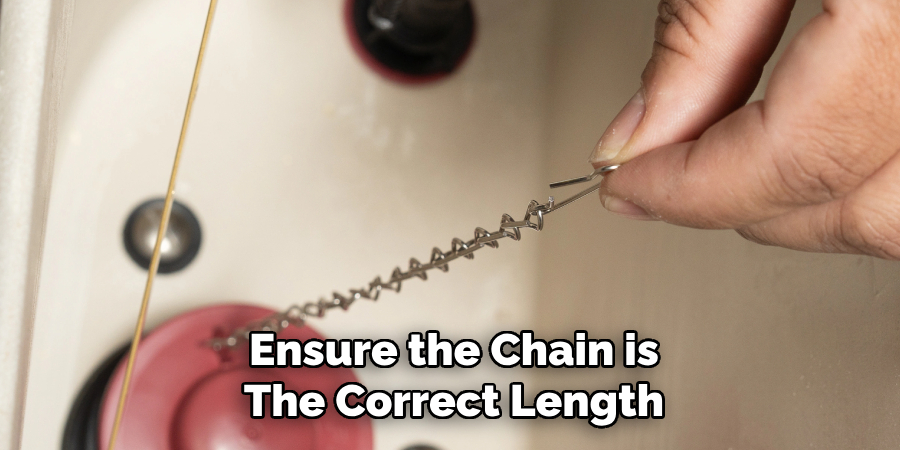
Adjusting the chain length is crucial for proper flushing. The chain should have a slight slack when the flapper is closed, but not so much that it falls off the lever or gets tangled. Too tight a chain will lift the flapper slightly, causing the toilet to run continuously. Too loose a chain will not lift the flapper enough to flush properly. Adjust the length by reattaching the hook or clip to a different hole on the lever or trimming excess chain if necessary.
8. Ensuring Proper Alignment
Ensure the chain is properly aligned and free from tangles or obstructions. The chain should run straight from the lever to the flapper without wrapping around other components inside the tank. Misalignment can cause the chain to snag or interfere with the flapper’s movement, resulting in improper flushing. Check the alignment by gently moving the handle and observing the chain’s movement. Adjust as needed to maintain a clear path.
9. Testing the Flush Mechanism
After attaching and adjusting the chain, test the flush mechanism. Turn the water supply back on by opening the shut-off valve counterclockwise. Allow the tank to fill, then flush the toilet. Observe the chain’s movement and ensure the flapper lifts and closes properly. If the flush is smooth and the flapper seals correctly after the flush, the chain is properly attached. If not, make further adjustments to the chain length or alignment.
10. Securing the Toilet Tank Lid
Once you’re satisfied with the flush mechanism’s operation, replace the toilet tank lid. Carefully position the lid back on top of the tank, ensuring it sits securely. Avoid dropping the lid or placing it unevenly, as this can cause it to crack. With the lid in place, the toilet is ready for regular use. Perform a final flush to confirm everything is functioning correctly and make any last-minute adjustments if necessary.
Things to Consider When Attaching a Toilet Chain
When attaching a toilet chain to the handle, several critical factors must be considered to ensure optimal performance and longevity of your toilet’s flushing mechanism:
Chain Material and Quality
Choose a chain made from durable, rust-resistant material. A high-quality chain ensures a longer lifespan and reduces the chances of malfunction due to corrosion or wear.
Correct Chain Length
Measuring the correct chain length is vital. The chain should be long enough to allow the flapper to close entirely but not so long that it creates slack, leading to tangling or improper flushing.
Compatibility with Tank Components
Ensure that the chain, handle, and lever are compatible with each other and fit well within the tank’s space. Mismatched components can cause operational issues or premature wear.
Ease of Adjustment
Select a chain that features easy-to-adjust clips or hooks. This allows you to make quick and precise adjustments as needed to maintain proper alignment and functionality.
Conclusion
Attaching a toilet chain to the handle is a straightforward task that requires attention to detail and an understanding of the toilet’s flushing mechanism. By following these ten comprehensive methods, you can ensure a smooth and efficient repair. From understanding the mechanism and gathering necessary tools to inspecting components, adjusting chain length, and testing the flush mechanism, each step is crucial for a successful repair. Proper attachment and adjustment of the chain ensure the flapper operates correctly, preventing issues like constant running or incomplete flushing. By taking the time to perform this repair correctly, you can maintain the functionality and efficiency of your toilet, contributing to a well-functioning and hygienic bathroom environment.