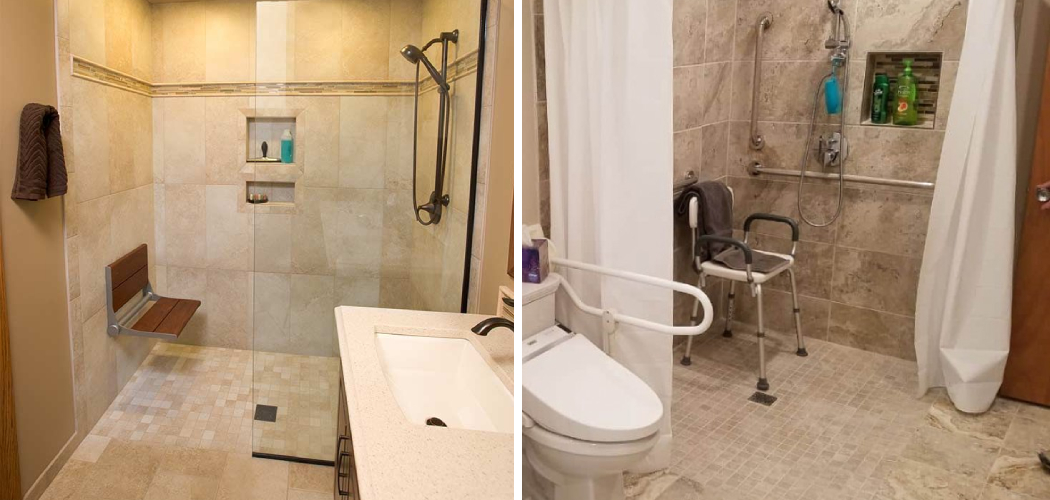
A roll-in shower is an excellent choice for those with limited mobility. Roll-in showers allow individuals with arthritis, back pain, or other disabilities to access a safe and comfortable showering space. They are easy to use and provide a more luxurious experience than traditional showers by allowing users to easily adjust the water temperature, pressure, and other features.
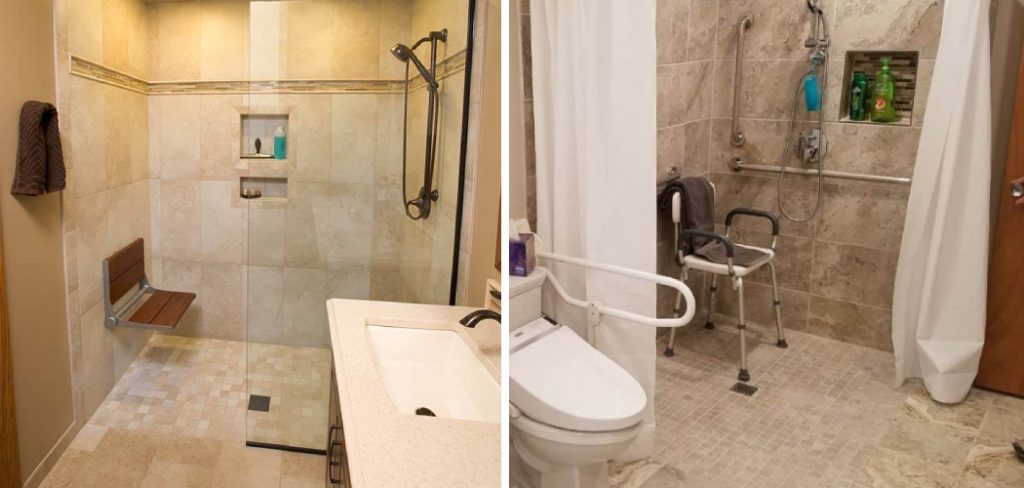
One of the biggest benefits of building a roll-in shower is that it requires less space than traditional showers. Since it doesn’t have a curb, you can get more use out of the same area as you would with a standard shower stall.
You also won’t need to devote room for an angled lip around the base of your shower, which further increases the available space. You can find step-by-step instructions on how to build a roll in shower in this blog article.
Materials You Will Need
- Plywood, preferably 1/2″ thick
- Kerdi board or other waterproofing material
- Flashing
- Cement board
- Shower pan liner kit
- Vinyl membrane shower pan liner
- Thinset mortar spreader and trowel
- Tile saw for cutting cement board and tile
- Tile of your choice
- Grout and grout sealer
- Silicone caulk
- Shower drain kit
Step-by-Step Processes for How to Build a Roll in Shower
Step 1: Inspect the Plumbing
Before building your roll-in shower, check the plumbing to ensure it is in good condition and running properly. It is important to identify any leaks or problems with the plumbing before starting the project so that you can address them first.
Step 2: Measure the Space
Measure the space where you will be installing the roll-in shower to determine the correct size for the space. Consider any obstacles or fixtures you must work around when making your measurements. Use the flashing and kerdi board to waterproof under your tile install before beginning. Follow the manufacturer’s instructions when installing this material.
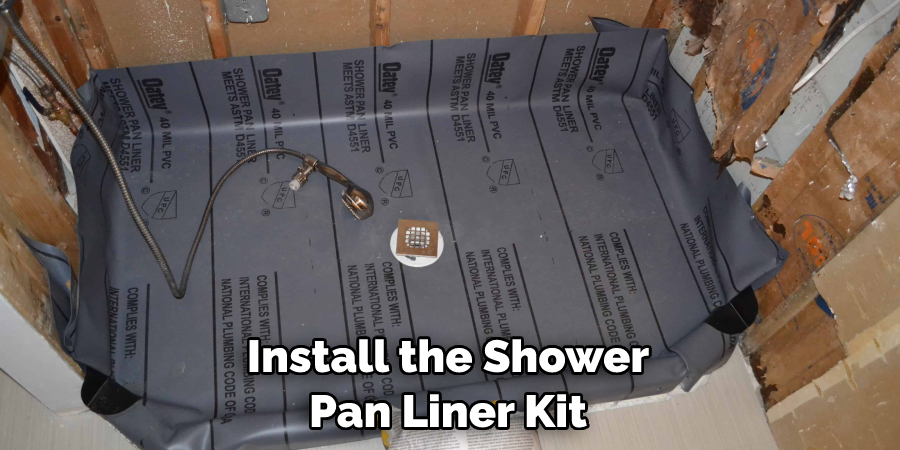
Step 3: Install the Shower Pan Liner Kit
Follow the manufacturer’s instructions to install the shower pan liner kit. Make sure that all seams are butted up tightly and that they overlap correctly. This is an important step in making sure your shower is waterproofed properly. Cut the vinyl membrane shower pan liner using a tile saw to fit your measurements. Make sure that all seams are tightened properly and overlap correctly before installing.
Step 4: Install the Cement Board
Install cement board according to the manufacturer’s instructions. Ensure you use a trowel and thinset mortar to secure the cement board before installing the tile properly. Lay your tile of choice in whatever pattern you desire, and check for level after each row is installed. Use grout and sealer to grout the tile and ensure no water can penetrate.
Step 5: Install the Shower Drain Kit
Install your shower drain kit according to the manufacturer’s instructions. Make sure to use silicone caulk around the drain for added waterproofing. Once all the materials are installed, it’s time to test for leaks. Fill up a bucket of water and pour it into the shower drain. Wait a few minutes and inspect the edges of your installation for any signs of leaking.
Now that you have built your roll-in shower, all that’s left to do is enjoy it! Inspect your roll-in shower periodically for any signs of wear and tear. Additionally, keep up with regular cleaning and maintenance to ensure it looks great for years.
Precautions for How to Build a Roll in Shower
- Wear protective eyewear and gloves when handling tools or materials during installation.
- Make sure you are familiar with all safety protocols for the area, such as any local building codes that may be applicable.
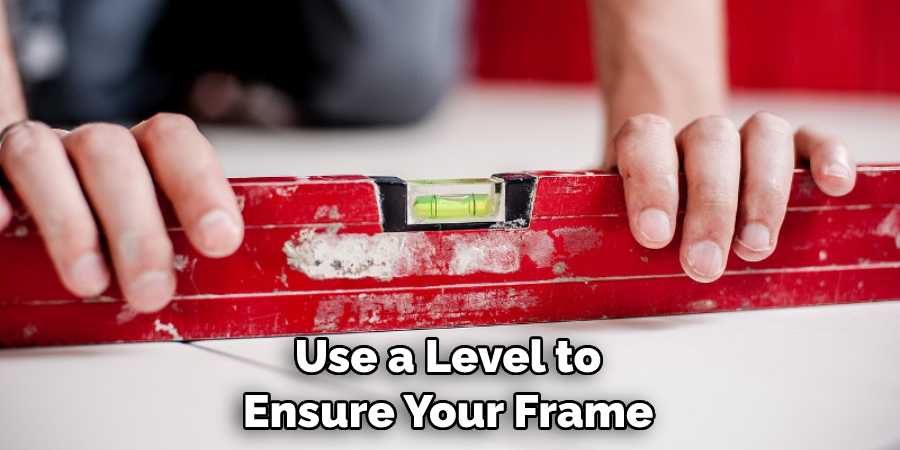
- Use a level to ensure your frame is even and square before attaching it to the wall.
- Ensure the drain is securely attached to the floor before laying any tiles.
- Double-check all dimensions carefully to ensure that everything fits properly when installed.
- Ensure your shower has adequate ventilation and waterproofing for a safe and enjoyable experience.
- Follow the manufacturer’s instructions carefully, paying particular attention to any warnings.
A roll-in shower can be a great way to add convenience and accessibility to your bathroom. You can install your roll-in shower easily with the right tools, proper preparation, and safety precautions.
What is the Best Location for Your Roll Shower?
The best location for your roll-in shower will depend on the size and shape of your bathroom. Smaller bathrooms may benefit from the shower in a corner, while larger spaces can accommodate a more central installation. When considering the layout of your bathroom, remember that the threshold to access a roll-in shower should be level with the rest of the floor.
This will ensure that the shower is accessible to people with mobility impairments. It’s also important to plan for drainage and water supply lines. You’ll need to make sure there’s a drainage pipe installed on your bathroom floor, as well as a dedicated water line going directly to the showerhead.
How Long Will It Take to Install the Shower?
The installation of a roll-in shower typically takes one to two days, depending on the size and complexity of the project. However, it is important to note that this timeline can be affected by factors such as the availability of materials or weather conditions.
It is advisable to factor in extra time in case any issues arise. Furthermore, when selecting a contractor for the job, ensuring you are comfortable with their estimated timeline is important.
Before beginning any work, ensuring that your space meets all building codes and regulations is essential. It may be necessary to consult local authorities first to obtain the required permits for installation. Additionally, if any structural issues need to be addressed before the project can begin, account for this time in your installation timeline.
What Are Some Common Problems You Might Encounter Along the Way?
Building a roll-in shower has its challenges. You may encounter issues such as water leakage or improper drain installation, which can lead to flooding.

Additionally, preparing and waterproofing the area where the shower will be installed is essential to minimize any potential problems that could occur down the line. This process involves applying sealant around the edges of the shower walls and floor and ensuring the walls are level to prevent water damage.
Finally, the shower pan must be properly installed for it to function properly. This usually involves a combination of mortar or hydro-barrier membrane and cement board, which should be applied according to manufacturer instructions.
Overall, building a roll-in shower requires patience and attention to detail. It’s important to ensure that the area is properly prepared and waterproofed before installation and that all components are installed correctly. Additionally, any water leakage should be taken care of immediately to prevent more serious damage from occurring.
What Maintenance Should You Regularly Perform on Your New Roll-in Shower?
Once you have installed your new roll-in shower, it is important to take extra time to ensure all the features are well-maintained and running smoothly. This includes regularly checking for any signs of wear and tear, such as cracks or damage to the sealant around the shower doors. You should repair or replace the components immediately if there is any visible damage.
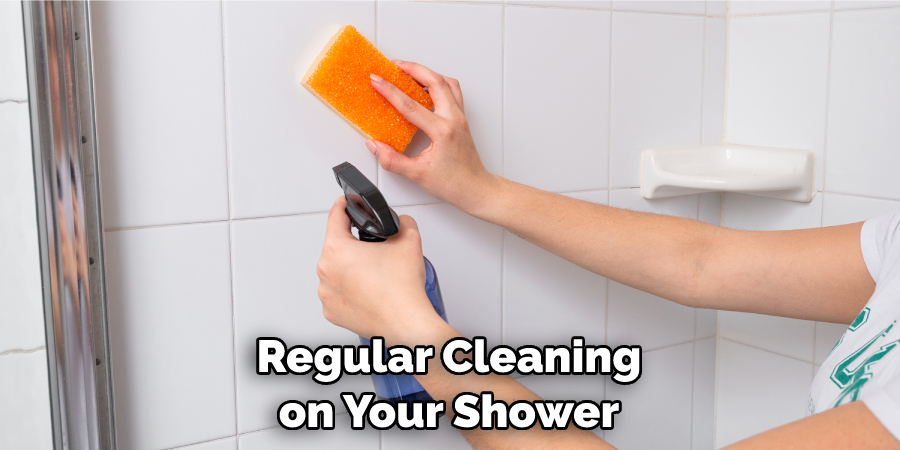
In addition, it is also important to perform regular cleaning and maintenance on your shower. This includes wiping down surfaces, such as glass shower doors and walls, with a damp cloth and mild detergent. You should also regularly check for any mildew or mold growth in the corners of the shower, as this can be a sign of inadequate ventilation.
Furthermore, suppose you have installed any special features to your shower, such as an adjustable showerhead or handheld showerhead. In that case, it is important to regularly check that these features are working correctly and that all seals and connections are secure.
Conclusion
Building a roll-in shower can be difficult, requiring specialized skills and tools. It is also quite labor-intensive and time-consuming, so it’s not something to take lightly. Additionally, the cost of materials and installation could become expensive for some people depending on their budget.
In conclusion, building a roll-in shower is an excellent way to add convenience and functionality to any bathroom. With basic knowledge, the right tools, and a few hours of work, you can create a luxurious shower experience without breaking the bank.
Plus, your roll-in shower will last for years with proper maintenance and care. This article has been beneficial for learning how to build a roll in shower. Make Sure the preventive measures are followed chronologically.

