When removing or replacing a toilet, capping the toilet drain is an essential step to prevent foul odors from escaping and to maintain a clean and safe environment. This process involves sealing off the drainpipe temporarily to block sewer gases and avoid any potential leaks or debris from entering the plumbing system. Properly capping the drain ensures that the space remains usable and free from unpleasant smells until a new fixture is installed or the drain is permanently covered.
Understanding how to cap a toilet drain can help in maintaining it properly and troubleshooting common issues that may arise over time.
Common Reasons for Capping a Toilet Drain
There are several reasons why capping a toilet drain might be necessary. One of the most common is during a bathroom renovation or redevelopment project. Temporarily capping the drain prevents sewer gases from escaping into the space and allows work to proceed without issues. Another reason could be the removal of an old or unused toilet; in such cases, capping ensures the area remains sanitary and prevents debris or objects from falling into the drain.
Additionally, homeowners may choose to cap a toilet drain when repurposing a bathroom into a different type of room to avoid costly plumbing changes. Properly capping a drain helps maintain safety, cleanliness, and functionality within the space.
Tools and Materials You’ll Need
To properly cap a toilet drain, you’ll need the following tools and materials:
- Toilet Drain Cap – Choose the appropriate size and type for your drain.
- Rubber Gasket or Seal – Ensures a tight and secure fit.
- Pipe Wrench – For tightening or loosening components as needed.
- Screwdriver – Useful for securing clamps or screws.
- Measuring Tape – To measure the drain opening for the correct cap size.
- PVC Adhesive (if Applicable) – For securing caps to PVC pipes.
- Utility Knife – To cut any excess material, such as gaskets.
- Protective Gloves – For hygiene and to protect your hands during the process.
- Rag or Cleaning Cloth – To clean the area around the drain before installation.
Having these items ready will make the process smooth and efficient, ensuring a proper seal and preventing future issues.
10 Methods How to Cap a Toilet Drain
1. Using a Rubber Test Plug
A rubber test plug is a simple and effective way to cap a toilet drain. These plugs come in various sizes and are made from durable rubber with a wing nut or a tightening mechanism.
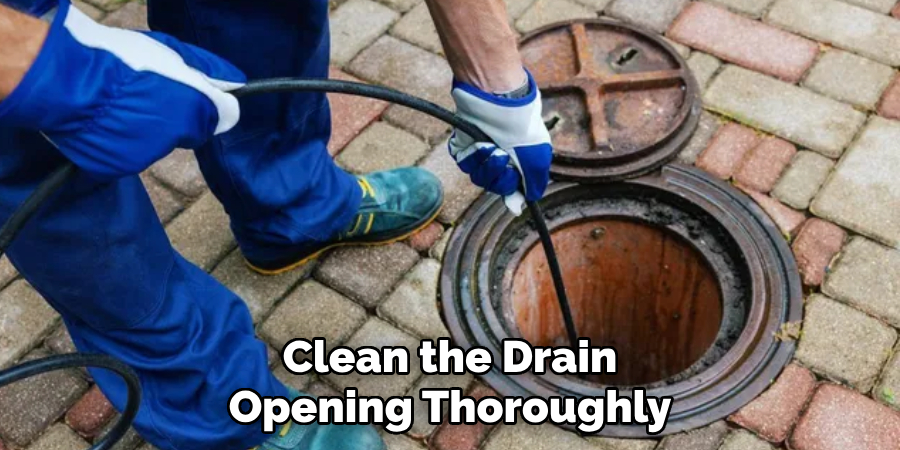
To begin, clean the drain opening thoroughly, removing any residual wax from the old toilet flange. Insert the rubber plug into the drain, ensuring it fits snugly. Tighten the wing nut to expand the rubber, creating a tight seal. This method is ideal for temporary capping during renovations, as the plug can be easily removed when needed. Rubber test plugs are reliable, affordable, and resistant to sewer gases.
2. Sealing with a Twist-and-Seal Cleanout Plug
A twist-and-seal cleanout plug is a robust option, especially if you’re looking for a semi-permanent solution. These plugs feature a rubber gasket that expands as you twist, forming a secure seal.
First, clean the flange and drain pipe thoroughly. Insert the plug into the drain, ensuring the rubber gasket is positioned correctly. Twist the top of the plug clockwise until it feels tight. The gasket will expand, sealing the drain securely. This method works well for long-term sealing while allowing easy access if needed later. It’s particularly useful in areas prone to sewer gas backup.
3. Using an Expanding Mechanical Plug
Expanding mechanical plugs are designed for a more durable and tight seal. These plugs typically have a metal or plastic body with a rubber gasket that expands when tightened.
Insert the plug into the toilet drain and use a wrench to turn the top nut, which compresses the rubber against the pipe walls. This compression creates a watertight seal, making it suitable for long-term or permanent capping. These plugs are more secure than basic rubber stoppers and are ideal when you want a robust, reliable seal.
4. Utilizing a Threaded PVC Cap
If your toilet flange is threaded, a PVC cap is a practical and durable option. Measure the diameter of the drain opening and purchase a matching threaded cap from a plumbing supply store.
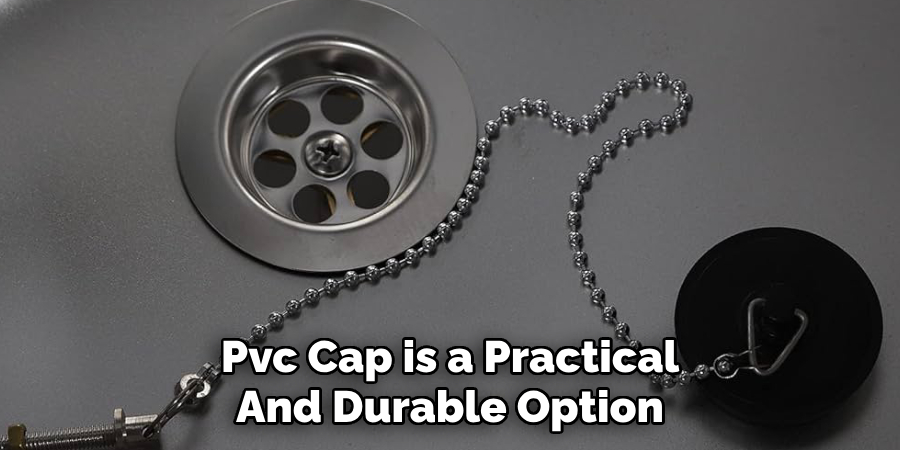
Apply plumber’s tape around the threads of the flange to ensure a leak-proof connection. Screw the PVC cap onto the flange, tightening it by hand and then with a wrench for added security. This method is ideal for long-term sealing and is resistant to both gas and water leakage. It’s a reliable solution for bathrooms that are being permanently decommissioned.
5. Installing a Compression Cap
A compression cap is an excellent choice for capping toilet drains with smooth pipe ends. These caps use a rubber gasket and compression ring to create a tight seal.
Slide the compression cap over the drain pipe, making sure the rubber ring is seated properly. Tighten the metal band with a screwdriver to compress the ring and secure the cap in place. This method provides a durable, watertight seal and is suitable for both temporary and long-term applications. Compression caps are often used when the toilet flange has been removed entirely.
6. Using a PVC Test Cap
PVC test caps are used primarily during pressure testing in plumbing installations but can also function as temporary drain caps. These caps are typically glued onto the pipe, forming a solid seal.
Clean the drain opening thoroughly and apply PVC primer to the inside of the cap and the outside of the pipe. Once primed, apply PVC cement and press the cap firmly onto the drain. Hold it in place for a few seconds to ensure a strong bond. This method is best for long-term capping, as removing a glued cap can be challenging. It’s particularly useful when you have no intention of reinstalling a toilet in the future.
7. Sealing with a Push-On Cap
Push-on caps are made of flexible rubber and are designed to fit snugly over the drain opening. These caps are easy to install and remove, making them ideal for temporary use.
Simply push the cap over the drain until it fits tightly. The elasticity of the rubber forms a seal that prevents gas and odor leakage. Push-on caps are excellent for short-term situations, such as during bathroom remodeling. While not as secure as threaded or compression caps, they offer sufficient protection for temporary setups.
8. Filling the Drain with Expanding Foam
Expanding foam is a practical solution for permanently sealing a toilet drain. This method works well when the drain is no longer needed and needs to be sealed completely.
Start by thoroughly cleaning the drain to remove debris. Fill the opening with expanding foam, allowing it to swell and harden. Once the foam cures, trim any excess with a utility knife. Seal the top with a layer of waterproof silicone for added protection. This method is highly effective for preventing both gas and water leaks. However, it is irreversible, so only use it when you are sure the drain will never be used again.
9. Covering with a Flange Repair Cap
If the flange itself is broken or compromised, a flange repair cap can be used to seal the opening. These caps are designed to fit over broken or uneven flanges, creating a flat, secure surface.
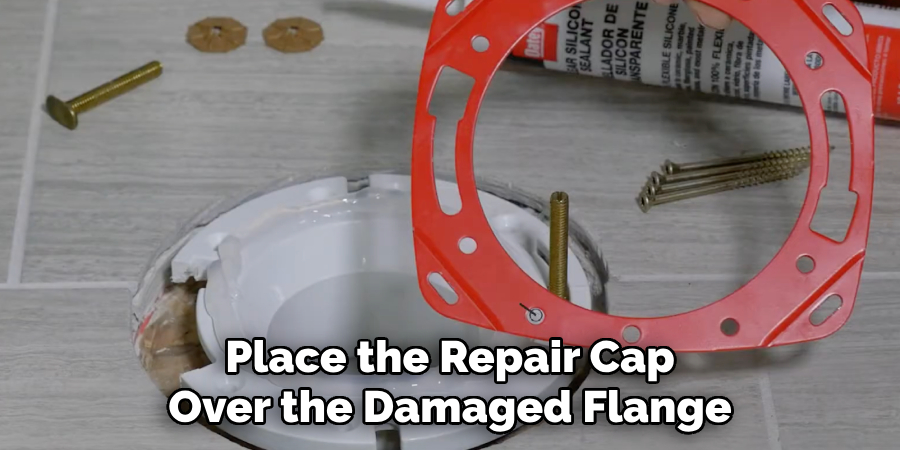
Place the repair cap over the damaged flange and secure it using the provided screws. The rubber gasket on the underside forms a seal, blocking sewer gases. This method is beneficial when you cannot replace the flange but still need to cap the drain effectively. It’s a practical fix for old or damaged setups.
10. Using a Permanent Cast-Iron Cap
For drains that will never be reopened, a cast-iron cap offers a permanent solution. These heavy-duty caps are sealed with lead or concrete, making them ideal for situations where the drain is being decommissioned.
Heat the cast-iron cap slightly to expand it, then set it over the drain. Pour molten lead or mix concrete to seal the cap in place. Allow the material to cool and harden, creating a permanent barrier. This method is commonly used in commercial settings where plumbing layouts are being altered significantly.
Safety Considerations
When working with molten lead or concrete, safety should always be a top priority. Wear proper personal protective equipment (PPE), including heat-resistant gloves, protective eyewear, and durable clothing to prevent burns from hot materials. Ensure the workspace is well-ventilated to avoid inhaling fumes, especially when dealing with molten lead. Additionally, handle tools and materials with care to prevent accidents or injuries. Always follow local safety regulations and guidelines to ensure a secure working environment for yourself and others.

Conclusion
Capping a toilet drain correctly ensures that your bathroom remains odor-free and safe from sewer gases or water leakage. Each of the ten methods outlined here serves a specific purpose, depending on whether you need a temporary, semi-permanent, or permanent solution. From rubber test plugs for short-term fixes to cast-iron caps for permanent closure, selecting the appropriate method is key to a successful project. So, there you have it – a quick and easy guide on how to cap a toilet drain.

