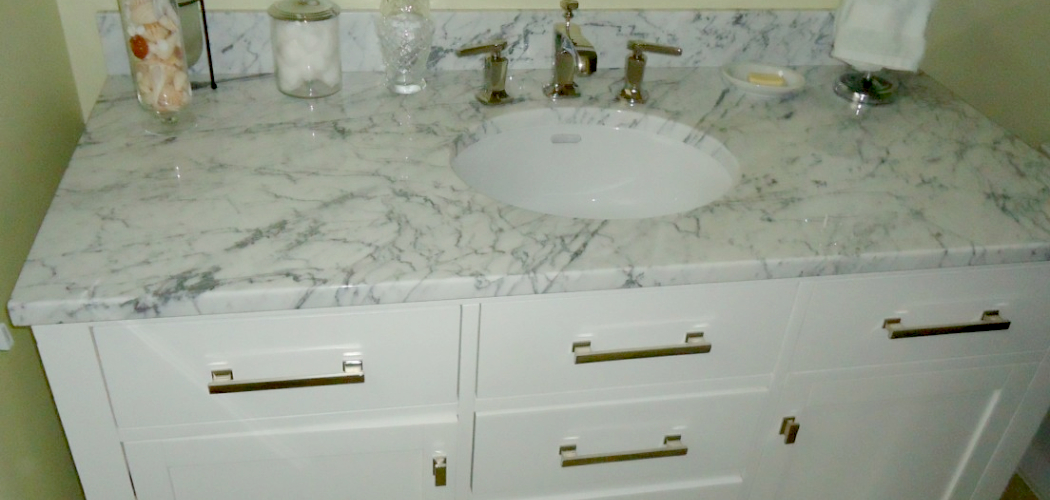
Caulking your bathroom vanity can help to prevent water damage and keep the surrounding area clean and dry. It also serves as a barrier between the sink and counter, protecting it from dirt and grime. Applying caulk around your vanity is an easy DIY project that will give you peace of mind knowing your room is well protected.
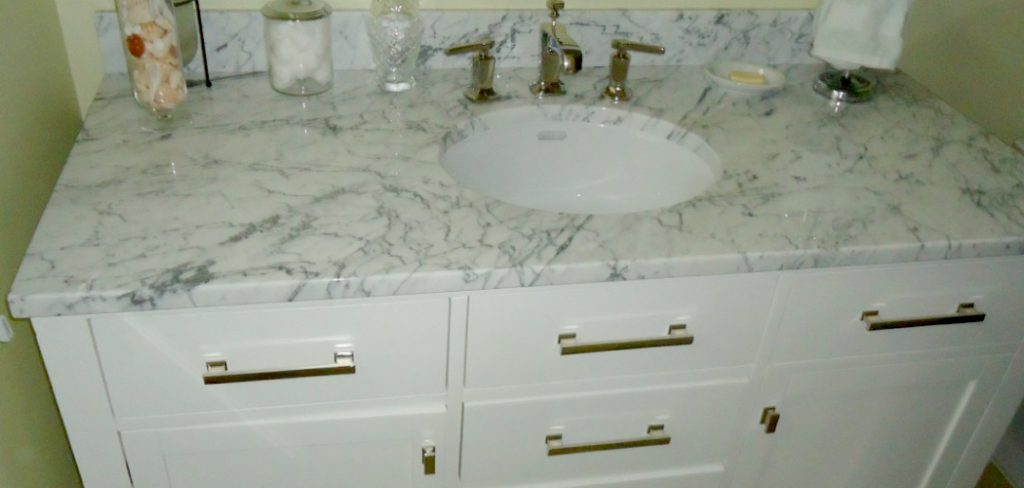
Applying a sealant to the perimeter of your vanity is one of the most effective ways to protect it from water damage. Caulking also helps keep your bathroom clean and neat by hiding gaps or cracks between tiles and fixtures. You can find step-by-step instructions on how to caulk bathroom vanity in this blog article.
Step-by-step Instructions for How to Caulk Bathroom Vanity
Step 1: Inspect the Vanity
Check for any existing caulk that needs to be replaced or removed. Use a utility knife to remove any old caulk carefully, and clean the surface with a damp rag. Wipe down the vanity with a mild cleaner such as isopropyl alcohol, making sure to get into all the cracks and crevices. Allow the area to dry completely before beginning.
Step 2: Cut the Caulk Tube Tip
Make sure to use a sharp knife when cutting the tube tip off at an angle of 45 degrees. This will ensure enough room for application, and you don’t have any problems with clogging or uneven flow. Insert the caulk tube into a caulking gun. Ensure it’s properly secured so you don’t have any issues during the application.
Step 3: Apply the Caulk
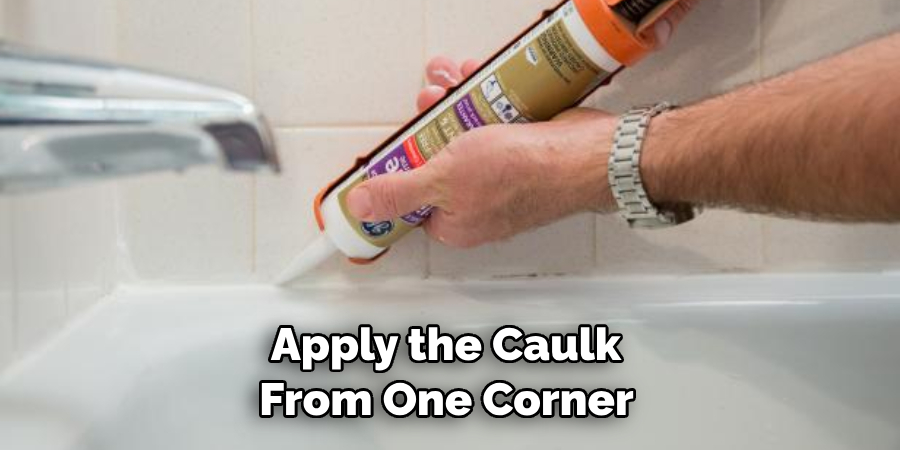
Start to apply the caulk from one corner of your vanity and work in an outward direction. Keep a steady pressure and move slowly for even application. Use a damp sponge to smooth out any uneven areas or ridges in the caulk. This will also help ensure that all of the edges are properly sealed.
Step 4: Clean Up Excess Caulk
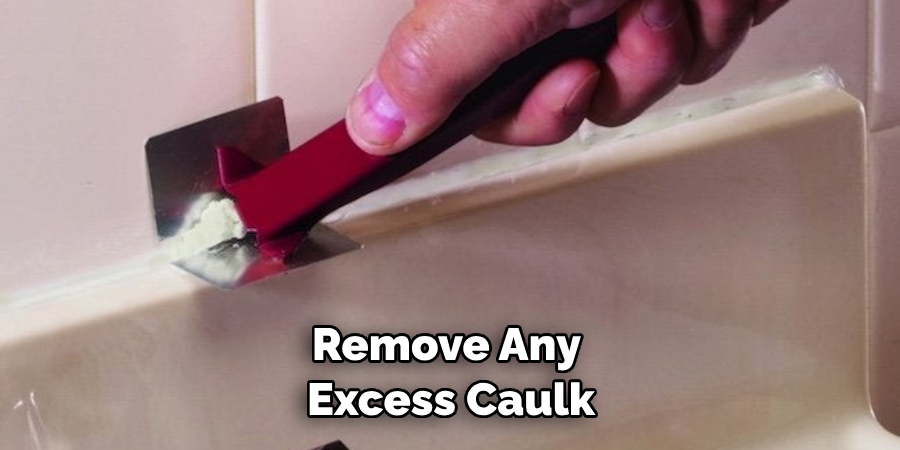
Once you’ve finished smoothing the caulk, use a razor blade to remove any excess caulk along the edges of your vanity. Use a damp cloth to clean up any remaining debris or residue.
Step 5: Let Caulk Dry
Let the caulk dry for at least 24 hours before using the vanity again. This will ensure it has had enough time to set and seal properly. After the caulk has had time to dry, you can enjoy your newly updated bathroom vanity.
You’ve just completed a successful project on caulking a bathroom vanity. Follow these steps each time for a perfect result every time.
Precautions for How to Caulk Bathroom Vanity
- Wear protective gear such as gloves, goggles, and a face mask when working with caulk or any chemicals associated with the task.
- Ensure proper ventilation to avoid inhalation of caulk fumes from the bathroom area.
- Clean the surface thoroughly before applying any caulk; this will help ensure better adhesion and longer life for your sealant.
- Use a caulking gun to apply the caulk even and consistently.
- Allow the caulk to dry completely before exposing it to water or other liquids.
- Remove any excess caulk from the surface with a wet cloth or paper towel before it can set up and harden, as this will help ensure a smooth and even finish.
- Make sure to read all the instructions on your caulk tube before beginning, as some caulks may require special preparation or have specific directions for application.
Following the manufacturer’s recommendations will help ensure the best results and the longest life for your sealant.
How Do You Clean Up Any Excess Caulk?
Once your bathroom vanity is properly caulked, you may need to clean up excess caulk. To do this, gently wipe away any extra caulk from the vanity’s surface with a damp cloth or sponge.
You should use an old toothbrush as well if there are hard-to-reach areas that require more detailed attention. Once all the excess caulk is removed, you can use a dry cloth to wipe away any remaining residue.
If you come across stubborn pieces of caulk that don’t want to let go, try using a razor blade or putty knife as an extra measure. Be sure to be careful and use caution when doing this!
Once all the excess caulk has been removed, you can finish by applying a new coat of paint to the vanity. Caulking around a bathroom vanity is important in ensuring it remains solid and properly fitted together. While it may initially seem intimidating, this process is relatively straightforward and only requires basic materials and tools.
Are There Special Considerations for Installing Caulk Around Fixtures Like Sinks and Toilets?
Yes, it is important to take special consideration when caulking around fixtures like sinks and toilets. Because more complex areas of your bathroom vanity require higher precision and skill, you should use a professional-grade caulk. Professional grade caulk will help ensure the job is done right the first time and can be especially useful in areas around sinks and toilets.

When caulking around fixtures like sinks and toilets, you must thoroughly clean the area before applying any caulk. This means dust, dirt, grime, and mildew should be removed from the surface before applying caulk. Additionally, it is important to ensure the area has been dried completely so that the caulk will properly adhere to the surface.
How Can You Ensure Your Bathroom Vanity Looks Great After the Caulking Is Complete?
Once the caulking is complete, ensure your bathroom vanity looks great. Here are some tips to help ensure that it does:
- Clean up any excess caulk with a damp cloth or sponge. This will help prevent long-term discoloration and staining of the surrounding walls or tiles.
- Once the caulking is dry, inspect it closely for any imperfections or gaps. If you notice any, use a razor blade to scrape the excess caulk and reapply.
- Check that all of the edges have been sealed. If there are areas where the caulk has not adhered properly, add more caulk and smooth it out with your finger or a damp cloth.
- After the caulk is completely dry, you can apply a sealant for extra protection and to help it last longer.
- Once everything is done, step back and enjoy your newly caulked bathroom vanity. With proper care and maintenance, it should last for many years to come.
Following these tips ensures that your bathroom vanity looks great once the caulking is complete. With a little extra effort and attention, you can ensure that your vanity will look stunning for years to come.
How Long Should the Caulk Be Allowed to Dry Before Exposing It to Water?
The length you should allow caulk to dry varies depending on the type and brand of caulk used. If you’re using a siliconized acrylic latex caulk, it generally takes about 24 hours before the surface is ready for exposure to water. When exposed to water, silicone caulk typically requires 48-72 hours before providing a reliable seal.
However, it’s best to check the instructions on the packaging to see how long your particular caulk should be allowed to dry. Regardless of the type of caulk used, you must wait at least 24 hours before exposing the area to water. This will ensure the seal doesn’t fail and create additional problems in your bathroom.
How Can You Prevent Future Damage on Your Bathroom Vanity After It Has Been Caulked?
After your bathroom vanity has been properly caulked, there are a few ways you can help ensure that it maintains its pristine condition for years to come. First, clean and wipe down the area where the caulk was applied regularly. This will help prevent dirt and debris from building up around the edges of the caulk line, which could cause it to separate over time.
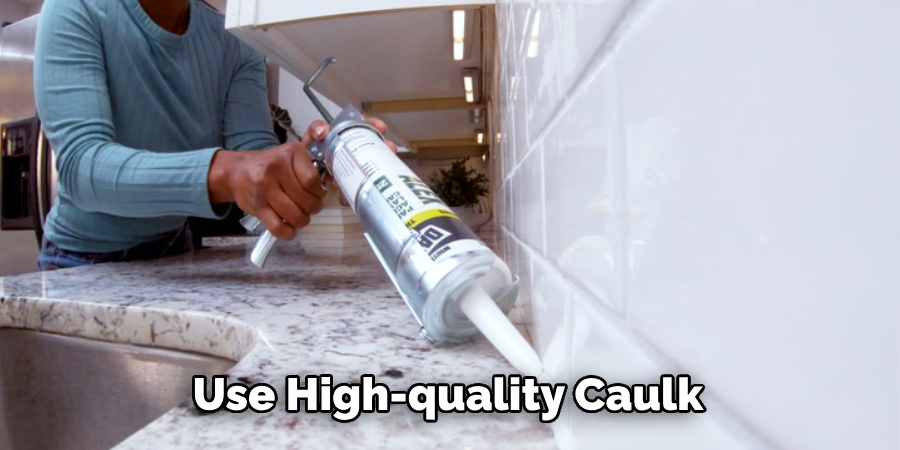
Also, periodically inspect the caulk line for any deterioration, such as cracked or loose caulking. If you see any damage, immediately reapply the new caulk to prevent further damage. Finally, use high-quality caulk products designed specifically for bathroom vanity use. This will help ensure that the caulk lasts longer and better protects your vanity from moisture, dirt, and other contaminants.
Conclusion
In conclusion, caulking a bathroom vanity is an easy process that can help improve the overall look of your bathroom. You should remove any old sealant, apply a new bead of caulk along the edges, and use a damp cloth to smooth it out. Make sure to give the sealant enough time to dry before using the vanity.
A properly sealed vanity will last longer and reduce moisture collecting in the gaps. Caulking a vanity may seem intimidating, but following these steps will help ensure that you get professional results. Reading this post has helped you learn how to caulk bathroom vanity. Make sure the safety precautions are carried out in the order listed.

