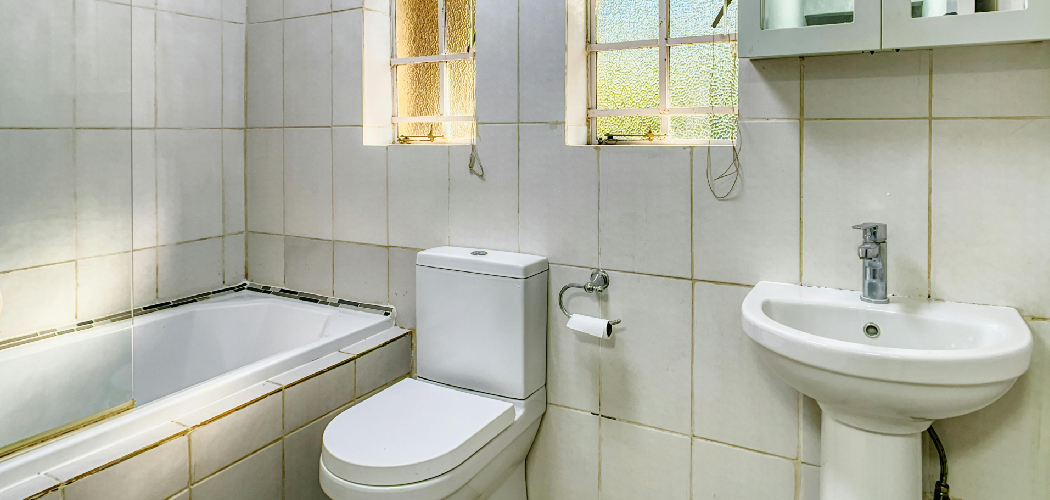
Replacing or upgrading a Toto toilet seat is a straightforward task that many homeowners undertake for reasons such as enhanced hygiene, improved comfort, or refreshing the bathroom’s aesthetics. A clean, comfortable toilet seat can significantly contribute to the overall experience of a bathroom, and Toto’s innovative designs make this process simple
nd hassle-free. Understanding how to change a Toto toilet seat is helpful for repairs and personalizing and maintaining the look and function of your bathroom. Toto toilet seats are engineered with user-friendly features that allow for quick installation and removal, making them ideal for regular cleaning and occasional replacements. The process requires only a few essential tools and a little effort, making it accessible to anyone, even those without technical expertise. With the right guidance, replacing a Toto toilet seat can be an easy yet rewarding project that improves both functionality and style.
Understanding Toto Toilet Seat Features
Types of Toto Seats
Toto offers a variety of toilet seat designs to cater to diverse needs and preferences. Standard seats provide a classic look and functionality, while soft-close seats are designed to prevent slamming, ensuring a quieter and gentler closing action. Toto’s Washlet bidet seats feature advanced options like heated seating, adjustable water spray, and even air-drying capabilities for those seeking enhanced hygiene and luxury. These popular designs showcase Toto’s commitment to combining practicality with innovation.
Mounting Mechanisms
Toto toilet seats have reliable mounting hardware that ensures a secure fit. Depending on the model, Toto seats use either top-mount or bottom-mount mechanisms. The top-mount option is ideal for toilets without access from underneath, while the bottom-mount hardware is more traditional and provides excellent stability. Both methods are designed for simple installation, making it easy for users to attach the seat securely to the toilet bowl.
Quick-Release System
Certain Toto models include a convenient quick-release system, making it effortless to remove the seat for thorough cleaning or replacement. This feature enhances hygiene by allowing access to hard-to-reach areas, ensuring a spotless bathroom experience. The quick-release mechanism simplifies maintenance, making it one of the most user-friendly features of Toto’s innovative seat designs.
Gathering Tools and Supplies
Before starting the installation of your Toto toilet seat, it’s essential to gather the necessary tools and supplies to ensure a smooth process.
Basic Tools
You will need a flathead screwdriver and an adjustable wrench to secure the mounting hardware properly.
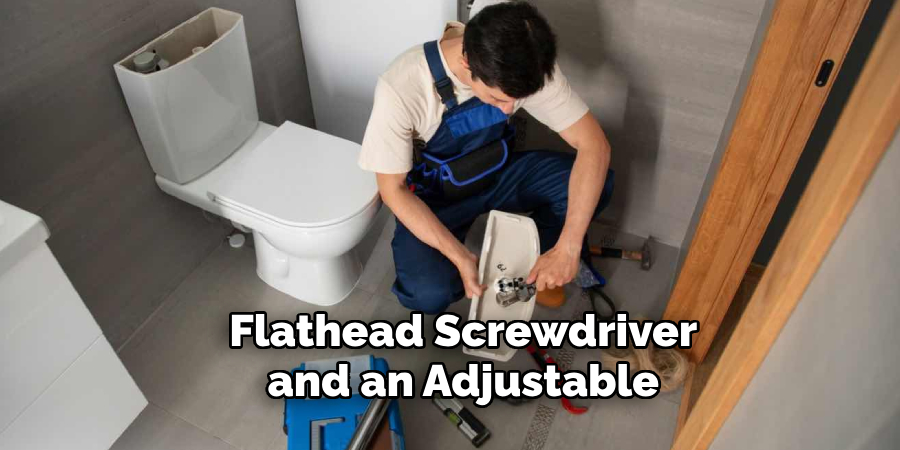
These tools are typically sufficient for most installations and will help you tighten bolts and screws with ease.
Optional Supplies
For added convenience, consider having cleaning materials on hand to prepare the surface area and remove debris before installation. Lubricant can be used to loosen tight bolts or screws if needed, and gloves are recommended to protect your hands and maintain hygiene throughout the process.
Safety Precautions
When working with tools, avoid scratching or damaging the toilet bowl. Use gentle pressure and protective tools to prevent unwanted marks. Additionally, wearing gloves can protect your hands from sharp edges and cleaning chemicals during the installation.
Preparing for Seat Removal
Inspecting the Current Seat
Begin by identifying the bolts and hinge covers that secure the current toilet seat to the bowl. These are typically located at the back of the seat and may be covered with plastic caps. Gently pry open the covers using a flathead screwdriver to expose the bolts beneath. This step ensures you have clear access to the components that need removal.
Cleaning the Area
Before proceeding, thoroughly clean the area around the bolts and hinges. Use a mild cleaning solution and a cloth or sponge to remove any dirt, grime, or debris that may have accumulated. A clean surface will make the removal process smoother, reducing the risk of staining or contamination during installation.
Checking for Damage
Inspect the bolts and hinges for signs of rust, corrosion, or other damage that may
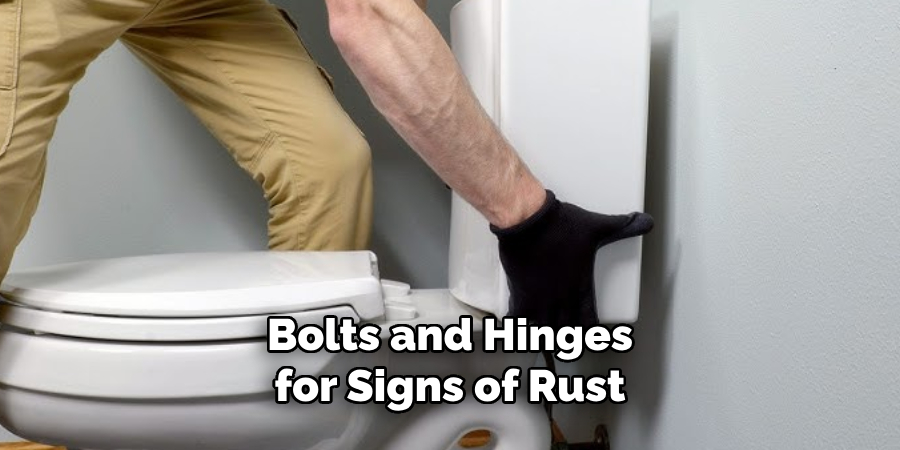
complicate removal. Rusted or stuck bolts might require lubricant, like WD-40, or additional tools, such as pliers or a hacksaw, to safely detach the seat. Addressing potential issues beforehand will save time and effort.
How to Change a Toto Toilet Seat: Removing the Old Toto Toilet Seat
Lifting the Hinge Covers
You first need to lift the hinge covers to access the bolts that secure the toilet seat. These covers are typically located at the back of the seat. Gently pry them open using your fingers or a flathead screwdriver, depending on their design. Be cautious not to apply excessive force to avoid damaging the covers or surrounding components. Once the covers are lifted, you’ll have a clear view of the bolts beneath.
Unscrewing the Bolts
Using a screwdriver, carefully begin to loosen the bolts securing the seat. While doing so, hold the nuts beneath the toilet bowl in place with a wrench or a pair of pliers to prevent them from spinning. If the bolts are particularly tight or rusted, apply a lubricant such as WD-40 and allow it to sit for a few minutes. This should help loosen the bolts and make the process easier. For frozen bolts, consider using additional tools, like a hacksaw or bolt cutter, to cut through them safely. Take your time with this step to avoid accidental damage to your toilet or surrounding areas.
Removing the Seat
Once the bolts are fully removed, carefully lift the toilet seat away from the bowl. Tilt the seat slightly if necessary to disengage it from the hinges. Be sure to handle the seat gently to prevent scratches or damage to the toilet’s surface. If any small components, such as washers or shims, drop during removal, retrieve them to prevent losing essential parts or causing blockages. With the old seat successfully removed, you’re now ready to proceed with cleaning and preparing the area for installing your new Toto toilet seat.
How to Change a Toto Toilet Seat: Installing the New Toto Toilet Seat
Positioning the New Seat
Begin by aligning the new Toto toilet seat with the mounting holes on the toilet bowl. Make sure the seat is centered correctly and positioned so it fits snugly and evenly over the bowl.
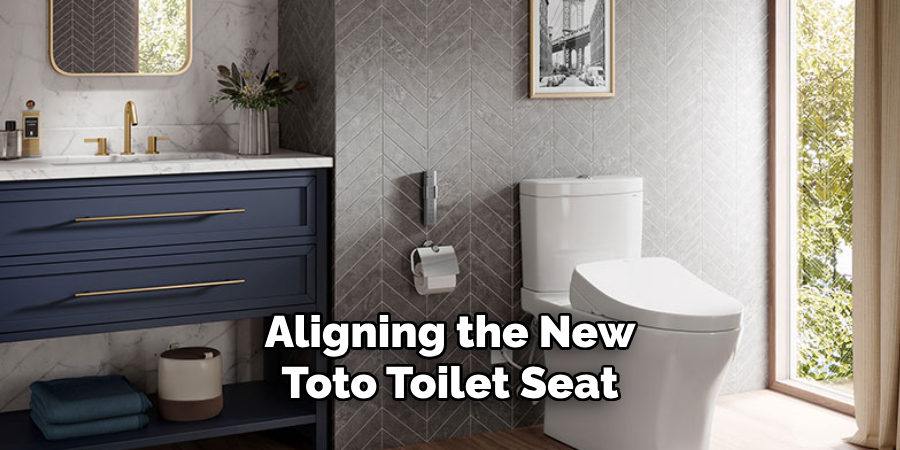
Take a moment to confirm that the hinges align with the holes, as this is crucial for ensuring stability and proper installation.
Inserting the Bolts
With the seat properly positioned, insert the new bolts provided with the Toto seat through the mounting holes. Depending on the design of your toilet, you may need to hold the bolts in place while threading the nuts onto the underside of the bowl. Make sure the bolts fit securely through the holes, and double-check that the seat is still correctly aligned before proceeding to the next step.
Tightening the Bolts
Using a screwdriver, carefully tighten the bolts. Work on each bolt incrementally, alternating between them to ensure even pressure and alignment. Avoid over-tightening, as this can crack the porcelain of the toilet bowl or damage the new seat’s hinges. If the seat includes plastic washers or spacers, ensure they are properly positioned to protect the toilet’s surface. Once the bolts feel secure, test the seat’s stability by gently pressing down on different areas.
Testing the Seat
Finally, lift and lower the Toto toilet seat to confirm that it moves smoothly and is securely attached. Pay particular attention to any special features, such as a soft-close mechanism or quick-release hinges, to ensure they function correctly. Adjust the bolts slightly if needed to refine the fit. With everything in order, the installation is complete, and your new Toto toilet seat is ready for use.
Cleaning and Maintenance Tips
Regular Cleaning
To maintain the appearance and hygiene of your Toto toilet seat, use a mild cleaner and a soft cloth or sponge to clean the seat and hinges. Avoid abrasive materials or harsh chemicals, as they can damage the finish or weaken the plastic components. Regular cleaning will help prevent the buildup of grime and stains, keeping your seat looking and functioning like new.
Maintaining Hinges
For seats with moving parts, such as soft-close or quick-release hinges, occasional lubrication is recommended to ensure smooth operation. Use a silicone-based lubricant,
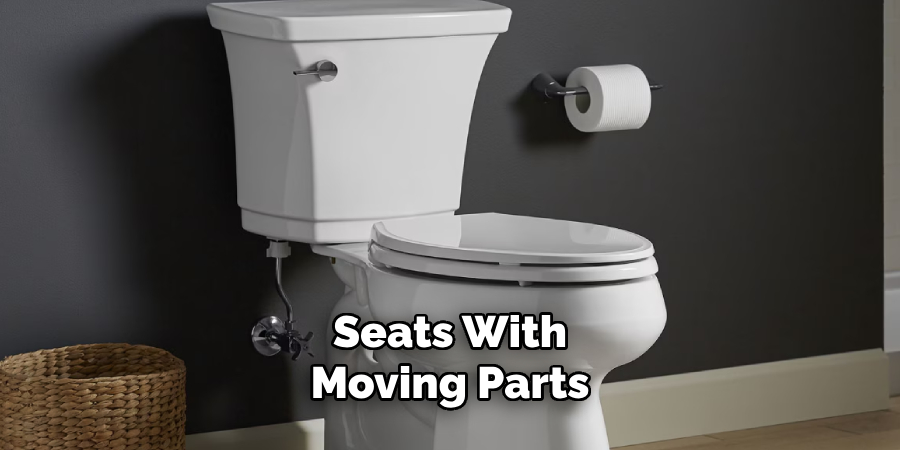
as it resists water and won’t attract dirt. Apply a small amount to the moving hinges, wiping away any excess to avoid buildup.
Quick Inspections
Conduct periodic inspections to ensure that the bolts holding the seat remain tight and secure. Check for loosening or wear, and tighten the bolts as needed. Regular maintenance will extend the lifespan of your Toto toilet seat and ensure long-term reliability.
Troubleshooting Common Issues
If you encounter a misaligned seat, start by loosening the bolts, adjusting the seat to the desired position, and then re-tightening the bolts securely. For wobbling issues, ensure the bolts are tight; if the problem persists, consider adding rubber washers between the seat and bowl for extra stability. Stuck bolts can often be loosened using penetrating oil; apply a small amount, wait a few minutes, and then carefully turn the bolt. Regular checks and adjustments can prevent these common issues, maintaining the functionality and comfort of your Toto toilet seat over time.
Conclusion
Changing a Toto toilet seat is straightforward when equipped with the proper tools and clear steps. By following this guide on how to change a Toto toilet seat, you can quickly replace an old or worn-out seat, enhancing both comfort and functionality. A securely installed toilet seat provides a better user experience and adds to your bathroom’s aesthetic and hygiene. Additionally, performing routine maintenance and periodic inspections will ensure the longevity of your Toto toilet seat, keeping it reliable and in excellent condition for years to come.

