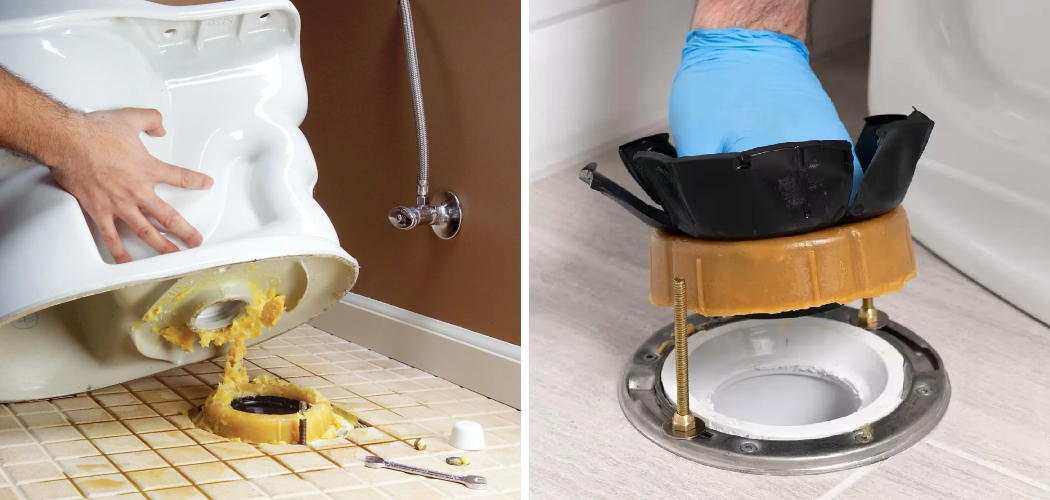
Changing a wax ring is an essential home maintenance task that every homeowner should understand, especially when faced with leaks around the toilet’s base or unpleasant odors emanating from the bathroom. The wax ring is crucial in creating a watertight seal between the toilet and the floor flange, preventing water leaks and inhibiting foul smells. Neglecting to replace a damaged or deteriorated wax ring can lead to more significant plumbing issues and costly repairs.
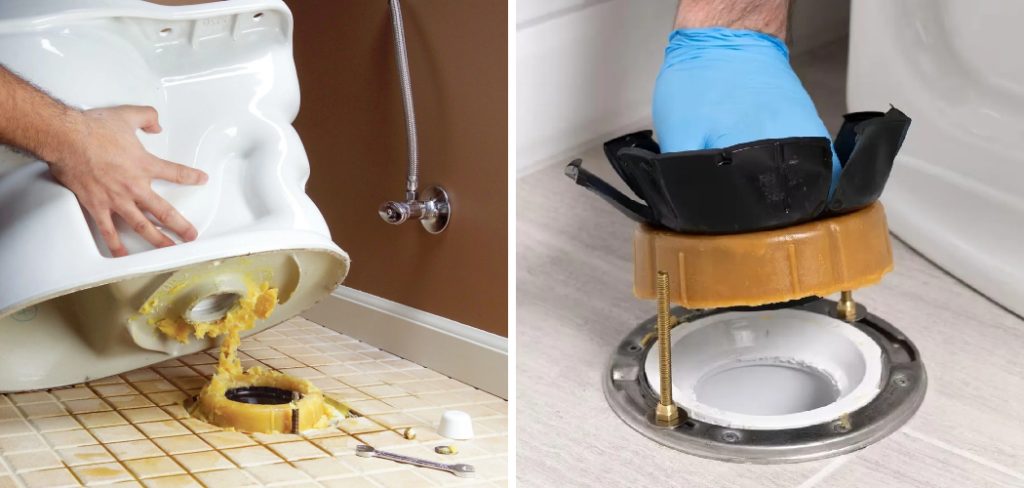
In this article, we will guide you through the process of how to change a wax ring in a toilet. We will cover the necessary steps, including turning off the water supply, carefully removing the toilet, replacing the wax ring, and reinstalling the toilet to ensure a secure and reliable fit. Following these instructions will help you maintain a properly functioning toilet and prevent future leaks.
Tools and Materials Needed
Essential Tools
To change a wax ring in a toilet, you will need several tools. Gather a wrench or socket set for removing the bolts, a screwdriver for any necessary disassembly, a putty knife to scrape away the old wax, and a bucket to catch any water. Additionally, having a towel handy can help manage any spills.
Materials
In addition to tools, ensure you have the required materials on hand. You will need a new wax ring to create a watertight seal. It’s also advisable to purchase new toilet bolts and washers to secure the toilet effectively. Lastly, keep some rags or towels available to clean up any water that may spill during the process, ensuring a tidy working environment.

Preparing for the Replacement
Turning Off the Water Supply
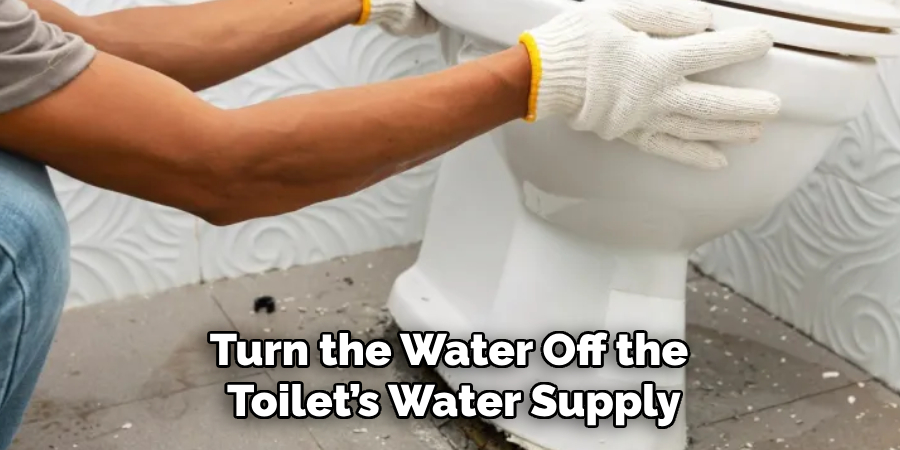
Before you begin replacing the wax ring, it’s crucial to turn the water off the toilet’s water supply is crucial supply to the toilet. Locate the water supply valve, typically found on the wall behind the toilet. Turning it clockwise will shut off the flow. Once the valve is closed, flush the toilet to drain the tank and bowl. To collect any leftover water, use a sponge or towel to soak up what remains in the bowl, ensuring a dry working environment.
Removing the Tank Lid and Emptying the Tank
Next, carefully remove the tank lid and set it aside safely to prevent breakage. To further minimize water spillage, you can drain any remaining water from the tank into a bucket. This step is optional but helps protect your floors from potential leaks when removing the toilet. Be sure to thoroughly empty the tank for a cleaner and simpler replacement process.
Removing the Toilet
Disconnecting the Water Supply Line
To start removing the toilet, you need to disconnect the water supply line. First, place a bucket or towel under the connection at the bottom of the tank to catch any excess water that may drip. Carefully turn the nut on the supply line counterclockwise using a wrench to unscrew it from the tank. It may take a few moments, so apply steady pressure to loosen the connection. Once loosened, detach the supply line completely and set it aside.
Be sure to check for any residual water in the line before setting it down to prevent unwanted spills. After the water supply line has been successfully removed, double-check to ensure the area is dry, as this will help maintain a clean workspace when you unbolt the toilet.
Unbolting the Toilet
Next, you’ll need to remove the nuts that secure the toilet to the floor. Start by locating the toilet bolts, which are usually covered by caps that can be pried off with a flathead screwdriver. Once the caps are removed, use a wrench or socket set to unscrew the nuts from the bolts. As you work, be careful not to apply excessive force that could crack the porcelain or damage the bolts.
After removing the nuts, gently rock the toilet back and forth to break the wax seal that holds it in place. This motion helps to loosen the toilet from the flange. Once the seal is broken, carefully lift the toilet off the floor, tilting it slightly to prevent any water from spilling. It’s advisable to place the toilet on a towel or cardboard to protect your floors during this step.
How to Change a Wax Ring in A Toilet: Removing the Old Wax Ring
Removing the Toilet from the Floor
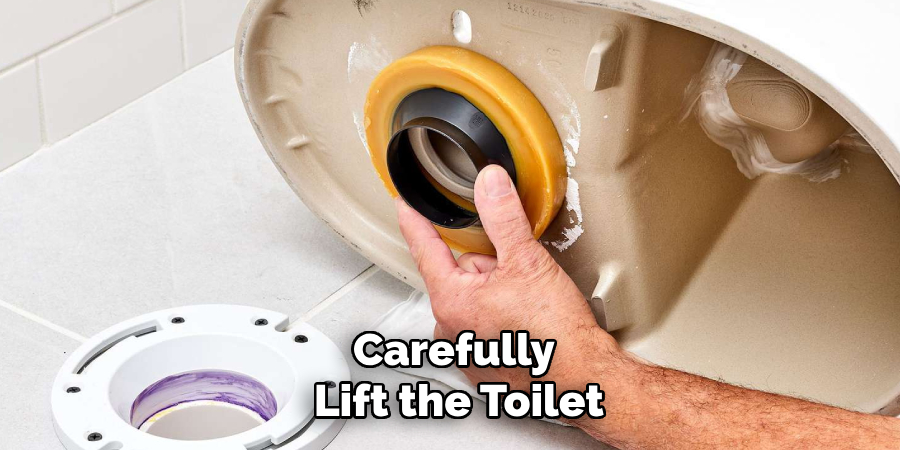
Once the toilet has been unbolted and the wax seal has been broken, it’s time to carefully lift the toilet off the floor. Enlist the help of a friend if possible, as toilets can be cumbersome. Grip the toilet bowl or base securely, tilting it slightly to prevent any remaining water inside from spilling. As you lift, maintain a steady upward motion to detach it from the floor. Place the toilet down gently on a clean, flat surface or an old towel to protect both the toilet and your flooring.
Ensure that the towel is large enough to catch any drips and is secure to prevent slipping. If you find water remains in the bowl, use a towel or sponge to soak it up before moving the toilet, avoiding mess and potential damage to your floors.
Cleaning the Old Wax Ring
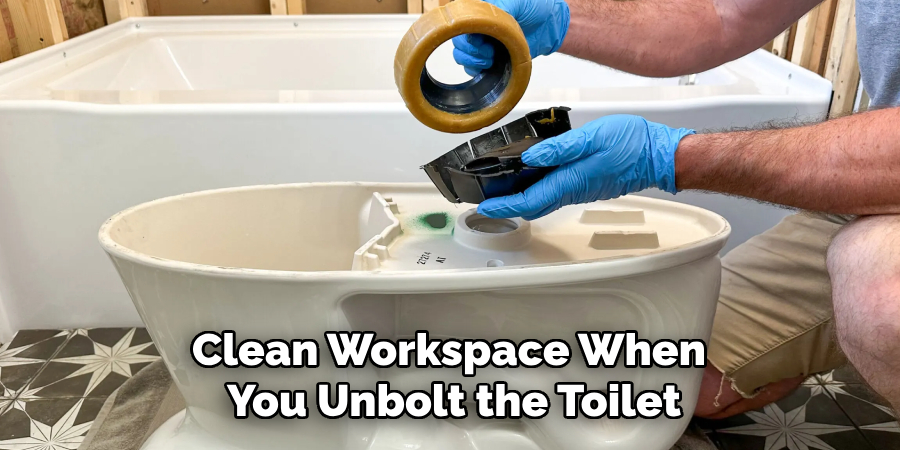
With the toilet safely placed aside, the next step is removing the old wax ring from the toilet base and floor flange. Begin by examining the wax ring for any remnants clinging to these areas. Take a putty knife and carefully scrape away the old wax, being cautious not to damage the flange or the toilet itself. This can take some time, as the wax may adhere strongly. Ensure you remove any debris or leftover wax completely, as even small remnants can hinder the effectiveness of the new wax ring.
After scraping away the old wax, it’s important to clean the area thoroughly. Use a rag or cloth to wipe down the toilet base and the floor flange, ensuring they are free of dust, dirt, and any remaining wax particles. A clean surface is crucial for properly sealing the new wax ring, preventing future leaks.

How to Change a Wax Ring in A Toilet: Installing the New Wax Ring
Placing the New Wax Ring
Before installing the new wax ring, ensure that the flange and the base of the toilet are clean and free of debris. Place your new wax ring directly onto the toilet flange, ensuring it is centered and aligned properly.
It’s important to press it down gently to create a secure fit. If your wax ring has a plastic horn, ensure it is positioned to face the drain. Alternatively, if you use a wax ring without a horn, ensure the waxy side is facing up and making contact with the toilet’s base when installing it later. Proper placement is crucial; misalignment can lead to leaks and issues down the line. Once positioned correctly, allow the wax ring to settle as you prepare to reinstall the toilet.
Reinstalling the Toilet
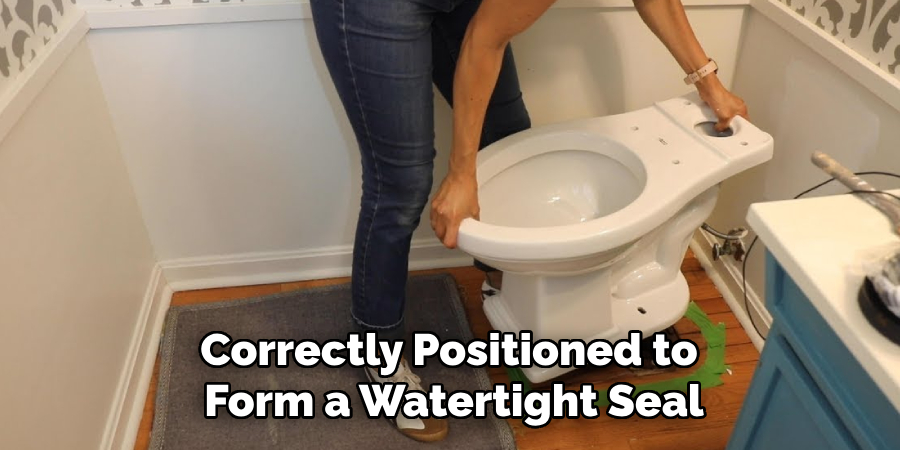
Now that the new wax ring is in place, it’s time to lower the toilet back onto the new seal. Carefully lift the toilet, maintaining a steady grip to prevent any drops. Align the toilet’s base over the wax ring and the floor bolts, making certain that it is centered. Slowly lower the toilet until it rests on the wax ring, ensuring the toilet is evenly placed against the floor. Once it is in position, press down gently on the toilet to compress the wax ring, helping to create a watertight seal.
This compression is essential for ensuring no leaks occur once the toilet is in use. After positioning the toilet, remove the nuts and washers earlier and place them onto the floor bolts. Gradually tighten the nuts to secure the toilet in place, ensuring that it does not overtighten, which could crack the porcelain and compromise the installation.
Reconnecting the Water Supply
Reattaching the Water Supply Line
With the toilet securely in place, it’s time to reconnect the water supply line. Align the line with the connection at the bottom of the tank and hand-tighten the nut onto the fitting. Once it’s secure, use a wrench to tighten it further, being careful not to overtighten, which might damage the components. After completing this step, inspect the area for any potential leaks.
Turning the Water Supply Back On
Next, locate the water supply valve and turn it clockwise to restore water flow to the tank. Once the valve is opened, allow the tank to refill completely. During this process, keep an eye on the base and connections for any signs of leaks. If you spot any leaks, turn off the supply valve and check the connections to ensure they are tight before repeating the steps.
Testing and Final Checks
Flushing the Toilet
Once the water supply has been restored, testing the toilet’s functionality is time. Begin by flushing the toilet to ensure it operates smoothly. Observe the flush for any irregularities, such as weak flow or unusual noises. After flushing, pay close attention to the base of the toilet, checking for any signs of water leakage. It’s essential to ensure that everything is functioning correctly before moving forward.
Inspecting for Leaks
After flushing, inspect the area around the base of the toilet closely. Look for any pools of water or dampness that might indicate a leak. Additionally, it’s good practice to check this area periodically over the next few hours or even days. Keeping an eye on the seal and connections ensures that the installation remains intact and prevents any future issues with water leakage. If any leaks are detected, promptly address them to avoid complications.
Troubleshooting Common Issues
Dealing with Leaks
If you encounter persistent leaks after installation, the first step is to check the alignment of the wax ring. Ensure it is properly centered on the flange and toilet base. Next, inspect the floor bolts to confirm they are securely tightened, as loose bolts can lead to gaps and leaks. If these adjustments do not resolve the issue, consider replacing the wax ring entirely, ensuring that the new ring is correctly positioned to form a watertight seal.
Handling an Uneven Floor
An uneven floor can cause instability, leading to leaks or toilet rocking. To address this, use plastic or rubber shims beneath the toilet to compensate for any height differences, ensuring a stable installation. If the floor has significant damage, it may be necessary to repair the flooring before reinstalling the toilet. Additionally, leveling compounds that can be applied to the subfloor should be considered, providing a flat and secure base for the toilet to rest upon.
Conclusion
Changing a wax ring in a toilet is straightforward if you follow the key steps carefully. Start with proper preparation, including gathering necessary tools and cleaning the area thoroughly. Next, remove the old wax ring, ensuring that the flange and toilet base are free of debris. After that, place the new wax ring correctly on the flange and reinstall the toilet with careful alignment. Finally, reconnect the water supply and conduct thorough checks to ensure everything is functioning smoothly without leaks.
Remember, taking your time is crucial for success. Carefully follow each step to achieve a proper seal, as this will prevent future leaks. With patience and attention to detail, you can confidently learn how to change a wax ring in a toilet and maintain a properly functioning fixture in your home, protecting it from water damage and costly repairs.

