An expansion tank is an essential component of a boiler system, designed to accommodate the expansion of water as it heats up and to maintain proper pressure within the system. Over time, these tanks can wear out or become ineffective, leading to potential issues such as fluctuating water pressure or even system leaks.

Understanding how to change an expansion tank is crucial for maintaining the efficiency and safety of your boiler. In this guide, we will outline the steps involved in how to change an expansion tank on a boiler, ensuring that your heating system continues to function smoothly and reliably.
Understanding the Expansion Tank
An expansion tank is a small, yet vital, component within a closed-loop heating system. Its primary function is to absorb excess pressure caused by the thermal expansion of water as it heats up. Without an expansion tank, this increase in pressure can lead to stress on the boiler and pipework, potentially causing leaks or even catastrophic failures.
Typically, an expansion tank is divided into two chambers: one filled with air and the other with water. This design allows it to effectively cushion the pressure fluctuations and maintain stable water levels within the system.
Types of Expansion Tanks
There are several types of expansion tanks used in boiler systems, each designed to cater to specific applications and system requirements. The most common types include:
- Diaphragm Expansion Tanks: These tanks feature a flexible diaphragm that separates the water and air chambers. As water expands, it pushes against the diaphragm, which in turn compresses the air in the tank. This type is widely used due to its ability to maintain consistent pressure and is ideal for closed-loop systems.
- Bladder Expansion Tanks: Similar to diaphragm tanks, bladder tanks have a rubber bladder that holds the water, with air on the outside. As water enters the tank, it fills the bladder, compressing the air around it. Bladder tanks are generally more robust and can handle higher pressures, making them suitable for larger systems.
- Open Expansion Tanks: These tanks operate at atmospheric pressure and are typically used in older systems or certain types of applications, such as gravity-fed heating systems. The open design allows for the direct release of excess pressure into the atmosphere, but they require more space and can be less efficient.
- Pre-Pressurized Expansion Tanks: These tanks come pre-charged with air to a specific pressure, which helps in managing the pressure fluctuations within the system more effectively. They are commonly found in residential and commercial heating systems where maintaining consistent pressure is essential.

10 Methods How to Change an Expansion Tank on a Boiler
1. Turn Off the Power and Water Supply
Before starting any work on the boiler system, safety should be your top priority. Turn off the power to the boiler by switching off the circuit breaker or disconnecting the power source. Then, shut off the water supply to the boiler by closing the main valve.
This ensures that no water will flow into the system while you’re working, preventing any risk of accidental flooding. Allow the boiler to cool down if it’s recently been in use, as working with hot water or steam can be dangerous.
2. Drain the Boiler System
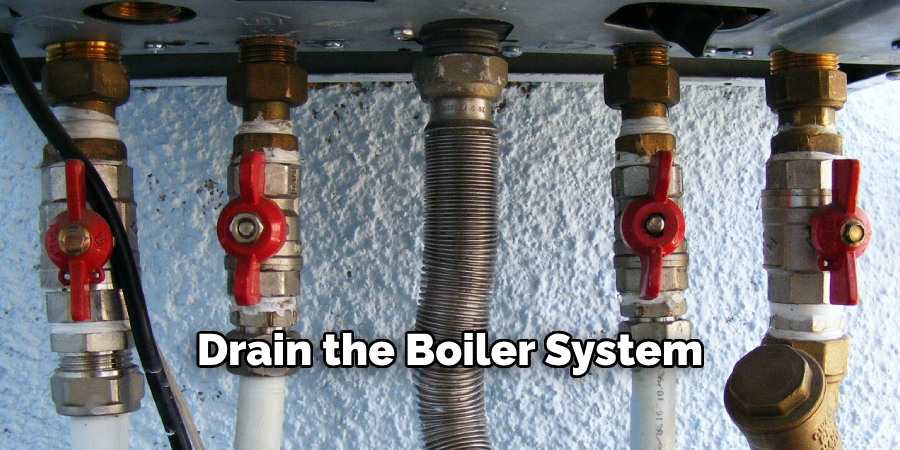
Once the power and water supply are turned off, you’ll need to drain the boiler system to relieve pressure and remove excess water. Attach a hose to the drain valve located at the bottom of the boiler. Direct the hose to a safe drainage area, such as a floor drain or outside. Open the drain valve to let the water flow out.
It’s important to release enough water to lower the pressure in the system, but you don’t need to drain the entire system unless you’re doing additional maintenance. Draining the boiler ensures a safer working environment when removing the expansion tank.

3. Locate the Expansion Tank
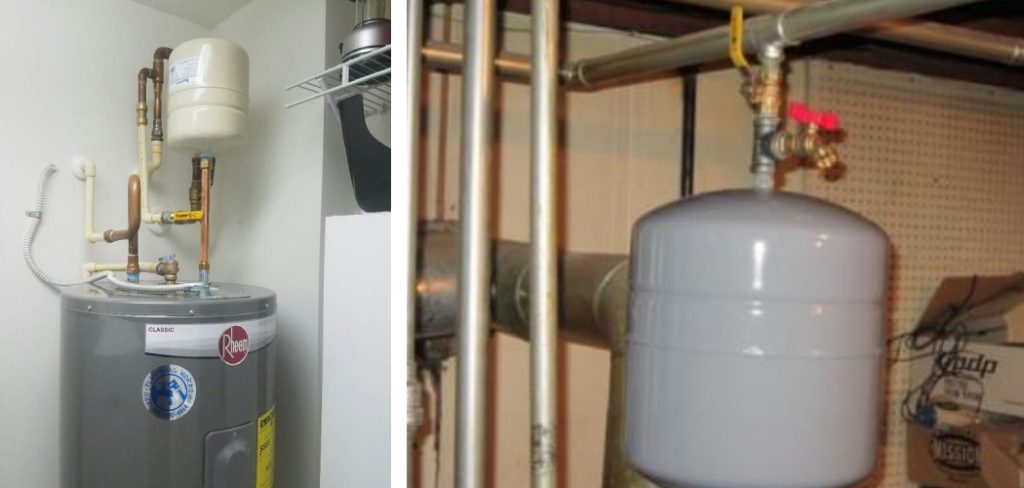
The next step is to locate the expansion tank on your boiler system. Expansion tanks are usually mounted above the boiler or close to it, connected to the heating system’s pipework. Depending on your setup, you may have either a diaphragm-type expansion tank or a conventional steel expansion tank.
Diaphragm tanks have an internal rubber membrane that separates air from water, while conventional tanks allow the water to expand directly into the air chamber. Identifying the type of expansion tank you have will help you understand the steps needed for its removal and replacement.
4. Disconnect the Old Expansion Tank
Before removing the expansion tank, you’ll need to depressurize it. If your expansion tank has a Schrader valve (similar to a tire valve), press the valve to release any air pressure inside the tank. Once the tank is depressurized, use an adjustable wrench or pipe wrench to disconnect the fittings attaching the tank to the boiler system.
Be careful when loosening the connections, as some water may still be inside the tank. Have a bucket or towels ready to catch any water that spills out. Gently remove the old expansion tank from its mounting bracket or support once it’s fully disconnected.
5. Inspect the Plumbing and Connections
With the old expansion tank removed, take the opportunity to inspect the surrounding plumbing and connections for any signs of wear, corrosion, or damage. Check the pipes, valves, and fittings for leaks, rust, or mineral buildup, as these can cause issues with the new expansion tank installation.
If any components appear damaged or corroded, replace them before installing the new tank. This step ensures the longevity of your new expansion tank and prevents future problems related to aging or damaged plumbing.
6. Choose the Right Replacement Expansion Tank
Selecting the correct replacement expansion tank is essential for proper system function. Expansion tanks come in various sizes, and choosing the right size depends on the capacity of your boiler system and the amount of water it heats.
Check the specifications of your old expansion tank, which are usually printed on a label or tag, to find the appropriate size and type for your system. You’ll need to ensure that the pressure rating of the new tank matches the boiler’s operating pressure. If you’re unsure, consult the boiler’s manual or a professional to determine the correct tank size.
7. Install the New Expansion Tank
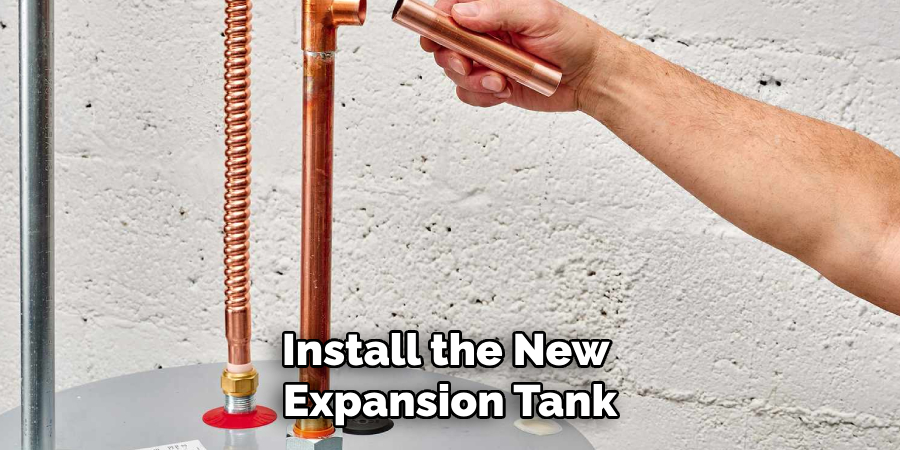
To install the new expansion tank, begin by applying plumber’s tape (Teflon tape) to the threads of the tank’s connection fittings. This helps create a watertight seal and prevents leaks. Carefully screw the new expansion tank onto the boiler’s pipework, ensuring that the connections are tight but not overtightened, as this can damage the fittings.

If your system uses a mounting bracket or support for the tank, make sure the tank is securely fastened. The new expansion tank should sit level and stable, without putting undue stress on the connected pipes.
8. Refill the Boiler System
Once the new expansion tank is installed, it’s time to refill the boiler system with water. Close the drain valve that was opened earlier, and turn the water supply back on. As the system refills, open any air vents on the radiators or piping to release trapped air.
Air in the system can cause uneven heating and pressure problems, so it’s important to bleed the system thoroughly. Keep an eye on the pressure gauge as the boiler refills, ensuring the pressure stays within the manufacturer’s recommended range. If necessary, adjust the pressure using the boiler’s fill valve.
9. Test for Leaks and Check the System Pressure
After refilling the boiler system, carefully inspect the area around the new expansion tank for any signs of leaks. Check all the connections you made during installation, ensuring that no water is dripping from the fittings. If you notice any leaks, turn off the water supply, depressurize the system, and tighten the fittings or apply additional plumber’s tape.
Once you’re confident there are no leaks, check the boiler’s pressure gauge again to confirm that the system is operating within the recommended pressure range. Proper pressure is essential for efficient boiler operation and preventing future problems.
10. Restore Power and Test the Boiler
The final step in the process is to restore power to the boiler and test its functionality. Turn the circuit breaker or power switch back on, and allow the boiler to heat up. Monitor the system as it reaches its operating temperature, checking the pressure gauge to ensure the pressure remains stable. If the pressure rises too high, it may indicate a problem with the new expansion tank or another issue in the system.

Additionally, listen for any unusual noises, such as knocking or banging, which could signal trapped air or pressure imbalances. If the boiler operates smoothly without any issues, the installation of the new expansion tank is complete.
Conclusion
Replacing the expansion tank in your boiler system is a vital maintenance task that ensures your heating system functions efficiently and reliably. By following the steps outlined above, from locating and disconnecting the old expansion tank to installing the new one and testing the system, you can confidently undertake this project. Thanks for reading, and we hope this has given you some inspiration on how to change an expansion tank on a boiler!

