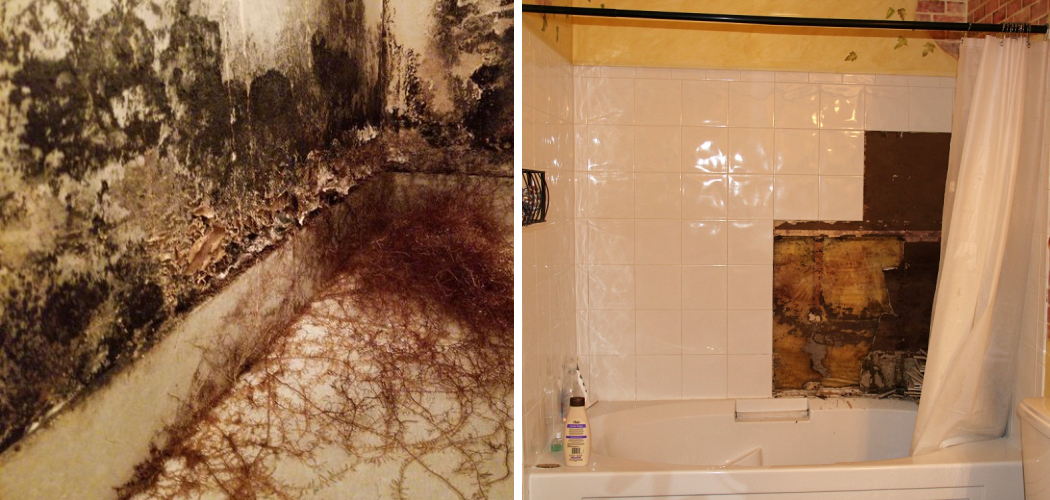
Are you worried that there might be mold lurking behind your shower tile? It’s important to ensure that mold can cause health issues and structural damage to your property.
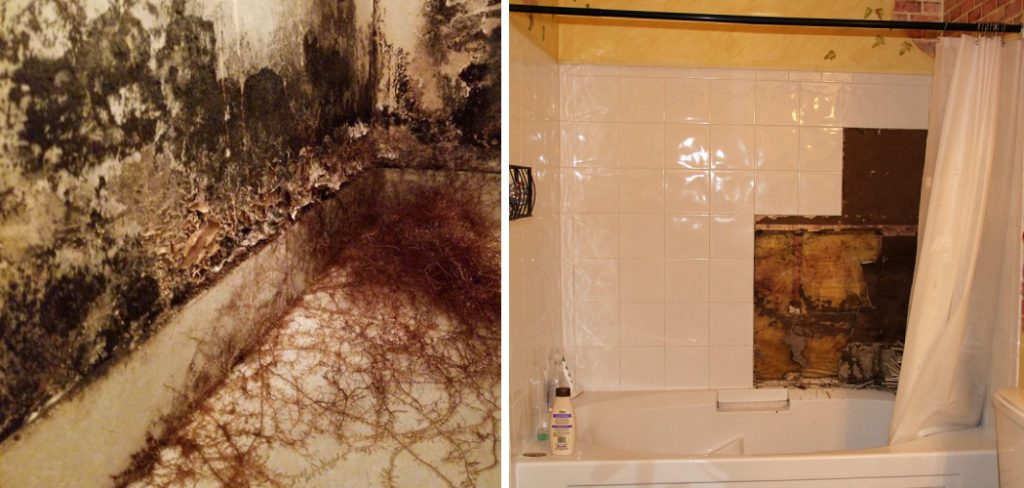
Mold is not often high on your list of repairs when viewing a home; however, if left unchecked, it can cause serious damage, which could cost you significantly more money in the long run.
Not only can mold be unsightly and have an unpleasant odor, but more importantly, it has the potential to contribute to various health problems. Therefore, homeowners must regularly check for mold behind shower tiles, where it can thrive undetected since moisture is typically trapped within these rooms.
If you suspect mold is present or want to keep on top of any developing issues, this article will provide helpful guidance on how to check for mold behind shower tile.
What Will You Need?
Before getting started, there are a few items you should have in order to check for any potential mold growth.
- A flashlight
- Disposable gloves
- Face mask (optional)
- Step ladder (optional, depending on the height of your ceiling)
Once you have all the necessary items, you are ready to begin.
10 Easy Steps on How to Check for Mold Behind Shower Tile
Step 1. Safety First:
Before any inspection, be sure to take all necessary safety precautions. Wear the appropriate clothing and protective items such as gloves and a face mask. Remember to turn off the power in the bathroom and take any other necessary safety measures.
Step 2. Ensure Proper Lighting:
Using a flashlight, inspect the ceiling and walls of your shower for any discoloration or stains that may indicate mold growth. Pay extra attention to areas around the showerhead, as water can often become trapped in these areas. Try to move the light around the room and look for any suspicious spots from different angles.
Step 3. Check Tiles:
Remove any shower curtains or other items blocking your view of the tiles. Look closely between the grout lines, as this is a common place for mold to develop undetected. Use a step ladder to get a closer look at the tiles.
Step 4. Wipe Down Tiles:
Use a damp cloth to wipe down any tiles and grout lines, then inspect the surface for any water spots or discoloration that may indicate mold growth. If you see any suspicious areas, take note and move on to the next step. Additionally, make sure to dry off the tiles immediately after wiping them down.
Step 5. Look for Signs of Moisture:
Mold thrives in damp, dark environments, so it’s essential to check for signs of moisture. Check around windows and other areas where moisture may be retained, such as behind loose tiles or grout lines. If the surface feels damp, there may be a potential problem with moisture, and you should investigate further.
Step 6. Check for Musty Smells:
Inspect your bathroom for any musty smells which could indicate mold growth. Try to inspect other rooms in the house that have similar smelling odors as mold can spread quickly if undetected. Use your nose to sniff the bathroom and note any areas where the smell is powerful.
Step 7. Check for Leaks:
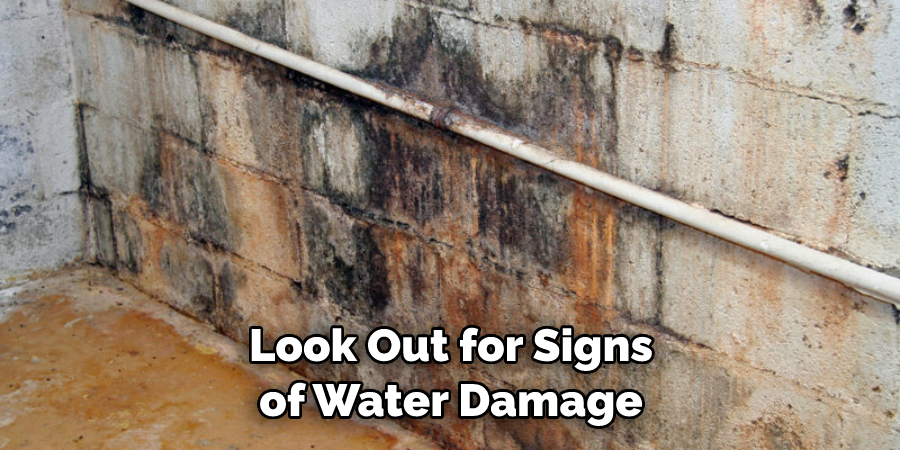
Inspect the shower walls and floor for any leaks which may suggest a mold issue. Look out for signs of water damage, such as peeling paint, discolored walls, or other structural damage that could be caused by water seeping in from outside sources. If you notice any of these signs, investigate further to identify and repair the source of the leak.
Step 8. Look for Other Visible Signs:
Inspect your bathroom for other signs of mold, such as black or green spots on walls, ceilings, or tiles. These can range from small patches to larger colonies depending on how much time has passed since the mold began to grow. Be careful when touching or removing any mold as it may release spores into the air, so wear gloves and a face mask for protection.
Step 9. Test Air Quality:
If you still need to determine whether there’s mold present, consider investing in an air quality test. A qualified professional will be able to conduct a thorough assessment and can advise if any further action is needed. Remember that it’s important to address any mold issues as soon as possible, so don’t delay.
Step 10. Take Action:
Once you have identified any potential mold issues, it’s important to take action. The best way to get rid of mold is to find the source and fix the problem (i.e., repair any plumbing leaks). After repairing the issue, use a detergent or bleach solution to remove any visible mold spots from walls or tiles.
By following these ten steps on how to check for mold behind shower tile, you can ensure the safety and well-being of your home. Remember to regularly inspect for any new signs of mold growth, as this will help prevent further issues from developing.
5 Additional Tips and Tricks
- Before beginning to check for mold, wear protective gear, including a mask and gloves.
- If you notice any discoloration on your shower tile and think it may be due to mold, use a damp cloth to take a sample. Then place the sample in an airtight container and bring it outside to check under natural light.
- If you find mold present, it is important to act quickly and take steps to remove it. It was rubbing the area with bleach and water using a brush or sponge.
- After scrubbing, dry the area thoroughly to prevent further growth of mold spores.
- To help keep mold from returning in the future, be sure to keep your shower area clean and dry. This is especially important after a shower, as any moisture left behind can lead to mold growth. Additionally, consider using an exhaust fan or opening a window when you shower to help get rid of moisture in the air.
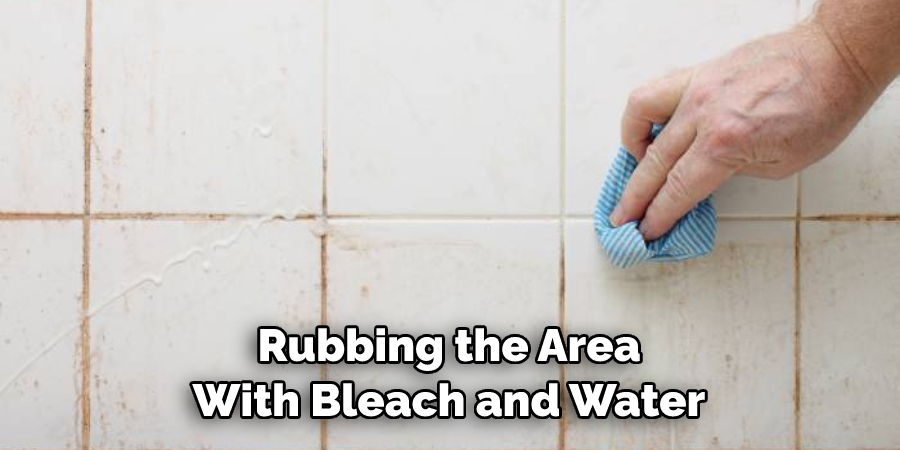
By following these tips and tricks, you should be able to successfully check for and remove any mold that may have formed behind your shower tile. Remember to use caution when handling mold, as it can be hazardous to your health. Taking the time to regularly inspect and clean your shower area will help keep it free of any potential problems. Good luck!
5 Things You Should Avoid
- Do not use a metal brush or scrubber to remove mold from tiles, as this could potentially cause damage.
- Only attempt to spray chemicals directly onto the tile in order to remove mold – this can be dangerous if you know how to handle the chemicals correctly.
- Avoid leaving wet towels or other items on the shower floor after using it – this will only provide a breeding ground for mold.
- Do not use the same brush or sponge to clean both the tiles and grout – you should use separate tools when cleaning these two areas.
- Finally, don’t forget to remove any residual mold spores using a vacuum cleaner after scrubbing the area with bleach and water solution. This will ensure that no mold spores are left behind, which could lead to further growth.
By following these tips and taking the necessary steps to check for and remove any mold that may have formed behind your shower tile, you can help keep your bathroom clean and free of potential problems.
Can Mold Behind Walls Make You Sick?
Unfortunately, yes. Mold spores can easily spread through the air and affect your physical and mental health if inhaled for prolonged periods. Symptoms that may arise include coughing, wheezing, difficulty breathing, skin irritation, and headaches.
If you think mold is behind your shower tile or elsewhere in your home, it is important to act quickly and remove it. Wear protective gear while doing so, as mold exposure can harm your health.
Additionally, consider consulting a professional if the problem is beyond your expertise or if you need help removing the mold. These simple steps will help ensure your home remains safe and free of any potential health risks.
What are the Causes of Mold Growth in Showers?
Mold can easily grow in showers due to the high moisture and humidity levels. This is especially true if any cracks or crevices provide an entry point for mold spores.
Additionally, improper ventilation can also lead to a buildup of moisture, making it easier for mold growth to occur. To help prevent this from happening, it is important to keep the shower area dry and well-ventilated.

Make sure that any wet towels or items are removed from the area after use, and consider using an exhaust fan or opening a window when you take a shower. Taking these steps will help reduce the chances of mold forming behind your tile.
Conclusion
To conclude, how to check for mold behind shower tile is a necessary task that should be addressed. If left unchecked, the mold could continue to grow and spread in the bathroom, creating an uncomfortable environment and potential health issues.
However, with careful inspection and removal, such as following the steps in this blog post, you can have peace of mind knowing your shower is safe and clear of mold. Keeping all surfaces clean and dry is another essential measure for keeping mold growth at bay, so paying special attention to any wet spots or moisture lingering on the walls is key.
Finally, having regular maintenance checks done on your shower tiles will help keep repair costs low should any issue arise. You should never ignore potential signs of molding or mildew – maintain your bathroom with these tips in mind!

