Are you experiencing issues with your hot water supply? Or are you simply looking to ensure your hot water tank functions correctly? Checking the elements in your hot water tank is essential for maintaining a steady supply.
When your hot water tank fails to provide the necessary warmth, it might be due to a malfunctioning heating element. Knowing how to check hot water tank elements can save you time and potentially costly repairs. This guide will walk you through the process of diagnosing common issues with hot water tank elements. Whether you’re experiencing inconsistent water temperatures or no hot water, understanding how to test and identify faulty elements is a crucial step in maintaining your water heater’s efficiency and longevity.
You can assess whether a replacement or repair is needed with basic tools and safety precautions.
What Will You Need?
Before beginning any maintenance or repairs, gather the necessary tools to safely and effectively check your hot water tank elements. You will need:
- Safety goggles/glasses
- Work gloves
- Screwdriver (flathead and Phillips)
- Multimeter (to test for continuity)
- Replacement elements (if required)
Once you have these items, follow the steps below to start.
10 Easy Steps on How to Check Hot Water Tank Elements
Step 1. Turn Off the Power Supply:
To ensure safety, carefully turn off the power supply to your hot water tank. This can typically be done at the main electrical panel, where you should locate and switch off the circuit breaker associated with your water heater. It’s crucial to double-check that the power is fully disconnected to prevent any risk of electric shock while working on the heater elements.
If you need clarification on which breaker controls the heater, it’s always best to consult the panel’s labeling or use a voltage tester to confirm that the unit is indeed powered down. Once you’ve verified that the power is off, you can proceed with confidence and safety to check your hot water tank elements.
Step 2. Access the Heating Elements:
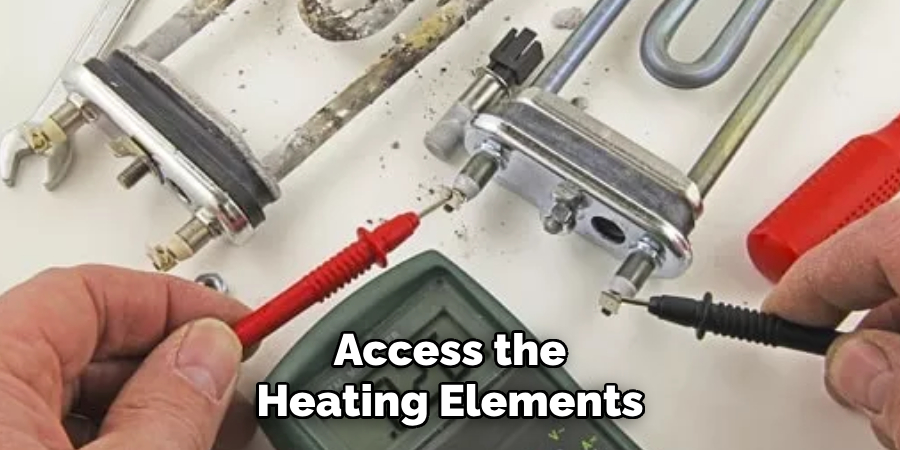
After ensuring the power is off, you need to access the heating elements in your hot water tank. Begin by locating the access panels on the side of the water heater. Most electric water heaters have two panels: one near the top and one toward the bottom. Use a screwdriver to remove the screws securing the panel covers.
Once the covers are removed, you typically see insulation and a plastic cover guarding the element. Gently set aside the insulation and remove the plastic cover to expose the terminal screws and wires attached to the component. Make sure not to damage any wires during this process. With the heating elements now accessible, you’re ready to proceed with the testing phase of the inspection.
Step 3. Test for Continuity:
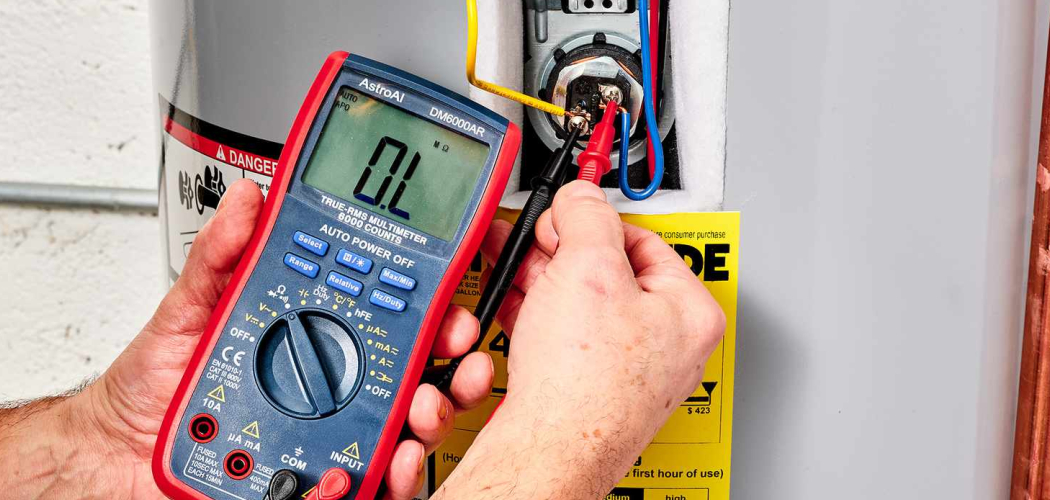
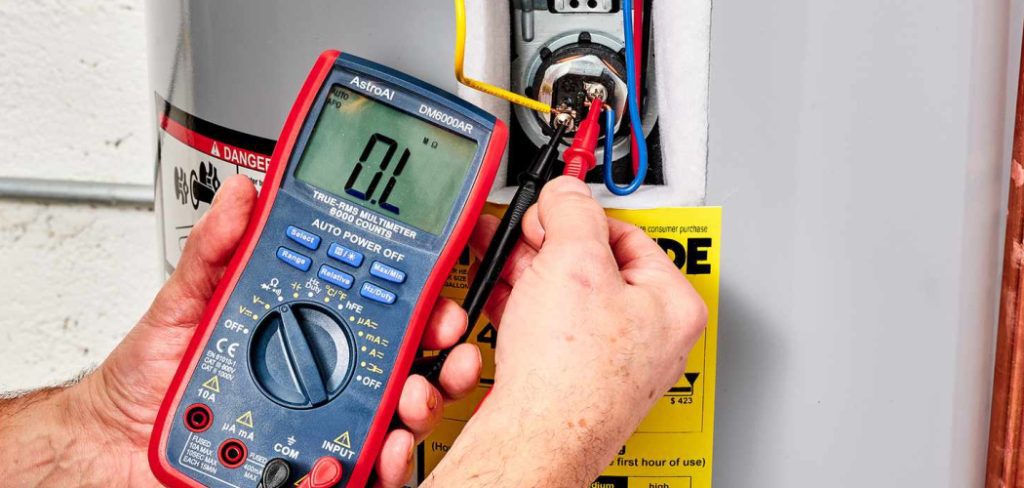
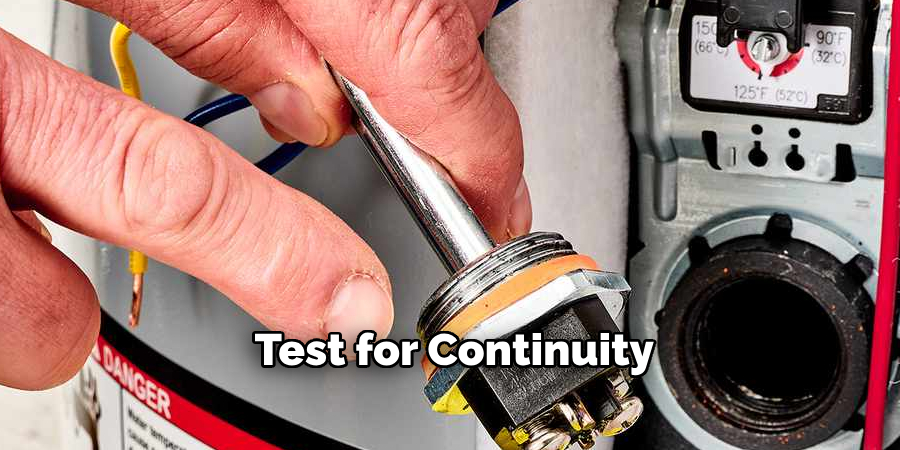
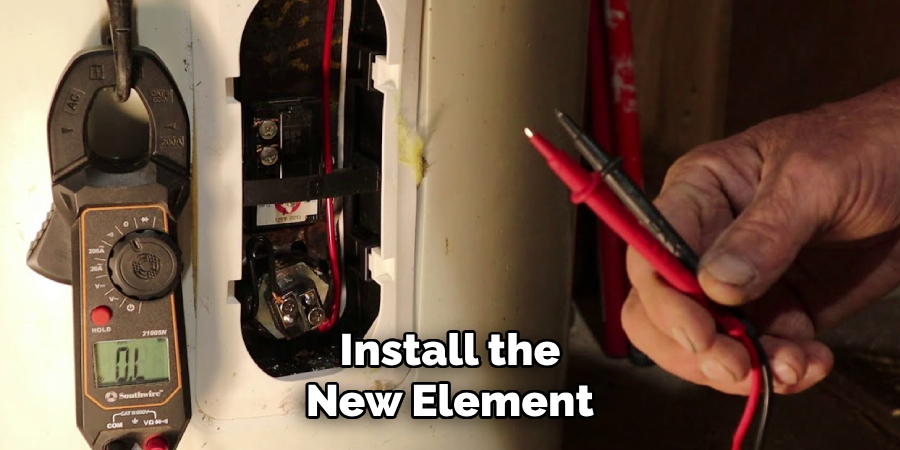
With the heating elements exposed, the next step is to test them for continuity using a multimeter. Begin by setting your multimeter to the lowest ohms setting. Carefully touch one probe to one of the terminal screws on the element and the other probe to the remaining terminal screw. A good heating element typically shows a resistance reading between 10 and 30 ohms. If the multimeter reads zero or there’s no change in the display, the element is likely burned out and will require replacement.
Test both the upper and lower elements, as they can fail independently. Always handle the probes carefully to avoid damaging the wires or terminals. Once testing is complete, you can determine if a replacement is necessary based on the readings obtained.
Step 4. Inspect the Elements:
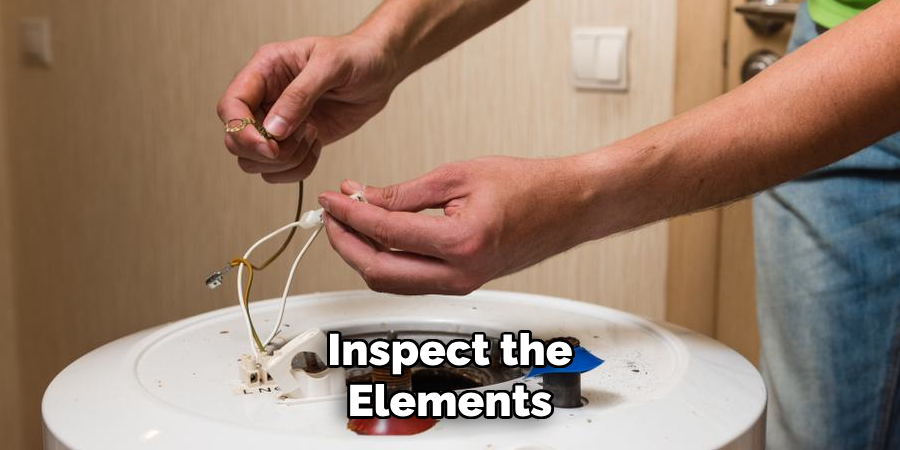
Once you’ve tested for continuity, visually inspect the elements for any signs of damage or wear. Look for indications of corrosion, scaling, or splits in the metal surface of the elements. These physical signs can also contribute to a malfunctioning water heater, even if the continuity test was inconclusive.
If either the upper or lower element shows visible damage or excessive limescale buildup, it’s advisable to replace them to restore the efficient functioning of your tank. Replacing the damaged components is crucial for optimal water heater performance and to prevent further issues arising from faulty elements. Proceed with caution and ensure all fixes adhere to safety standards.
Step 5. Remove the Faulty Element:
If the tests reveal a faulty element or visible damage, you’ll need to remove it. Begin by draining the hot water tank to prevent leaks during the replacement process. Locate the drain valve at the bottom of the tank and attach a garden hose to it, directing the hose to a suitable drainage location. Open the valve and let the water exit until the tank is empty, or at least until it’s below the element level you’ll be replacing.
With the tank sufficiently drained, use a wrench to loosen the element by turning it counterclockwise. Once it’s loose, carefully extract and set the entire element aside. Keep the tank’s interior and the area surrounding the element port clean and free of debris before installing a new element.
Step 6. Install the New Element:
To install the new element, carefully insert it into the opening where the old element was removed. Start by aligning the threads of the new component with the corresponding ones in the opening and gently turn it clockwise using your hands to avoid cross-threading. Once it is hand-tight, use a wrench to secure it firmly, ensuring it does not over-tighten, which could cause damage to the element or the tank itself.
After the new element is securely in place, reattach the wires to the terminal screws, making sure they are connected tightly to ensure good electrical conductivity. Double-check that all connections are secure and that the element is sealed correctly to prevent leaks. Once these steps are complete, you can move forward with reassembling the access panel and preparing to refill the tank.
Step 7. Refill the Tank:
With the new element installed, refilling the hot water tank is time. Start by closing the drain valve at the bottom of the tank to prevent any water from escaping. Then, open a hot water faucet in your home to allow air to escape from the lines as the tank fills. Turn on the cold water supply to the tank, allowing it to refill completely. Watch for leaks around the newly installed element as the water flows into the tank.
If there are no leaks and the tank is full, close the open faucet. This process ensures that your water heater is filled correctly and that any air trapped in the system is released, paving the way for regular operation. Once the tank is complete, you can proceed to check for proper functionality.
Step 8. Restore Power and Test Functionality:
After refilling the tank and ensuring there are no leaks, the final step is to restore power to the water heater. Begin by returning to the circuit breaker and switching it back on. Ensure that the breaker has reset successfully and monitor the water heater’s operation for some time to confirm proper functionality. Listen for any unusual noises and check that the water temperature begins to rise as expected.
Confirm that hot water is available at faucets throughout your home, indicating the system is functioning correctly. If everything is working well, the replacement is complete, and your water heater should now operate efficiently with the newly installed element. Regular maintenance and inspection of the system can avoid future issues and prolong the heater’s lifespan.
Step 9. Routine Maintenance Checks:
To ensure your hot water heater continues to function efficiently, conduct routine maintenance checks. Regularly inspect the tank for any signs of leaks or corrosion, especially around the elements and connections. Consider flushing the tank annually to remove sediment build-up that can cause efficiency loss and potential damage over time. Testing the temperature and pressure relief valve periodically ensures it operates correctly, preventing pressure build-up that could lead to failure. Monitoring these aspects helps maintain optimal water heater performance, extend life, and prevent unexpected breakdowns.
Step 10. Final Inspection:
Once routine maintenance is complete and the water heater operates normally, perform a final inspection to ensure all components are in good working condition. Check the area around the water heater for any signs of water pooling or leaks, and verify that all electrical connections are secure. Look for any unusual noises or vibrations that might indicate an underlying issue. Ensure that the temperature setting on the thermostat is at a safe level, typically between 120°F to 140°F, to prevent scalding and maximize energy efficiency. Document any findings or repairs for future reference and establish a regular schedule for ongoing inspections.
By following these steps, you can confidently replace a hot water tank element without the need of a professional plumber.
Conclusion
How to check hot water tank elements is an important skill that can save both time and money by preventing extensive damage.
By following the outlined steps, individuals can effectively diagnose and address common issues that may arise with a water heater element. Careful observation of symptoms, such as inconsistent water temperature or a sudden lack of hot water, usually indicates a potential problem with the component. Utilizing a multimeter for testing ensures accurate identification of faults while following a systematic approach to replacement and maintaining safety standards.
These steps restore the tank’s functionality and extend its lifespan. Regular inspections and maintenance help keep the system in optimal condition, ensuring reliable access to hot water.

