Composting toilets are an eco-friendly and efficient solution for waste management, particularly in off-grid locations, tiny homes, and environmentally conscious households. Understanding how to properly clean and maintain your composting toilet is crucial to ensure it functions effectively and remains odor-free.

This guide on how to clean a composting toilet will walk you through the essential steps needed to clean and care for your composting toilet, helping you maintain a hygienic and sustainable sanitation system.
Why Clean a Composting Toilet?
Before we dive into the cleaning process, let’s first understand why it is necessary to clean a composting toilet. Just like any other toilet, composting toilets need regular cleaning and maintenance to prevent odors, buildup of waste material, and potential health hazards.
Furthermore, keeping your composting toilet clean will help maintain its efficiency in breaking down waste and producing nutrient-rich compost for your garden or landscape.
Needed Materials
To properly clean a composting toilet, you will need the following materials:
Gloves:
First and foremost, it is crucial to wear gloves when handling waste material and cleaning the toilet. This will protect your hands from any potential bacteria or pathogens.
Cleaning Brush:
A sturdy brush with stiff bristles will help scrub any residue or buildup in the toilet bowl.
Vinegar Solution:
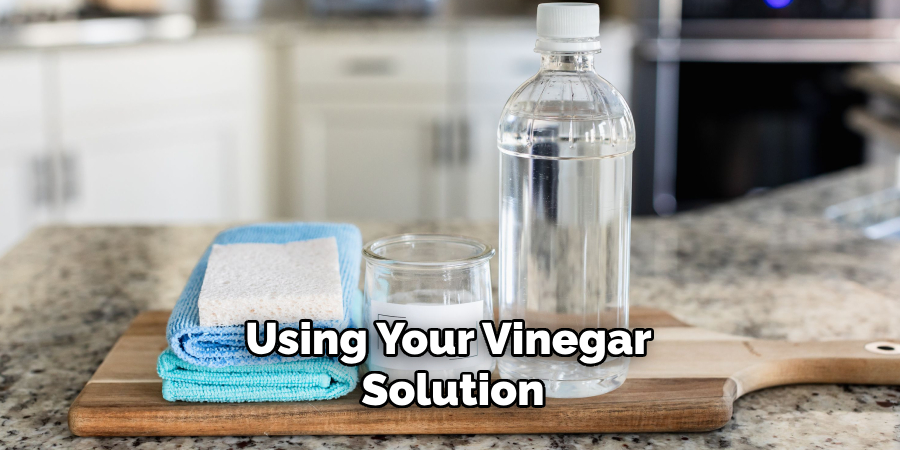
This natural disinfectant and deodorizer is an excellent alternative to harsh chemical cleaners. Simply mix equal parts of water and vinegar in a spray bottle for an effective cleaning solution.
Shovel or Trowel:
You will need these tools to remove solid waste from the composting bin, making sure not to damage any sensitive components.
Compost Bulking Material:
This can be sawdust, shredded paper, or any other organic material that helps absorb moisture and aerate the compost pile.
10 Step-by-step Guidelines on How to Clean a Composting Toilet
Step 1: Prepare the Area
Before you begin cleaning your composting toilet, it is important to prepare the area to ensure a smooth and efficient process. Start by ventilating the room where the toilet is located. Open any windows or doors to allow fresh air to circulate and help dissipate any odors. Lay down a protective sheet or old newspapers around the base of the toilet to catch any spills or debris.

Make sure you have all your cleaning materials within reach to avoid interruptions once you start the cleaning process. Lastly, don your gloves to protect your hands from any bacteria or pathogens.
Step 2: Empty the Composting Bin
The first step in cleaning a composting toilet is to empty the composting bin. This is where all solid waste goes, and it needs to be emptied regularly depending on your usage.
Use a shovel or trowel to remove any solid waste from the bin and place it in a designated compost pile or bin outside. Make sure not to damage any sensitive components of the toilet while removing the waste.
Step 3: Add Bulking Material
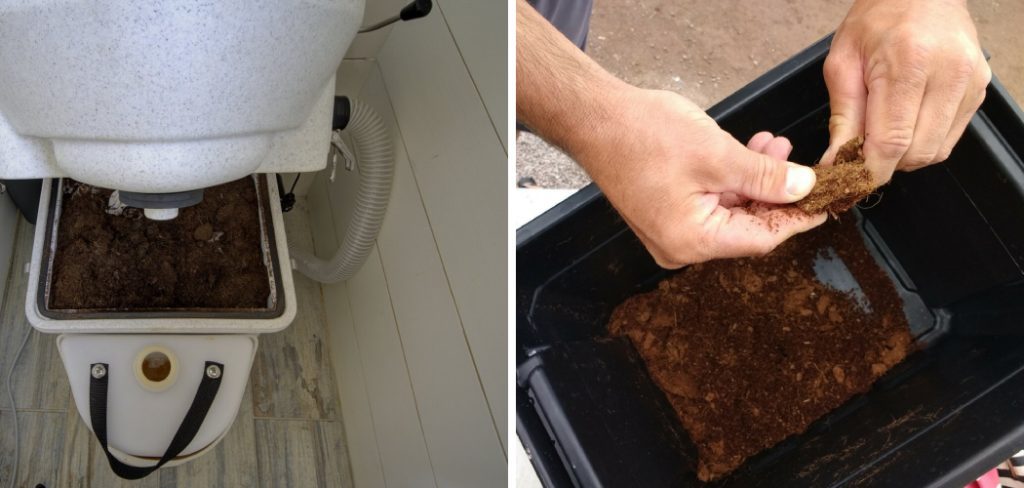
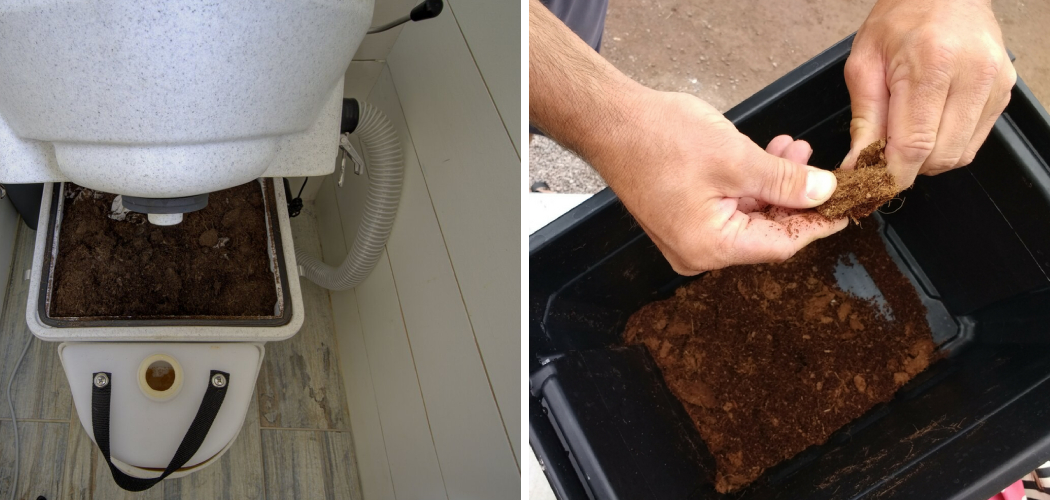
After you have emptied the composting bin, it is time to add bulking material to the compost pile. Bulking material, such as sawdust, shredded paper, or coconut coir, helps to absorb excess moisture and aerate the compost, which facilitates the breakdown of waste and minimizes odors.
Spread a generous layer of your chosen bulking material over the fresh waste in the compost bin. This initial layer will create a balance between green and brown materials, which is essential for efficient composting. Ensure the bulking material is evenly distributed across the bin to maximize its effectiveness.
Step 4: Remove and Clean the Toilet Seat
Once you have added the bulking material, the next step is to remove and clean the toilet seat. Carefully lift the toilet seat off the base, following the manufacturer’s instructions to avoid damaging any components. Place the seat on a protective sheet or newspaper to prevent any mess.
Using your vinegar solution, spray the entire surface of the toilet seat, ensuring you cover all areas, particularly those that come into direct contact with waste. Allow the vinegar solution to sit for a few minutes to break down any residues and disinfect the surface.

With a cleaning brush or a scrubber with stiff bristles, scrub the toilet seat thoroughly to remove any lingering waste or stains. Rinse the seat with water and dry it off before placing it back on the base.
Step 5: Clean the Toilet Bowl
With the toilet seat cleaned and set aside, it is now time to clean the toilet bowl. Spray the interior of the bowl with the vinegar solution, ensuring you cover all surfaces, including any nooks and crannies where residue may accumulate. Allow the solution to sit for a few minutes, as this will help break down any stains and disinfect the bowl.
Using your cleaning brush with stiff bristles, scrub the inside of the toilet bowl thoroughly. Make sure to reach all areas of the bowl, paying special attention to any spots with noticeable buildup or staining. The combination of the vinegar solution and the scrubbing action will help remove any waste residues and eliminate odors. Rinse the bowl with water and dry it off with a clean cloth.
Step 6: Clean the Exterior of the Toilet
Now that the interior components are sparkling clean, it’s time to focus on the exterior of the toilet. Begin by spraying the outside of the toilet with the vinegar solution, ensuring you cover all surfaces, including the sides, back, and base. Allow the solution to sit for a few minutes to tackle any grime and disinfect the outer surfaces.
Using a clean cloth or sponge, wipe down the entire exterior of the toilet. Pay extra attention to areas that are frequently touched, such as the flush lever, handle, or any buttons. These spots can often harbor bacteria and need a thorough cleaning.
If there are any stubborn spots or stains, use the cleaning brush with stiff bristles to scrub them away. Rinse the exterior of the toilet with water and dry it off with a clean cloth.
Step 7: Clean the Ventilation Fan
Many composting toilets come equipped with a ventilation fan, which helps to eliminate odors and remove excess moisture from the unit. It is essential to keep this fan clean for optimal performance. Start by disconnecting the power supply to avoid any accidents.
Using your vinegar solution, spray the fan blades and motor housing thoroughly, ensuring you cover all surfaces. Allow the solution to sit for a few minutes before wiping it off with a damp cloth or sponge. Reconnect the power supply once the fan is dry.
Step 8: Check and Replace the Peat Moss
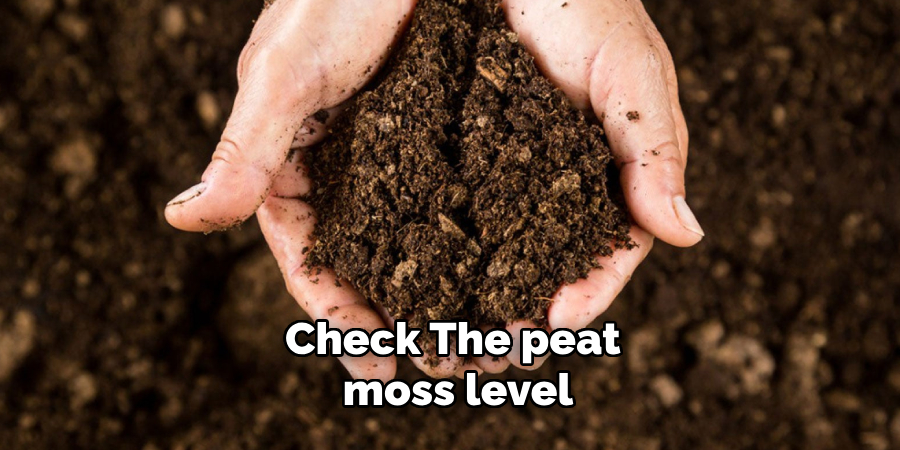
Peat moss is a crucial component in composting toilets as it helps to absorb moisture and neutralize odors. Check the peat moss level in your toilet by opening the lid or checking the designated indicator for your unit. If the level is low, add more peat moss to ensure efficient composting and odor control.

The frequency of adding new peat moss will depend on your usage and the capacity of your composting toilet. Make sure to follow the manufacturer’s instructions for optimal performance.
Step 9: Wipe Down and Disinfect Surrounding Surfaces
After completing all the steps above, take a few minutes to wipe down and disinfect any surfaces around the toilet, including walls, countertops, and floors. This will ensure that no bacteria or pathogens are left behind in the surrounding areas. Use your vinegar solution or any other household cleaner to thoroughly clean these surfaces.
You can also use this opportunity to inspect the area for any leaks or malfunctions and address them promptly.
Step 10: Reassemble and Restock Supplies
Finally, it is time to reassemble the toilet by placing the clean toilet seat back on the base and reconnecting any detachable components such as handrails or footrests. Restock any supplies, such as toilet paper and hand sanitizer that may have been used during the cleaning process.
Congratulations! Your composting toilet is now clean and ready for use once again. Remember to regularly maintain your composting toilet following these steps on how to clean a composting toilet for optimal performance and a fresh, clean bathroom experience. Happy composting!
Frequently Asked Questions
Q: How Often Should I Clean My Composting Toilet?
A: It is recommended to clean your composting toilet at least once a week, or more frequently if it receives heavy use. This will help maintain a sanitary and odor-free environment in your bathroom.
Q: Can I Use Household Cleaners on My Composting Toilet?
A: It is best to avoid using harsh or chemical-based household cleaners on your composting toilet, as they can disrupt the natural decomposition process of waste. Instead, opt for natural cleaners like vinegar or specialized composting toilet cleaners recommended by the manufacturer.

Q: How Do I Dispose of Waste From My Composting Toilet?
A: Before disposing of any waste from your composting toilet, make sure it has thoroughly decomposed according to the manufacturer’s instructions. Once the waste is ready, it can be disposed of in a designated composting bin or spread on non-edible plants as fertilizer.
Conclusion
Maintaining a composting toilet may seem daunting at first, but with a regular cleaning routine and proper care, it can be quite manageable and environmentally friendly.
By following the steps on how to clean a composting toilet outlined above, you can ensure your composting toilet remains clean, efficient, and free from odors. Regular maintenance not only extends the lifespan of your toilet system but also enhances your bathroom’s hygiene and comfort.
Remember, using natural cleaning products like vinegar helps protect the delicate composting process and supports sustainable practices. Happy composting, and enjoy a greener, cleaner, and more sustainable lifestyle!

