Are you tired of cleaning your soap dish repeatedly only to find stubborn stains and dirt? Well, you’re not alone.
A soap dish may seem like a minor part of your bathroom or kitchen, but keeping it clean is essential to maintaining hygiene and preventing residue buildup. Over time, soap scum, water deposits, and even mold can accumulate, creating an unsightly mess and reducing the soap’s effectiveness. Cleaning your soap dish properly enhances its appearance, extends its usability, and ensures a cleaner environment for your soap. You can keep your soap dish sparkling clean and free from grime with just a few simple steps.
In this guide on how to clean a soap dish properly, we’ll discuss the best practices for cleaning your soap dish and how to keep it looking new.
What Are the Benefits of Cleaning Your Soap Dish?
Before we dive into the cleaning process, let’s understand why it is essential to clean your soap dish regularly.
- Hygiene: A dirty soap dish is a breeding ground for bacteria and mold, making it unhygienic. Regular cleaning helps prevent the spread of germs and keeps your soap clean and safe for daily use.
- Efficiency: A buildup of residue on your soap dish can create a barrier between the soap and water, making it difficult to get a good lather. Keeping your soap dish clean ensures that the soap works efficiently, leaving you with squeaky-clean hands or dishes.
- Appearance: Let’s be honest, a dirty soap dish can be an eyesore. Cleaning it regularly will keep your bathroom or kitchen neat and tidy and prevent stains and discoloration on the soap dish itself.
- Durability: Soap dishes are often made of plastic, metal, or ceramic, which can deteriorate over time if not cleaned properly. Regular cleaning and maintenance can prolong the life of your soap dish, saving you money in the long run.
What Will You Need?
To clean your soap dish, you’ll need a few basic supplies that you probably already have at home:
- Warm Water: Warm water is the best and safest way to clean your soap dish as it helps dissolve any residue without damaging the material.
- Dish Soap: For stubborn stains or buildup, a small amount of dish soap can help loosen the grime.
- Sponge or Scrub Brush: Choose a soft sponge or brush to avoid scratching the surface of your soap dish.
- Vinegar: If your soap dish has hard water deposits, vinegar can help dissolve them. Mix equal vinegar and warm water in a spray bottle for an effective cleaning solution.
9 Easy Steps on How to Clean a Soap Dish Properly
Step 1. Remove Excess Soap Residue:
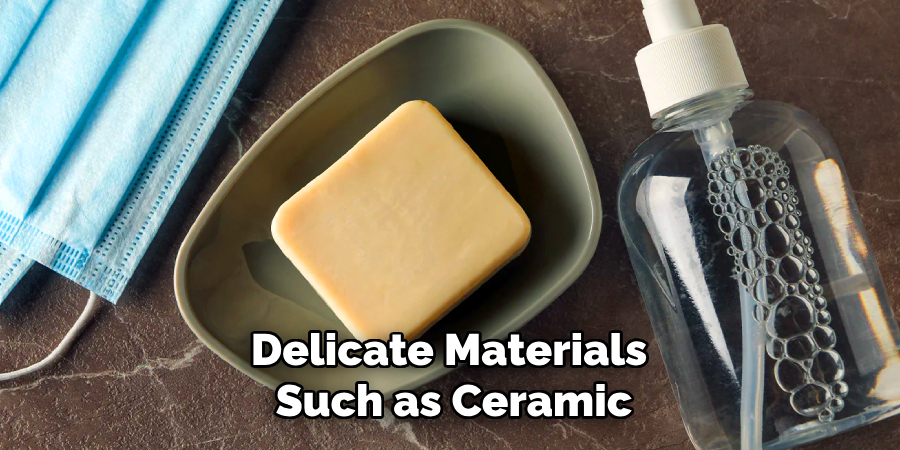
Start by removing any remaining soap or residue from the dish. If the soap dish has chunks of hardened soap or residue, gently scrape them off using a soft spatula or your fingers. Be cautious not to apply too much pressure, especially if the soap dish is made of delicate materials such as ceramic or glass. Running warm water over the dish can soften the residue for sticky areas, making it easier to remove. This initial step ensures a clean surface and helps you address tougher stains more effectively in later steps.
Step 2. Rinse Thoroughly with Warm Water:
Hold the soap dish under warm running water to rinse away any loose debris or soap particles. Cover all areas, including edges, corners, and decorative crevices. This step removes surface grime and prepares the soap dish for deeper cleaning in subsequent steps. Allow the warm water to loosen any stubborn residue, ensuring a more straightforward cleaning process.
Step 3. Scrub with a Gentle Cleaner:
Apply a small amount of gentle dish soap or a mild cleaning solution to a soft sponge or cloth. Use this to scrub the surface of the soap dish, paying special attention to any stubborn stains or buildup. For intricate designs or tight spaces, a soft-bristled toothbrush can be helpful. Avoid harsh abrasives or scouring pads, as these might scratch or damage delicate materials. Take your time to ensure every part of the soap dish is thoroughly cleaned before moving on to the next step.
Step 4. Soak with a Vinegar Solution:
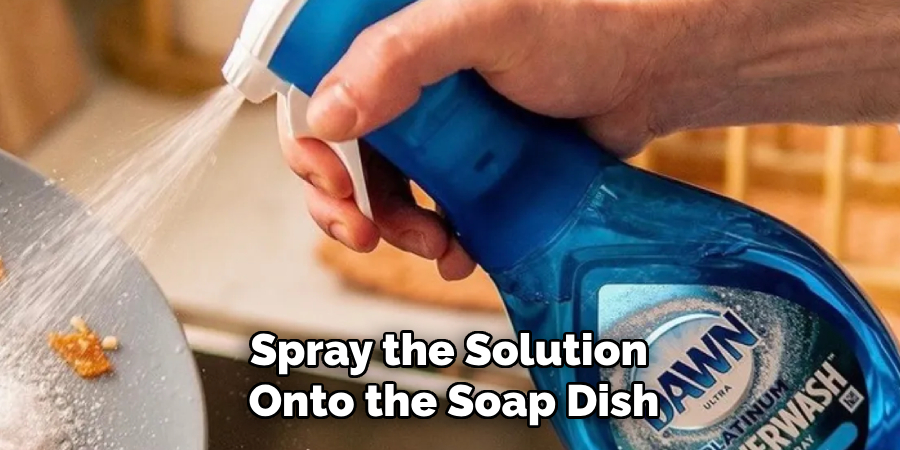
If your soap dish has hard water deposits, mix equal parts vinegar and warm water in a spray bottle. Spray the solution onto the soap dish and let it sit for 10-15 minutes. The acidity of vinegar helps dissolve mineral buildup and makes it easier to scrub away. For tough stains or buildup, you may need to repeat this step or leave the solution on longer.
Step 5. Scrub Again:
After allowing the vinegar solution to work magic, take a sponge, cloth, or soft-bristled brush and scrub the soap dish again. Focus on areas with visible residue or stains, as the vinegar should have loosened up most of the buildup. For particularly stubborn spots, sprinkle a little baking soda onto the dampened sponge or brush and then scrub gently; the mild abrasiveness of baking soda can help remove residue without scratching surfaces.
Be careful to clean all corners, edges, and grooves or crevices in the design. Rinse the soap dish thoroughly with warm water to remove any remaining solution or debris before moving to the final step.
Step 6. Dry and Reassemble:
Once the soap dish is thoroughly rinsed, wipe it down completely with a clean, dry cloth or paper towel. Ensure all moisture is removed to prevent water spots or further buildup. If the soap dish is a multi-piece design, carefully reassemble all parts, making sure they are correctly aligned. Place the soap dish back in its designated spot and enjoy a clean, fresh surface ready for use.
Step 7. Maintain Regular Cleaning:
Establish a regular cleaning routine to keep your soap dish in pristine condition. Rinse the soap dish with warm water every few days to prevent soap residue and scum from accumulating. Repeat the vinegar and baking soda process as needed for a deeper clean, particularly if you notice stains or buildup starting to form. Regular maintenance will ensure the soap dish stays hygienic and extends its usability.
Step 8. Dispose of Cleaning Materials Properly:
After cleaning, properly dispose of used materials, such as paper towels, cleaning cloths, or gloves. Wash reusable cleaning tools like sponges or brushes with warm, soapy water and allow them to air dry. Ensuring your cleaning tools are clean and ready for future use will make the next cleaning session more straightforward and more efficient.
Step 9. Store the Soap Dish Appropriately:
After thoroughly cleaning and drying your soap dish, storing it in a suitable location to maintain its condition and function is essential. Place the soap dish in a well-ventilated area to allow proper air circulation, which helps minimize moisture buildup and prevents mold or mildew growth. If the soap dish is being used regularly, ensure it is positioned where water can quickly drain away, such as on a slotted shower shelf or a sink countertop with adequate drainage.
For occasional use, store the soap dish in a dry and secure location, away from direct sunlight, to protect it from potential discoloration or damage. Proper storage not only extends the life of the soap dish but also keeps it clean and ready for its subsequent use.
By following these simple and easy steps, you can maintain a clean and functional soap dish that enhances your bathroom or kitchen’s overall look and cleanliness.
5 Things You Should Avoid
- Using Harsh Chemicals: Avoid cleaning your soap dish with strong chemicals like bleach or ammonia, as these can damage the surface or leave toxic residues. Instead, stick to mild cleaners or natural alternatives like vinegar and baking soda.
- Scrubbing with Abrasive Tools: Do not use steel wool or other abrasive tools that could scratch or damage the soap dish, especially if made of delicate materials such as ceramic, glass, or wood.
- Ignoring the Soap Build-Up: Never overlook the soap scum or residue that accumulates over time. Allowing it to sit for too long can make cleaning harder and may lead to permanent staining or damage.
- Submerging Wooden Soap Dishes: Wooden soap dishes should not be soaked in water for extended periods, as this can cause them to warp, crack, or degrade. Instead, wipe them clean with a damp cloth and dry them immediately.
- Rushing Through the Process: Avoid rushing while cleaning the soap dish. Skipping essential steps like rinsing thoroughly or drying completely can lead to residue buildup or mold growth, defeating the purpose of proper cleaning.
Knowing what to avoid, you can ensure that your soap dish remains in excellent condition, prolonging its usability and maintaining a tidy, hygienic space.
Conclusion
How to clean a soap dish properly is a straightforward yet essential task to maintain both its functionality and aesthetic appeal.
By following the proper steps—such as regular rinsing, using mild cleaning solutions, and ensuring thorough drying—you can prevent soap residue, mold, and damage to the dish. Equally important is understanding what to avoid, like using harsh chemicals, soaking delicate materials, or disregarding buildup.
With consistent care and attention, your soap dish will remain in excellent condition, serving you well while contributing to a clean and organized space.
You Can Also Check It Out To Clean Shower Head Without Vinegar and Baking Soda

