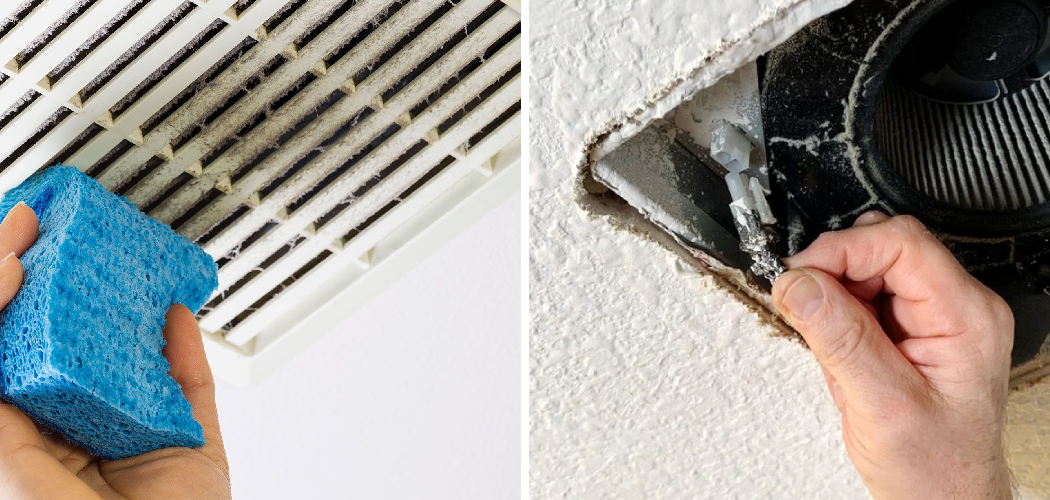
Are you tired of inhaling unpleasant odors or experiencing inadequate ventilation in your bathroom? It may be time to clean your bathroom exhaust fan with light. A dirty or clogged exhaust fan can not only lead to unpleasant smells and poor air quality but it can also affect the fan’s efficiency and lifespan.
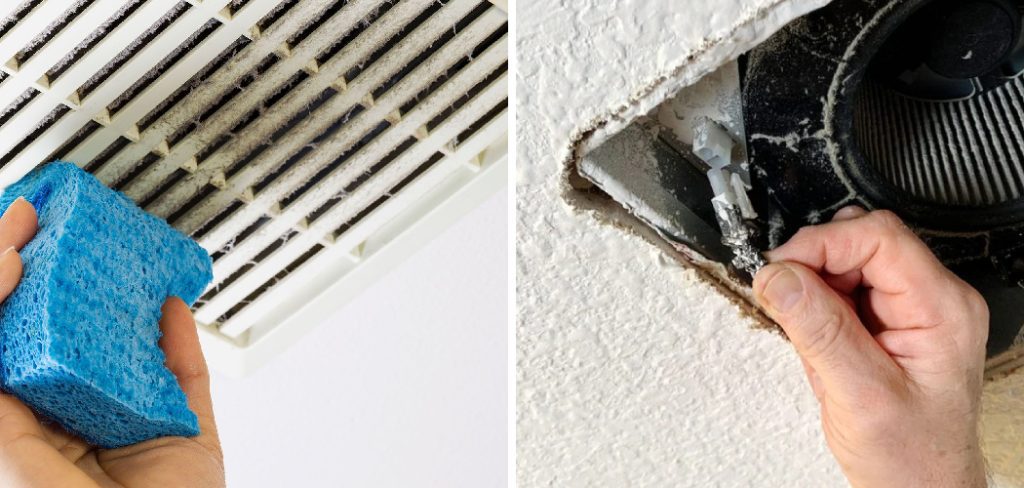
How to clean bathroom exhaust fan with light may seem like a daunting task, but it’s essential for maintaining a healthy and efficient bathroom environment. Over time, dust and grime can accumulate on the fan blades and the light fixture, reducing their effectiveness and potentially causing unpleasant odors or even mechanical issues.
In this guide, we’ll walk you through the steps required to clean your exhaust fan and light safely and effectively, ensuring they continue to operate at peak performance.
What Are the Causes of a Dirty Exhaust Fan with Light?
Before we dive into the cleaning process, it’s essential to understand what causes an exhaust fan with light to become dirty or clogged.
- Dust and Dirt: As with any other household appliance, dust and dirt can accumulate on the fan blades and light fixtures over time, reducing efficiency.
- Moisture: The bathroom is a high-moisture environment, leading to mold and mildew growth in your exhaust fan and light fixture if not cleaned regularly.
- Smoke or Grease: If you use your bathroom for activities such as smoking or styling hair with products, the resulting smoke and grease can also build up on the fan blades and light fixture.
- Lack of Maintenance: If you neglect to regularly clean your exhaust fan and light, it can become overworked and collect more dust and debris than usual.
- Improper Ventilation: If your bathroom is not adequately ventilated, the exhaust fan may have to work harder to circulate air, leading to dust and grime buildup.
These are some of the most common causes of a dirty bathroom exhaust fan with light, but regular cleaning can prevent these issues and prolong the fan’s lifespan.
What Are the Benefits of Cleaning Your Bathroom Exhaust Fan With Light?
Before we delve into the cleaning process, let’s first understand why it’s important to regularly clean your bathroom exhaust fan with light. Here are some of the benefits you can enjoy by keeping your fan and light fixture clean:
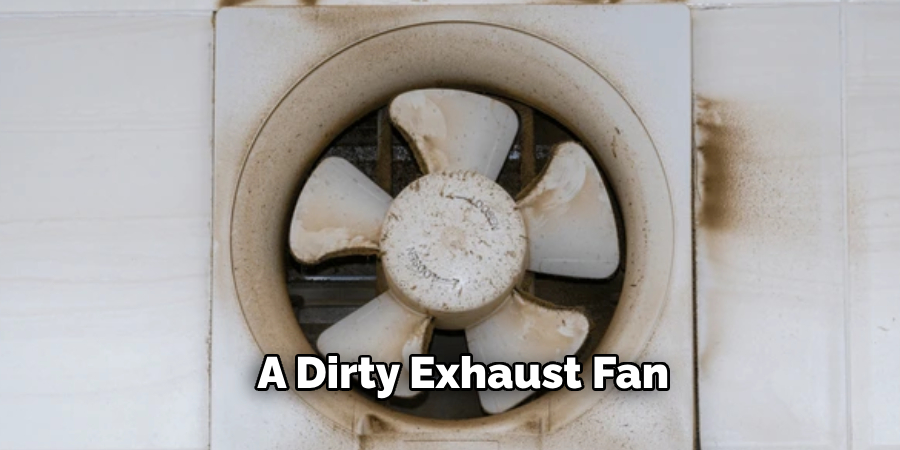
- Improved Air Quality: A dirty exhaust fan can circulate dust, allergens, and other pollutants throughout your bathroom, leading to poor air quality. By cleaning the fan regularly, you’ll ensure that it’s effectively removing these contaminants and maintaining a healthy environment.
- Reduced Humidity: Bathrooms are high-moisture areas, making them prone to mold and mildew growth. A clean exhaust fan can help remove excess humidity from the air, preventing these unwanted growths from forming.
- Efficient Operation: Over time, a buildup of dust and grime can reduce the efficiency of your exhaust fan, making it harder to remove air and resulting in higher energy consumption. By regularly cleaning the fan, you’ll ensure it operates at its full potential, saving you money on energy bills.
- Extended Lifespan: Like any other appliance, a clean exhaust fan will last longer than a neglected one. Regular cleaning and maintenance can help extend the lifespan of your fan, saving you money on replacements.
Now that you understand the importance of keeping your bathroom exhaust fan and light fixture clean, let’s move on to cleaning.
What Will You Need?
To clean your bathroom exhaust fan with light, you’ll need the following tools and materials:
- Ladder or step stool
- Screwdriver
- Dust cloth or microfiber cloth
- Dish soap or all-purpose cleaner
- A toothbrush or small brush
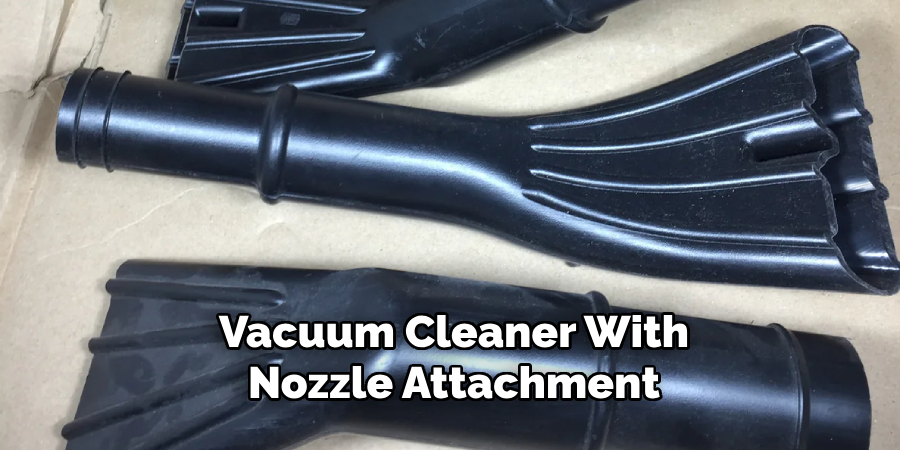
- Vacuum cleaner with nozzle attachment (optional)
Ensure all these items are ready before starting the cleaning process to avoid interruptions.
10 Easy Steps on How to Clean Bathroom Exhaust Fan With Light
Step 1. Prepare the Area:
Before you start cleaning, ensure that the power to your bathroom exhaust fan is turned off. You can do this by flipping the switch on your circuit breaker or unplugging the fan from its power source. Additionally, lay down some towels or a drop cloth to catch any dust or debris that may fall during the cleaning process.
Step 2. Remove the Cover:
Carefully take off the cover of the exhaust fan and light fixture. To do this, you may need to use a screwdriver to loosen any screws holding the cover in place. Keep the screws in a safe place to ensure they don’t get lost.
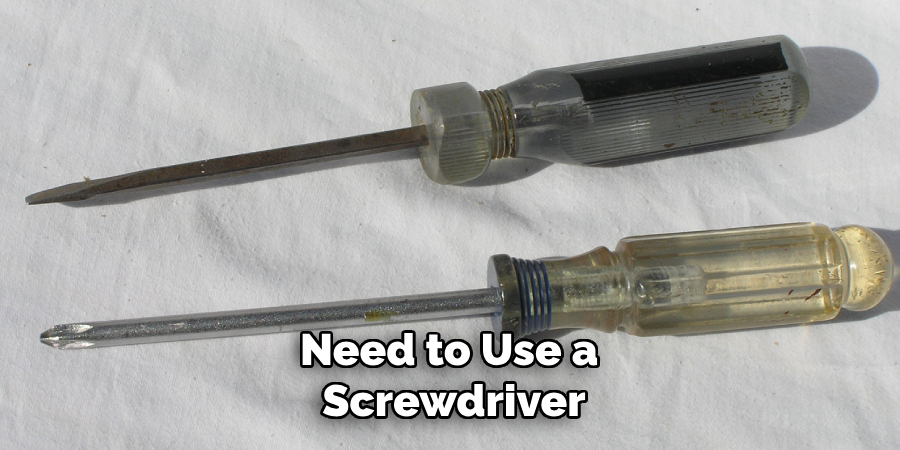
Once the screws are removed, gently pull down the cover. Some covers may have spring clips that you must press together to fully release the cover from the fan housing. Set the cover aside on a flat surface to clean later.
Step 3. Clean the Cover:
Remove a microfiber or dust cloth with the cover removed and wipe away any loose dust and debris. If there is more stubborn grime, fill a sink with warm water and add a small amount of dish soap or an all-purpose cleaner.
Submerge the cover in soapy water and use a toothbrush or small brush to scrub away any dirt, focusing on the nooks and crannies. Rinse the cover thoroughly with clean water and allow it to air dry completely.
Step 4. Vacuum the Fan Housing:
Using a vacuum cleaner with a nozzle attachment, carefully vacuum the inside of the fan housing to remove any dust and debris. Pay special attention to the fan blades, motor, and surrounding areas.
This will help prevent the dust from recirculating the air when the fan is operating. If your vacuum does not have a nozzle attachment, you can use a soft brush to manually remove the dust from these areas.
Step 5. Wipe Down the Fan Blades and Housing:
Using a damp microfiber cloth or dust cloth, gently wipe down the fan blades and the inside of the fan housing.
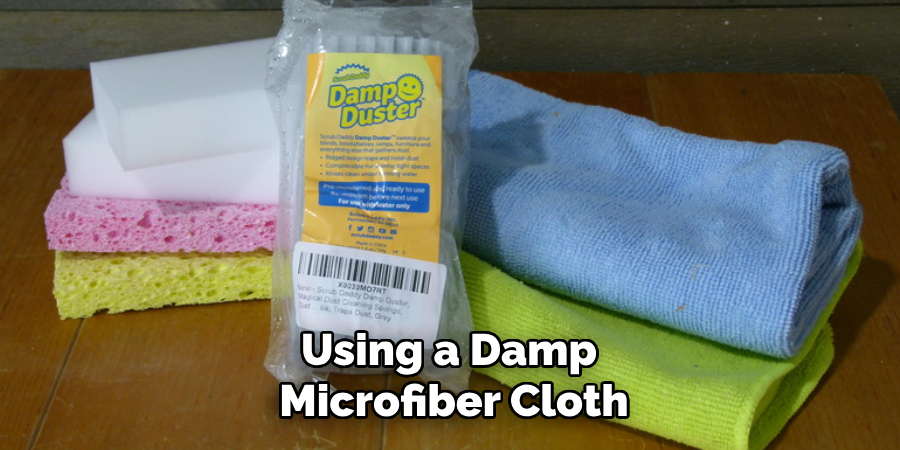
Be thorough, reaching every corner and crevice, as dust and grime can accumulate in hard-to-reach areas. If the blades are particularly dirty, you can dip the cloth in a solution of warm water and a small amount of dish soap or all-purpose cleaner.
Avoid using harsh chemicals, as they might damage the fan’s components. After wiping with the soapy solution, use a clean, damp cloth to remove any soap residue, and then dry everything off with a dry cloth to prevent moisture buildup, which can lead to rust or mold.
Step 6. Clean the Light Fixture:
If your exhaust fan has an integrated light fixture, it is time to clean it. Take the light cover or lens and wipe it down with a damp microfiber cloth. You can use a mild detergent mixed with warm water for more stubborn stains.
Clean the cover thoroughly before reattaching, as any moisture left can affect the electrical components. Also, inspect the light bulb and socket for dust and gently wipe if needed. Always be cautious when handling electrical parts, ensuring the power remains off during cleaning.
Step 7. Inspect for Wear and Tear:
While your exhaust fan cover and light fixture are drying, take a moment to inspect the fan itself for any signs of wear and tear. Look for any damaged or loose components, including the fan blades and motor.
Notice any issues, such as frayed wires or unusual noises when the fan is operating. It might be wise to consult a professional for repairs or consider replacing the fan if necessary. Regular maintenance and inspection can prevent costly repairs in the future and ensure the fan is operating safely.
Step 8. Reassemble the Fan and Light:
Once everything is cleaned and dried, it’s time to reassemble your exhaust fan and light fixture. Gently place the fan cover back over the housing, ensuring it aligns correctly with the slots or clips.
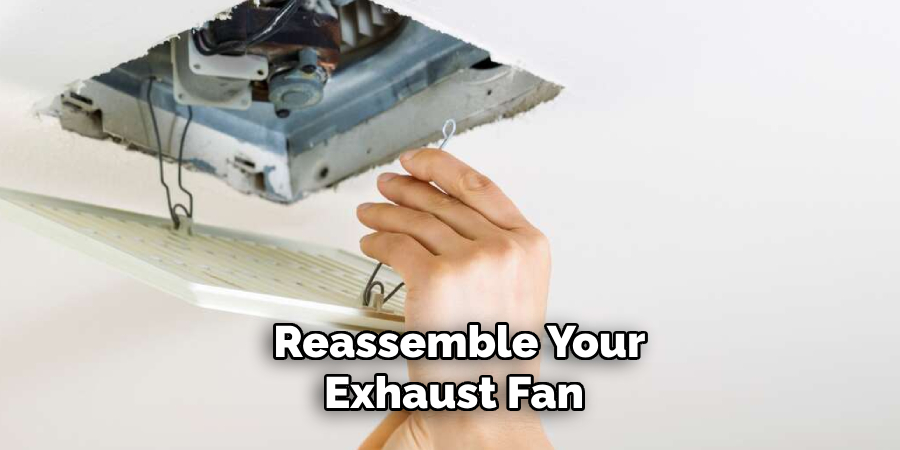
If the cover was held in place by screws, retrieve them and use your screwdriver to secure the cover back onto the fan housing. Make sure everything is fitted securely but avoid overtightening the screws, as this can crack the cover or strip the screw holes.
Step 9. Restore Power:
After reassembling the fan and light, it’s time to restore power. Return to your circuit breaker and flip the switch to turn the power back on, or plug the fan back into its power source. Turn on the fan and light to ensure they are functioning correctly.
Listen for any unusual sounds and check to see if the fan is operating smoothly and efficiently. The airflow should be improved, indicating that the cleaning process was successful.
Step 10. Regular Maintenance:
Establish a regular cleaning schedule to keep your bathroom exhaust fan and light in peak condition.
Depending on usage and the environment, aim to clean your fan every six months to a year. Regular maintenance will not only extend the lifespan of your fan but also improve air quality and efficiency, providing a healthier and more comfortable bathroom environment.
By following these detailed steps, you can effectively clean and maintain your bathroom exhaust fan with light, ensuring optimal performance and extending the life of your appliance.
5 Additional Tips and Tricks
- Turn Off Power: Safety first—switch off the power to the bathroom exhaust fan from your circuit breaker box. This prevents any electrical accidents while you’re cleaning.
- Remove and Clean the Cover: Use a screwdriver to remove the fan cover carefully. Most covers can be cleaned by soaking in warm, soapy water. Scrub gently with a brush to remove any built-up grime and dust.
- Vacuum the Fan Motor: Use a vacuum with a brush attachment to gently clean the fan motor, being careful not to damage any wiring. This helps to clear out dust that can hinder the fan’s efficiency.
- Light Fixture Maintenance: If your exhaust fan has a light, don’t forget to clean the light fixture. Remove the light cover and bulb, then wipe them down with a microfiber cloth moistened with a mild cleaning solution. This can enhance the brightness of your bathroom lighting.
- Replace the Filter: Some bathroom exhaust fans have replaceable filters that can be easily removed and replaced. Check your manufacturer’s instructions for specific filter recommendations and replacement intervals.
With these additional tips and tricks, you can ensure that your bathroom exhaust fan is clean and functioning at its best.
5 Things You Should Avoid
- Skipping Power Disconnection: Never start cleaning your exhaust fan without ensuring the power is completely turned off. Working with live electrical components poses serious risks of electric shock or accidental short circuits.
- Using Harsh Chemicals: Avoid using strong or abrasive chemicals on any part of your exhaust fan, including the cover and light fixture. These can cause damage to the components and degrade their structure over time.
- Forcing Removal of Parts: Do not forcefully pull or pry parts of the fan, such as the cover or motor. This can lead to breaking plastic components or damaging delicate electrical wiring.
- Neglecting the Light Bulb: Avoid neglecting the light bulb when cleaning the light fixture. Dust and grime on the bulb can reduce the brightness of your light and compromise the overall effectiveness of the fixture.
- Overlooking Manufacturer’s Instructions: Failure to follow the manufacturer’s specific instructions can result in improper cleaning and maintenance. Always refer to the manual for guidance on best practices and specifics, like filter replacement recommendations.
By avoiding these common mistakes, you can prolong the lifespan of your bathroom exhaust fan and maintain its functionality for years to come. Remember to always prioritize safety and proper maintenance when cleaning your exhaust fan.
How to Remove Bathroom Exhaust Fan Cover?
Removing the cover of your bathroom exhaust fan may seem like a daunting task, but it is easy to do with a few simple steps.
- Turn Off Power: From your circuit breaker box, begin by turning off the power to your bathroom exhaust fan. This is an important safety precaution that should never be skipped.
- Locate and Remove Screws: Use a screwdriver to locate and remove any screws securing the cover to the fan. These are usually located on the edges of the cover.
- Gently Pry Off the Cover: Once all screws have been removed, gently pry off the cover using a flathead screwdriver or your fingers. Be careful not to damage any delicate components or wiring.
- Undo Clips (if Applicable): Some exhaust fan covers may be held in place by clips instead of screws. If this is the case, gently release the clips to remove the cover.
- Clean and Reattach: Once the cover has been removed, you can proceed to clean it using warm, soapy water or a mild cleaning solution. Once dry, reattach the cover and secure it back in place using screws or clips.
If you are unsure about removing the cover yourself, it is always best to consult a professional for assistance. Remember to always prioritize safety and proper maintenance when working with any electrical components in your home. Overall, cleaning and maintaining your bathroom exhaust fan is an important task that should not be overlooked.
When Should You Clean Your Bathroom Fan?
It is recommended that your bathroom exhaust fan be cleaned at least every six months. However, the frequency of cleaning may vary depending on factors such as the size of your bathroom, level of use, and amount of dust and humidity present.
Some signs that indicate it’s time to clean your bathroom exhaust fan include:
- Noticeable accumulation of dust or debris on the fan cover or motor.
- Reduced airflow and effectiveness of the fan.
- Unpleasant odors coming from the fan or surrounding area.
- Increased noise or vibration from the fan when in use.
Regular cleaning of your bathroom exhaust fan not only ensures its efficiency but also helps improve air quality and reduce the risk of potential hazards. Making it a part of your regular household maintenance routine is important.
Don’t forget to refer to the manufacturer’s instructions for specific guidelines on cleaning and maintenance. So, set a reminder every 6 months and give your bathroom exhaust fan the attention it needs!
Can You Leave a Bathroom Fan on 24/7?
It is not recommended to leave a bathroom exhaust fan on 24/7. Exhaust fans are designed to remove excess moisture and odors from the bathroom while in use, and running them continuously can lead to unnecessary energy consumption and wear on the fan motor.
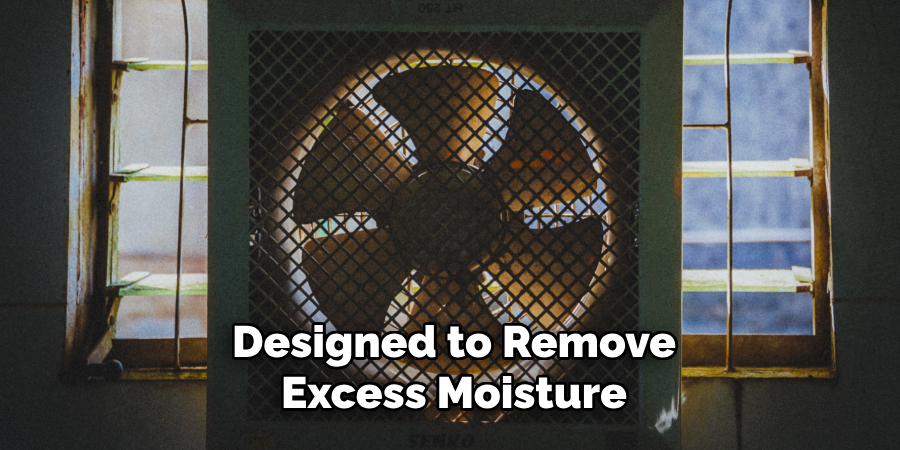
Additionally, leaving the fan on for extended periods of time can create negative air pressure in your home, pulling outside air in through cracks and openings, which can lead to energy inefficiency.
It is best to use the bathroom exhaust fan only when needed and turn it off once it has been properly ventilated.
Conclusion
How to clean bathroom exhaust fan with light fixture doesn’t have to be a complicated task. By following the steps outlined above, you can ensure that your exhaust fan remains in optimal working condition. Start by disconnecting the power to guarantee safety, then carefully remove and clean the fan cover, motor, and light fixture.
Remember to handle all components gently to avoid damage and avoid harsh chemicals that can degrade the fan’s parts. Regular maintenance, including replacing any filters as needed, will not only extend the lifespan of your fan but also enhance the air quality and lighting in your bathroom.
Make it a habit to inspect and clean your exhaust fan every six months or when you notice dust buildup, reduced performance, or unpleasant odors.
By being proactive about upkeep, you can keep your bathroom environment clean, safe, and well-ventilated.

