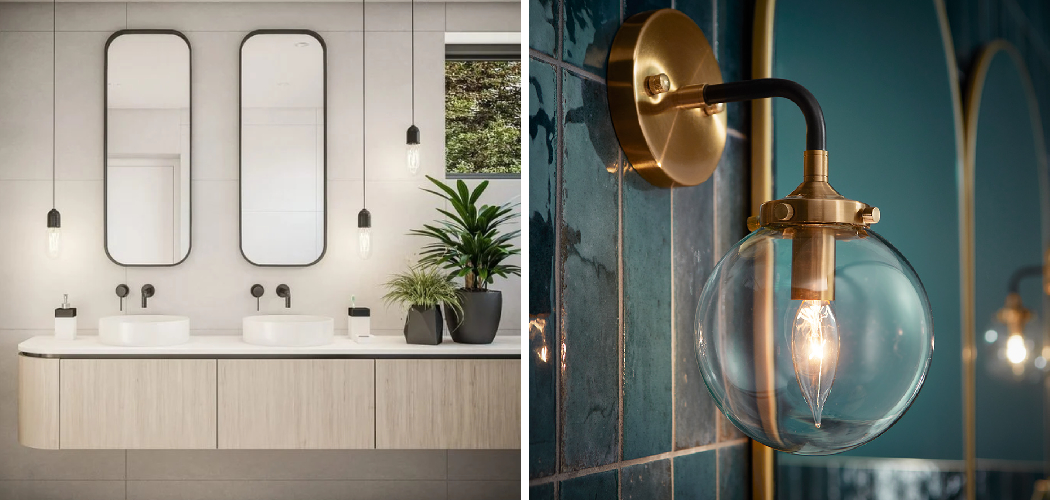
Cleaning bathroom light fixtures is an essential task that often goes overlooked, yet it can greatly enhance the overall appearance of your bathroom. Over time, dust, grime, and moisture can accumulate on these fixtures, resulting in diminished brightness and an unkempt look. Regular maintenance not only ensures that your lighting stays effective but also contributes to a healthier environment by reducing the growth of mold and mildew.
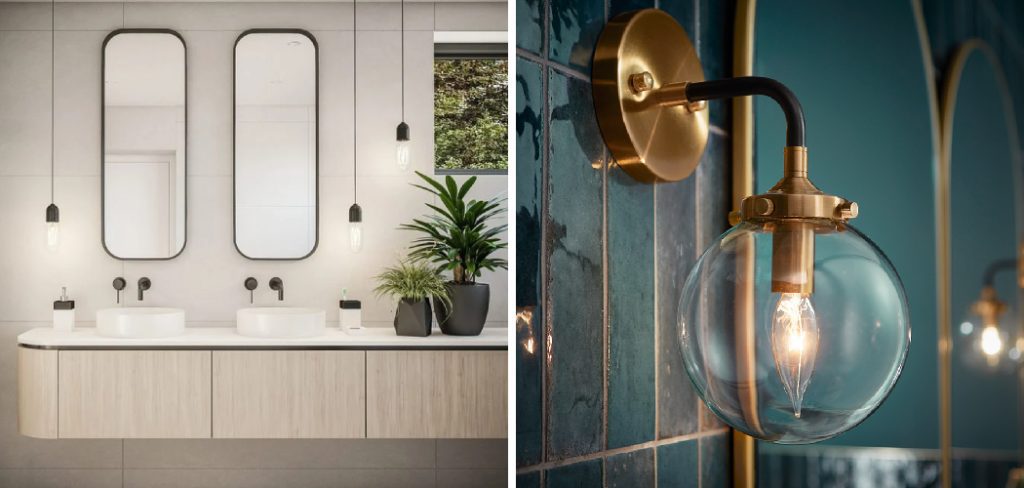
In this guide on how to clean bathroom light fixtures, we will walk you through the steps needed to clean your bathroom light fixtures effectively, ensuring they shine brightly and look their best.
What is the Difference Between Regular Light Fixtures and Bathroom Light Fixtures?
Bathroom light fixtures are specifically designed for use in bathrooms, where there is often a higher level of moisture and humidity. Unlike regular light fixtures, they undergo special testing to ensure they can withstand these conditions without corroding or shorting out.
However, even with this extra protection, bathroom light fixtures can still accumulate dirt and grime over time due to exposure to steam, soap scum, and other bathroom products. Therefore, it is essential to clean them regularly to maintain their effectiveness and prolong their lifespan.
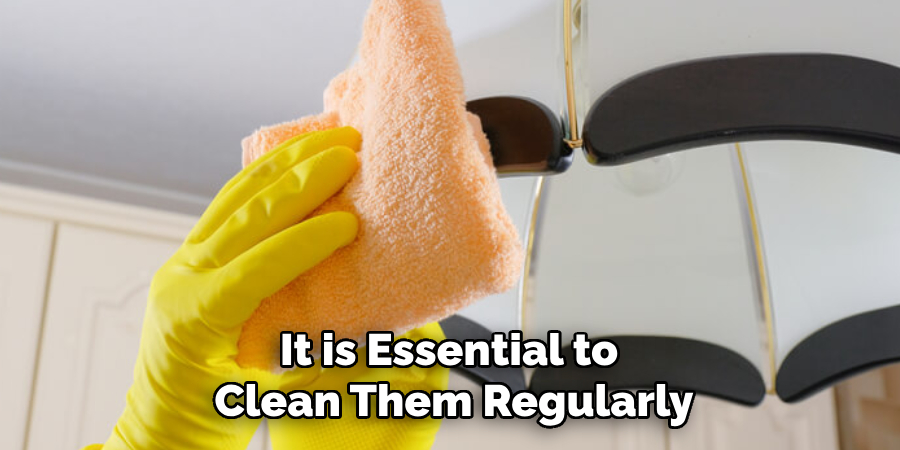
8 Simple Step-by-Step Guides on How to Clean Bathroom Light Fixtures
Step 1: Turn Off the Power
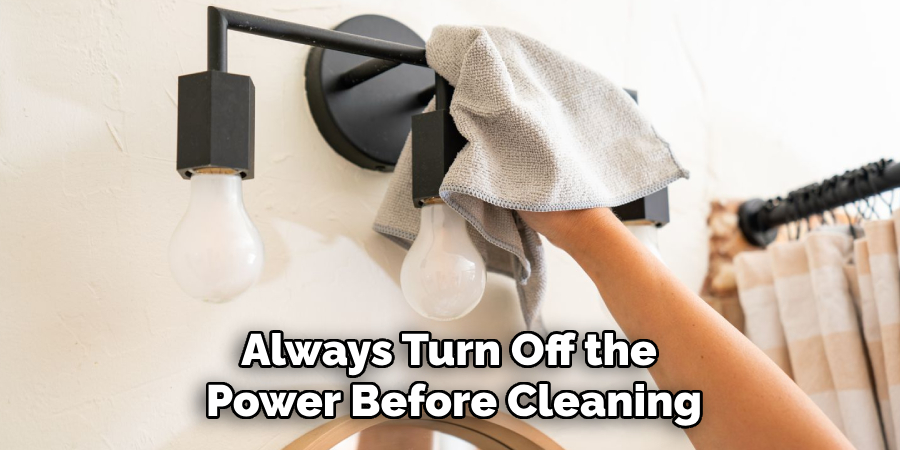
Before you begin cleaning your bathroom light fixtures, safety should be your top priority. Start by turning off the power to the fixtures at the circuit breaker. This step ensures that there is no electrical current flowing to the lights while you clean, preventing any risk of electric shock.
If you’re unsure which breaker controls the bathroom lights, consider using a voltage tester on the fixture to confirm that the power is indeed off. Once the power is cut off, you can proceed with the cleaning process safely.
Step 2: Remove the Light Bulbs
Once the power is turned off, the next step is to carefully remove the light bulbs from the fixtures. This process allows you to access the fixtures more easily and ensures thorough cleaning without the risk of damaging the bulbs. To do this, take hold of the bulb gently and twist it counterclockwise until it loosens from the socket.
If your light bulbs are tightly fitted or if you encounter any resistance, avoid using excessive force to prevent breakage. Instead, check for any safety mechanisms or additional support mechanisms that may be holding the bulb in place. Once all bulbs are removed, set them aside in a safe location, keeping them upright to avoid any potential damage.
Step 3: Clean the Light Bulbs
While your light bulbs are out, take this opportunity to clean them as well. Using a soft cloth or microfiber cloth, gently wipe down each bulb to remove any dust and grime that may have accumulated.
For tougher stains or buildup, you can use a mixture of warm water and mild soap to spot-clean the bulbs. Be sure to dry them thoroughly before reinstalling them in the fixtures.
Step 4: Remove the Fixture Covers
With the bulbs removed, you can now access the fixture covers more easily. Depending on the type of fixture you have, these covers may unscrew or unclip from the fixture base. Carefully remove the covers and set them aside.
If you encounter any difficulty in removing the covers, be sure to check for any screws or clips that may be hidden or holding them in place.
Step 5: Clean the Fixture Covers
Once the fixture covers have been removed, it’s time to clean them thoroughly. Start by using a soft cloth or microfiber cloth to wipe away any dust, cobwebs, or grime that may have accumulated. For more stubborn stains, prepare a solution of warm water and a mild dish soap. Dip your cloth into this mixture, wring it out to avoid excess moisture, and gently scrub the covers until they are clean.
Rinse the covers with clean water to remove any soap residue, and dry them completely with a lint-free towel. This step is crucial, as any remaining moisture could lead to corrosion or damage when reattached to the fixture. Once dry, set the covers aside safely while you prepare to clean the fixtures themselves.
Step 6: Clean the Fixture Base
The fixture base is where most of the dirt and grime tend to accumulate. To clean this area, start by wiping down the surface with a soft cloth or microfiber cloth to remove any loose debris. Next, use a mixture of warm water and mild soap to gently scrub away any stubborn stains or buildup. For hard-to-reach areas, consider using a toothbrush or cotton swab dipped in the cleaning solution.
Once finished, rinse the fixture base thoroughly with clean water and dry it completely with a lint-free towel. Be sure to reach all crevices and corners to ensure a thorough cleaning.
Step 7: Reattach the Fixture Covers
After the fixture base is clean and completely dry, it’s time to reattach the fixture covers. Begin by carefully positioning each cover back onto the fixture, ensuring it aligns correctly with the base. If your covers were held in place with screws or clips, make sure to secure them tightly but not overly so, as this could crack or damage the cover.
Once all covers are firmly in place, take a moment to double-check that they are seated evenly and securely. This will help prevent any future dirt buildup and maintain the overall aesthetic of your bathroom lighting.
Step 8: Reinstall Light Bulbs and Turn the Power Back On
With everything cleaned and reattached, it’s time to reinstall the light bulbs and turn the power back on. Carefully insert each bulb into its socket and twist clockwise until securely in place. Once all bulbs are installed, flip the breaker switch back on to restore power to your bathroom lights.
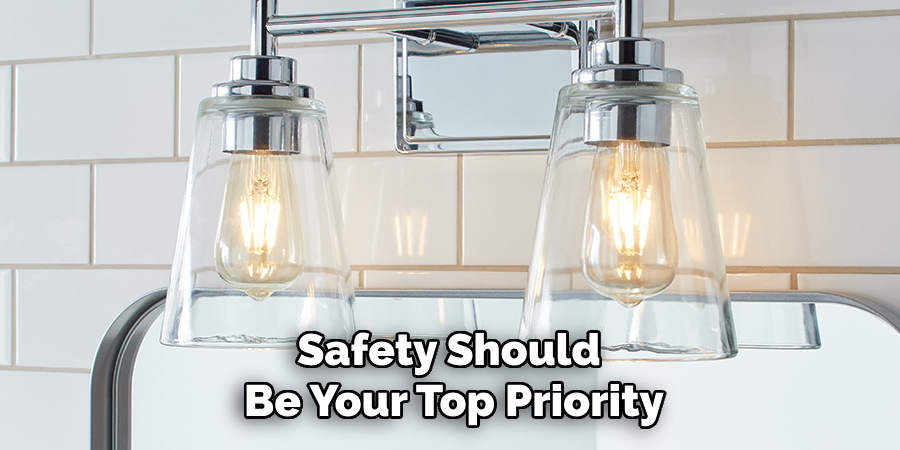
Following these simple steps on how to clean bathroom light fixtures every few months or as needed will help keep your bathroom light fixtures clean and functioning properly. It’s a small task that can make a big difference in the overall cleanliness and appearance of your bathroom. Plus, with regular maintenance, you can extend the lifespan of your fixtures, saving you time and money in the long run. So, take some time to give your bathroom lights some TLC – they’ll thank you for it! So, take some time to give your bathroom lights some TLC – they’ll thank you for it!
Additional Tips and Tricks for Maintaining Bathroom Light Fixtures
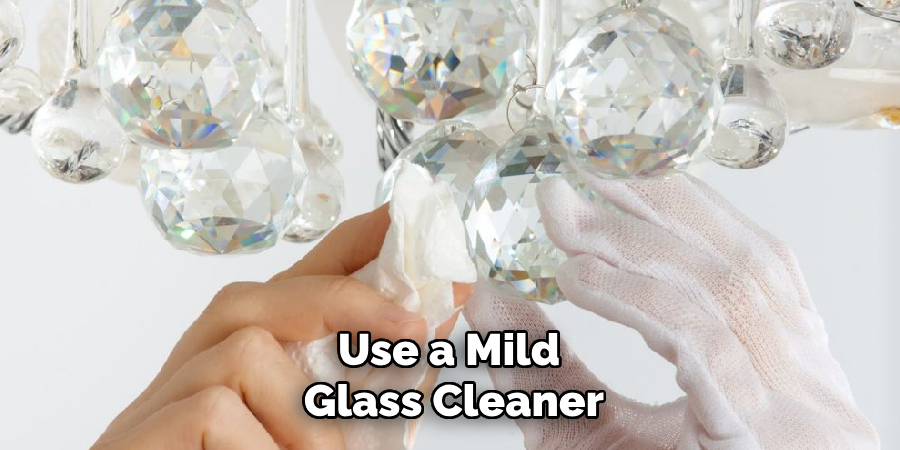
- Use a mild glass cleaner on the light bulbs for a streak-free shine.
- For tougher stains on fixture covers, consider using a white vinegar and water solution.
- Avoid using harsh chemicals or abrasive cleaners on your bathroom light fixtures, as these can cause damage to the materials and finishes.
- Regularly dusting and wiping down your bathroom light fixtures can help prevent the buildup of dirt and grime, making deep cleaning less frequent.
- If you have LED lights in your bathroom, be sure to follow the manufacturer’s instructions for cleaning and maintenance. LED lights may require special care compared to traditional incandescent or fluorescent bulbs.
- Don’t forget to clean any pull chains or switches on your light fixtures as well – they can collect dust and grime over time.
Frequently Asked Questions
Q: How Often Should I Clean My Bathroom Light Fixtures?
A: It’s recommended to clean your bathroom light fixtures every few months, or as needed. This will help prevent the buildup of dirt and grime and ensure they continue to function properly.
Q: Can I Use Harsh Chemicals on My Bathroom Light Fixtures?
A: No, it’s best to avoid using harsh chemicals or abrasive cleaners on your light fixtures, as they can cause damage. Stick to mild soap and water solutions or specialized glass cleaners for best results.
Q: How Do I Know When It’s Time to Replace My Light Bulbs?
A: If you notice a decrease in brightness or if your bulbs are flickering, it may be time to replace them. Additionally, if your bulbs are older than two years, it’s recommended that they be replaced for optimal lighting and energy efficiency.
Q: Can I Clean My Bathroom Light Fixtures While They Are Still Connected to the Power?
A: No, always turn off the power before cleaning any electrical fixtures or components. Safety should always be a top priority when maintaining household appliances and fixtures. So, take some time to give your bathroom lights some TLC – they’ll thank you for it! So, take some time to give your bathroom lights some TLC – they’ll thank you for it! So, take some time to give your bathroom lights some TLC – they’ll thank you for it!
Conclusion
Keeping your bathroom light fixtures clean is an essential aspect of home maintenance that not only enhances the aesthetic appeal of your space but also ensures optimal functionality. By following the steps outlined in this guide on how to clean bathroom light fixtures, you can effectively remove dust, grime, and other residues that accumulate over time.
Regular cleaning not only prolongs the life of your fixtures but also contributes to a brighter and more inviting bathroom environment. Take the time to incorporate these simple maintenance tasks into your routine, and enjoy the benefits of a well-lit and sparkling-clean bathroom!

