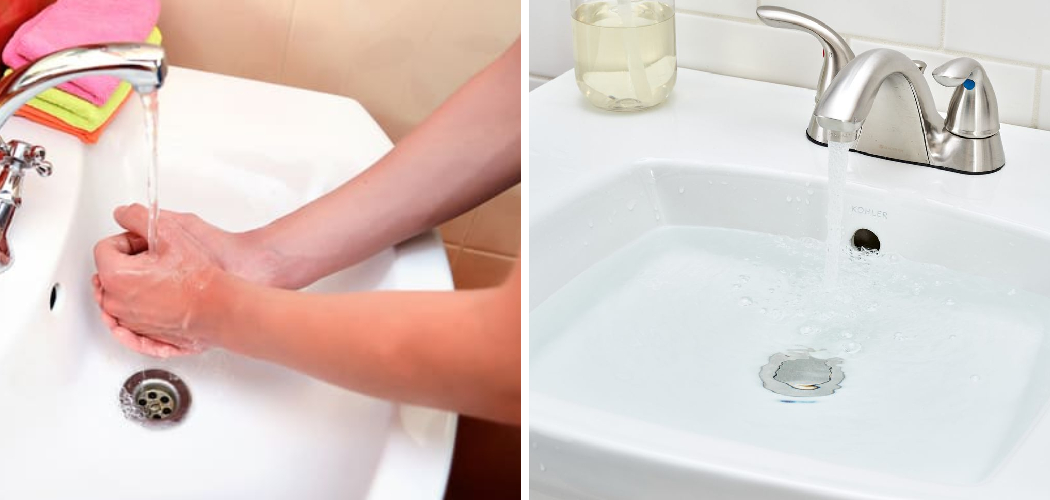
Cleaning your bathroom sink overflow is crucial for maintaining a hygienic and efficiently functioning sink. Over time, the overflow can accumulate debris, soap scum, and even mold, which can cause unpleasant odors and impede water flow.
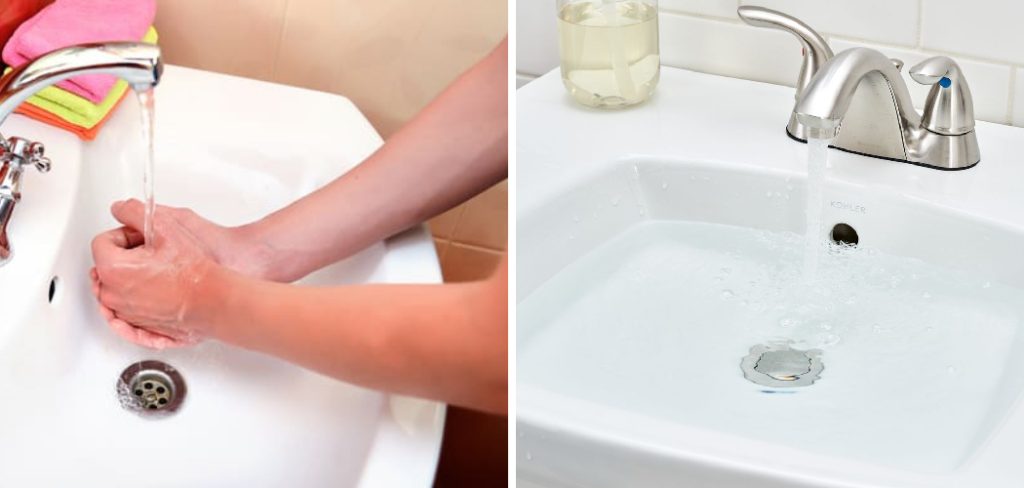
In this guide on how to clean bathroom sink overflow, we will walk you through the steps to effectively clean your bathroom sink overflow, ensuring your sink remains clean, fresh, and operational. Whether you are a seasoned DIY enthusiast or a beginner, these instructions are easy to follow and require minimal tools and materials.
What is a Bathroom Sink Overflow?
Before we dive into the cleaning process, it is essential to understand what a bathroom sink overflow is. The overflow is the small opening or channel located underneath the faucet on your bathroom sink. Its purpose is to prevent water from overflowing onto your countertop in case the drain gets clogged or if you accidentally leave the tap running.
Due to its location and design, it can often become neglected during regular cleaning routines, making it a breeding ground for bacteria and germs.
Why is It Important to Clean the Bathroom Sink Overflow?
The bathroom sink overflow may not seem like a significant part of your sink, but neglecting to clean it can lead to various issues:
The buildup of Debris and Soap Scum:
The overflow channel can trap hair, toothpaste, and other debris that gets washed down the drain. Over time, this buildup can cause foul odors and even block water flow.
Growth of Mold and Bacteria:
The warm and damp environment in the overflow is a perfect breeding ground for mold and bacteria, which can lead to health issues if left uncleaned.
Aesthetics:
A dirty bathroom sink overflow can make your entire sink look unsightly. It can also leave stains on the surrounding surfaces, affecting the overall appearance of your bathroom.
Supplies You Will Need
To efficiently clean your bathroom sink overflow, gather these supplies beforehand:
Cleaning Brush (Old Toothbrush or Pipe Cleaner):
This will help you reach and scrub the hard-to-reach areas in the overflow.
Vinegar or Baking Soda:
These household ingredients are both natural cleaners that are gentle yet effective in removing grime and buildup in the overflow.
Rubber Gloves:
To protect your hands from any harsh chemicals or bacteria present in the overflow.
Sponge or Cloth:
This is for wiping down surfaces and removing excess cleaner.
7 Step-by-step Guidelines on How to Clean Bathroom Sink Overflow
Step 1: Prepare the Cleaning Solution
To begin, you need to prepare the cleaning solution that will effectively break down the grime and buildup in the overflow. You have two options: using vinegar or baking soda.
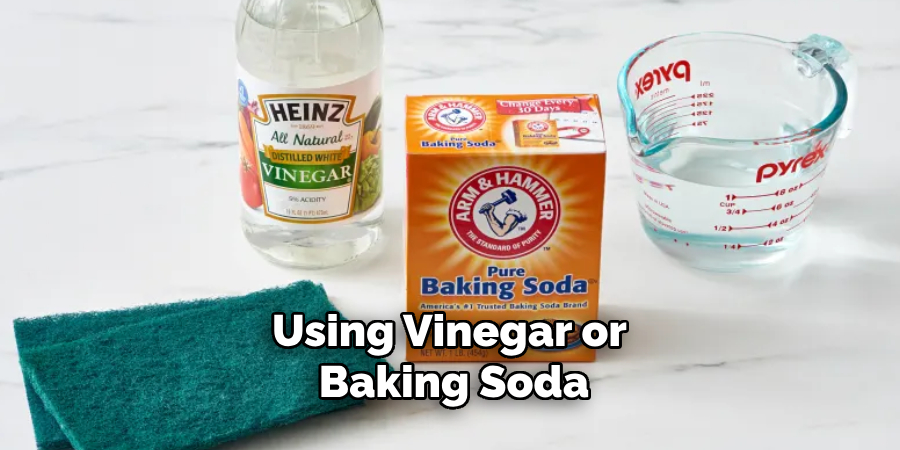
Vinegar Solution:
Mix one part white vinegar with one part water in a bowl or container. Vinegar is a natural disinfectant and works well to dissolve mineral deposits and soap scum.
Baking Soda Solution:
If you prefer baking soda, mix three tablespoons of baking soda with warm water to create a thick paste. Baking soda is a mild abrasive that can help scrub away stubborn residue.
Choose the solution you prefer and have it ready for the cleaning process.
Step 2: Remove Debris from the Overflow
With your cleaning solution ready, it’s time to remove any visible debris from the overflow. First, put on your rubber gloves to protect your hands. Then, take the cleaning brush (an old toothbrush or pipe cleaner works well) and gently insert it into the overflow opening.
Move the brush around to dislodge and pull out any loose debris, grime, or mold that has built up inside. Be thorough but gentle to avoid damaging any parts of the sink. Once you have removed as much debris as possible, dispose of it properly and prepare for the next cleaning step.
Step 3: Pour the Cleaning Solution Into the Overflow
Now that you have removed the visible debris from the overflow, it’s time to pour the cleaning solution into it. Carefully pour the vinegar solution or the baking soda paste you prepared in Step 1 directly into the overflow opening.
If you are using the vinegar solution, you might hear some fizzing as it reacts with any remaining residue inside the overflow. Allow the solution to sit in the overflow for at least 15-20 minutes. This will give it ample time to break down any remaining grime and disinfect the area.
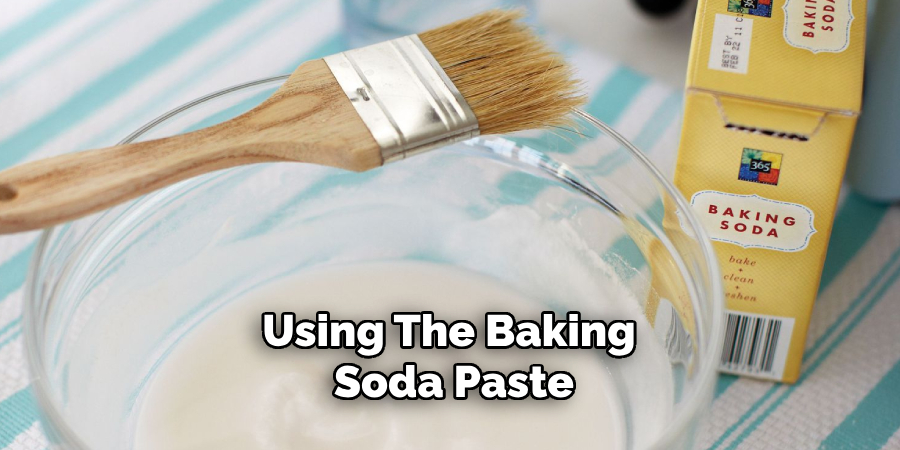
In the case of using the baking soda paste, you may need to gently push the paste into the overflow with the cleaning brush to ensure it reaches all the inner surfaces. Let the baking soda paste sit for the same duration, allowing its mild abrasive properties to work on loosening any tough buildup inside the overflow.
Step 4: Scrub the Overflow
After allowing the cleaning solution to sit and work its magic, it’s time to scrub the overflow. Take your cleaning brush again (an old toothbrush or pipe cleaner is ideal), and begin scrubbing the inside of the overflow channel. Make sure to reach as far into the opening as possible to dislodge any remaining grime, mold, or soap scum.
Move the brush in circular and back-and-forth motions to ensure a thorough cleaning. This step might require some patience and persistence, especially if there is significant buildup. Once you feel confident that you’ve scrubbed the overflow thoroughly, rinse the brush and prepare for the next cleanup step.
Step 5: Rinse the Overflow
Once you have thoroughly scrubbed the overflow, it’s important to rinse away the loosened grime and clean the solution. Fill a cup with warm water and carefully pour it into the overflow opening.
This will help flush out any remaining debris and cleaning agents, ensuring that your overflow is clean and free of buildup. If possible, you can also use a turkey baster or a small funnel to direct the water into the overflow more precisely.

Repeat the rinsing process a couple of times to make sure all the excess cleaning solution and grime are completely washed away. Finally, check the overflow and the sink area to ensure that everything is clean and clear before moving on to the final steps.
Step 6: Wipe Down Surfaces
With the overflow now clean and rinsed, it’s time to wipe down the surfaces around your sink. Take a sponge or cloth, dampen it with warm water, and gently wipe down the entire area around the overflow opening. This will help remove any cleaning solution that may have dripped onto the sink or countertop during the previous steps.
Pay special attention to the faucet, handles, and any other nearby surfaces to ensure they are clean and free of any residue. Wiping down these surfaces not only enhances the overall cleanliness and appearance of your sink but also helps maintain a hygienic environment in your bathroom.
Step 7: Regular Maintenance
Maintaining a clean bathroom sink overflow is not a one-time task. To keep it in optimal condition and prevent the buildup of grime and bacteria in the future, incorporate regular maintenance into your cleaning routine. Every couple of weeks, take a few minutes to quickly inspect your sink overflow for any visible debris or mold.
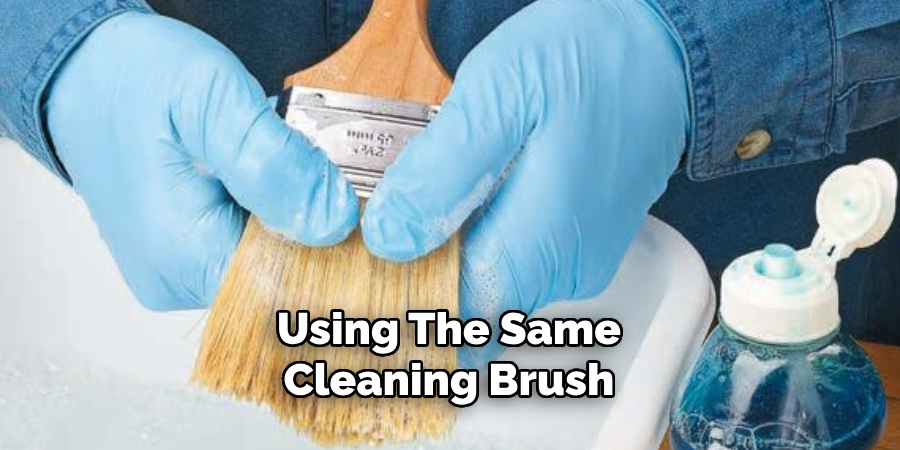
Using the same cleaning brush and solution (either vinegar or baking soda), perform a brief cleaning session similar to the steps outlined above. This routine care will ensure that your overflow remains clean, functioning efficiently, and free from unpleasant odors. By integrating these simple habits, you’ll contribute to a healthier and more pleasant bathroom environment.
Following these steps on how to clean bathroom sink overflow and incorporating regular maintenance into your cleaning routine will help keep your bathroom sink overflow clean and hygienic. Remember, a little time and effort can go a long way in maintaining the cleanliness of your home. So don’t neglect this often overlooked area and make sure to add it to your list of regular cleaning tasks. Happy cleaning!
Frequently Asked Questions
Q: How Often Should I Clean My Bathroom Sink Overflow?
A: It is recommended to perform a deep cleaning of your bathroom sink overflow every few months and incorporate regular maintenance (quick cleanings) into your routine cleaning schedule. However, the frequency may vary depending on how often the sink is used and if there are any visible signs of buildup or mold.
Q: Can I Use Other Cleaning Solutions Besides Vinegar and Baking Soda?
A: Yes, there are other cleaning solutions specifically designed for bathroom sinks and overflows that you can use. However, be sure to carefully read the instructions and follow all safety precautions when using these products. Additionally, make sure not to mix different cleaning agents together as it can create harmful fumes.
Q: How Do I Prevent Mold from Growing in My Bathroom Sink Overflow?
A: To prevent mold from growing in your bathroom sink overflow, make sure to regularly clean and maintain it as outlined in the steps above. Additionally, ensure proper ventilation in your bathroom by running the exhaust fan or opening a window during and after showering, as mold thrives in humid environments.
You can also consider using an antimicrobial cleaning solution specifically designed to prevent mold growth. Lastly, any leaks or standing water issues should be fixed as soon as possible, as these create breeding grounds for mold and bacteria.
Conclusion
Cleaning your bathroom sink overflow is an essential step in maintaining a clean and hygienic bathroom. With these simple guidelines, you can effectively remove grime, mold, and other residue from your sink’s overflow channel using natural ingredients.
Remember to wear rubber gloves for protection, use a cleaning solution of your choice (vinegar or baking soda), and regularly maintain your sink overflow to prevent buildup in the future.
With these tips on how to clean bathroom sink overflow, you can ensure that your bathroom remains a clean and healthy space for you and your family. So why wait? Give your bathroom sink overflow some much-needed attention today! So why not take a few minutes now to give your bathroom sink overflow some much-needed attention? Your future self will thank you for it!

