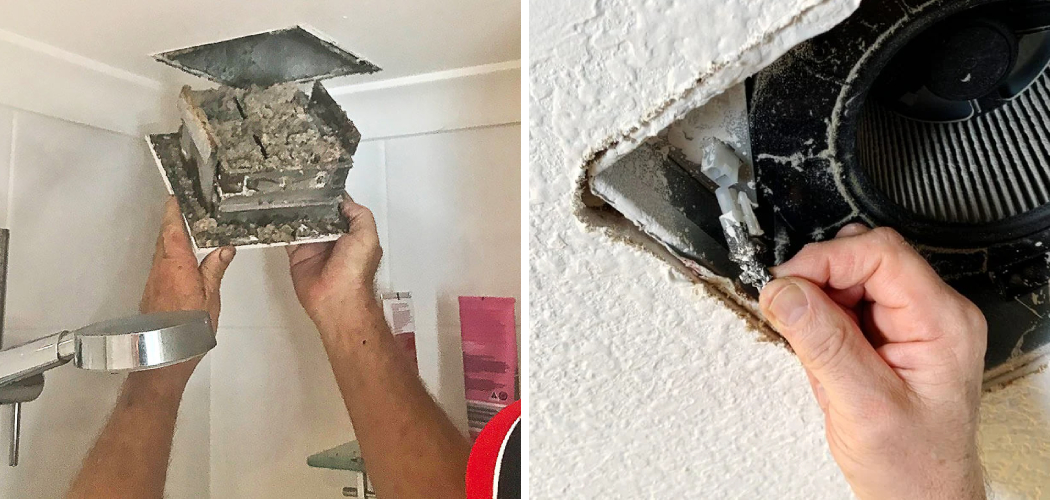
Are you tired of breathing in dusty and moldy air every time you use the bathroom? It may be time to clean your bathroom vent duct. Over time, these vents can become clogged with dust, debris, and even mold. In order to prevent potential health hazards and maintain a clean and functional bathroom, it is important to regularly clean the bathroom vent duct.
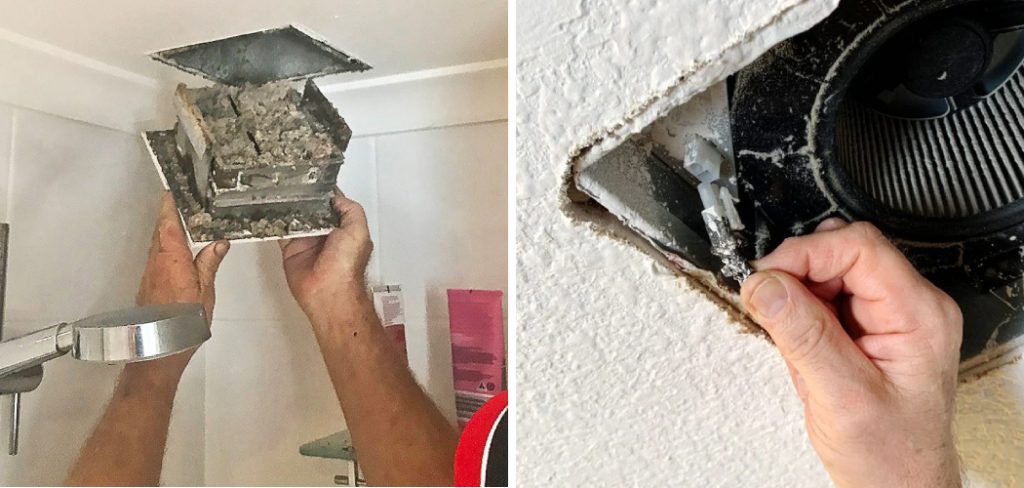
A clean and functional bathroom vent duct is crucial for maintaining air quality and preventing moisture-related issues in your bathroom. Regular cleaning of your bathroom vent duct ensures the longevity of your ventilation system and contributes to a healthier living environment.
This guide will walk you through the steps needed on how to clean bathroom vent duct, ensuring it operates at optimal efficiency and keeps your bathroom fresh and moisture-free.
What are the Benefits of Cleaning Bathroom Vent Duct?
Cleaning your bathroom vent duct may seem daunting, but the benefits far outweigh the effort. Here are some reasons why regularly cleaning your bathroom vent duct is important:
- Improved Air Quality: When your bathroom vent duct is clogged with dust and debris, it restricts airflow and can trap harmful particles in your bathroom. By cleaning your vent duct, you can improve the air quality in your bathroom and prevent potential health hazards.
- Prevents Mold Growth: Moisture from showers and baths can easily get trapped in a clogged vent duct, creating the perfect environment for mold to grow. Regular cleaning prevents this buildup of moisture and reduces the risk of mold growth.
- Reduces Fire Hazards: If your bathroom vent duct is clogged with lint and debris, it can become a fire hazard. Regular cleaning removes these flammable materials and reduces the fire risk in your home.

These are just a few of the many benefits of regularly cleaning your bathroom vent duct.
What Will You Need?
Before you begin cleaning, gather the necessary supplies:
- Ladder: Depending on your bathroom vent duct height, you may need a ladder to reach it.
- Screwdriver: You will need this tool to remove the vent cover.
- Vacuum With Attachments: A vacuum will help remove dust and debris from the vent duct.
- Duct Cleaning Brush or Long-handled Brush: This will help you reach and scrub the inside of the vent duct.
- Warm, Soapy Water: This will be used to clean the vent cover and any other removable parts.
Once you have all the necessary supplies, you can start cleaning your bathroom vent duct.
10 Easy Steps on How to Clean Bathroom Vent Duct
Step 1. Turn Off the Power:
Prior to initiating any cleaning activities on your bathroom vent duct, the first and foremost step is to ensure your safety by turning off the power to the vent system. This can typically be done by locating the relevant circuit breaker in your home’s electrical panel and switching it off.
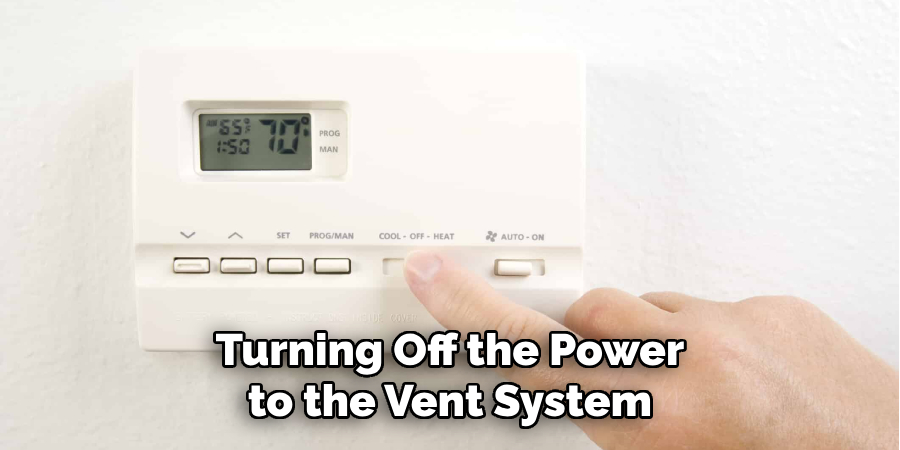
Taking this precautionary measure prevents the risk of electrical shock or injury while you work on the cleaning process. It’s crucial to confirm that the power is indeed off by attempting to turn the bathroom vent on and ensuring it remains non-operational. Safety should always be your top priority when performing any kind of maintenance work in your home.
Step 2. Remove the Vent Cover:
With the power safely turned off, the next step involves removing the vent cover. This is usually secured to the ceiling or wall with screws. Carefully climb your ladder to reach the vent cover and use your screwdriver to remove the screws. Once all the screws are removed, gently take down the vent cover.
It’s a good idea to place the screws in a small container or bag so they don’t get lost during the cleaning process. After removing the cover, inspect it for any signs of dust buildup or mold. This is an excellent time to soak the vent cover in warm, soapy water to clean off any dirt or debris before reinstallation.
Step 3. Vacuum the Duct:
With the vent cover removed, you can access the inside of the duct. Attach the brush attachment to your vacuum cleaner to gently but effectively clean the interior. Insert the vacuum hose into the duct and begin vacuuming up any visible dust, debris, or spider webs.
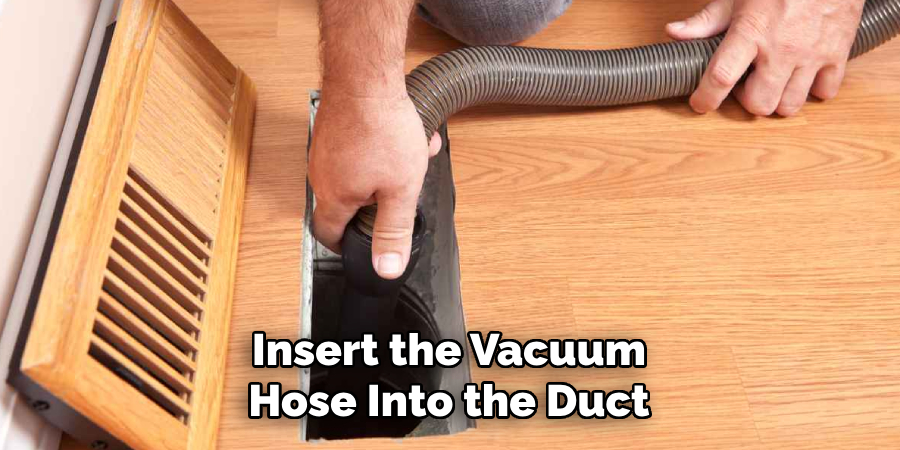
Be sure to reach the duct as far as possible with the vacuum hose, moving it around to cover all sides. This step is crucial for removing the loose particles that have accumulated over time, which, if left untreated, could diminish the efficiency of your bathroom vent and potentially pose health hazards.
Step 4. Use a Duct Cleaning Brush:
After vacuuming, the next step requires using a duct cleaning brush or a long-handled brush to scrub the inside of the duct. This helps remove any dirt, dust, or mold that the vacuum couldn’t.
Carefully insert the brush into the duct and gently scrub in a circular motion to dislodge any stubborn debris. If you’re using a duct cleaning brush with an extendable handle, make sure to extend it as far into the duct as possible to ensure a thorough cleaning. This step is essential for removing built-up grime that can restrict airflow and affect the efficiency of your bathroom vent duct.
Step 5. Wipe the Duct Opening:
After using the duct cleaning brush, the next step involves wiping the duct opening to remove any remaining dust or dirt. Using a damp cloth or sponge, gently wipe around the entrance of the duct and any areas within reach.
If necessary, use warm, soapy water to help remove tougher grime. This step ensures that the duct opening is clean and free from any particles that could get blown back into your bathroom once the vent is turned back on. Pay close attention to the corners and edges where dust often accumulates.
Step 6. Clean the Fan Blades:
Often overlooked, the fan blades inside your bathroom vent duct also accumulate dust and need cleaning for optimal performance. Carefully, using a small brush or a cloth, remove any dust, lint, or debris that has settled on the blades. If the fan blades are difficult to reach or if the buildup is significant, you may need to use a screwdriver to dismantle the fan unit.
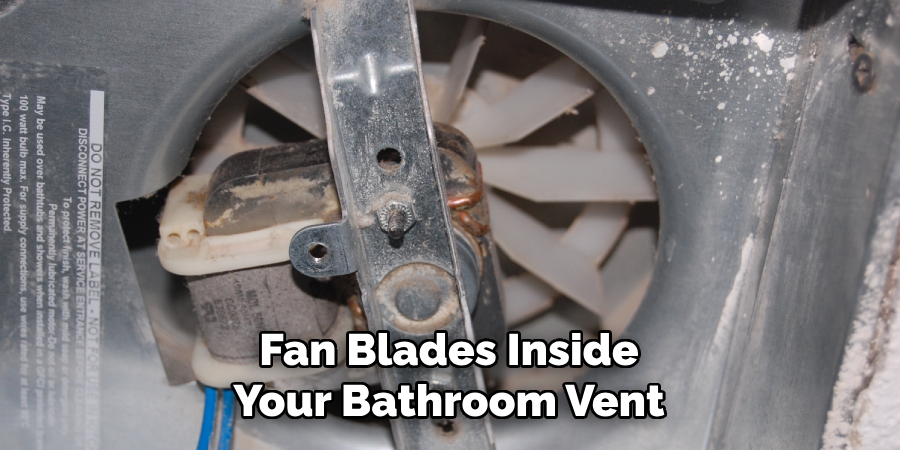
Once you have access, gently wipe each blade with a damp cloth, using warm, soapy water if necessary to remove stubborn dirt. This step increases the efficiency of your bathroom vent and reduces noise caused by imbalanced fan blades. After the blades are clean, reassemble any parts you may have had to remove, ensuring everything is securely in place.
Step 7. Rinse and Dry the Vent Cover:
After soaking the vent cover in warm, soapy water, the next step involves thoroughly rinsing it to remove any soap residue and debris. Use clean, running water to ensure that all parts of the vent cover are entirely soap-free. Once rinsed, shake off any excess water and allow the cover to air dry completely, or use a clean, dry cloth to pat it dry.
The vent cover must be entirely dry before reinstallation to prevent moisture buildup, which could lead to mold or mildew formation. Ensuring that the vent cover is clean and dry can also enhance the overall efficiency of your bathroom ventilation system.
Step 8. Reattach the Vent Cover:
Once the vent cover is completely dry, it’s time to reattach it to the vent duct opening. Carefully align the vent cover with the duct opening, ensuring it’s positioned correctly. Then, using the screws you set aside earlier, secure the vent cover back onto the ceiling or wall.
It might be helpful to start each screw by hand to ensure proper alignment and then use your screwdriver to tighten them securely. Be cautious not to over-tighten the screws, as this could damage the vent cover or the surrounding area. Reattaching the vent cover is important in ensuring that your bathroom vent operates efficiently and safely, free from any obstructions.
Step 9. Test the Ventilation System:
Once the vent cover has been reattached, the final step is to test the functionality of your bathroom ventilation system. Turn the power back on at the main electrical panel, and then turn on the bathroom vent to ensure it operates smoothly. You should notice improved airflow and efficiency due to the clean duct and fan blades.
Listen for any unusual noises that could indicate an issue with the fan or motor. If everything sounds normal and the vent operates as expected, you have completed cleaning. Regular maintenance, as you’ve just performed, is essential for prolonging the life of your bathroom ventilation system and ensuring it works effectively to remove moisture and odors from your bathroom.
Step 10. Schedule Regular Maintenance:
To ensure the long-term efficiency and optimal performance of your bathroom ventilation system, it’s important to establish a routine maintenance schedule. Aim to inspect and clean your bathroom vent at least once a year or more frequently if you notice any decreased airflow or efficiency.
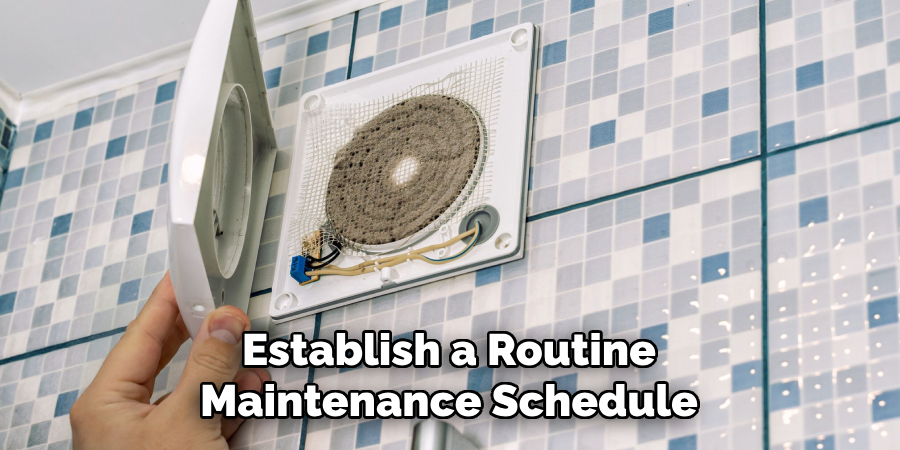
Regular maintenance not only prolongs the ventilation system’s life but also helps prevent mold growth and eliminate potential health hazards. By marking your calendar for an annual check-up, you can ensure that your bathroom remains well-ventilated, promoting a healthier environment for you and your family.
By following these simple steps, you can effectively and safely clean your bathroom vent without the need for professional help.
5 Additional Tips and Tricks
- Regular Inspection: Conduct regular inspections of your bathroom vent duct to identify signs of buildup, damage, or wear and tear early on. This proactive approach can prevent the accumulation of debris and maintain optimal airflow efficiency.
- Use the Right Tools: Arm yourself with the right tools for the job. A long-handled brush specifically designed for duct cleaning, a vacuum with a hose attachment, and protective gear such as gloves and a mask can make the cleaning process safer and more effective.
- Don’t Forget the Cover and Fan: While cleaning the duct, pay attention to the vent cover and exhaust fan. These components can accumulate dust and lint over time. Cleaning them not only ensures better air quality but also improves the overall efficiency of your bathroom vent.
- Consider a Professional Inspection: Sometimes, having a professional inspect your ductwork is beneficial, especially if it’s been a long time since the last cleaning or if you’ve noticed a decrease in performance. They can spot issues that may not be obvious and ensure that your venting system is in top condition.
- Preventative Maintenance: To keep your bathroom vent duct clean for longer, invest in regular preventative maintenance. This might include checking for and sealing any leaks in the ductwork, ensuring that the external vent cap is not obstructed, and routinely cleaning the vent grill. These simple steps can significantly extend the life of your bathroom’s ventilation system and enhance its performance.
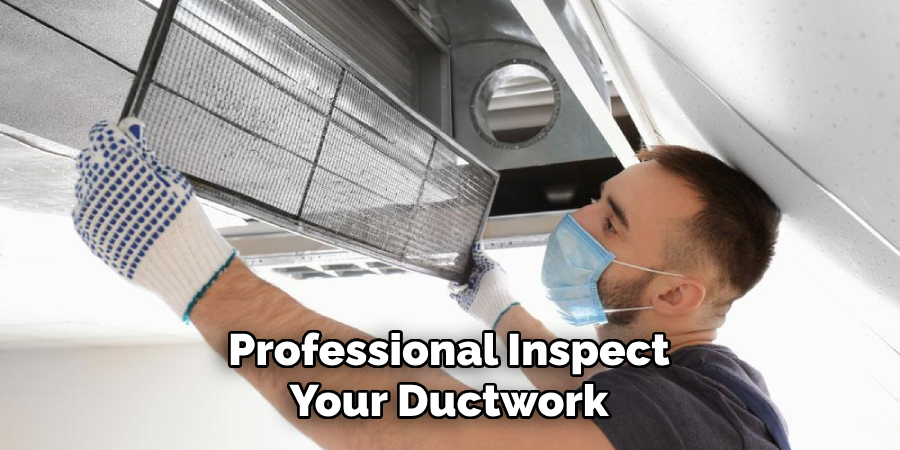
With these additional tips and tricks, you can ensure that your bathroom vent duct stays clean and functional, providing you with fresh and healthy air every time you use the bathroom.
5 Things You Should Avoid When Cleaning Bathroom Vent Duct
- Neglecting Safety Precautions: Cleaning a bathroom vent duct involves working at heights and handling dirt and debris, which can be hazardous. Never overlook the importance of wearing protective gear, such as gloves, masks, and goggles, or ensuring that ladders are stable and secure.
- Using Harsh Chemical Cleaners: It might be tempting to use strong chemical cleaners to remove dirt from the vent duct, cover, and fan, but these can corrode materials and cause damage over time. Instead, opt for gentler cleaning solutions or simply use soap and water.
- Skipping the Power Off Step: Always make sure to turn off the power to the bathroom vent at the circuit breaker before starting any cleaning. This safety precaution prevents the risk of electrical shock or accidentally turning the fan on during the cleaning process.
- Ignoring the Manufacturer’s Guidelines: Each vent system can have specific maintenance instructions based on its design and materials. Failing to follow the manufacturer’s cleaning and care guidelines can lead to damage or reduced efficiency of the venting system.
- Overlooking Duct Leaks: Simply cleaning the duct without checking for leaks or damages can lead to inefficiencies. Avoid the mistake of not inspecting the ductwork thoroughly for any signs of wear and tear or leaks that can compromise the functionality of the bathroom ventilation system.
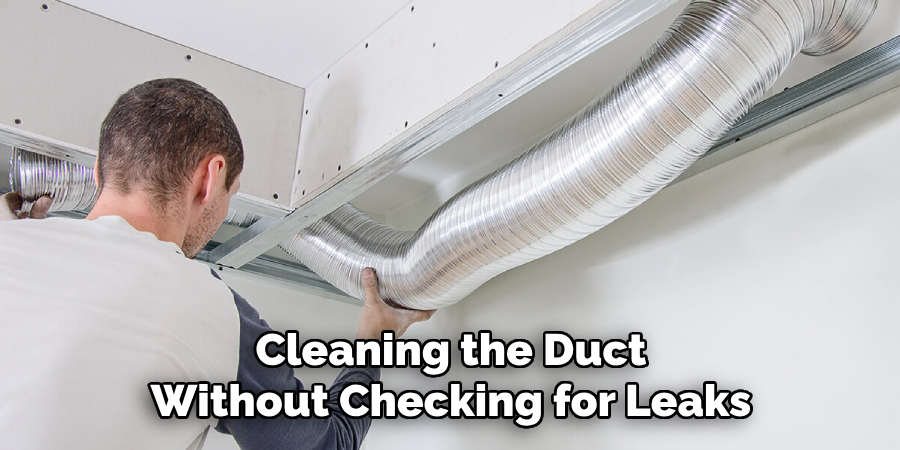
By avoiding these common mistakes, you can ensure a thorough and safe cleaning process and keep your bathroom vent duct in optimal condition.
How Does a Bathroom Vent Work?
A bathroom vent works by drawing in humid, contaminated air from the bathroom and venting it outside. It typically consists of a fan that is connected to ductwork, which leads to an external vent on the roof or wall. The fan creates negative pressure, pulling in stale air and pushing it through the ducts and out of the house.
The ventilation system also has a filter or screen that traps larger particles, preventing them from entering the ductwork and causing clogs. Over time, this filter can become dirty and affect the functionality of the vent.
Regular cleaning of the bathroom vent duct removes any buildup of dust, hair, and other debris that may be blocking airflow. This ensures proper ventilation in the bathroom and prevents excess humidity from causing damage to your walls and fixtures.
What Happens if a Bathroom is Not Vented?
If a bathroom is not properly vented, it can lead to various issues. Excess moisture and humidity can build up in the bathroom without proper ventilation, creating an ideal environment for mold and mildew to grow. This can cause unpleasant odors and potentially damage the bathroom’s walls, floors, and fixtures.
Additionally, steam from hot showers can linger without adequate ventilation and eventually cause water damage. This can lead to peeling paint, warping of wood, and even structural damage if left unchecked.
Furthermore, without a bathroom vent, the air in the bathroom can become stale and stagnant, leading to unpleasant odors and potentially compromising indoor air quality.
Proper ventilation is essential for maintaining a clean, healthy, and functional bathroom. Regular cleaning and maintenance of the bathroom vent duct can help prevent these issues and ensure optimal ventilation system performance. So, it is important to pay attention to the condition of your bathroom vent duct and take proactive measures to keep it clean and well-maintained.
Conclusion
In conclusion, how to clean bathroom vent duct is a crucial aspect of home maintenance that not only ensures the longevity of your ventilation system but also contributes to a healthier and more pleasant bathroom environment.
By following the outlined steps and recommendations, including turning off the power, removing and cleaning the vent cover, carefully vacuuming the duct, and taking safety precautions, you can effectively remove dust, lint, and debris, improving air quality and flow. Additionally, being mindful of what to avoid, such as neglecting safety measures, using harsh chemicals, or overlooking duct leaks, plays a significant part in a successful cleaning process.
Whether you choose to undertake this task yourself or opt for a professional inspection, regular cleaning and maintenance of your bathroom vent duct are essential for preventing moisture-related issues and ensuring efficient ventilation. Remember, a well-ventilated bathroom leads to a healthier home and a more comfortable living space for you and your family.

