A drain vent is vital in maintaining a well-functioning plumbing system by allowing air to circulate through the pipes. This airflow ensures water flows smoothly through drains, preventing pressure imbalances and potential plumbing issues. However, over time, drain vents can become clogged with debris, dirt, grease, or even leaves, leading to problems such as slow drains, unpleasant odors, or even significant pipe damage if left unaddressed. Regular maintenance of your drain vent is essential for avoiding these complications and ensuring the efficient operation of your plumbing system.

This article aims to provide a clear and practical step-by-step guide on how to clean drain vent effectively. By following these instructions, you can maintain the health of your plumbing, prevent blockages, and address common issues proactively, saving you time and money in the long run.
Understanding How Drain Vents Work
What is a Drain Vent?
A drain vent, also known as a vent stack, is a crucial component of your plumbing system. It is a pipe that connects your plumbing to the outside air, helping to regulate air pressure and enable the smooth flow of wastewater through the pipes. By maintaining balanced pressure, the drain vent prevents the formation of airlocks and ensures that water and waste travel efficiently to the sewer or septic system.
Common Drain Vent Issues
While drain vents are designed to function reliably, they can encounter specific problems over time. One of the most common issues is clogging, often caused by accumulating dirt, grease, and debris inside the vent. Blockages can slow the escape of air, leading to drainage problems. Additionally, stagnant air or excess moisture in the vent can foster mold or mildew growth, resulting in unpleasant odors that permeate your home.
Why Cleaning is Important
Regular cleaning of your drain vent plays a vital role in the health of your plumbing system. By eliminating blockages and debris, you can prevent unpleasant smells and improve the efficiency of your drainage. Well-maintained vents also extend the lifespan of your plumbing system, reducing the need for costly repairs or replacements. A clean drain vent saves money and ensures the smooth functioning of your household plumbing.
Materials and Tools Needed
Essential Materials
- Cleaning brush (preferably a vent cleaning brush or a bottle brush): Helps to scrub away dirt and debris from the vent walls.
- White vinegar: Effective for cleaning and deodorizing the vent.
- Baking soda: Helps remove odors and break down grime when combined with vinegar.
- Dish soap or mild detergent: Used to clean the vent thoroughly without causing damage.
- Paper towels or cloth rags: For wiping surfaces and drying the area after cleaning.
- Rubber gloves: Protect your hands from dirt, moisture, and cleaning solutions.
Optional Tools
- Wet/dry vacuum: Useful for sucking out debris and ensuring a cleaner vent.
- Plumbing snake: Ideal for reaching and clearing deep blockages that cannot be removed manually.
Having these materials and tools ready will ensure the cleaning process is efficient and thorough. By using the right combination of essential items and optional tools, you can maintain a clean and functional drain vent while minimizing the risk of damage to your plumbing system.

Preparing for Drain Vent Cleaning
Step 1: Identify the Location of the Drain Vent
Locate the drain vent, which is usually found on the roof or the side of the house. These vents serve as essential components of your plumbing system, allowing waste gases to escape and ensuring proper drainage flow. Make sure the vent is easily accessible for cleaning. If the vent is located on the roof, check that the area around it is stable and safe to work on.
Step 2: Gather the Tools and Materials
Before beginning the cleaning process, gather all necessary tools and materials. These include items like a garden hose, a plumber’s snake, rubber gloves, protective eyewear, and possibly cleaning agents. Additionally, if you’re cleaning from the inside of the home, inspect the drain for any visible buildup or obstructions. Having all tools ready beforehand will save time and help you remain organized throughout the task.
Step 3: Ensure Safety
Safety is key when cleaning a drain vent, especially when working at heights or using strong chemicals. Wear rubber gloves and protective eyewear to prevent direct exposure to potentially harmful substances. If you need to climb onto the roof, use a stable and secure ladder, ensuring you have a spotter or someone to assist if needed. Avoid working in wet or windy weather conditions to reduce the risk of slipping or falling. Always prioritize safety to avoid accidents during the cleaning process.
How to Clean Drain Vent: Cleaning the Drain Vent from the Outside
Step 1: Inspect the Vent Opening
Check the vent opening for any debris, leaves, or dirt accumulation. Use a brush or your hand to clear any visible debris from the exterior. Ensure you remove any obstructions that could impede proper airflow, as a blocked vent can lead to drainage issues within the system. Take your time to thoroughly examine the area and watch for signs of damage or cracks around the vent opening.

Step 2: Use a Vent Cleaning Brush
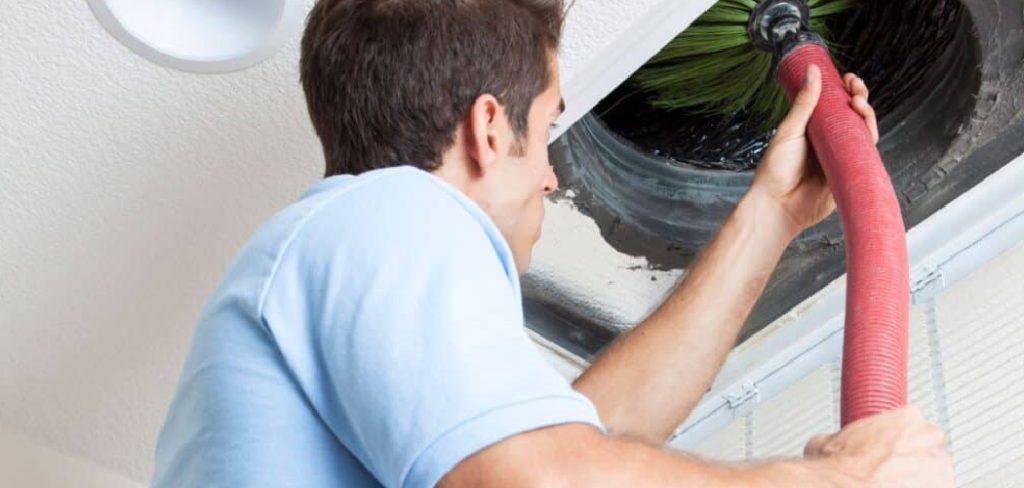
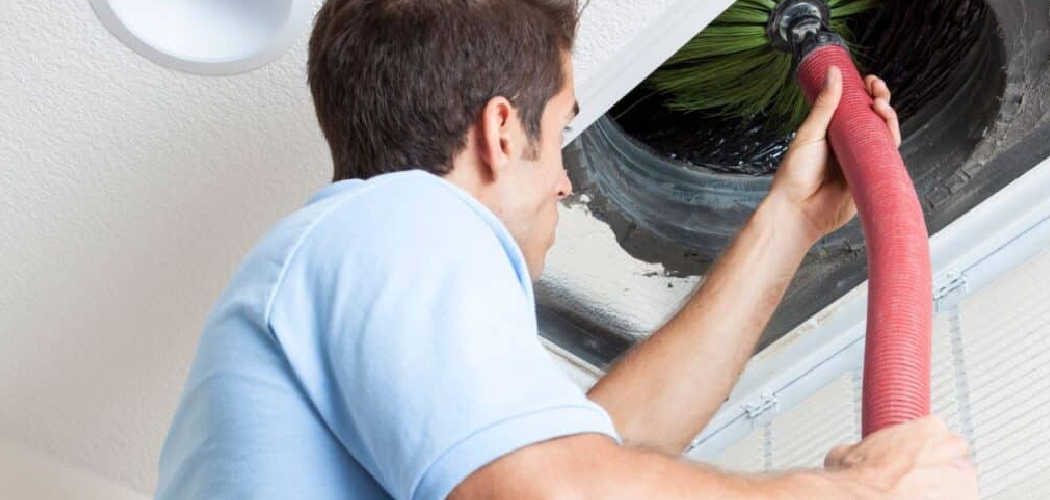
Attach a vent cleaning brush to a long handle to reach deeper into the vent. Gently push the brush into the vent and scrub the interior walls to dislodge dirt and debris that might not be visible from the outer surface. Be careful not to exert excessive pressure as this could damage the vent or cause unnecessary wear. Rotate the brush as you clean to ensure full coverage and to maximize debris removal.
Step 3: Flush with Vinegar and Water
Pour a mixture of vinegar and water into the vent to help dissolve any grease or mineral buildup. One part vinegar to two parts water typically works well, but adjust as needed based on the amount of buildup. Allow the solution to break down deposits thoroughly for 10-15 minutes. Afterward, flush the vent by pouring clean water into the opening, ensuring any loosened debris and residue are washed away completely.
By following these steps, you can effectively clean the drain vent from the outside while ensuring it remains functional and free from clogs.
Troubleshooting and Dealing with Persistent Clogs
Persistent blockages may require additional tools and techniques when cleaning doesn’t solve the issue. A plumbing snake or auger can be particularly effective in dislodging deeply set clogs within the vent pipe. Gently insert the tool into the vent opening and carefully work it down the pipe to break up or remove the obstruction. Be sure to follow the manufacturer’s instructions to avoid damage to the pipe or surrounding structures.

If the vent remains clogged after attempting these steps, it may be time to seek professional assistance. A licensed plumber has the expertise and equipment to diagnose and resolve complex issues that DIY methods may not address. Additionally, professional intervention ensures that any underlying problems, such as damaged pipes or improper ventilation, are identified and repaired effectively.
Signs You Might Need Professional Help
- Strong odors persist after cleaning, indicating that blockages may still exist or other issues are at play.
- Water backs up into sinks or bathtubs, which suggests a clogged or improperly functioning vent system affecting overall drainage.
- Multiple vent pipes are clogged, pointing to a larger plumbing system issue that requires expert evaluation.
Taking timely action is key to maintaining a well-functioning plumbing system and preventing further complications.
Preventative Measures to Keep Your Drain Vent Clean
Regular Inspection
Check the vent annually for any visible debris, damage, or blockages. Scheduling a yearly cleaning of the vent can significantly reduce the chances of buildup and ensure the plumbing system operates efficiently.
Use Drain Screens
Install drain screens in sinks or tubs to catch hair, grease, and other debris before they enter the plumbing system. This simple step helps to prevent clogs from forming and reduces strain on the vent system.
Proper Waste Disposal
Avoid pouring grease or oils or disposing of non-biodegradable items down the drain. These materials can accumulate and obstruct the pipes, ultimately impacting the vent and drainage functionality. Proper waste disposal is an essential part of maintaining clear and efficient plumbing.
Deodorizing
Place a small sachet of activated charcoal or baking soda near the vent opening to combat unpleasant odors. These materials naturally absorb odors, helping your plumbing maintain a fresh and clean environment.

Implementing these preventative measures will enhance the longevity and performance of your drain vent system while minimizing the risk of costly repairs.
Conclusion
Regular maintenance of your drain vents is crucial to preventing clogs, unpleasant odors, and costly plumbing issues. By taking a proactive approach to cleaning and upkeep, you ensure that your plumbing system remains efficient and reliable.
Understanding “how to clean drain vent” systems effectively can save you time and trouble in the long run. However, if you find that the drain vent remains clogged or unresponsive after your cleaning efforts, you should seek professional plumbing assistance. Professionals can help address the issue thoroughly, preventing further damage and ensuring your system operates smoothly. Stay proactive for optimal performance!

