Properly maintaining the inside of your faucet spout is crucial for ensuring a clean water flow and prolonging the fixture’s lifespan. Over time, mineral buildup, mold, and bacteria can accumulate inside the spout, leading to reduced water pressure, compromised hygiene, and even unpleasant odors or discoloration. These issues not only affect the performance of your faucet but can also impact the overall quality of water in your home.

Common signs that your faucet spout requires cleaning include slow water flow, irregular spray patterns, or visible debris around the spout opening. This article aims to provide a detailed and practical guide on how to clean inside faucet spout, ensuring your faucet remains efficient, hygienic, and in optimal working condition. By addressing this often-overlooked aspect of home maintenance, homeowners can prevent bigger problems and maintain a healthy living environment.
Understanding Faucet Spout Buildup
What Causes Buildup Inside Faucet Spouts
Faucet spout buildup primarily occurs due to factors such as hard water deposits, debris, and bacterial growth. Hard water, rich in minerals like calcium and lime, leaves behind residue that gradually accumulates inside the spout. Additionally, debris from aging or deteriorating plumbing pipes can find its way into your faucet, contributing to blockages. Over time, bacterial biofilm may also develop, especially in areas with high moisture, further affecting the faucet’s performance and hygiene.
Potential Issues from Neglected Cleaning
Ignoring faucet spout maintenance can lead to several problems, including reduced water pressure caused by clogged aerators or blocked spouts. Persistent buildup can also damage the aerator mechanism, resulting in irregular water flow and higher repair costs. Furthermore, bacterial biofilm and accumulated debris can compromise water hygiene, posing potential health risks to you and your family.
Types of Faucets and Their Designs
Faucets come in a variety of types, each with a unique design that influences cleaning methods. Common options include kitchen faucets, bathroom faucets, pull-out or pull-down faucets, and single-handle models. Pull-out and pull-down faucets often have hoses that require extra attention, while single-handle faucets may have compact components that need careful disassembly. Understanding your faucet’s design is essential to adopting the right cleaning approach, ensuring thorough maintenance, and optimal functionality.
Tools and Materials You’ll Need
Basic Cleaning Tools
For effective faucet cleaning, you’ll need simple household items like white vinegar, baking soda, an old toothbrush, toothpicks or cotton swabs, rubber bands, a plastic bag, and a clean cloth. These tools are excellent for removing grime, mineral deposits, and other buildup from various faucet components.

Optional Tools
In some cases, you may require additional tools, such as a small pipe brush to clean hard-to-reach areas. An adjustable wrench and plumber’s tape can also be handy if you need to remove the aerator or other parts for thorough cleaning.
Safety and Prep
Before starting, consider turning off the water supply to avoid accidental leaks or splashes. It’s also important to protect surrounding surfaces from potential damage by covering them with towels or protective sheets. This preparation will ensure a smooth and mess-free cleaning process.
How to Clean Inside Faucet Spout: Step-by-Step Guide
Step 1: Fill a Plastic Bag with Vinegar
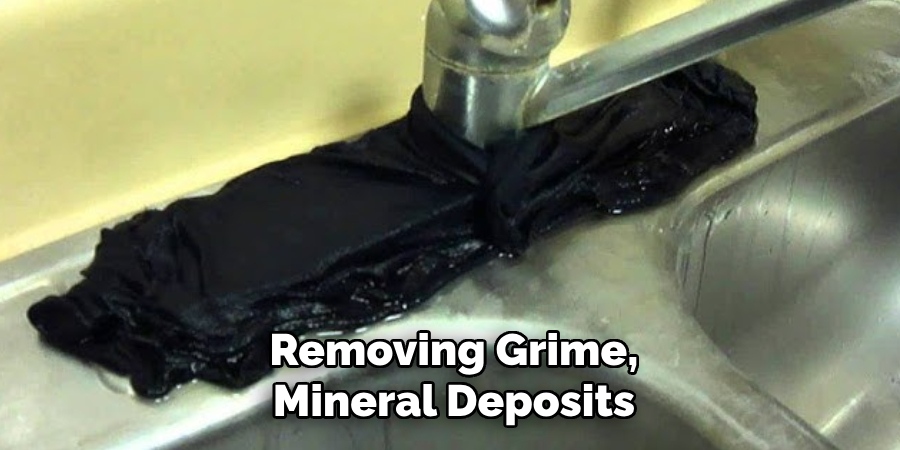
Begin by filling a sturdy plastic bag with white vinegar, ensuring you have enough to submerge the tip of your faucet spout fully. Depending on the size of your spout, about 1–2 cups of vinegar should suffice. For convenience, you can warm the vinegar slightly (not boiling) to enhance its cleaning effectiveness.
Step 2: Attach the Bag to the Spout
Carefully position the plastic bag over the faucet spout, making sure the spout tip is completely submerged in the vinegar. Secure the bag in place by wrapping a strong rubber band snugly around the top of the bag and the faucet neck. Double-check to ensure the bag will remain securely attached during the soaking process.
Step 3: Let it Soak
Allow the vinegar-filled bag to remain on the faucet spout for 30 to 60 minutes, depending on the severity of mineral buildup or residue. This time allows the vinegar’s natural acidity to break down limescale and other debris. Avoid disturbing it while soaking for optimal results.
Step 4: Scrub and Flush
After removing the bag, use an old toothbrush or cotton swab to gently scrub any remaining loosened debris from the spout, focusing on the edges and internal areas. Once cleaned, flush the faucet by running hot water for about 1–2 minutes to wash away any residue. Repeat the process if buildup persists or for routine maintenance.
Deeper Cleaning by Removing the Aerator
Step 1: Unscrew the Aerator
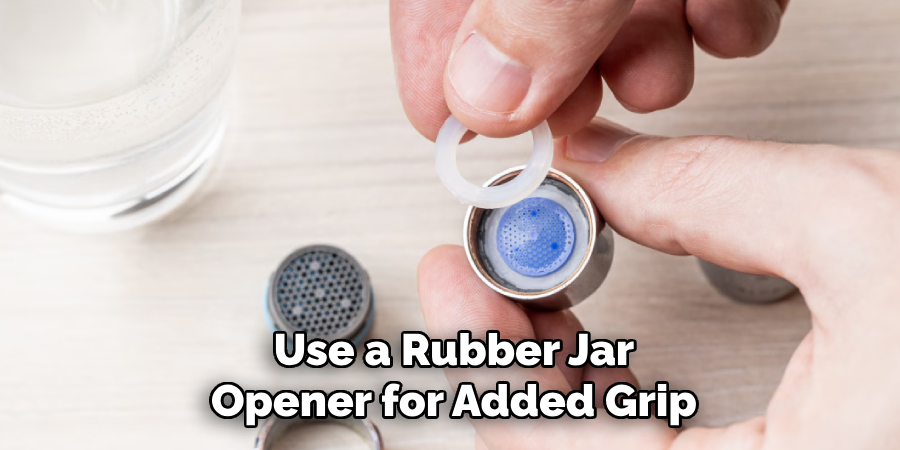
To begin, carefully unscrew the aerator from the faucet spout. If the aerator is tightly secured, use a rubber jar opener for added grip or a wrench with a protective cloth to avoid scratching the surface. Rotate the aerator counterclockwise, and if it feels stuck, apply gentle, even pressure without forcing it. If still resistant, spray a small amount of penetrating oil onto the threads and allow it to sit for a few minutes before trying again.

Step 2: Inspect and Clean the Parts
Once removed, disassemble the aerator into its individual components, typically including a screen, rubber washer, and the aerator body. Carefully inspect each piece for debris, mineral buildup, or wear. Use a soft toothbrush to brush away loose particles, and examine the rubber washer to ensure it remains flexible and intact. Replace any damaged parts as needed to prevent leaks.
Step 3: Soak in Vinegar
For stubborn buildup, submerge the aerator components in a bowl of white vinegar. Allow them to soak for 30 minutes to an hour, which helps dissolve mineral deposits effectively. For heavily encrusted parts, boil water and mix it with vinegar before soaking for an even stronger solution. After soaking, rinse each piece thoroughly under warm water and scrub gently to remove any remaining debris.
Step 4: Reassemble and Test Flow
Once all components are clean and dry, reassemble the aerator in the reverse order of disassembly. Screw it back onto the faucet spout, ensuring it is tightened securely but not overly so to prevent damage. Turn on the faucet and check for leaks, then test the water flow. If the stream is steady and even, your cleaning was successful, and your faucet should now function optimally.
Using Baking Soda Paste for Tough Buildup
Mixing and Applying Paste
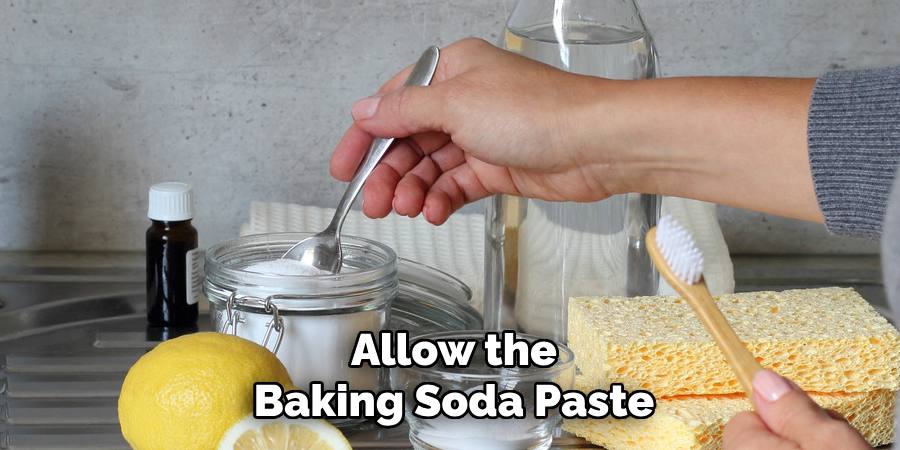
For stubborn buildup, a baking soda paste can be an effective solution. To create the paste, mix two tablespoons of baking soda with a small amount of water, gradually adding the liquid until it forms a thick, spreadable consistency. Apply the paste directly inside the faucet spout and onto the aerator components, ensuring all affected areas are coated thoroughly.
Letting It Sit and Scrubbing
Allow the baking soda paste to sit for 10–15 minutes, giving it enough time to break down hardened mineral deposits and grime. Afterward, use a soft toothbrush or a non-abrasive scrub brush to gently clean the coated areas, being mindful not to scratch or damage the surfaces. This step helps dislodge even the most persistent buildup.

Rinsing Thoroughly
Once scrubbing is complete, rinse the aerator components and faucet thoroughly under warm running water. Ensure all paste residue is removed to prevent future clogs or potential water contamination. Double-check that the cleaned areas are spotless and free of debris before reassembling the faucet. This method is a safe and natural way to restore optimal water flow.
How Often to Clean and Prevent Future Buildup
Recommended Cleaning Frequency
To maintain optimal performance, it’s recommended to clean your faucet and aerator lightly at least once a month. For households with hard water, a more thorough deep cleaning should be done every 3–6 months to address mineral buildup. Regular maintenance prevents clogs and ensures a consistent water flow.
Installing Faucet Filters or Water Softeners
Consider installing a faucet filter or a whole-house water softener to tackle mineral deposits at their source. These solutions help reduce the presence of calcium and magnesium in the water, significantly minimizing mineral accumulation in your faucet and extending the time between cleanings.
Daily Habits to Keep Faucet Clean
Simple daily habits can prevent buildup and keep your faucet looking and functioning its best. Wipe the faucet spout after each use, ensuring it is dry to prevent mineral deposits. Also, occasionally flush the spout with warm water to remove any small debris or residue. These small actions add up to long-term cleanliness and efficiency.
Common Mistakes to Avoid
When maintaining your faucet, it’s essential to avoid common mistakes that could lead to costly damage or reduced efficiency.
Using Abrasive Tools or Harsh Chemicals
Scrubbing with abrasive tools or applying harsh cleaning chemicals may seem effective initially, but can scratch the faucet’s surface or damage delicate rubber seals. Opt for soft cloths and mild, non-corrosive cleaners to preserve the finish and functionality of your faucet.
Overtightening Parts When Reassembling
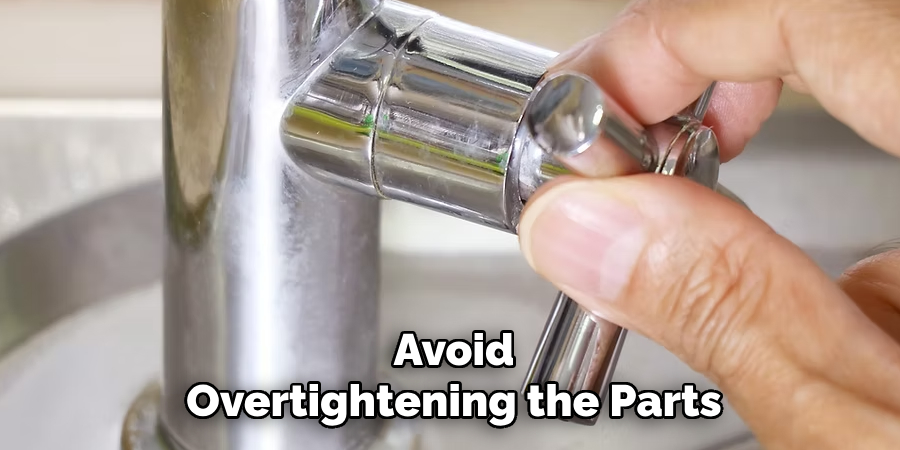
While reassembling after cleaning or repairs, avoid overtightening the parts. Overdoing it can strip threads or put unnecessary pressure on components, leading to leaks or even breakage. Tighten parts firmly but gently to ensure proper sealing without causing damage.

Skipping Regular Maintenance
Ignoring routine maintenance allows minor issues like mineral buildup or loose parts to develop into significant problems like clogs or corrosion. Regular inspections and cleaning prevent long-term issues, saving time and money in the future.
Conclusion
Keeping your faucet spout clean and functioning efficiently is easier than you might think. By using simple tools and following routine maintenance steps, you can prevent issues like clogs, leaks, and mineral buildup. Regular care ensures smooth water flow, improves hygiene, and extends the lifespan of your faucet.
Remember, learning how to clean inside faucet spout is a valuable skill that pays off in convenience and functionality. Make faucet cleaning a part of your regular home maintenance routine, and enjoy the benefits of a well-maintained, hassle-free home plumbing system. Your efforts today will save you time and money tomorrow!

