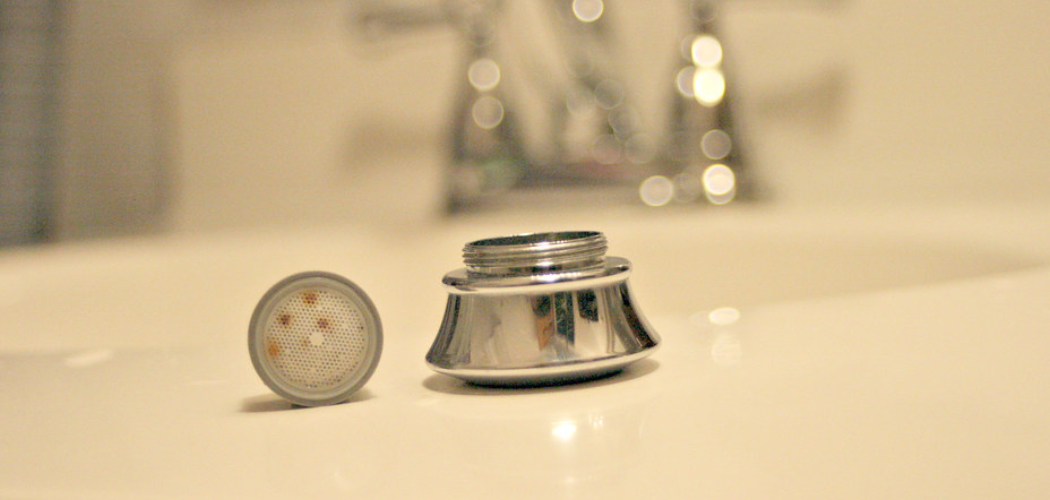
Faucet aerators may be small, but they are vital in regulating water flow and improving overall efficiency. These essential components ensure water is delivered at the right pressure while conserving water by mixing it with air. However, mineral deposits, sediment, and debris can accumulate within the aerator over time, leading to reduced water flow and potential performance issues. Regular cleaning is crucial to prevent these clogs and maintain the efficiency of your faucet.
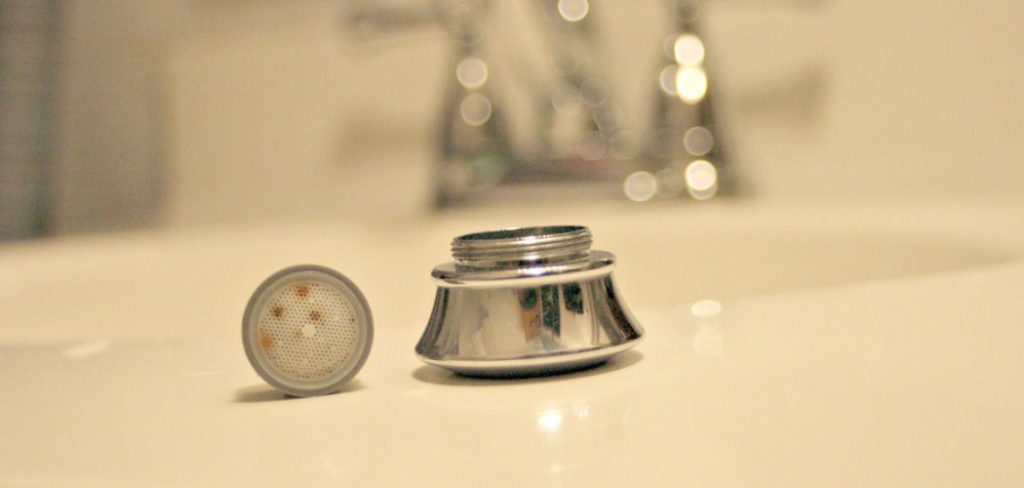
This article provides a detailed, step-by-step guide on how to clean moen faucet aerator effectively. By following these simple instructions, you can restore optimal water flow, enhance your faucet’s performance, and extend its lifespan. Investing a little time in maintaining your aerator can make a big difference in ensuring smooth and hassle-free functionality for years to come.
Materials and Tools Needed
Before you begin cleaning your Moen faucet aerator, gather the necessary tools and materials to ensure a smooth and successful process. Here’s what you’ll need:
Essential Tools
- Pliers or a wrench (if the aerator is tightly secured)
- A soft cloth or towel (to protect the faucet from scratches)
- Small brush (such as an old toothbrush) for thorough scrubbing
- White vinegar (for effective descaling)
- Small container or bowl (for soaking the aerator parts)
- Paper towels or a microfiber cloth (for drying)
- A small flathead screwdriver (if you need to pry or loosen parts when disassembling the aerator carefully)
Optional Cleaning Agents
- Baking soda (useful for tackling particularly stubborn mineral buildup)
- Commercial descaler (a great alternative if white vinegar is insufficient to remove deposits)
Having these tools and materials ready will streamline the cleaning process and help restore your Moen faucet aerator to optimal condition. Whether you rely on household items like vinegar and baking soda or opt for commercial products, thorough preparation ensures efficiency and protects your faucet from damage.
Understanding the Function of an Aerator
How Aerators Work
Aerators are small yet vital components that play an important role in the functionality of your faucet. They are mesh screens designed to fit into the tip of the faucet spout, where they carefully regulate and enhance water flow. By mixing air with the water stream, aerators reduce splashing, conserve water, and create a smooth, steady flow. This process improves efficiency and ensures a more pleasant experience when using the faucet.
Why They Get Clogged
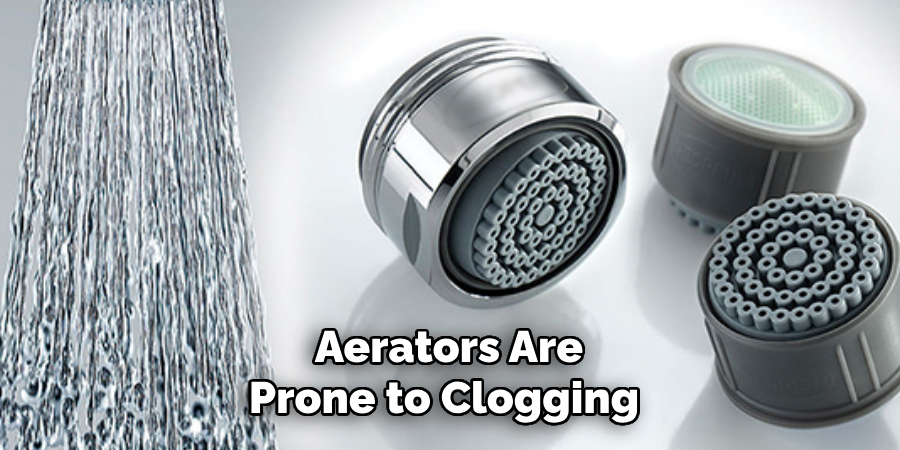
Despite their usefulness, aerators are prone to clogging over time. Mineral deposits from hard water gradually accumulate on the mesh, restricting water flow. Additionally, sediment and debris carried through the pipes can become trapped in the aerator. Unaddressed clogged aerators can lead to poor water pressure and erratic flow patterns. To avoid these problems, it is crucial to clean your aerator regularly. Routine maintenance will ensure optimal performance, prolong the life of your faucet, and help maintain consistent water efficiency.
Removing the Moen Faucet Aerator
Step 1: Protecting the Faucet
Begin by wrapping a soft cloth around the base of the faucet to shield it from scratches or other potential damage during the removal process. This step ensures that your faucet remains in pristine condition while you work.
Step 2: Loosening the Aerator
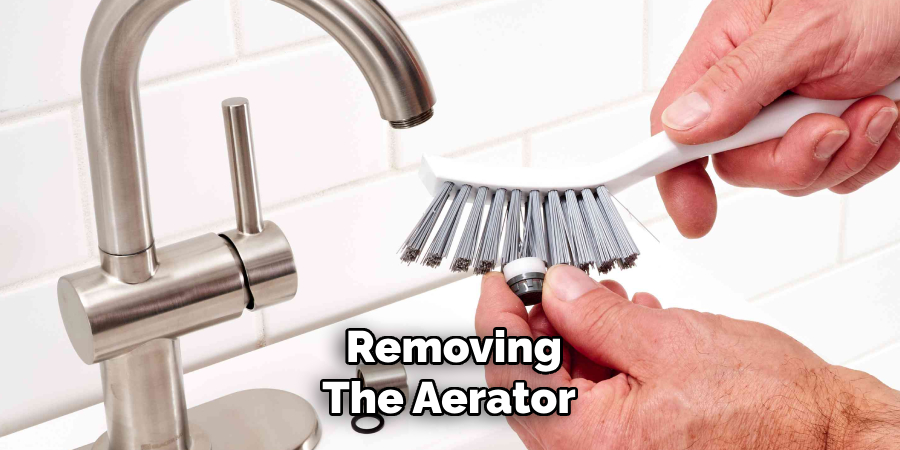
Use a pair of pliers or a wrench to turn the aerator counterclockwise carefully. Apply only gentle pressure to prevent damaging the aerator or the faucet. If the aerator is particularly tight and difficult to turn, try using a rubber jar opener or wrap a piece of cloth over the aerator for an improved grip. These methods can provide the extra leverage needed without causing harm to the components.
Step 3: Removing the Aerator
Once the aerator is loosened, pull it straight off the faucet spout. Be cautious during this step to avoid misplacing small components like washers or screens inside the aerator. These parts are vital to the aerator’s function and may require cleaning or replacement before reassembly.
How to Clean Moen Faucet Aerator Soaking the Aerator
Step 1: Preparing the Soak Solution
Fill a small container or bowl with enough white vinegar to fully submerge the aerator. White vinegar is an excellent natural cleaning agent that effectively breaks down mineral deposits and debris. Mix the vinegar with water in a 1:1 ratio if a gentler solution is preferred. Ensure the container is large enough to accommodate the aerator while keeping it entirely submerged for an efficient cleaning process.
Step 2: Soaking the Aerator
Carefully submerge the aerator in the vinegar solution, fully covering all parts. Allow the aerator to soak for at least 30 minutes to an hour to loosen debris and mineral buildup. You may extend the soaking time up to 12 hours for aerators with stubborn or heavy deposits. During this time, the acidity of the vinegar will dissolve the particles, making them easier to remove.
Step 3: Scrubbing
After the soak, gently remove the aerator from the solution and inspect it for remaining debris. Use a soft brush, such as an old toothbrush, to scrub away any loosened deposits. Pay special attention to the mesh screen and any small or hard-to-reach areas. Avoid using abrasive tools that could damage the parts. This step ensures the aerator functions optimally after reassembly.
Step 4: Rinsing
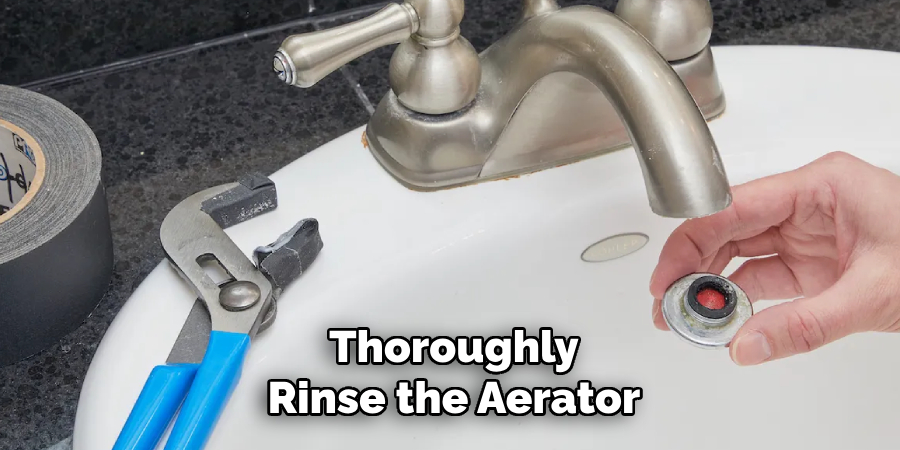
Thoroughly rinse the aerator under warm water to remove any traces of vinegar or loose debris. Ensure all parts are clean and residue-free before drying or progressing to the next step. Proper rinsing leaves the aerator ready for reinstallation and helps maintain the faucet’s performance.
Cleaning Stubborn Build-Up
If mineral deposits remain after the previous cleaning steps, additional methods can help restore your aerator.
Using Baking Soda for Stubborn Mineral Deposits
Baking soda is a versatile and gentle cleaning agent, perfect for tackling tougher build-up. To use, create a paste by mixing baking soda with a small amount of water until a thick consistency is achieved. Apply this paste to the aerator, ensuring it covers areas with stubborn deposits. Allow it to sit for 10-15 minutes, giving the paste time to break down the minerals. Then, use a soft brush or cloth to scrub the aerator thoroughly. When finished, rinse under warm water to wash away the residue and assess the results.
Using Commercial Descaler
A commercial descaler specifically designed for faucets may be necessary for particularly challenging mineral deposits. These solutions are formulated to dissolve tough limescale and calcium deposits without damaging the aerator. Follow the manufacturer’s instructions closely to ensure safe and effective use. Apply the descaler as directed, allowing it to work for the recommended duration before thoroughly rinsing the aerator with water. Use this method sparingly to maintain the longevity of your fixture.
By using these techniques, you can effectively handle stubborn mineral buildup, leaving your faucet aerator clean and working as intended.
Reassembling and Reattaching the Aerator
Step 1: Inspecting the Parts
Before reassembling the aerator, carefully inspect each component for any signs of damage. Look for cracks in the screen, worn-out seals, or any other imperfections. Damaged parts can hinder the functionality of the aerator, so replace any broken components before proceeding with reattachment. Having a properly functioning aerator ensures optimal water flow and prevents potential leaks.
Step 2: Reattaching the Aerator
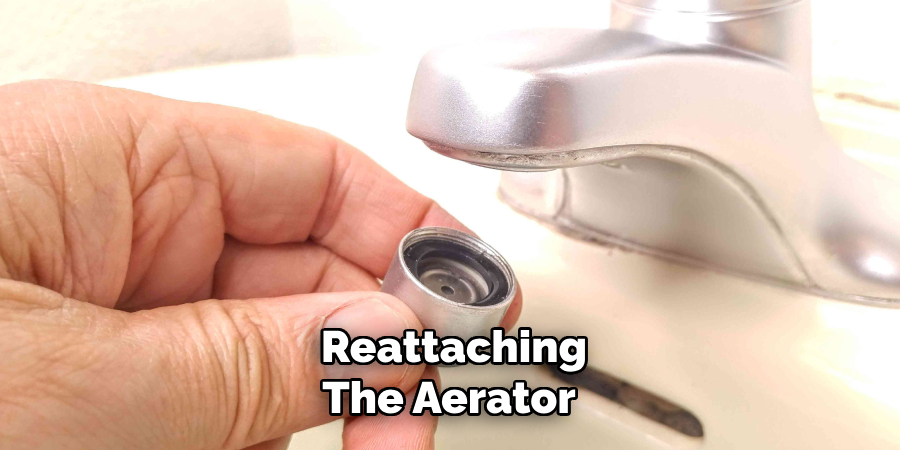
Once all parts have been inspected and replaced, if necessary, slide the aerator back onto the faucet spout. Begin by hand-tightening the aerator, ensuring it is aligned correctly with the spout threads. If additional tightening is required, use a pair of pliers with a soft cloth between the pliers and the aerator to avoid scratching or damaging the surface. Don’t over-tighten, as excessive force can damage the aerator or faucet threads.
Step 3: Testing the Water Flow
After securely reattaching the aerator, turn on the faucet to test the water flow. Observe the water pressure and ensure that the aerator functions properly without leaks or irregularities. Remove and recheck the aerator if issues are detected to ensure all components are correctly positioned and securely fastened.
Preventative Tips for Future Maintenance
Regular Cleaning
Clean your faucet aerator every 3-6 months to prevent clogs and maintain optimal water flow. The frequency of cleaning may vary based on water hardness and usage. Regular upkeep ensures the aerator remains free from mineral deposits and debris.
Using a Water Softener
If you reside in an area with hard water, installing a water softener can significantly reduce mineral buildup within your faucet and aerator. This preventative measure helps prolong the life of the aerator and simplifies maintenance by minimizing the accumulation of limescale.
Replace the Aerator if Necessary
If thorough cleaning fails to restore the water flow or the aerator develops damage, it may be time to replace it. Purchasing a new aerator is an affordable and straightforward solution that ensures your faucet continues to function efficiently without unnecessary disruptions.
Conclusion
Maintaining a functional and efficient faucet starts with understanding how to clean Moen faucet aerator components. By following the simple steps of removing the aerator, soaking it in vinegar, scrubbing away debris, and reattaching it, you can ensure smooth water flow and reduce mineral buildup. Regular maintenance is crucial to prolong the lifespan of your aerator and prevent costly replacements. Remember to consistently check for signs of buildup or damage and clean the aerator as needed. With these practices, your faucet will perform optimally, saving you time, effort, and resources in the long run.

