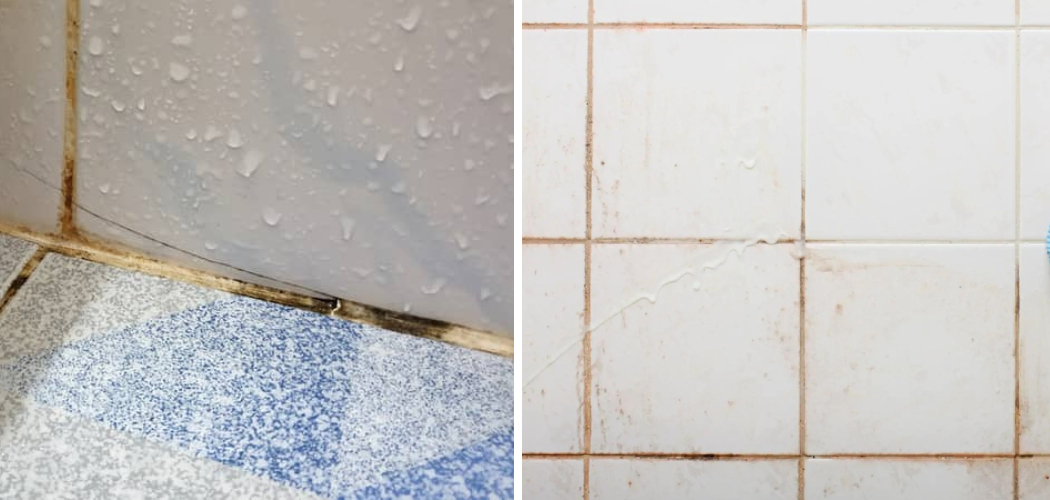
Are you tired of seeing orange mold in your shower? You’re not alone. Orange mold, also known as Serratia marcescens, is a common type of bacteria that grows in moist areas such as showers. Not only does it look unsightly, but it can also harm our health if left untreated.
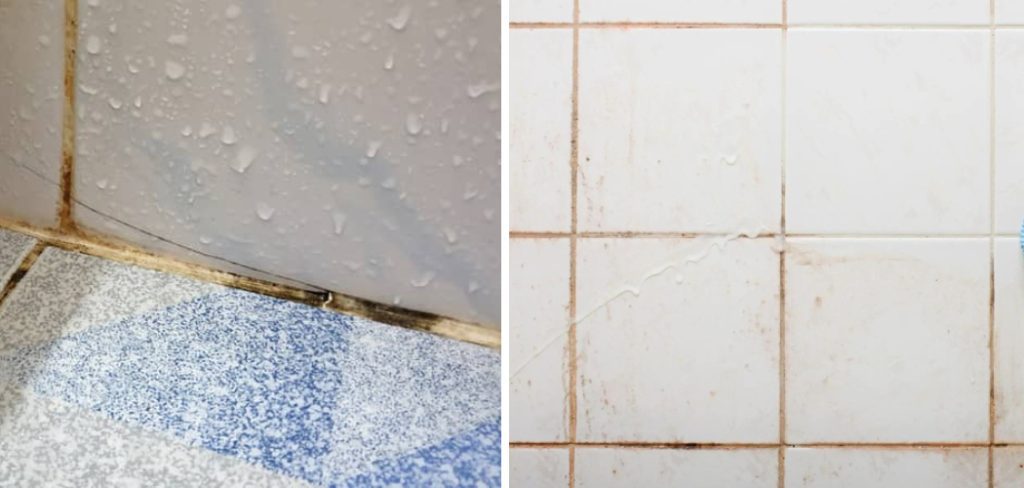
Orange mold is unsightly and can pose health risks if left unchecked. Thriving in damp, warm environments, your shower offers the perfect breeding ground for this type of mold. Beyond its unpleasant appearance, orange mold can lead to unpleasant odors and even contribute to various health issues, making its removal a matter of urgency.
This guide is designed to equip you with effective strategies on how to clean orange mold in shower. By following these steps, you can restore your shower to its former cleanliness, ensuring a safer and more pleasant bathroom environment.
What are the Causes of Orange Mold in Showers?
Before we dive into the cleaning process, it’s essential to understand what causes orange mold to grow in your shower. This knowledge will help you identify potential problem areas and prevent future growth.
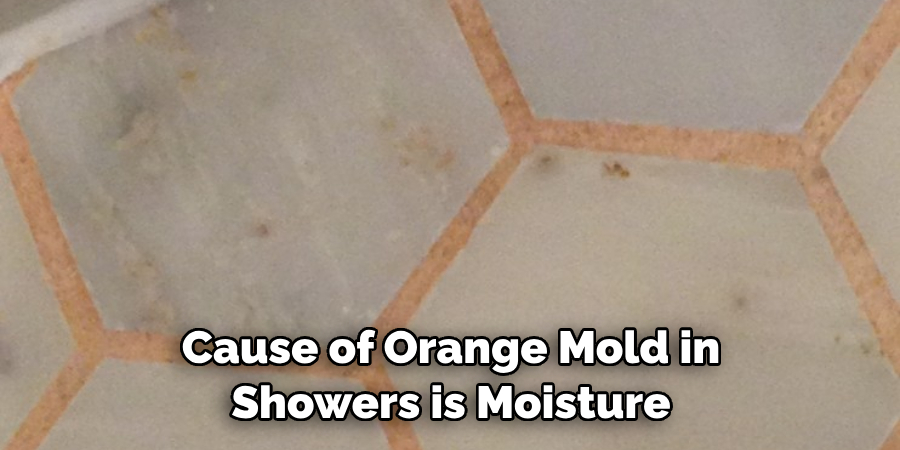
The primary cause of orange mold in showers is moisture. When water accumulates on surfaces for an extended period, it creates a damp environment ideal for mold growth. Combine this moisture with warm temperatures, and you have the perfect conditions for orange mold to thrive.
Other contributing factors may include inadequate ventilation in your bathroom, allowing humidity levels to rise, and neglecting regular shower cleaning.
What are the Benefits of Removing Orange Mold in Shower?
Apart from improving the appearance of your shower, there are several other benefits to removing orange mold:
- Improved Air Quality: As mentioned earlier, orange mold can emit unpleasant odors that can affect the air quality in your bathroom. By removing it, you’ll be improving the overall air quality.
- Reduced Health Risks: Orange mold can cause respiratory problems, skin irritation, and even infections for individuals with weakened immune systems. Removing it will help minimize these health risks.
- Prevent Further Damage: If left unchecked, orange mold can spread to other areas in your bathroom and cause damage to surfaces such as grout and caulking. Removing it promptly will prevent further damage and save on repair costs.
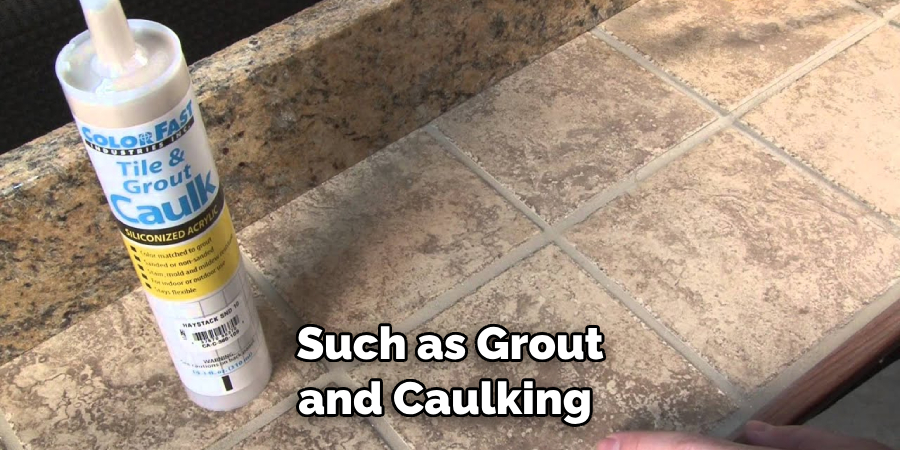
Now that you understand the causes and benefits of removing orange mold, let’s examine how to clean it effectively.
What Will You Need?
Before you begin the cleaning process, it’s crucial to have all the necessary supplies on hand. Here’s a list of items that you will need:
- Rubber gloves
- Face mask
- Protective eyewear
- All-purpose cleaner or bleach solution
- Scrub brush or sponge
- White vinegar
- Baking soda
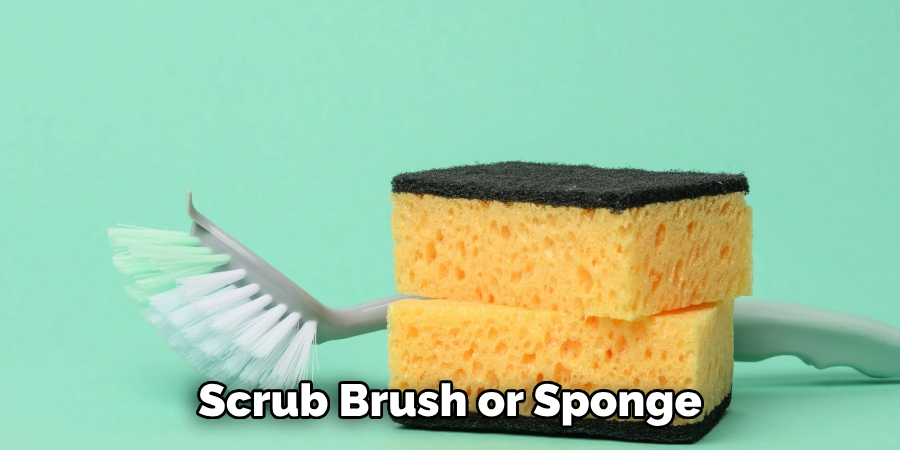
Once you have all your supplies ready, follow these steps to effectively remove orange mold from your shower:
10 Easy Steps on How to Clean Orange Mold in Shower
Step 1: Put on Protective Gear
Before engaging in the cleaning process, it is highly important to protect yourself. Mold spores can be harmful when inhaled or if they come into contact with your skin.
Start by wearing a pair of rubber gloves to protect your hands from both the mold and the cleaning chemicals. A face mask is critical to protect your lungs from inhaling spores or harsh chemicals, while protective eyewear keeps your eyes safe from splashes.
This protective gear safeguards your health during the cleaning process and ensures a more comfortable and safer cleaning experience. Taking these precautions is fundamental in effectively and safely removing orange mold from your shower.
Step 2: Ventilate the Area
Proper ventilation is crucial when cleaning mold in your shower. Before you start, open any windows and doors in the bathroom to promote airflow.
This step helps dissipate any fumes from cleaning agents and reduces your exposure to mold spores during removal. If your bathroom has an exhaust fan, make sure to turn it on to help remove the humid air and improve ventilation.
These precautions ensure a safer cleaning environment and contribute to the drying process, making it harder for mold to thrive in the future.
Step 3: Prepare the Cleaning Solution
With your area ventilated and your protective gear on, the next step is to prepare your cleaning solution. A simple yet effective mixture can be made using either an all-purpose cleaner with mold-fighting ingredients or a bleach solution. To create a bleach solution, mix one-part bleach with four parts water in a spray bottle.
You can mix equal parts of white vinegar and water if you prefer a more natural approach. Vinegar is a mild acid that can kill most mold species and prevent their growth. Remember to label your spray bottle accordingly and shake well before use. This cleaning solution will be your primary weapon in eradicating orange mold from your shower.
Step 4: Apply the Cleaning Solution
Now that your cleaning solution is ready, it’s time to tackle the orange mold. Begin by generously applying your chosen solution to the affected areas of your shower. Ensure you thoroughly cover all moldy spots, allowing the solution to penetrate and work magic. For hard-to-reach areas, consider using a spray bottle for an even application.
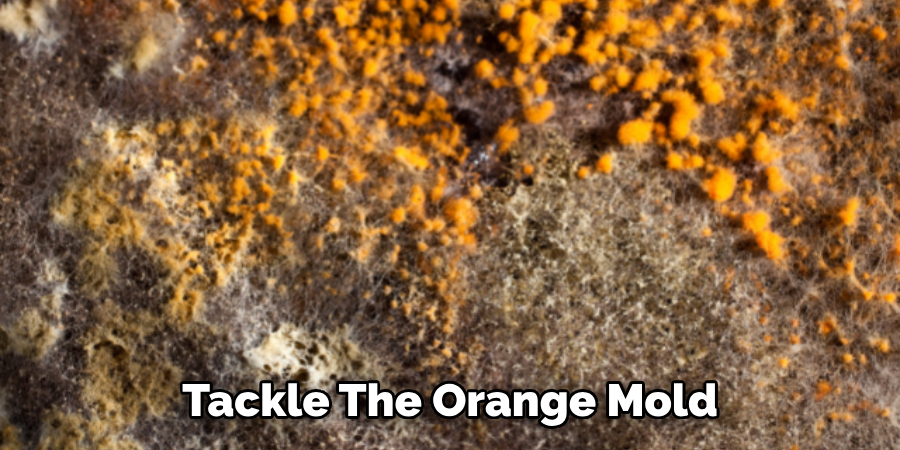
Once applied, let the solution sit for at least 10 to 15 minutes. This waiting period gives the solution ample time to break down and kill the mold spores, making them easier to remove in the following steps.
Step 5: Scrub the Affected Areas
After letting the cleaning solution sit for 10 to 15 minutes, it’s time to physically remove the mold. Using a scrub brush or sponge, start scrubbing the treated areas rigorously. You may need to apply a bit of elbow grease, especially on spots where the mold has firmly established itself.
For corners and grout, a toothbrush can be particularly effective in getting into tight spaces and ensuring a thorough clean. It’s important to scrub every moldy area until it appears to be gone. This may take some time and effort, but it’s crucial for removing the mold and preventing it from returning.
Step 6: Rinse Thoroughly
Once you have scrubbed away all visible traces of orange mold, the next step is to rinse the shower thoroughly. Using a shower head or a bucket of clean water, rinse off the cleaning solution and any loosened mold debris from the shower walls, floor, and fixtures. Removing all remnants of the cleaning agents is essential to avoid leaving any residues that could attract further mold growth.
Ensure that you rinse the shower multiple times, if necessary, to completely wash away all traces of the cleaning solution. This step helps in clearing the mold and prepares the surface for drying and further disinfection if needed.
Step 7: Dry the Shower Area
After thoroughly rinsing the shower, the next critical step is to dry the area completely. Mold thrives in moist environments, so eliminating any residual moisture is key to preventing its return.
Use a clean towel or a squeegee to wipe down the shower’s walls, floor, and fixtures. Pay special attention to corners and crevices where water may accumulate. Leave the bathroom windows open or run an exhaust fan to aid in airing out the space and ensuring it is completely dry.
Drying the shower area helps combat mold growth and provides a clean, fresh environment for your next shower.
Step 8: Disinfect the Area
After the shower area is clean and dry, it’s advisable to take an extra step to disinfect it, ensuring that any lingering mold spores are eradicated. You can use a disinfectant spray specifically designed to kill mold and mildew or a homemade solution of equal parts water and white vinegar for a natural alternative.

Spray the disinfectant generously over the entire shower area, focusing on any nooks and crannies where mold spores might hide. Allow the disinfectant to sit for the recommended time on the product label or for at least 20 minutes if using the vinegar solution.
Afterward, rinse the area with water and dry it thoroughly once more. This step not only enhances the cleanliness of your shower but also acts as a preventive measure against future mold growth.
Step 9: Regular Maintenance
Regular maintenance is essential to prevent the reappearance of orange mold in your shower. Make it a habit to ventilate your bathroom continuously by keeping the windows open or the exhaust fan running, especially after showering. After each use, consider squeegeeing the walls and floor of the shower to remove excess water and decrease moisture.
Weekly, cleanse the shower with your preferred cleaning solution, paying particular attention to grout lines and corners where mold is likely to grow. Additionally, inspecting your bathroom for any leaks and repairing them promptly can significantly reduce moisture levels, further discouraging mold growth.
Regular maintenance keeps your shower clean and mold-free and promotes a healthier home environment.
Step 10: Inspect and Repeat as Necessary
Even after a thorough cleaning, you must remain vigilant for signs of mold returning to your shower. Perform regular inspections, focusing on areas that are prone to moisture and previous mold growth. If you notice any new mold spots, repeat the earlier steps as necessary to tackle these areas promptly.
Over time, consistent cleaning and maintenance will reduce the likelihood of mold reappearing, but understanding that mold spores are pervasive in many environments will help you stay proactive in your cleaning routine. Regularly repeating these steps ensures your shower remains a clean, healthy, and mold-free space for you and your family.
By following these steps, you can effectively eliminate orange mold from your shower and prevent its return.
5 Additional Tips and Tricks

- Daily Shower Spray: Incorporate a daily routine of spraying your shower with vinegar or hydrogen peroxide. This natural approach can hinder mold growth without introducing harsh chemicals into your environment.
- Regular Grout Sealing: Consider sealing the grout between tiles annually. A good sealant is a barrier against moisture penetration, significantly reducing the likelihood of mold formation.
- Use of Essential Oils: Adding essential oils, like tea tree or lavender, to your cleaning solutions can augment their mold-fighting efficacy. Besides, they leave a pleasant scent, enhancing the bathroom’s ambiance.
- Routine Shower Curtain Care: If you use shower curtains, make it a point to launder them regularly or replace them as needed. These are often overlooked spots where mold can easily accumulate.
- Check for Leaks and Repair Them: Regularly check your shower for leaks or water damage. These can be breeding grounds for mold, and fixing them promptly can prevent the growth of orange mold.
The key to effectively managing and preventing the growth of orange mold in your shower is consistency. You can maintain a clean and mold-free shower by incorporating these additional tips and tricks into your cleaning routine.
5 Things You Should Avoid
- Avoid Using Bleach: While it may seem like a powerful solution, bleach can actually make the problem worse. It might remove the color from mold, making it invisible but not eliminating it at the root.
- Do Not Ignore Ventilation: Neglecting proper ventilation during and after cleaning can help mold to persist and spread. Always ensure good airflow to help dry out the shower area thoroughly.
- Steer Clear of Harsh Chemicals: Harsh chemicals can damage your shower surfaces and pose health risks. Opt for natural solutions and gentler cleaning methods whenever possible.
- Avoid Leaving Wet Items in the Shower: Wet towels, bathmats, or loofahs left in the shower can promote mold growth. Make sure to dry and remove these items after each use.
- Don’t Underestimate Routine Maintenance: Skipping regular cleaning sessions can allow mold to take hold and spread. Consistency is key in preventing orange mold buildup, so stick to a regular cleaning schedule.
By avoiding these common mistakes, you can effectively combat and prevent the growth of orange mold in your shower.
Is Orange Mold Harmful?
While orange mold is not considered as dangerous as other types of mold, it can still pose health risks if left unchecked. Such as:
- Allergic Reactions: Orange mold can cause allergic reactions in sensitive individuals. Symptoms may include sneezing, coughing, and skin irritation.
- Respiratory Issues: Inhaling mold spores can aggravate respiratory conditions or trigger asthma attacks.
- Toxicity: Some types of orange mold, like Aspergillus fumigatus, can produce mycotoxins that can be harmful if ingested or inhaled.
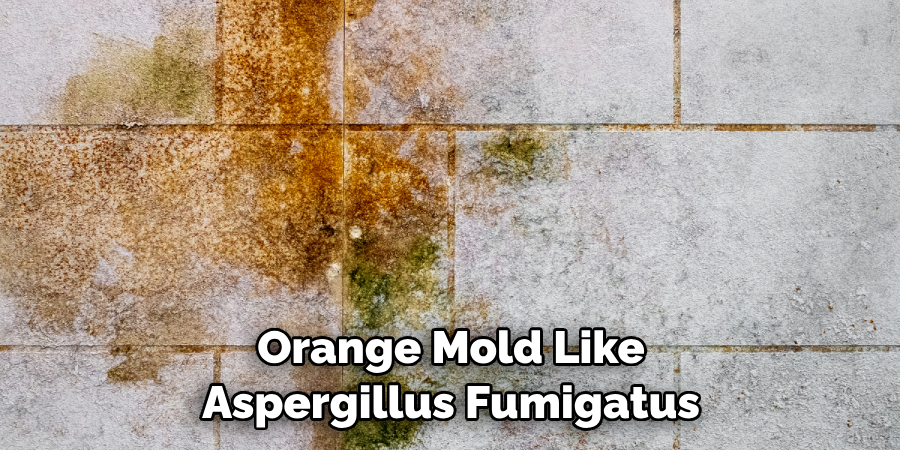
It is crucial to address any orange mold growth promptly and thoroughly to prevent these potential health risks. If you have a compromised immune system or pre-existing respiratory conditions, it is best to seek professional help for mold remediation.
What Happens if You Don’t Clean Your Shower Head?
Aside from mold growth, failing to clean your shower head regularly can lead to other issues. These include:
- Decreased Water Pressure: Mineral buildup and clogs from soap scum and bacteria can restrict water flow, causing decreased water pressure.
- Unpleasant Odors: Bacteria and mold can give off a musty odor that can linger in your shower and affect the overall smell of your bathroom.
- Potential Health Risks: Unclean shower heads can harbor harmful bacteria, such as Legionella, which can cause respiratory illnesses like Legionnaires’ disease.
Regularly cleaning and disinfecting your shower head is essential for maintaining a clean and hygienic environment in your bathroom. It also helps to prolong the life of your shower head and prevent any potential health risks.
How Often Should Showers Be Cleaned?
The frequency of cleaning your shower will depend on various factors, such as the amount of use and humidity levels in your bathroom. Generally, it is recommended to clean your shower at least once a week to prevent the buildup of soap scum and bacteria.
However, if you notice any visible mold growth or have a compromised immune system, it may be necessary to clean more frequently.
Regular maintenance and cleaning can help to prevent mold growth and maintain a clean and healthy shower environment. Overall, staying on top of regular cleaning tasks is key to preventing the growth of orange mold and maintaining a clean and hygienic shower space.
By following these tips and tricks, you can keep your shower looking fresh and mold-free for years to come.
Conclusion
Removing and preventing the growth of orange mold in your shower requires a blend of vigilance, regular maintenance, and the right cleaning methods. By favoring natural solutions and incorporating essential oils, you not only address the mold problem effectively but also ensure a safer environment for you and your family.
Remember, avoiding harsh chemicals, ensuring good ventilation, and performing routine maintenance are crucial steps in keeping mold at bay.
Consistency in these practices is key; it’s not only about removing visible mold but also about preventing its return. By following the tips and tricks laid out in this guide and steering clear of common mistakes, you’ll be able to maintain a clean, healthy, and mold-free shower.
Hopefully, this guide has provided you with the knowledge of how to clean orange mold in shower effectively. With regular care and attention, you can keep your shower clean, hygienic, and free from pesky orange mold. Happy cleaning!

