Keeping pillows clean is crucial for maintaining proper hygiene and extending their lifespan. Over time, pillows accumulate sweat, oils, dust mites, and allergens, affecting sleep quality and overall health. Regular cleaning keeps pillows fresh and ensures a healthier sleeping environment.
One effective and budget-friendly solution is learning how to clean pillows in bathtub baking soda. This method leverages the natural cleaning power of baking soda to eliminate odors, stains, and grime without the need for expensive or harsh cleaning agents. A bathtub allows for thorough soaking and scrubbing, making it ideal for deep cleaning most types of pillows.
However, it is important always to check the care label on your pillows to ensure they are safe for this method. With the right approach, this simple yet effective cleaning technique can help you maintain pillows that feel as fresh as new.
Materials Needed
Essential Supplies
- Baking Soda: Natural deodorizer and mild cleaner.
- Laundry Detergent: Gentle or hypoallergenic detergent suitable for delicate fabrics.
- Warm Water: Ideal for loosening dirt, oils, and residues from the fabric.
- Optional: White vinegar for added disinfecting and odor-neutralizing power.
Tools Required
- A Clean Bathtub or Large Basin: Provides enough space for fully submerging and soaking the pillows.
- A Soft Scrub Brush or Sponge: Used for gentle scrubbing to remove stains and grime.
- Towels for Drying: Necessary for absorbing excess moisture and speeding up the drying process.
Gathering these simple yet effective materials ensures a hassle-free and efficient cleaning process, leaving your pillows fresh and revitalized.
Preparing the Pillows
Check Labels
Before beginning the cleaning process, it is crucial to examine the labels on your pillows. These tags provide essential information about your pillows’ materials and outline specific care instructions.
For instance, certain types, like memory foam pillows, should not be submerged in water and require spot cleaning instead. Carefully review these guidelines to ensure you use an appropriate cleaning method for your pillows.
Pre-Treatment
Start by removing pillowcases and any protective covers and setting them aside to be washed separately. Then, inspect the pillows for any visible stains. Prepare a paste using baking soda and water or use mild detergent, applying it directly to the stains. Gently rub the solution into the affected areas to help lift stubborn marks or odors. Allow the pre-treatment to sit for a few minutes before proceeding to the next step.
Test for Colorfastness
To avoid damaging the fabric or causing colors to bleed, always test for colorfastness before fully cleaning the pillows. Apply a small amount of the chosen cleaning solution to an inconspicuous pillow area. Dab it gently and wait a few moments to observe whether the fabric reacts adversely. If no discoloration occurs, you can confidently clean the entire pillow.
Setting Up the Bathtub
Fill the Tub
Begin by filling the bathtub with warm water, ensuring there is enough to submerge the pillows fully. The water should be warm but not scalding, as excessively hot water may damage certain pillow materials.
Mix Cleaning Solution
Once the tub is filled, add 1 cup of baking soda and ½ cup of laundry detergent to the water. Stir the mixture thoroughly until the baking soda and detergent are completely dissolved. This combination will work to break down dirt, oils, and odors embedded in the pillows.
Optional Additions
Consider including ½ cup of white vinegar in the tub for added cleaning power. White vinegar is known for its ability to combat stubborn odors and enhance the overall cleaning process. Mix it well into the solution to ensure even distribution throughout the water. Now, you’re ready to wash your pillows and restore their freshness thoroughly.
How to Clean Pillows in Bathtub Baking Soda: Cleaning the Pillows
Submerge the Pillows
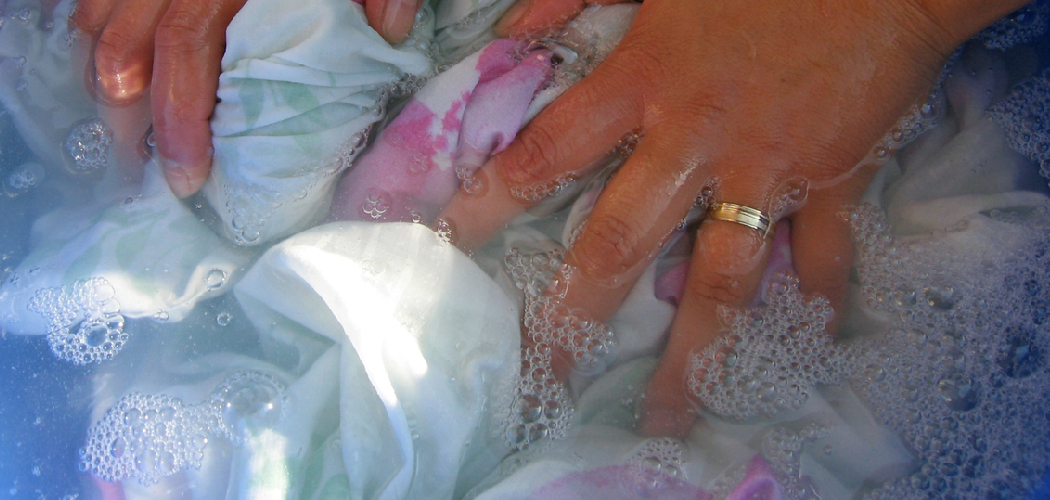
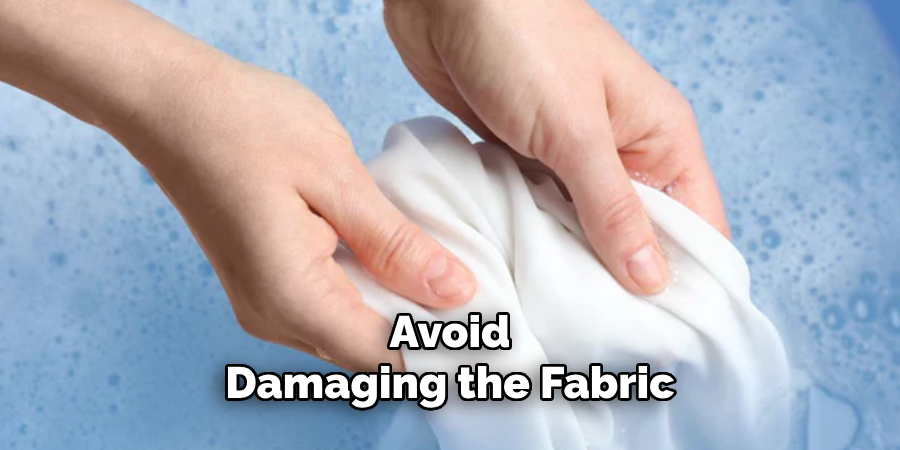
Place the pillows into the tub and press them down to ensure they are fully submerged in the cleaning solution. Use your hands to gently knead each pillow, which helps to release embedded dirt, oils, and grime. Ensure the cleaning solution penetrates the entire pillow for an even clean.
Soak and Agitate
Allow the pillows to soak in the tub for 30 to 60 minutes. During this time, periodically agitate the water by gently squeezing and flipping the pillows. This motion helps to loosen further any debris trapped within the fabric or filling. Avoid being overly rough with the pillows to maintain their shape and integrity.
Scrub Stubborn Spots
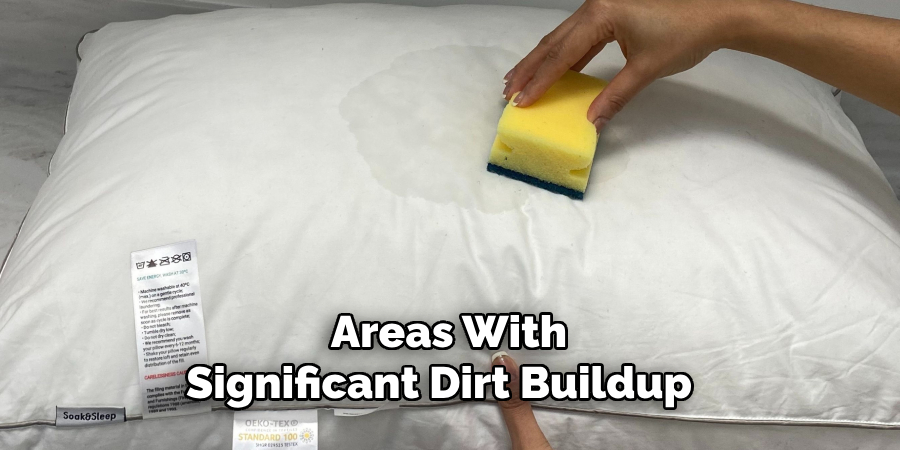
Inspect the pillows for visible stains or areas with significant dirt buildup. Carefully scrub these spots using a soft brush or sponge to lift and remove the impurities. Pay extra attention to spots that tend to accumulate sweat and oils, such as the corners and any areas close to seams. Remember to be gentle during this process to prevent damage to the pillow material.
Following these steps will give your pillows a deep, restorative clean. Proceed to the rinsing stage to completely remove the cleaning solution and prepare your pillows for drying.
Rinsing the Pillows
Drain and Refill
Begin by draining the soapy water from the tub completely. Once emptied, refill the tub with clean, warm water. This will ensure the pillows are rinsed in fresh water, free from residual cleaning solution.
Rinse Thoroughly
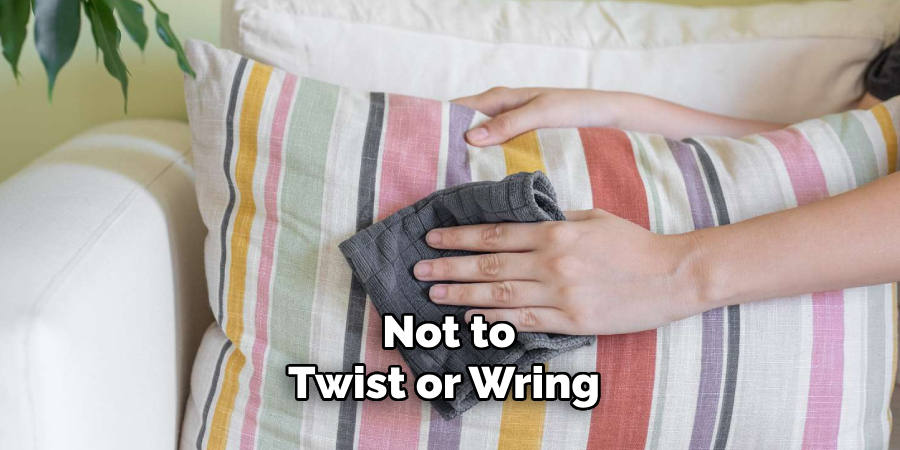
Submerge the pillows back into the clean water and gently squeeze them to flush out any remaining soap. Be mindful not to twist or wring the pillows, as this could distort their shape or damage the filling.
Continue pressing and releasing the pillows underwater, allowing the clean water to wash through the fabric and filling. Replace the water and repeat the rinsing process, if necessary, until the water in the tub remains clear and free from soap suds.
Final Inspection
Once rinsed, take a moment to inspect the pillows closely for any lingering soap residue or visible stains. Pay close attention to areas prone to buildup, such as seams or heavily used spots.
If you notice any leftover soap or spots, repeat the rinsing process to ensure a thorough cleaning. Proper rinsing is crucial for both hygiene and comfort, as soap remnants can stiffen the fabric or irritate sensitive skin.
Drying the Pillows
Drying your pillows properly is essential to maintain their shape, comfort, and durability. Follow these steps to ensure a thorough and safe drying process.
Initial Drying
After rinsing, gently press the pillows to remove excess water. Avoid twisting or wringing them, as this can damage the filling or distort their shape. Pressing allows water to drain evenly without harming the pillow’s structural integrity.
Towel Drying
Next, lay each pillow flat on a clean, absorbent towel. Roll the towel around the pillow tightly, applying gentle pressure to draw out additional moisture. If the towel becomes too damp, replace it with a fresh one and repeat the process until the pillow is no longer dripping. This step helps expedite the drying process and reduces the risk of mildew.
Air Drying
For the best results, place your pillows in a well-ventilated area or outdoors where they can dry naturally. If drying outdoors, choose a warm, sunny spot to take advantage of the sun’s heat, which also helps kill off bacteria.
Periodically fluff and rotate the pillows to help them dry evenly and maintain their original shape. Be patient, as air drying may take several hours or even a full day, depending on the weather and the pillow’s thickness.
Machine Drying (Optional)
If you prefer or need quicker results, use a clothes dryer in a low-heat or air-only setting. Add a few dryer balls or clean tennis balls to the drum to help fluff the pillows as they tumble, preventing the filling from clumping. Check the pillows periodically to avoid overheating and ensure they are drying evenly.
By following these drying techniques, you can preserve the quality of your pillows and keep them fresh, comfortable, and supportive for longer.
Tips for Maintaining Pillow Cleanliness
Regular Washing
Clean your pillows every 3–6 months to prevent the buildup of dirt, dust mites, and allergens that can compromise your health and the pillow’s longevity. Always follow the care label instructions to ensure proper cleaning.
Use Protective Covers
Invest in high-quality, washable pillow protectors. These covers create a barrier between the pillow and potential contaminants like sweat, body oils, and spills, reducing the need for frequent deep cleaning. Wash the protectors regularly to keep them fresh and hygienic.
Daily Care
Fluff your pillows daily to maintain their shape and reduce dust accumulation. This simple habit preserves their comfort and support and promotes airflow, keeping them feeling fresh.
Spot Cleaning
Address stains as soon as they occur to prevent them from setting. Use a mild detergent or create a paste with baking soda and water to gently clean the affected area. Always blot with a clean, damp cloth and ensure the pillow dries fully to avoid odors or mildew.
By incorporating these maintenance tips into your routine, you can ensure your pillows remain fresh, comfortable, and supportive for a restful sleep every night.

Conclusion
Cleaning pillows doesn’t have to be a daunting task. Learning how to clean pillows in bathtub baking soda showcases an effective and simple approach that requires minimal effort while delivering exceptional results.
Regular cleaning not only extends the lifespan of your pillows but also enhances sleep quality and promotes a hygienic sleeping environment. By incorporating this method into your routine, you can enjoy pillows that feel fresh, look spotless, and provide consistent support night after night.
Don’t wait—try this easy yet powerful cleaning technique today and experience the difference it makes in your comfort and health.

