Cleaning your shower can sometimes feel like a daunting task, especially when the shower head isn’t detachable. However, maintaining a clean and hygienic bathroom space is essential for both health and comfort.
In this guide on how to clean shower without detachable shower head, we’ll explore effective methods and tips for cleaning your shower without having to remove the shower head. By following these techniques, you can easily tackle soap scum, hard water stains, and mold, leaving your shower sparkling and fresh.
Why is It Important to Clean Your Shower Regularly?
Cleaning your shower regularly is crucial for several reasons. Firstly, it helps maintain a hygienic environment by preventing the buildup of soap scum, mold, and mildew, which can thrive in damp areas. These contaminants not only diminish the overall cleanliness of your bathroom but can also pose health risks, particularly for those with respiratory issues or allergies.
Additionally, a clean shower enhances your bathing experience, providing a more pleasant and relaxing atmosphere. Regular cleaning also prolongs the lifespan of your fixtures by preventing corrosive build-up that could lead to costly repairs or replacements. In summary, routine shower cleaning is essential for the health, aesthetics, and longevity of your bathroom.
Needed Materials
Before getting started, gather the necessary materials to make your cleaning process more efficient. Here’s a list of some items you may need:
A Non-abrasive Bathroom Cleaner
Choose a cleaner specifically designed for bathroom surfaces, as they are more effective in removing soap scum, hard water stains, and other common bathroom grime. Avoid using abrasive cleaners, as they can damage the shower surface or leave scratches.
A Sponge or Soft Cloth
A sponge or soft cloth is essential to scrub and wipe down your shower walls and fixtures. Opt for a microfiber cloth as it is gentle on surfaces and absorbs moisture well.
White Vinegar
White vinegar is a natural cleaning agent that effectively removes mineral deposits, soap scum, and bacteria. Its acidic properties make it an excellent alternative to commercial cleaners without harsh chemicals.
Baking Soda
Baking soda is another natural cleaner that works well on stubborn grime and stains. Its mild abrasive properties help to scrub away dirt without damaging surfaces.
Spray Bottle
A spray bottle makes it easier to apply the cleaning solution evenly across your shower walls and fixtures.
7 Steps on How to Clean Shower Without Detachable Shower Head
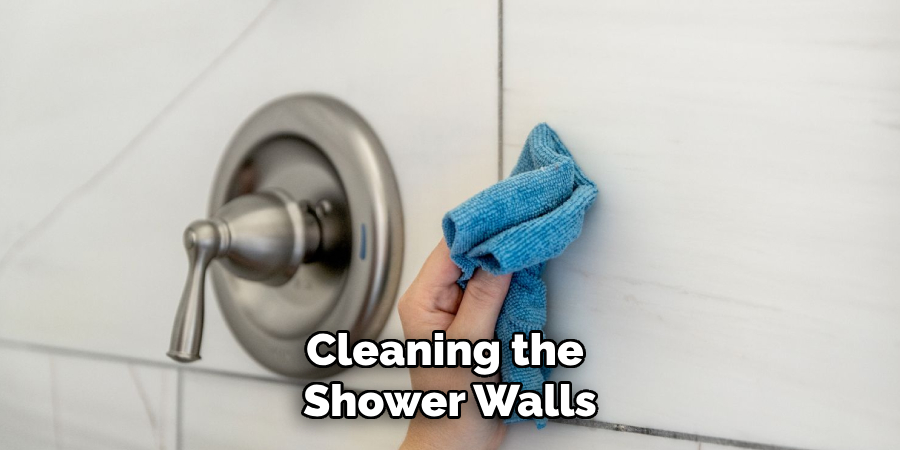
Step 1: Clean the Shower Walls
Begin by generously spraying the non-abrasive bathroom cleaner on the shower walls. Focus on areas with visible soap scum, hard water stains, or mold. Allow the cleaner to sit for a few minutes; this dwell time permits the product to penetrate and break down the grime effectively. Using a sponge or soft cloth, start scrubbing the walls in circular motions, paying extra attention to corners and edges where dirt tends to accumulate.
For particularly stubborn spots, consider applying a baking soda paste (made from baking soda and a little water) directly to the area and scrubbing again. Once you have thoroughly cleaned the walls, rinse them down with warm water to remove any remaining cleaner and debris, ensuring a fresh and clean surface.
Step 2: Clean the Shower Fixtures
Next, turn your attention to the shower fixtures, including the faucet, knobs, and any other fittings. Spray the non-abrasive bathroom cleaner directly onto these surfaces, ensuring an even coat to tackle soap scum and any build-up. Allow the cleaner to sit for a few minutes to penetrate the grime. Using a sponge or soft cloth, gently scrub the fixtures, focusing on crevices and areas where water collects.
For tough stains or hard water deposits, a mixture of white vinegar and baking soda can be applied directly to the affected areas. After scrubbing, rinse the fixtures thoroughly with warm water to remove any cleaner residue, leaving them shining and free of contaminants.
Step 3: Clean the Shower Floor
The shower floor can accumulate a lot of grime, particularly if you have textured tiles. To clean the floor, start by rinsing it with warm water to loosen any dirt or debris. Next, apply the non-abrasive bathroom cleaner and let it sit for a few minutes before scrubbing it with a sponge or soft cloth.
If your shower floor has hard water stains, use a solution of equal parts white vinegar and water to help dissolve them. Once thoroughly scrubbed and rinsed, dry the shower floor with a towel to prevent any slips.
Step 4: Rinse Thoroughly
After scrubbing all surfaces in your shower, it’s crucial to rinse thoroughly to ensure all cleaning products and debris are completely removed. Start by turning on the shower and allowing warm water to flow over all surfaces—walls, fixtures, and floor. Use a handheld showerhead if available, as it allows for more precise rinsing in hard-to-reach areas. Make sure to pay special attention to corners and edges where cleaner may linger.
Additionally, using a squeegee or sponge can help remove excess water from the surfaces, preventing water spots and maintaining a sparkling finish. Once rinsed, take a moment to inspect the shower for any remaining stains or residues, repeating any necessary cleaning steps if needed. This final rinse will leave your shower fresh, clean, and ready for use.
Step 5: Dry the Shower
Once you’ve rinsed all surfaces thoroughly, the next step is to dry the shower to prevent water spots and mold growth. Start by using a clean, dry towel or a microfiber cloth to wipe down the walls, fixtures, and floor of the shower. This will help absorb any remaining moisture, ensuring a streak-free finish. For hard-to-reach areas, such as corners and edges, a squeegee can be particularly effective at removing water and preventing buildup.
Make sure to pay special attention to the shower floor, as standing water can promote mold and mildew growth if left unattended. After drying, consider leaving the shower door open or using a bathroom fan to improve air circulation, further contributing to a dry and fresh environment. Regularly drying your shower after use can significantly reduce the frequency of deep cleaning needed in the future.

Step 6: Tackle Any Lingering Issues
After ensuring your shower is clean and dry, it’s time to address any persistent problems that may require extra attention. Check for mold or mildew that may have formed in the caulk or grout lines; these areas can be breeding grounds for bacteria. Mix a solution of equal parts water and vinegar in a spray bottle and apply it to the affected areas. Let it sit for at least 10 minutes before scrubbing gently with a soft-bristled brush or an old toothbrush to lift the mold. Rinse thoroughly with warm water afterward.
Additionally, look for hard water stains or soap scum that may not have completely vanished during the initial cleaning. For these, apply a baking soda paste or a commercial hard water stain remover directly to the spots, let it sit for a few minutes, and then scrub and rinse. By addressing these lingering issues, you’ll maintain a fresher and more hygienic shower environment.
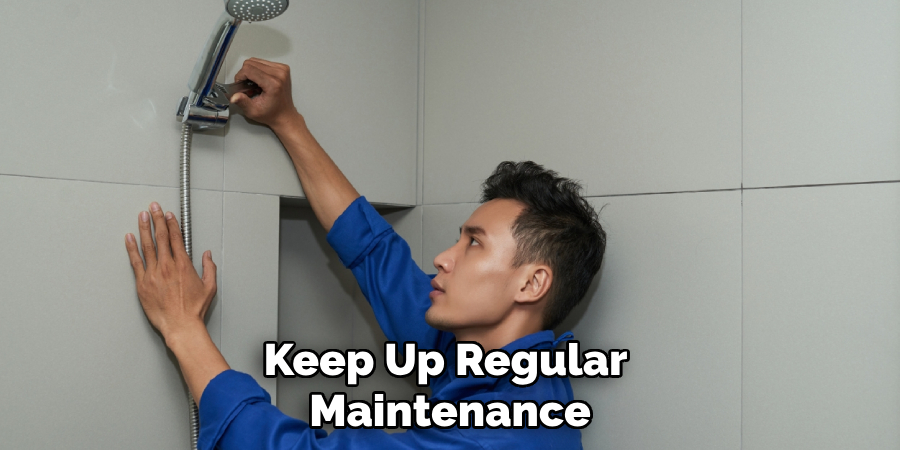
Step 7: Keep Up Regular Maintenance
To avoid having to do a deep cleaning of your shower frequently, it’s essential to keep up with regular maintenance. After each use, make sure to rinse the shower walls and fixtures with warm water, using a handheld showerhead if available for more precise rinsing. This will help prevent soap scum and hard water build-up from forming. Additionally, wiping down the shower floor with a towel can help remove excess water and debris.
Once a week, give your shower a quick wipe down with an all-purpose bathroom cleaner or vinegar solution to keep surfaces clean and free of bacteria. By incorporating these simple maintenance tasks into your routine, you’ll reduce the frequency and intensity of deep cleaning required, keeping your shower looking sparkling clean and hygienic.
Frequently Asked Questions
Q: How Often Should I Deep Clean My Shower?
A: It is recommended to deep clean your shower at least once a month or more frequently if you have hard water or tenacious stains. Regular maintenance tasks, such as rinsing and wiping down surfaces after each use, can help reduce the frequency of deep cleaning needed.
Q: Can I Use Harsh Chemicals to Clean My Shower?
A: While harsh chemicals may be effective at removing tough stains, they can also damage your shower’s surfaces and pose health hazards. It is recommended to use non-abrasive bathroom cleaners or natural alternatives like white vinegar and baking soda for a gentler yet effective clean.
Q: How Do I Prevent Mould and Mildew Growth in My Shower?
A: To prevent mold and mildew growth in your shower, it’s crucial to keep it dry and well-ventilated. Regularly drying after use, leaving the shower door open or using a bathroom fan can help reduce moisture levels and discourage bacteria growth. Additionally, addressing any caulk or grout issues promptly can prevent mold from taking hold.
Following these steps on how to clean shower without detachable shower head and incorporating regular maintenance into your routine can help keep your shower clean, hygienic, and free of any stubborn stains or mould. With a little effort and consistency, you’ll be able to maintain a sparkling shower that’s ready for use whenever you need it. Say goodbye to grimy showers and hello to a fresh and inviting bathing space. So, go ahead and give your shower some much-needed TLC today!
Conclusion
A clean shower is essential for maintaining a hygienic and relaxing bathroom environment. By following these steps on how to clean shower without detachable shower head regularly, you can ensure that your shower stays free of grime, soap scum, and mold. Remember to use non-abrasive cleaners and tools to avoid damaging surfaces, such as textured tiles or delicate fixtures.
With proper maintenance and regular cleaning, your shower will always be a refreshing and inviting space for you to enjoy. So make sure to add these tips to your cleaning routine and keep your shower sparkling clean! Happy cleaning!

