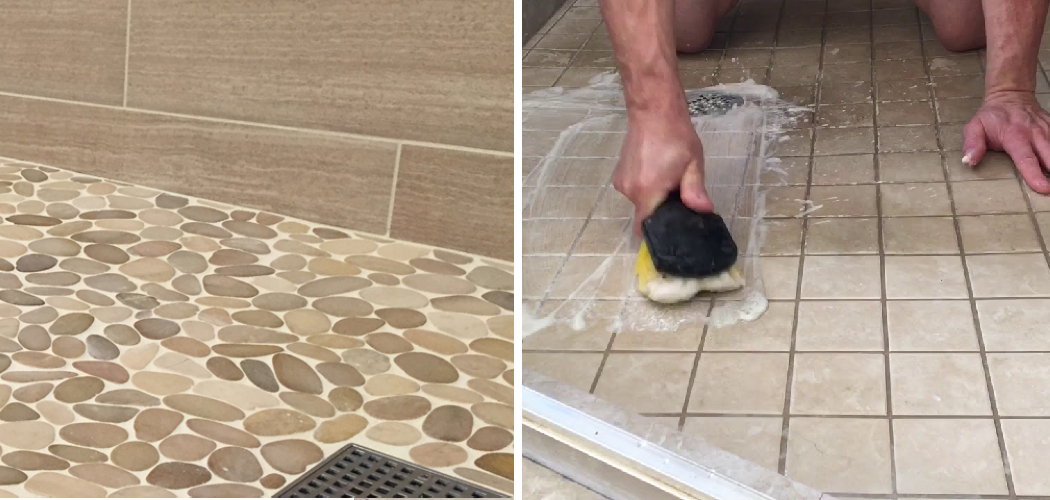
When it comes to cleaning your slippery shower floor, there are a few things you can do to make the process easier and more effective. In this guide on how to clean slippery shower floor, we will go over some of the best methods for cleaning and preventing slipperiness on your shower floor.
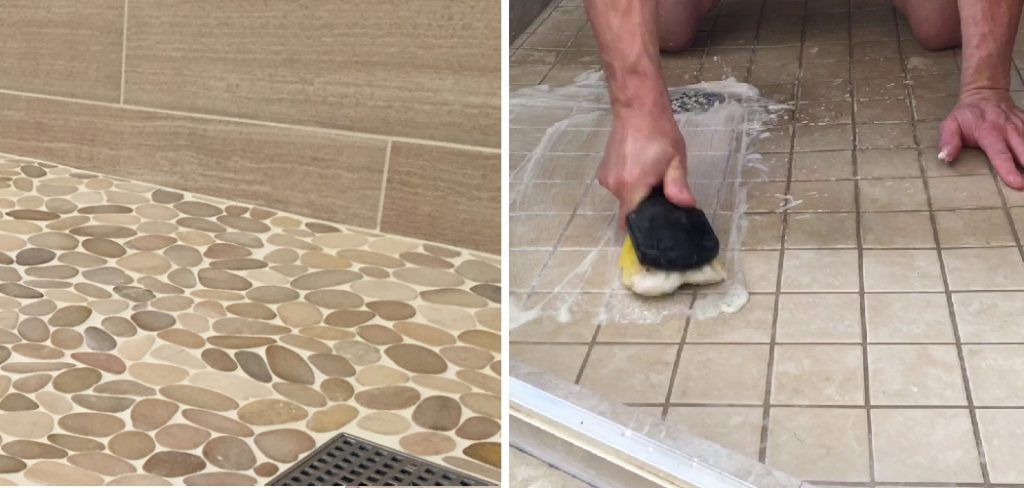
Necessary Items
Before you begin cleaning, make sure you have the necessary items on hand. These may include:
- Rubber Gloves: Protect your hands from any harsh chemicals or bacteria.
- Scrub Brush: Helps to scrub away tough stains and buildup.
- White Vinegar or Baking Soda: Natural cleaners that can effectively break down soap scum and other grime without damaging tile or grout.
- Bleach or Hydrogen Peroxide: Powerful disinfectants that can kill bacteria and mold.
- Squeegee: Useful for removing excess water from the shower floor after cleaning.
8 Causes of Slippery Shower Floor
Before diving into how to clean your slippery shower floor, it’s important to understand the underlying causes. The most common reasons for a slippery shower floor include:
1) Soap Scum Buildup
Soap scum is a combination of soap residue and hard water minerals that can create a slippery film on your shower floor. This buildup is not only unsightly but can also make your shower floor dangerously slippery.
2) Hard Water Deposits
If you have hard water, you may notice white or yellowish spots on your shower floor. These are mineral deposits left behind by the water and can contribute to a slippery surface. And while they may be hard to see, they can make your shower floor incredibly slick.
3) Mold and Mildew
Mold and mildew thrive in warm, damp environments like showers. Not only are these fungi unsightly, but they also release spores that can cause slippery surfaces in your shower. If not properly cleaned and removed, mold and mildew can also pose a health hazard.
4) Shampoo and Conditioner Residue
Just like soap scum, shampoo, and conditioner residue can build up on your shower floor and create a slippery film. This is especially true if you have hard water or use products that contain oils or silicones.
5) Lack of Proper Drainage
A poorly designed shower floor or clogged drain can lead to standing water, making your shower incredibly slippery. It’s important to ensure that water is draining properly from your shower to prevent slipperiness and potential mold growth.
6) Old or Worn Out Non-Slip Coating
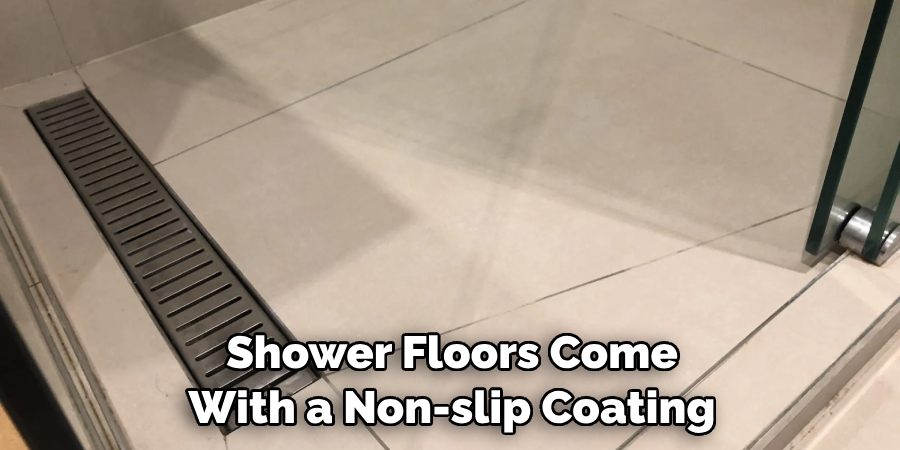
Many shower floors come with a non-slip coating, but over time and use, this coating can become worn out or damaged. This can create a slippery surface that is difficult to clean and maintain.
7) Improper Cleaning
Using the wrong cleaning products or techniques can also contribute to a slippery shower floor. Harsh chemicals or abrasive scrubbing can damage tile and grout, creating uneven surfaces that are more prone to slipping.
8) Natural Oils and Soaps
Natural oils from your skin or soap can leave a slick film on your shower floor, making it slippery. While natural products are generally better for your health and the environment, they may not always be the best choice for cleaning and maintaining a non-slip surface in your shower.
12 Steps on How to Clean Slippery Shower Floor
Step 1: Prepare Your Shower
Remove all items from your shower, including bath mats and toiletries. This will give you a clear space to work with and prevent any accidental spills. And don’t forget to put on your rubber gloves for protection.
Step 2: Spray Down the Shower Floor
Using a handheld showerhead or a spray bottle, thoroughly wet your shower floor. This will help to loosen any dirt and grime before you begin cleaning. Also, make sure the water is warm to help dissolve any soap scum or residue.
Step 3: Create a Cleaning Solution
Mix equal parts of white vinegar and water in a spray bottle. Alternatively, you can use baking soda mixed with a small amount of water to create a paste. Both of these natural cleaners are effective at breaking down soap scum and other grime without damaging tile or grout.
Step 4: Apply Cleaning Solution to Shower Floor
Spray the cleaning solution onto your shower floor, making sure to cover every area. If using a baking soda paste, spread it evenly on the surface of your shower floor. Soak for a few minutes to let the solution penetrate and loosen any buildup.
Step 5: Scrub with a Brush
Using a scrub brush, work in small circular motions to gently scrub the surface of your shower floor. Pay extra attention to areas with heavy buildup or discoloration. If using baking soda, you can add more water as needed to create a paste-like consistency.
Step 6: Rinse Thoroughly
Once you have scrubbed the entire shower floor, rinse it thoroughly with warm water. Make sure to remove all traces of the cleaning solution or baking soda. Keep rinsing until the water runs clear and there are no more suds.
Step 7: Target Tough Stains
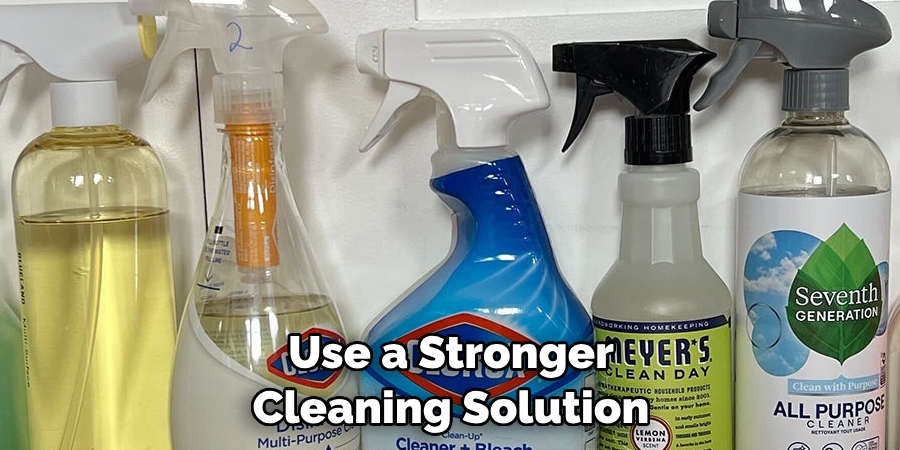
For tough stains or buildup, you may need to use a stronger cleaning solution. Dilute bleach or hydrogen peroxide with water in a spray bottle and apply it directly to the problem areas. Let it sit for a few minutes before scrubbing and rinsing.
Step 8: Use a Squeegee
After rinsing, use a squeegee to remove any excess water from the shower floor. This will help prevent any standing water that can lead to slipperiness and potential mold growth. While also helping to maintain a clean and dry shower.
Step 9: Wipe Down Walls and Fixtures
While focusing on the shower floor, don’t forget to also wipe down the walls and fixtures with a cleaning solution. This will help prevent any buildup or mold growth in these areas that can contribute to a slippery surface.
Step 10: Dry Thoroughly
Using a clean towel or rag, dry the shower floor and walls thoroughly. This will not only prevent any residual moisture from causing slipperiness but also help to keep your shower looking clean and shiny.
Step 11: Apply Non-Slip Coating
If your shower floor has a non-slip coating that is worn out, you may consider applying a new one. There are many non-slip coating products available that can be easily applied and will provide an extra layer of protection against slipperiness.
Step 12: Regular Maintenance
To prevent a slippery shower floor in the future, it’s important to regularly clean and maintain your shower. Make sure to wipe down surfaces after each use and deep clean at least once a week to prevent buildup. You can also use a squeegee or towel to remove excess water after each shower to help keep the surface dry and prevent mold growth.
A slippery shower floor can be a safety hazard and also contribute to mold growth and an unsightly appearance. By understanding the common causes of a slippery shower floor and regularly following these 12 steps on how to clean slippery shower floor for cleaning and maintenance, you can ensure that your shower remains safe, clean, and slip-free.
9 Safety Measures for Slippery Shower Floor
1) Use Non-Slip Mats
Adding non-slip mats or adhesive strips to your shower floor is a simple and effective way to prevent slips and falls. These mats come in various sizes and can be easily removed for cleaning. If you choose to use adhesive strips, make sure they are properly installed and replaced when needed.
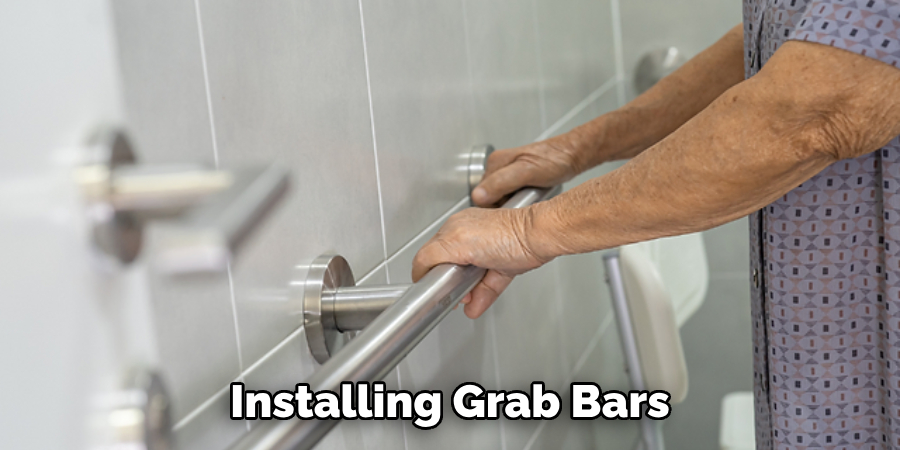
2) Install Grab Bars
Installing grab bars near your shower can also provide stability and support when entering or exiting the shower. These bars should be securely mounted to the wall and able to withstand body weight. So make sure to choose high-quality, sturdy grab bars for maximum safety.
3) Use a Shower Chair
For those with mobility issues or who are at a higher risk of falling, using a shower chair can provide extra support and stability while showering. These chairs come in various styles and can be easily moved in and out of the shower as needed.
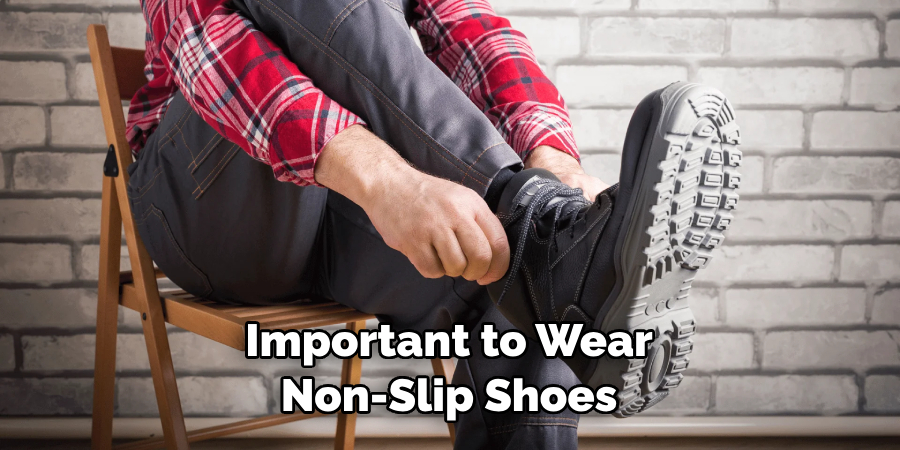
4) Wear Non-Slip Shoes
Wearing non-slip shoes or sandals in the shower can also help prevent slips and falls. These shoes have textured soles that provide better traction on wet surfaces, making them a practical solution for those who are prone to slipping.
5) Keep Your Shower Clean
Regularly cleaning your shower is one of the best ways to prevent slips and falls. As mentioned earlier, using natural cleaners like white vinegar or baking soda can effectively break down soap scum and prevent buildup that can lead to slipperiness.
6) Avoid Using Oily Products
Products like bath oils or body washes that contain oils can leave behind a slippery residue on your shower floor. Try to avoid using these products in the shower, or make sure to thoroughly rinse the floor afterwards.
7) Fix Leaks
A leaky faucet or showerhead can cause excess water to pool on your shower floor, making it more slippery. Make sure to fix any leaks as soon as possible to prevent this from happening. As an extra precaution, place a towel on the floor to soak up any excess water.
8) Use Anti-Slip Floor Coatings
In addition to non-slip mats and adhesive strips, you can also apply anti-slip floor coatings to your shower surface. These coatings create a textured surface that provides better traction and prevents slips and falls.
9) Seek Professional Help
If you have tried these measures and are still experiencing a slippery shower floor, it may be time to seek professional help. A plumber or contractor can assess the situation and provide solutions, such as re-tiling or installing a new shower with a non-slip surface.
By following these safety measures and regularly cleaning and maintaining your shower, you can create a safe and enjoyable showering experience for yourself and your loved ones. Don’t let a slippery shower floor be a hazard in your home; take the necessary steps to prevent accidents and ensure a clean and functional bathroom space.
8 Things to Avoid on a Slippery Shower Floor
1) Walking Barefoot
Walking barefoot on a slippery shower floor can increase the risk of slips and falls. It’s important to wear non-slip shoes or sandals while in the shower to provide better traction and prevent accidents. If you prefer not to wear shoes, consider using a shower mat or adhesive strips for added safety.
2) Using Oily Products
As mentioned earlier, products containing oils can leave behind a slippery residue on your shower floor. To avoid this, try to use non-oily products in the shower and make sure to thoroughly rinse the floor after use.
3) Leaving Excess Water
Leaving excess water on your shower floor can contribute to slipperiness, especially if it’s not visible. Make sure to use a squeegee or towel to remove any excess water after each use to prevent accidents.
4) Not Cleaning Regularly
Regular cleaning is crucial in preventing a slippery shower floor. If left unattended, soap scum and buildup can make the surface more slippery and increase the risk of falls. Make sure to deep clean at least once a week and wipe down surfaces after each use.
5) Using Harsh Chemicals
Harsh chemicals can damage your shower floor and make it more slippery. Avoid using products with harsh ingredients such as bleach or ammonia, and opt for natural cleaners like white vinegar or baking soda instead.
6) Neglecting Maintenance
Regular maintenance is important to prevent a slippery shower floor. Make sure to fix any leaks, replace worn-out mats or adhesive strips, and address any other issues that may contribute to slipperiness.
7) Not Installing Safety Measures
If you have a history of slips and falls in the shower, it’s important to take extra precautions. Installing grab bars, using a shower chair, and applying anti-slip coatings can all provide added safety and prevent accidents.
8) Rushing
Rushing in the shower can increase the risk of slips and falls. Take your time when moving around on a slippery surface, use handrails or grab bars for support, and make sure to thoroughly dry off before stepping out of the shower. Remember to always prioritize safety over speed in the shower.
By avoiding these things on a slippery shower floor and implementing safety measures on how to clean slippery shower floor, you can reduce the risk of accidents and create a safer bathroom environment for yourself and your loved ones.
6 Additional Tips for a Safe Shower Experience
1) Install Handheld Showerheads
Handheld showerheads provide added flexibility and , making them a great option for those with mobility issues. They also allow you to direct the water flow away from your feet, reducing the risk of slips.
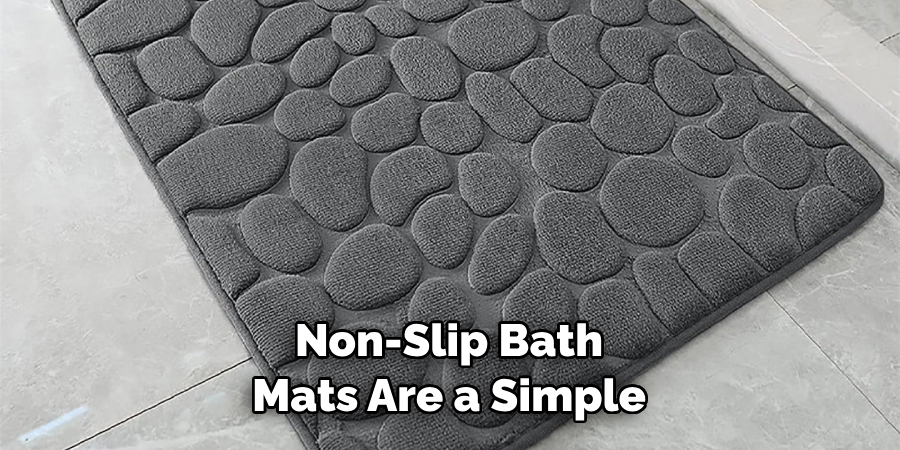
2) Use Non-Slip Bath Mats
Non-slip bath mats are a simple and effective way to prevent slips and falls in the shower. Place them both inside and outside of the shower for added safety.
3) Keep Your Shower Well-Lit
A well-lit shower can help you see any potential hazards and avoid accidents. Make sure to have ample lighting in your bathroom, especially in the shower area. Consider using motion-sensor lights for added convenience.
4) Have a Sturdy Shower Chair
Having a sturdy shower chair can make all the difference for those with mobility issues or balance problems. Make sure to choose one with non-slip feet and armrests for added safety.
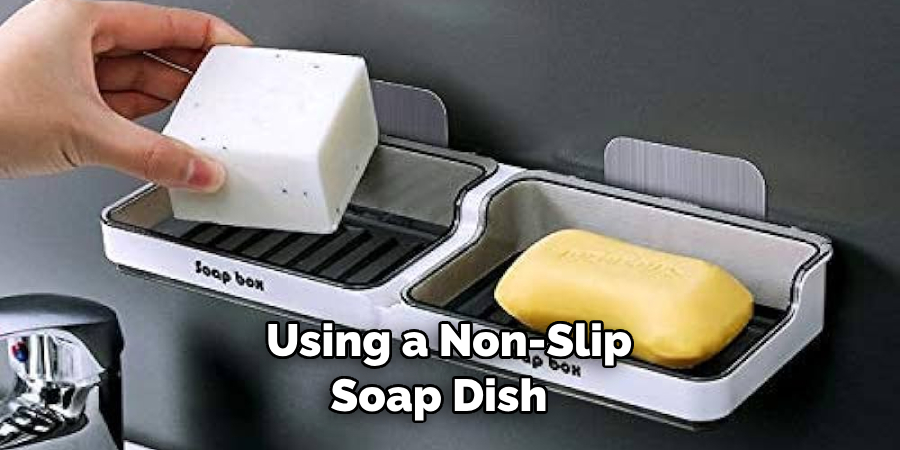
5) Use Non-Slip Soap Dishes
A slippery soap dish can lead to falls and injuries. Consider using a non-slip soap dish or placing a rubber mat under your existing one to prevent slips.
6) Keep Your Shower Supplies Within Reach
Having to stretch or reach for shower supplies can increase the risk of falls. Make sure to keep your shampoo, body wash, and other essentials within easy reach.
Frequently Asked Questions
How Often Should I Clean My Shower to Prevent a Slippery Floor?
It is recommended to deep clean your shower at least once a week and wipe down surfaces after each use. This will help prevent soap scum and buildup from making the floor more slippery.
Is There a Natural Cleaner I Can Use to Clean My Shower?
Yes, white vinegar and baking soda are effective natural cleaners that can break down soap scum and prevent buildup on your shower floor. They are also non-toxic and safe to use in your bathroom.
How Do Anti-Slip Floor Coatings Work?
Anti-slip floor coatings create a textured surface on your shower floor, providing better traction and reducing the risk of slips and falls. They can be applied professionally or as a DIY project.
Can I Install Safety Measures in My Shower Myself?
While some safety measures, like grab bars, may require professional installation, you can easily install non-slip mats or adhesive strips yourself. Make sure to follow the instructions carefully and regularly check for wear and tear.
What Should I Do If My Shower Floor Is Still Slippery After Taking Precautions?
If you have tried all of these measures and are still experiencing a slippery shower floor, it may be time to seek professional help. A plumber or contractor can assess the situation and provide solutions, such as re-tiling or installing a new shower with a non-slip surface.
Conclusion
In conclusion, a slippery shower floor can be a dangerous hazard in any home. However, by implementing the right safety measures and avoiding certain behaviors, you can greatly reduce the risk of slips and falls.
Remember to always prioritize safety in the shower and regularly clean and maintain your shower to prevent buildup and slipperiness. By following these tips on how to clean slippery shower floor, you can create a safe and enjoyable showering experience for yourself and your loved ones. So, don’t wait any longer; take action now to ensure a safe and functional bathroom for everyone.

