Proper toilet cleaning is crucial after a bout of diarrhea to maintain hygiene, control unpleasant odors, and prevent the spread of germs and bacteria in your living space. Diarrhea can leave behind stains, splatter, and invisible bacteria that, if not addressed promptly, can pose significant health risks to you and others in your household. Beyond dealing with visible messes, the real challenge lies in ensuring the thorough disinfection of all affected areas to eliminate harmful pathogens.
This guide addresses common concerns and provides clear, step-by-step instructions on how to clean toilet after diarrhea effectively. By following these guidelines, you’ll achieve visible cleanliness and create a healthier environment free from lingering bacteria and unpleasant smells. Whether it’s choosing the right cleaning tools and products or ensuring proper personal protection, this comprehensive approach ensures that no detail is overlooked when maintaining a sanitary space.
Gathering Cleaning Supplies
To effectively clean the toilet after diarrhea, it’s essential to gather the necessary cleaning supplies to ensure both efficiency and safety during the process. Using the right tools and products will help eliminate bacteria, neutralize odors, and maintain a hygienic environment.
Essential Supplies:
- Rubber gloves – Protect your hands from exposure to bacteria and harsh chemicals during cleaning.
- Toilet brush – Used to scrub the interior of the toilet bowl and remove stubborn stains.
- Disinfectant cleaner – Opt for a bleach-based or hydrogen peroxide-based cleaner for its bacteria-killing properties.
- Disposable cleaning wipes or microfiber cloths – Ideal for wiping down surfaces like the toilet seat, handle, and surrounding area.
- Paper towels – Useful for drying cleaned surfaces or disposing of waste material.
- Scrubbing sponge – Helps remove grime and buildup on exterior surfaces of the toilet.
- Bucket of warm water – Facilitates rinsing and assists in thorough cleaning.
Optional Supplies:
- Toilet bowl tablets or deodorizing pods – Provide long-lasting freshness and additional cleaning action in the toilet bowl.
- Air freshener or odor absorber – Neutralizes unpleasant odors and leaves the bathroom smelling fresh.
- Disposable apron or old clothes – Protects your clothing and ensures easier cleanup after the task.
These supplies will streamline the cleaning process and guarantee a sanitary outcome.
Pre-Cleaning Preparation
Protect Yourself First
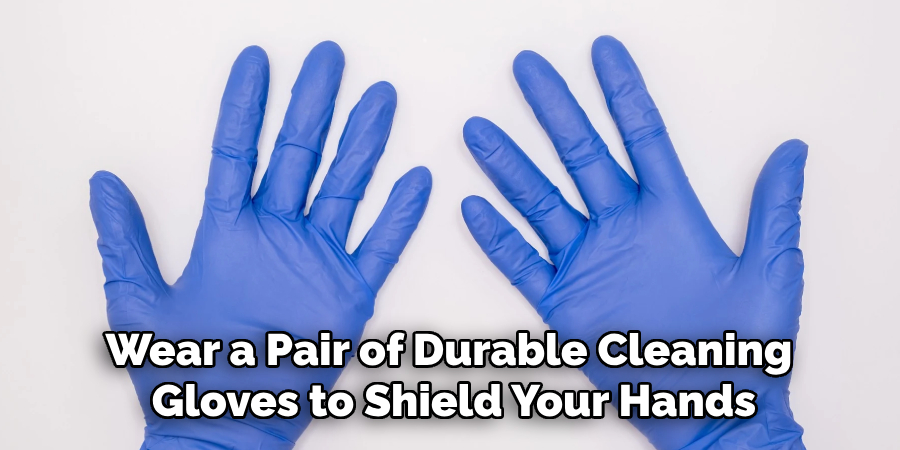
Before starting, prioritize your safety and hygiene. Wear a pair of durable cleaning gloves to shield your hands from germs and harsh cleaning products. If you’re sensitive to strong odors or cleaning chemicals, consider wearing a mask for added protection. Additionally, ensure the bathroom is well-ventilated by opening a window or turning on an exhaust fan to minimize exposure to fumes during cleaning.
Remove Items Around the Toilet
Clear the area surrounding the toilet to prevent splashes or accidental messes on nearby items. Remove bathroom rugs, trash cans, toilet paper rolls, and any decorative items that might obstruct your cleaning. This provides easy access to the toilet and keeps other items clean and dry during the process.
Flush the Toilet
If the toilet hasn’t already been flushed, take this step to remove any visible waste before beginning your scrubbing. By starting with a flushed toilet, you create a cleaner starting point for the task, ensuring that your cleaning is as effective as possible.
How to Clean Toilet After Diarrhea: Cleaning the Toilet Bowl
Apply Toilet Cleaner
Begin by applying a generous amount of toilet cleaner under the bowl’s rim. The cleaner should be explicitly formulated for toilets to ensure its effectiveness against germs and stains. Allow the cleaner to sit for 5–10 minutes so it can break down any buildup and bacteria. This waiting period is crucial for tackling stubborn stains and ensuring proper disinfection.
Scrub with Ta oilet Brush
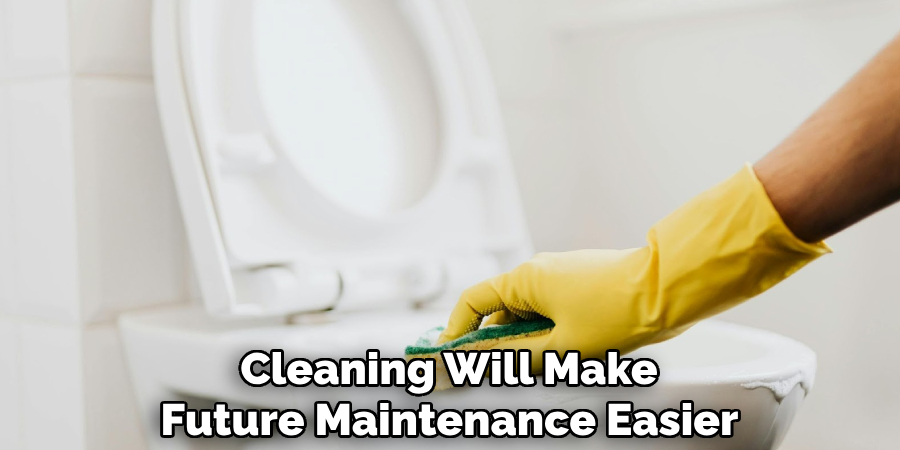
Using a sturdy toilet brush, thoroughly scrub the inside of the bowl. Start at the rim and work your way down, cleaning under the edge where grime often accumulates. Focus on stained or heavily soiled areas, scrubbing in circular motions to loosen any residue. Take your time on areas requiring extra effort, as thorough cleaning will make future maintenance easier.
Flush and Repeat if Necessary
Once you’ve finished scrubbing, flush the toilet to rinse the bowl. Check for any remaining stains or discoloration. For tough stains, reapply the toilet cleaner and repeat the scrubbing process. Persistence may be required for older or more set-in stains, but the results will be worth the effort.
Optional Step
Consider using a pumice stone for hard water stains or more persistent discoloration. Carefully scrub the stained areas with the stone, being mindful not to press too hard or scratch the porcelain. Always test on a small area first to ensure the surfaces remain unharmed.
Cleaning the Toilet Exterior and Seat
Spray and Wipe All Surfaces
Use a disinfectant cleaner to thoroughly clean the exterior of the toilet, including the seat, lid, base, and flush handle. Spray an even layer of the cleaner on all surfaces, allowing it to sit for a few moments to break down bacteria, germs, and grime. Then, wipe the surfaces down using either paper towels or a microfiber cloth to ensure a streak-free finish. Regular cleaning of these high-contact areas is essential for maintaining a hygienic bathroom.
Don’t Forget Hard-to-Reach Areas
Pay close attention to the often-overlooked spots, such as the hinges, the space under the toilet seat, and the area around the tank’s base. These areas can accumulate hidden dirt and bacteria over time. Use a smaller brush or a disinfectant-soaked cloth to get into tight spaces and ensure a thorough clean.
Tackle Splatter or Residue
If any bodily fluid residue or splatter is present around the base or on the toilet exterior, address it promptly using disposable disinfectant wipes or a stronger disinfectant cleaner. Be sure to focus especially on areas that are prone to stains or unsanitary buildup. Cleaning these spots ensures a visually clean toilet and reduces the spread of harmful germs in the environment.
Let Surfaces Air-Dry or Wipe Dry
After cleaning and disinfecting, allow the surfaces to air-dry for complete disinfection. Alternatively, you can use a clean, dry cloth to wipe down all surfaces, removing any excess cleaner or moisture. This step helps maintain a sanitary and polished appearance for your toilet.
Disinfecting the Surrounding Area
Clean Nearby Floors and Walls
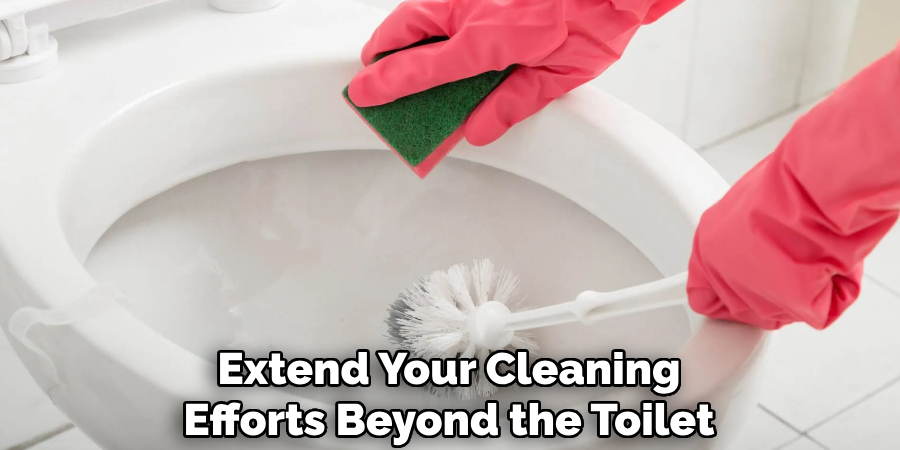
Extend your cleaning efforts beyond the toilet to ensure a thoroughly clean and hygienic space. Focus on tiles, walls, and the floor within a 2–3 foot radius of the toilet. Use a bleach solution or disinfectant spray to wipe down these surfaces, paying extra attention to spots that might be prone to splashes or accumulation of dust and grime. This step eliminates lingering bacteria and helps maintain a fresh and sanitary environment.
Mop the Floor if Necessary
If the floor has visible splashes, stains, or messes, mop it thoroughly using a disinfecting floor cleaner. Start from the edges and work toward the toilet to ensure complete coverage and prevent the spread of germs. A clean floor looks better and contributes to a healthier and more pleasant bathroom space.
Empty and Disinfect the Trash Can
Don’t forget to attend to the trash can in the bathroom. Remove the liner and discard any waste, then spray or rinse the inside of the bin with a disinfectant. Allow it to air-dry or wipe it dry before inserting a clean liner. This step prevents odors and deters bacterial growth, completing the disinfection of the surrounding area.
Odor Removal and Prevention
Maintaining a fresh-smelling bathroom is essential for overall comfort and hygiene. Begin by using air fresheners or odor absorbers to keep unwanted smells at bay. Products like baking soda, activated charcoal, or gel deodorizers can effectively neutralize odors and leave the space smelling clean. Additionally, flushing frequently and using toilet deodorizers, such as drop-in tablets, can prevent lingering smells and keep the toilet bowl fresh. Proper ventilation is also crucial in odor prevention—leave a fan on or a window open for at least 30 minutes after using the bathroom. This allows fresh air to circulate and helps to remove moisture, which otherwise contributes to musty smells and mold growth. Combining these steps allows you to easily maintain an odor-free and inviting bathroom space.
Proper Disposal and Hand Hygiene
Dispose of All Used Materials Safely
Bag up used gloves, wipes, and paper towels safely to reduce the spread of germs. Ensure the bag is sealed properly before disposing of it in a trash bin. Proper disposal prevents contamination and keeps your environment clean and sanitary.
Clean Your Hands Thoroughly
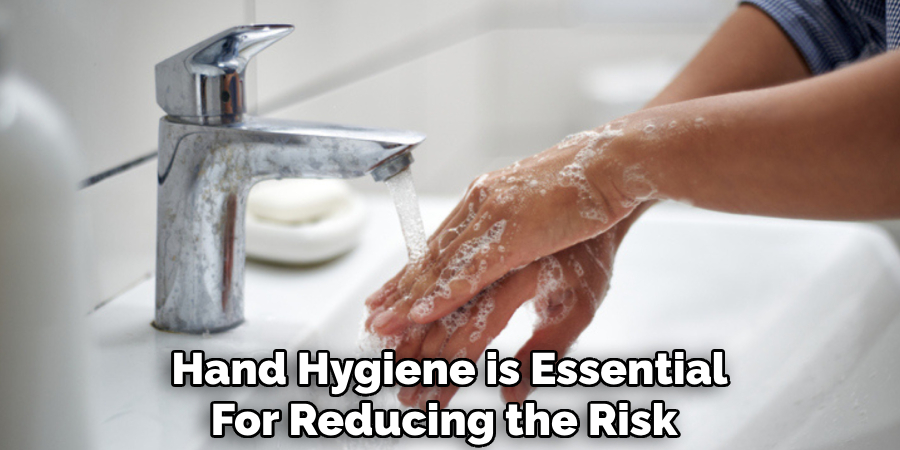
After handling cleaning materials or touching contaminated surfaces, wash your hands with antibacterial soap and warm water for at least 20 seconds. Pay extra attention to areas like between your fingers and under your nails. Finish by sanitizing your hands to ensure thorough cleanliness. Hand hygiene is essential for reducing the risk of spreading bacteria and viruses.
Conclusion
Cleaning after diarrhea isn’t just about removing stains—it’s about ensuring full disinfection to protect your health and prevent the spread of germs. Always wear gloves and use proper cleaners designed to eliminate bacteria and viruses. Disinfect all surfaces thoroughly, including the toilet seat, handle, and surrounding areas, to maintain a sanitary environment. Proper hand hygiene is equally important in breaking the cycle of contamination. Learning “how to clean toilet after diarrhea” is an essential skill for maintaining a clean and safe home. With these steps, you can minimize health risks and keep your space hygienic for everyone.

