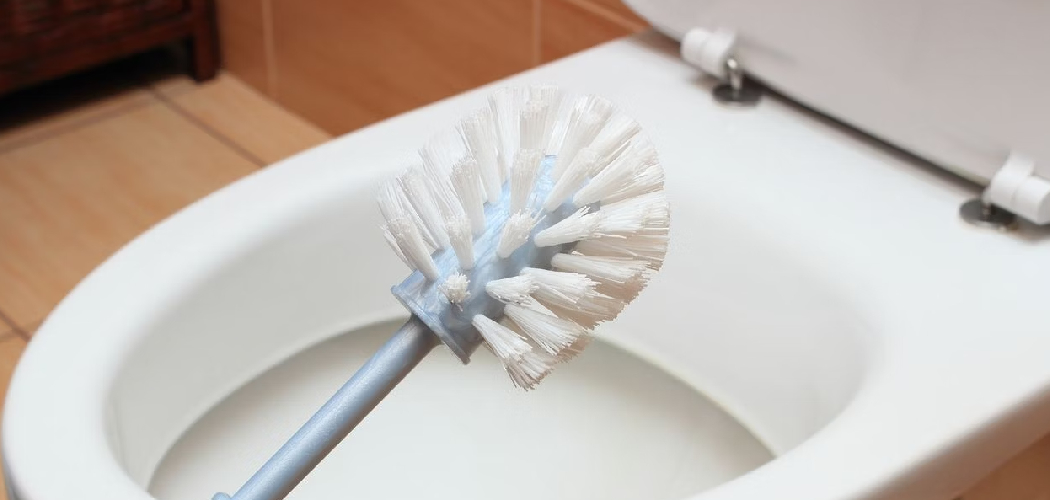
The toilet brush is an essential cleaning tool often unnoticed during regular cleaning routines. However, if improperly maintained, it can quickly become a breeding ground for bacteria, mold, and unpleasant odors. Ensuring that your toilet brush is clean is vital for preventing the spread of germs, keeping your bathroom sanitary, and prolonging the life of the brush itself. Neglecting this step can lead to unsanitary conditions and reduce the tool’s effectiveness.
This article aims to provide a thorough, step-by-step guide on how to clean toilet brush effectively to help maintain your bathroom’s hygiene. Additionally, it will offer practical maintenance tips to ensure your brush stays in optimal condition. With a proper cleaning routine in place, you can avoid unnecessary replacement costs and ensure that your cleaning efforts remain effective. A little care goes a long way in maintaining a healthier home environment.
Why It’s Important to Clean Your Toilet Brush Regularly
Cleaning your toilet brush regularly is essential for maintaining both hygiene and functionality. One of the primary reasons is bacteria buildup. Toilet brushes frequently come into contact with toilet waste and bacteria, making them a prime breeding ground for harmful germs. These bacteria can accumulate without proper cleaning, posing potential health risks to you and your family.
Another important factor is odor prevention. A neglected toilet brush can start to emit unpleasant smells, contributing to an unsanitary and uncomfortable bathroom atmosphere. Regular cleaning helps eliminate odors at the source, ensuring your bathroom remains fresh and clean.
Regular maintenance also plays a crucial role in extending the lifespan of your toilet brush. By preventing grime and dirt from building up on the bristles, you can keep the tool in better condition for a longer period. This reduces the need for frequent replacements, saving you time and money.
Lastly, cleaning your toilet brush helps in avoiding cross-contamination. Using a dirty brush can inadvertently reintroduce bacteria into the toilet bowl during cleaning, undermining your efforts to sanitize your bathroom. By ensuring the brush is clean, you can maintain a healthier, more hygienic space for everyone in your home.
Materials Needed for Cleaning
To effectively clean your toilet brush and ensure proper hygiene, gather the following materials:
- Rubber gloves – Protect your hands from bacteria and harsh cleaning agents during the process.
- Disinfectant – Use bleach, hydrogen peroxide, or a toilet bowl cleaner with antibacterial properties to eliminate germs and bacteria.
- A bucket or large container – This will hold the cleaning solution and serve as the area to soak the brush.
- Hot water – Essential for dissolving grime and enhancing the effectiveness of the disinfectant.
- An old toothbrush or small scrub brush (optional) – For scrubbing hard-to-reach areas or stubborn debris on the brush.
- Optional: Essential oils or vinegar – These can be added to the cleaning solution for natural deodorizing and a pleasant scent.
Having these items prepared ensures a smooth and effective cleaning process, leaving your toilet brush sanitized and ready for future use.

How to Clean Toilet Brush: Deep Clean a Toilet Brush
Properly cleaning your toilet brush is essential for maintaining a hygienic bathroom environment. Follow these steps to clean your toilet brush deeply and keep it free of bacteria and grime:
Step 1: Prepare the Cleaning Solution
Fill a bucket or container with hot water and add a disinfectant, such as bleach. A common ratio is 1 part bleach to 10 parts water. This creates a powerful solution to kill bacteria and sanitize the brush. Make sure to work in a well-ventilated area to avoid inhaling strong fumes.
Step 2: Soak the Brush
Submerge the toilet brush completely in the cleaning solution. Allow it to soak for 30 minutes to 1 hour to loosen any residue and thoroughly disinfect the bristles. Be sure the brush is fully immersed for maximum effectiveness.
Step 3: Scrub if Necessary
If you notice stubborn buildup or debris stuck in the bristles, use an old toothbrush or cleaning tool to scrub gently between them. This step ensures the brush is as clean as possible before rinsing.
Step 4: Rinse Thoroughly
Remove the brush from the solution and rinse it under hot, running water. Ensure all disinfectant and grime are washed away, leaving the brush clean and residue-free. Take care not to splash water during this step.

Step 5: Dry the Brush
After rinsing, place the brush between the toilet seat and bowl, allowing it to drip-dry over the toilet for a few hours. This step is crucial to preventing moisture buildup in the brush holder, which can harbor bacteria or mold. Once dry, return the brush to its holder.
Following these steps ensures your toilet brush remains clean and effective, helping you maintain a healthier bathroom environment.
Cleaning the Toilet Brush Holder
Step 1: Empty and Rinse the Holder
Begin by removing the toilet brush from the holder and dumping out any standing water that may have accumulated. This initial step eliminates stagnant water, which could harbor bacteria or unpleasant odors. Quickly rinse the interior of the holder with warm water to prepare it for cleaning.
Step 2: Disinfect the Interior
Spray the interior of the holder with a disinfectant solution or fill it with the cleaning solution of your choice, ensuring all areas are covered. Allow the disinfectant to sit for 10–15 minutes to kill bacteria, mold, or germs that may be lingering inside.
Step 3: Scrub and Rinse
Using a small brush or sponge, thoroughly scrub the inside of the holder to remove any stains or residue. Pay particular attention to any corners or crevices where grime might accumulate. After scrubbing, rinse the holder thoroughly with hot water to ensure no traces of disinfectant or dirt remain.
Step 4: Dry Completely
Allow the holder to air dry completely before returning the brush. Place it in a well-ventilated area to speed up drying and prevent moisture buildup, which could lead to mold growth. Ensuring the holder is fully dry is crucial to maintaining a clean and sanitary storage space for your toilet brush.
Natural Alternatives for Disinfecting
Keeping your toilet brush and holder clean doesn’t always require harsh chemicals. Several natural alternatives are effective disinfectants that are eco-friendly and easy to use.
White Vinegar and Baking Soda
A combination of white vinegar and baking soda provides a powerful cleaning solution. Start by soaking the brush in a mix of vinegar and hot water to loosen dirt and kill bacteria. Sprinkle baking soda onto the brush and scrub gently for added deodorizing power. This method not only sanitizes but also neutralizes odors.
Hydrogen Peroxide
Hydrogen peroxide is an excellent natural disinfectant that effectively kills germs and bacteria. Simply pour hydrogen peroxide directly over the toilet brush and into the holder. Allow it to sit for a few minutes before rinsing with hot water. This method is easy and requires minimal effort while ensuring your cleaning tools stay hygienic.
Essential Oils (Tea Tree, Lemon, Lavender)
Essential oils, such as tea tree, lemon, or lavender, offer antibacterial properties and a refreshing scent. Add a few drops of your preferred oil to a vinegar or hydrogen peroxide solution for an enhanced cleaning mixture. This boosts the disinfecting process and leaves behind a pleasant aroma.
How Often to Clean and Replace a Toilet Brush
Routine Cleaning
To keep your toilet brush hygienic, give it a quick rinse and dry after every use. This simple practice helps prevent the buildup of bacteria and unpleasant odors.
Deep Clean Frequency
For a more thorough cleaning, aim to clean your toilet brush deep at least once a week or after completing a deep bathroom clean. Regular deep cleaning ensures that the brush remains effective and sanitary.

When to Replace the Brush
It’s recommended that you replace your toilet brush every six months. However, you should consider replacing it sooner if the bristles appear worn or discolored or if an unpleasant smell persists despite routine and deep cleaning efforts. A well-maintained and replaced brush contributes to a cleaner, healthier bathroom environment.
Frequently Asked Questions About Toilet Brush Maintenance
1. How Often Should I Clean My Toilet Brush?
It’s best to clean your toilet brush after each use to prevent the buildup of bacteria and odors. Additionally, deep cleaning should be performed at least once a week to ensure it stays hygienic and effective.
2. Can I Use Regular Cleaning Products to Clean My Toilet Brush?
Yes, most household cleaning products, such as bleach or disinfectant sprays, are suitable for cleaning a toilet brush. After cleaning, make sure to rinse the brush thoroughly and allow it to dry completely.
3. What is the Best Way to Store a Toilet Brush?
Store the brush in a well-ventilated holder that allows water to drain and air to circulate. Avoid keeping it in a closed container, as this can trap moisture and encourage bacterial growth.
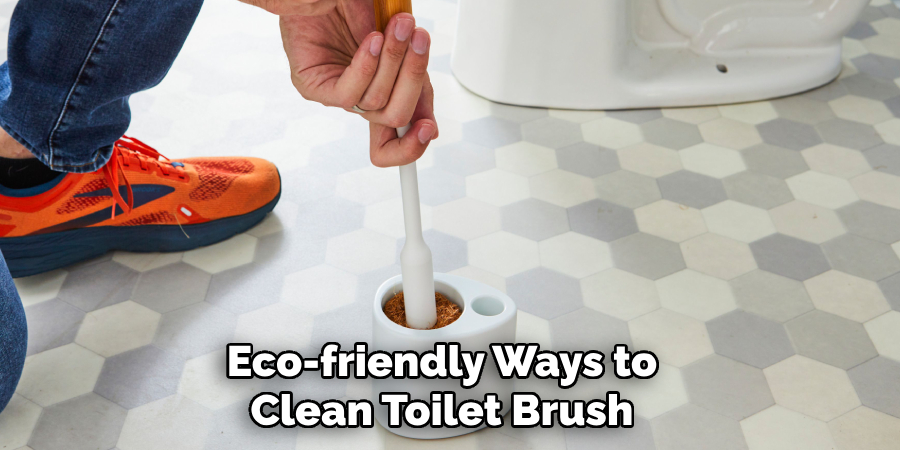
4. Are There Eco-friendly Ways to Clean My Toilet Brush?
Absolutely! You can clean your brush using natural options like vinegar and baking soda. These are effective at sanitizing while being environmentally friendly alternatives to chemical cleaners.
Conclusion
Regular cleaning and disinfecting of your toilet brush and holder are essential for maintaining bathroom hygiene and extending the tool’s lifespan. Adopting a weekly cleaning routine using natural or chemical methods based on your preference ensures the brush stays effective and sanitary.
When learning how to clean toilet brush properly, always wear gloves for protection and allow the brush to dry thoroughly after each cleaning session. This simple practice prevents mold and odors and fosters a cleaner, healthier home environment for you and your family.

