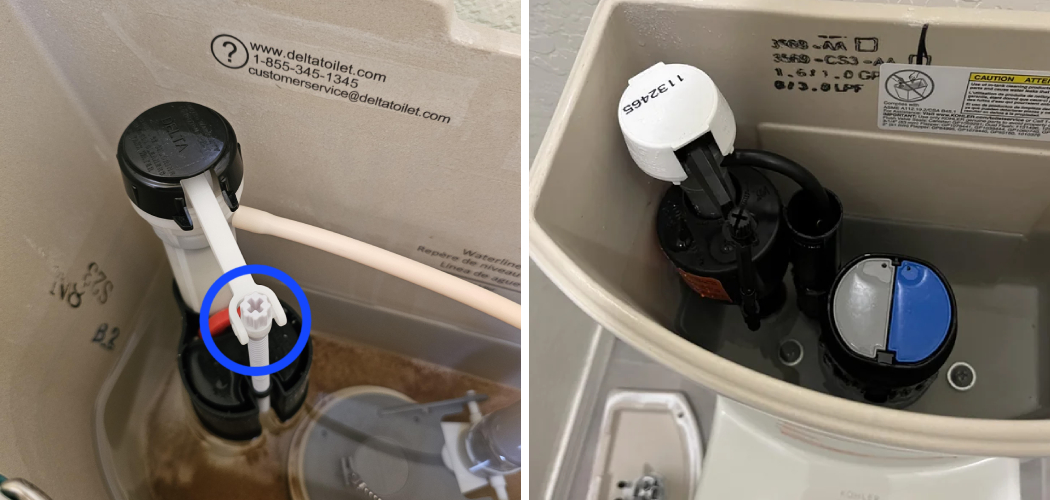
Cleaning the toilet fill valve is an essential maintenance task that can help ensure your toilet functions efficiently and effectively. Over time, sediment and mineral deposits can accumulate within the valve, leading to issues such as constant running, weak flushing, or water leaks. Regular cleaning can prolong the life of your toilet and improve its performance, ultimately saving you money on water bills and repairs.
In this guide, we will walk you through how to clean toilet fill valve, helping you keep your bathroom plumbing in top condition.
Why Regular Cleaning of the Fill Valve is Important
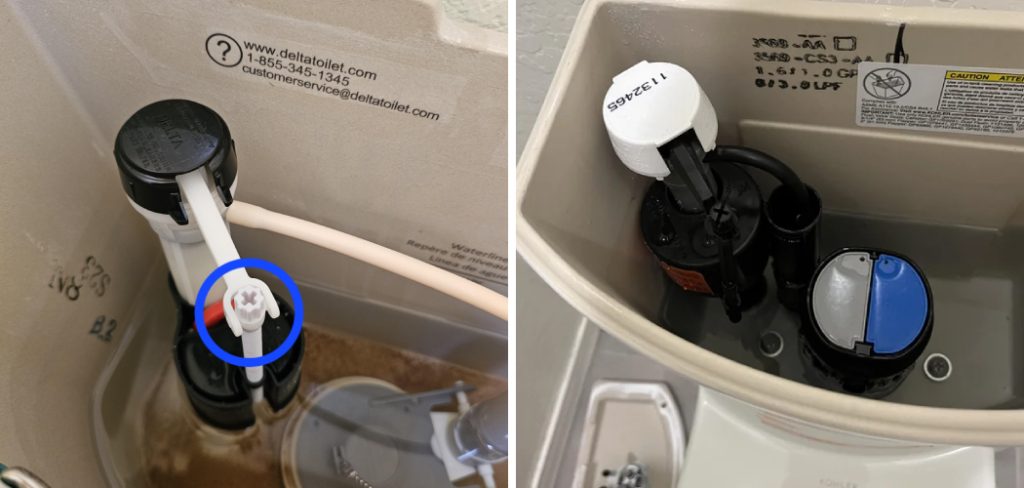
Regular cleaning of the toilet fill valve is crucial for several reasons. First, it helps prevent the buildup of mineral deposits and sediment, which can restrict water flow and lead to inefficient toilet operation. This inefficiency often manifests as longer fill times or weak flushes, which can be frustrating and inconvenient. Second, a clean fill valve reduces the risk of leaks and running water, both of which can significantly increase your water bill and contribute to unnecessary water wastage.
Additionally, maintaining a clean fill valve can extend the lifespan of the toilet, preventing costly repairs or premature replacements. By incorporating regular cleaning into your home maintenance routine, you can ensure a more reliable and efficient toilet system, contributing to overall household savings and sustainability.
Tools and Materials Needed
To effectively clean the toilet fill valve, you will need the following tools and materials:
- Adjustable Wrench: This tool will help you loosen and tighten the nuts and bolts securely attached to the fill valve.
- Bucket: A small bucket will catch any residual water when you disconnect the fill valve from the water supply line.
- Sponge or Cloth: Use these to wipe away any dirt, grime, or sediment from the fill valve and surrounding area.
- White Vinegar: This natural solution is effective for dissolving mineral deposits that may have built up within the valve.
- Old Toothbrush: A soft-bristled toothbrush can be useful for scrubbing hard-to-reach areas of the fill valve.
- Gloves: Protect your hands while cleaning by wearing disposable gloves.
- Towel: A towel will help clean up any spills during the process.
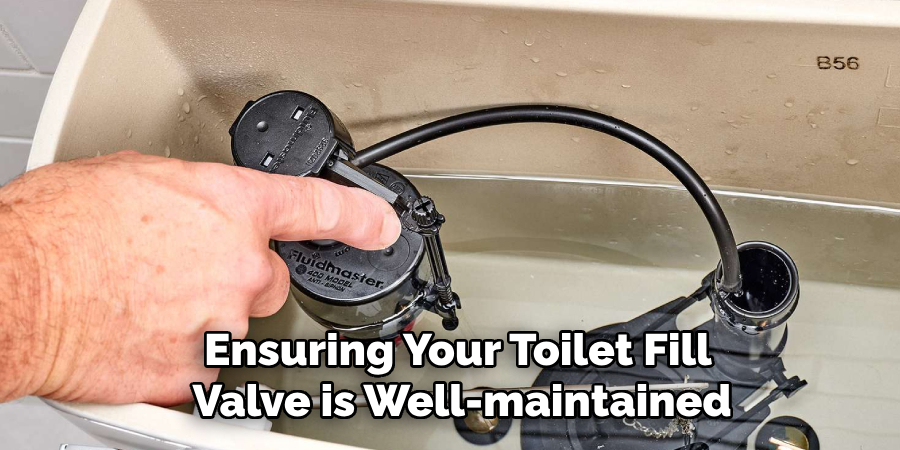
Having these tools and materials on hand will make your cleaning process smoother and more efficient, ensuring your toilet fill valve is well-maintained.
10 Methods How to Clean Toilet Fill Valve
1. Turn Off the Water Supply and Drain the Tank
Before starting any cleaning process, it’s essential to turn off the water supply to the toilet. Locate the shutoff valve near the base of the toilet, usually on the wall or floor, and turn it clockwise to stop the flow of water. Afterward, flush the toilet to empty the tank. Hold down the flush lever to ensure as much water drains as possible. This step is critical because it allows you to access the fill valve without dealing with water flowing into the tank.
With the water off, you can begin cleaning the fill valve safely and effectively.
2. Inspect the Fill Valve for Visible Debris
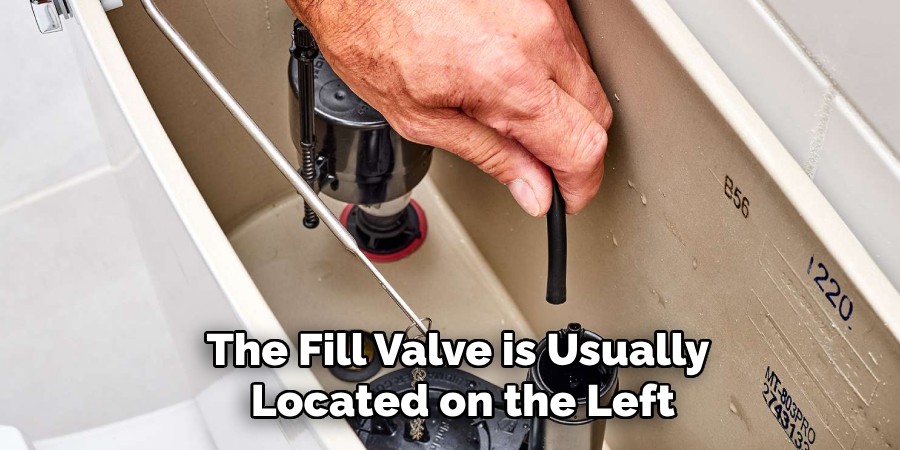
Once the tank is empty, open the toilet lid and examine the fill valve for visible dirt or debris. The fill valve is usually located on the left side of the tank and has a small cap or cover on top. Remove the cover and inspect the internal components, especially the inlet tube and float. Often, mineral deposits or dirt can be seen clogging these parts. Use a soft brush or cloth to remove any debris that can be easily accessed. This initial inspection helps identify areas that may need more thorough cleaning.
3. Remove the Fill Valve Cap and Clean the Valve Seat
To access the fill valve’s inner components, remove the cap by turning it counterclockwise or by gently prying it off with a screwdriver, depending on the model. Once the cap is off, you’ll see the valve seat, where water flows into the tank. Use a cloth or an old toothbrush to clean the valve seat, focusing on removing any buildup that could be obstructing the water flow. Mineral deposits from hard water are a common culprit here, and cleaning the seat will improve the efficiency of the fill valve.
4. Soak the Fill Valve in Vinegar Solution
Vinegar is a natural cleaning agent that dissolves mineral deposits, making it perfect for cleaning the fill valve. Create a solution of equal parts white vinegar and water in a small bowl or container. Remove the fill valve from the toilet tank (following the manufacturer’s instructions), and soak the valve components in the vinegar solution for 30 minutes to an hour. The vinegar will break down any calcium or lime buildup that may be blocking the valve.
After soaking, rinse the parts thoroughly with clean water and reinstall the valve.
5. Use a Toothbrush for Deep Cleaning
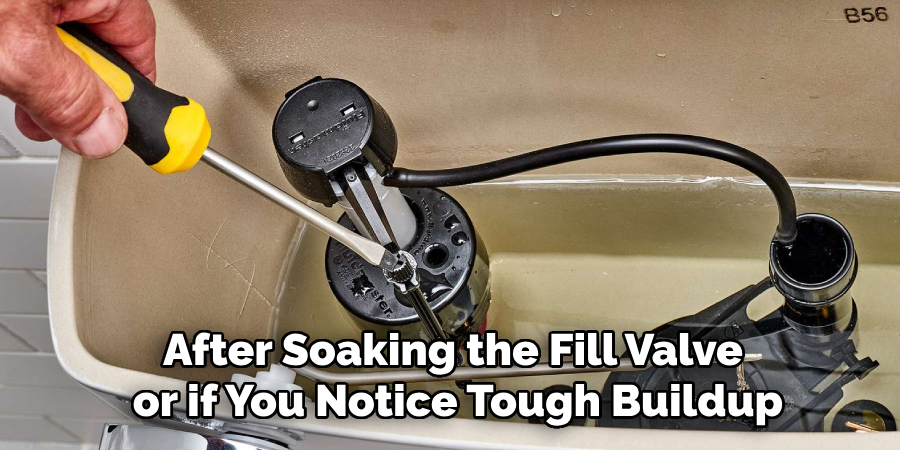
After soaking the fill valve or if you notice tough buildup that vinegar alone can’t remove, use an old toothbrush to scrub the valve’s parts thoroughly. Focus on areas where mineral deposits have accumulated, such as the inlet and outlet holes. The bristles of the toothbrush are effective at reaching tight spaces without damaging the valve components. Be sure to scrub gently but firmly to avoid damaging delicate parts of the fill valve.
Once the debris is loosened, rinse the valve with water before reassembling.
6. Clear the Water Inlet Tube
The water inlet tube, which connects the fill valve to the toilet tank, can sometimes become clogged with debris, leading to slow water refill or poor performance. To clean it, disconnect the inlet tube from the valve by loosening the clamp or unscrewing the connection, depending on your toilet model. Once removed, run water through the tube to flush out any dirt or debris inside. If there are blockages that water alone can’t remove, use a small wire or pipe cleaner to clear the tube.
Reattach the tube after cleaning and check for leaks before turning the water supply back on.
7. Use a Descaling Product for Hard Water Buildup
If your home has hard water, you may notice significant lime and calcium buildup on the fill valve. For stubborn hard water deposits, use a commercial descaling product designed to dissolve mineral buildup. Apply the descaler to the fill valve components, following the manufacturer’s instructions. These products are typically more potent than vinegar and are highly effective in removing tough mineral deposits.
After applying the descaler, allow it to sit for the recommended time, then rinse thoroughly with water to remove any residue.
8. Clean the Float Mechanism
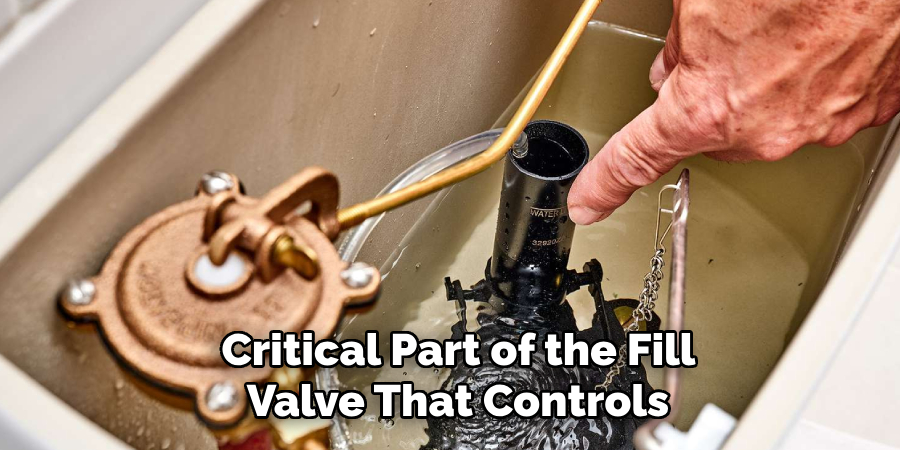
The float mechanism is a critical part of the fill valve that controls the water level in the tank. If the float is dirty or obstructed, it may not rise and fall properly, leading to issues with the tank not refilling or water continuously running. Inspect the float for any signs of dirt, mineral buildup, or debris. Wipe it clean with a damp cloth and ensure that it moves freely along its guide rod. In some cases, a gentle scrub with a toothbrush may be necessary to remove any buildup on the float.
9. Rinse the Fill Valve with a High-Pressure Water Stream
After cleaning all the components, it’s a good idea to rinse the fill valve with a high-pressure stream of water. Use a garden hose or a strong faucet stream to flush out any remaining debris that could be trapped inside the valve. Hold the valve under the water, making sure the water flows through the inlet and outlet holes to clear any obstructions. This method is particularly effective at removing dirt particles that may not be visible to the naked eye.
10. Reassemble the Fill Valve and Test the Toilet
Once the fill valve is thoroughly cleaned, reassemble the parts in the reverse order of disassembly. Make sure each component is securely fastened and that the float moves freely. Turn the water supply back on by opening the shutoff valve, and let the toilet tank refill. Listen for any unusual noises or continuous water running, which could indicate that the valve wasn’t reassembled correctly.
Flush the toilet several times to ensure that the fill valve is working properly and that the water is refilling at the correct rate.
Conclusion
In conclusion, maintaining a clean and efficient fill valve is essential for the proper functioning of your toilet. By regularly inspecting and cleaning the fill valve, including the cap, valve seat, float mechanism, and water inlet tube, you can prevent issues such as slow refills and constant running water. Utilizing natural cleaning agents like vinegar, along with commercial descalers when necessary, ensures that mineral buildup is effectively removed.
Hopefully, this article gave you some helpful tips about how to clean toilet fill valve successfully, so now that you have the proper knowledge on how to get the job done, why not give it a try today?

