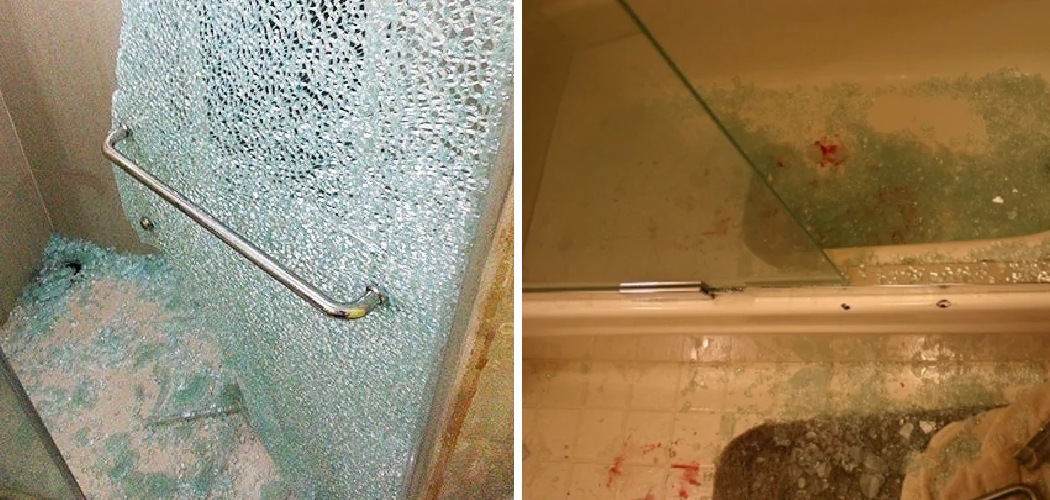
Experiencing a shattered shower door can be both alarming and dangerous. It poses immediate safety hazards and leaves behind a mess that seems daunting to tackle. Cleaning up broken glass requires careful attention to detail and adherence to safety protocols to prevent injury.
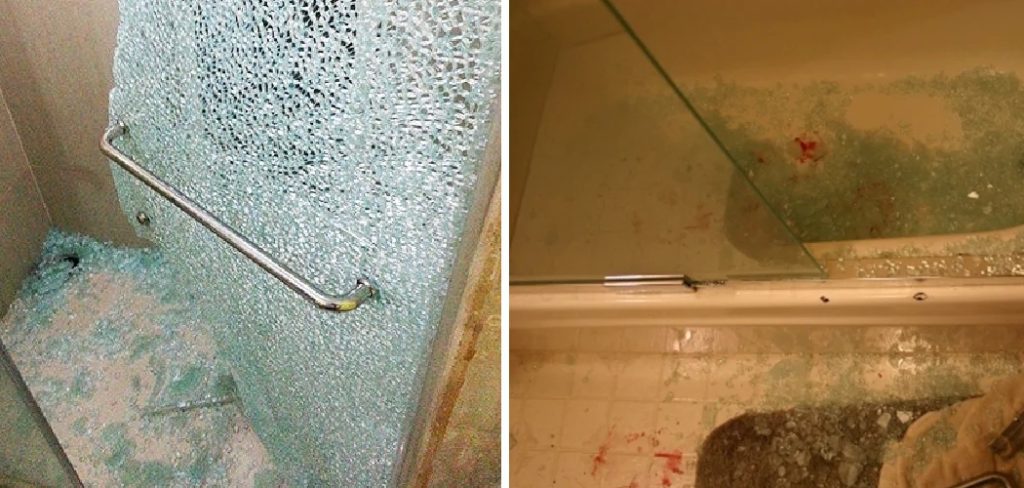
This guide aims to provide a comprehensive, step-by-step approach on how to clean up shattered shower door. From initial safety measures to the final touches of disposal, we will cover everything you need to ensure that your space is safe, clean, and free from any remnants of the accident.
Whether you’re a homeowner facing this issue for the first time or a seasoned DIYer looking for efficient methods, this guide will equip you with the necessary knowledge and tips to handle the situation promptly and effectively.
What are the Benefits of Following Proper Clean-Up Procedures?
Before diving into the specific steps, let’s understand why following proper clean-up procedures for a shattered shower door is crucial.
- Safety: The most significant advantage of following proper clean-up methods is ensuring your safety and that of others around you. Broken glass can cause severe cuts and injuries if handled carelessly, so taking the necessary precautions is essential.
- Efficiency: By following a structured approach, you can clean up efficiently and effectively, minimizing the time and effort spent on the task.
- Prevent Further Damage: Proper clean-up procedures also help prevent any further damage to your shower area, such as scratches or cuts from glass shards left behind.
- Peace of Mind: Knowing that you have thoroughly cleaned up the shattered shower door can provide a sense of relief and peace of mind, especially if there are children or pets in the house.

These benefits highlight the importance of following proper clean-up procedures and emphasize that it’s not just about making your space look tidy. It’s also crucial for your safety and overall well-being.
What Will You Need?
Before starting the clean-up process, having all the necessary materials and equipment is essential. Here’s a list of items that you may need:
- Protective gear: Gloves, safety glasses, and closed-toe shoes.
- Broom and dustpan
- Thick cardboard or a tarp
- Duct tape
- Wet wipes/paper towels
Once you have gathered all the necessary materials, let’s move on to the step-by-step process of cleaning up a shattered shower door.
10 Easy Steps on How to Clean Up Shattered Shower Door
Step 1. Assess the Situation:
Upon discovering the shattered shower door, your first course of action should be to assess the situation calmly and safely.
This means taking a moment to visually inspect the area from a safe distance to understand the extent of the shard spread and any immediate risks. Be on the lookout for larger pieces that could be dangerous to remove and smaller shards that might be hidden in unexpected places.
Identifying potential hazards beforehand can help you plan your clean-up strategy more effectively and avoid accidental injuries. Remember, safety is your priority during this initial assessment.
Step 2. Secure the Area:
The next crucial step is to secure the area around the shattered shower door to prevent anyone from accidentally stepping on glass shards. Start by cordoning off the bathroom if possible or, at the very least, the immediate area around the shattered door. This can be done using caution tape or by placing heavy objects around the perimeter to alert others not to enter.
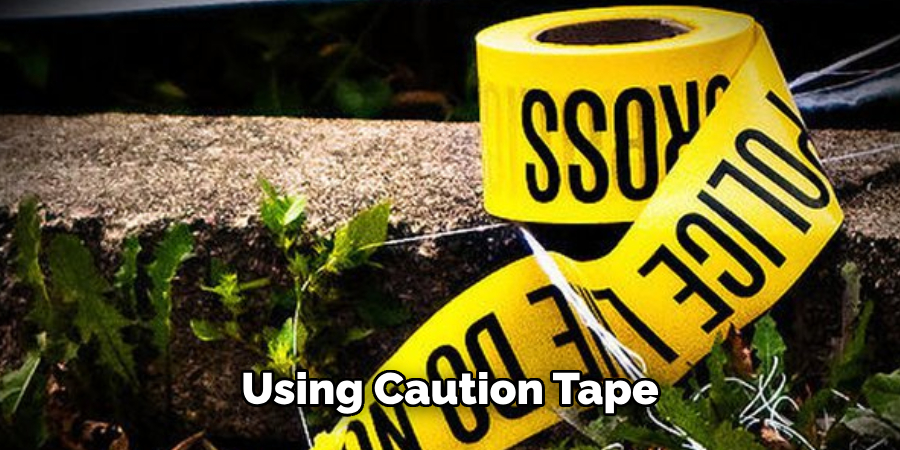
If you live with others, verbally inform them about the situation and advise them to keep children and pets at a safe distance until the cleanup is complete. This precautionary step ensures that the cleanup process can proceed safely without additional risks to household members or pets.
Step 3. Wear Protective Gear:
Before you start the clean-up process, you must equip yourself with the necessary protective gear to avoid personal injury. Put on a pair of sturdy gloves, preferably made of a material that is resistant to cuts and punctures.
Wear safety glasses to protect your eyes from any glass particles that may become airborne during the cleanup. Finally, ensure you are wearing closed-toe shoes to shield your feet from glass shards.
Preparing yourself with appropriate protective gear is a fundamental step in handling broken glass safely and protecting yourself from any potential harm.
Step 4. Begin with Large Pieces:
The first actual clean-up step involves carefully removing the larger pieces of glass from the shattered door. Using your gloved hands, gently pick up the bigger fragments and place them into a cardboard box or directly into a sturdy trash bag.

Handling these pieces with care is essential to avoid causing further breakage, which could lead to more hazards. If a piece is too large or risky to move by hand, consider using tools such as pliers or a dustpan to assist in safely transferring it to your disposal container.
Pay special attention to removing pieces that are hanging from the door frame or lodged in areas where they might fall and cause injury later. Clearing these larger pieces first not only makes the area safer but also gives you a clearer space to deal with the smaller, more numerous shards.
Step 5. Sweep Up Smaller Shards:
After you have safely removed and disposed of the larger pieces of glass, it’s time to focus on the smaller shards. Using a broom and dustpan, carefully sweep the area around where the shower door shattered. Start from the outer edges and work your way towards the center to ensure you are collecting all the tiny pieces.
It’s important to use a gentle sweeping motion to avoid pushing glass shards into hard-to-reach places or causing them to become airborne. Ensure to inspect the area thoroughly, including any nooks and crannies where glass fragments might have landed.
Dispose of the collected glass pieces in your cardboard box or trash bag with caution. Remember, even tiny shards can be sharp and dangerous, so completing this step with great care and attention to detail is crucial.
Step 6. Use Duct Tape for Remaining Fragments:
For any remaining glass fragments that are too small to be swept up with a broom, use a piece of duct tape to pick them up.
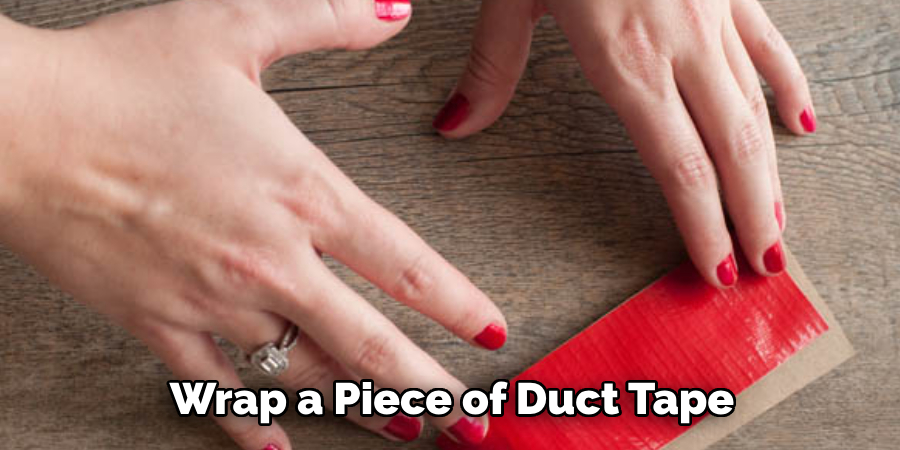
Wrap a piece of duct tape around your hand with the sticky side out, and gently pat the areas where you suspect small shards may still reside. This method is particularly effective for catching those tiny, hard-to-see pieces that could be embedded in the flooring or caught in grout lines. Be sure to cover all the surfaces around the initial breakage site, including parts of the shower area that might have caught secondary fragments.
Once you’ve collected all the remaining glass pieces with the duct tape, dispose of the tape in your trash bag or box. Repeat this step as necessary until you are confident that all glass fragments have been cleared.
Step 7. Final Clean with Wet Wipes or Paper Towels:
After you’ve meticulously removed the larger pieces of glass and swept up the smaller shards, the next step involves giving the area a final clean.
Use wet wipes or dampened paper towels to wipe down all surfaces where glass particles could have settled. This includes the floor around the shattered door, the door frame, and any nearby fixtures or pieces of furniture. Be thorough in your cleaning efforts, as even microscopic glass fragments can cause injury.
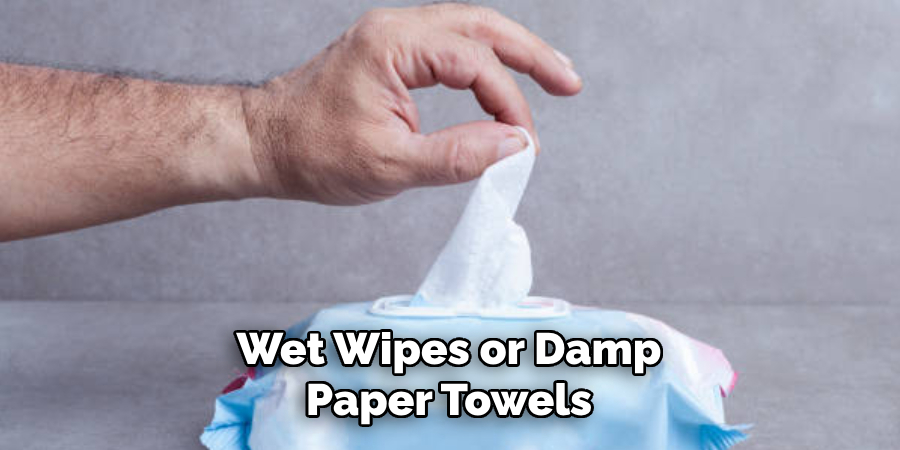
The wet wipes or damp paper towels will help collect any remaining dust and tiny particles that the previous steps might have missed. Once you feel confident that the area is clean, carefully dispose of the used wipes or towels in your trash bag or box, taking care not to shake them and release any trapped particles back into the air.
Step 8. Final Inspection and Preventative Measures:
Conclude your clean-up process with a thorough final inspection of the area. Examine the flooring, nearby surfaces, and inside any drawers or cabinets that could have been exposed to glass fragments during the breakage. Use a flashlight to help spot any remaining shards that might be missed in ordinary light.
Consider having another person review the area, as fresh eyes might catch something you overlooked. After ensuring the area is entirely free of glass, take preventative measures to reduce the likelihood of future accidents.
This could involve installing a more durable shower door or applying safety film to glass surfaces to prevent them from shattering into sharp pieces. Remember, taking the time to thoroughly clean and apply preventive solutions can significantly enhance safety in your home, preventing similar incidents in the future.
Step 9. Safe Disposal of Glass Waste:
After the clean-up, the final step involves safely disposing of the collected glass fragments and waste. Ensure the cardboard box or trash bag containing the shattered glass is securely closed or sealed. If using a trash bag, consider double bagging it to prevent any sharp pieces from puncturing the bag and causing injury.
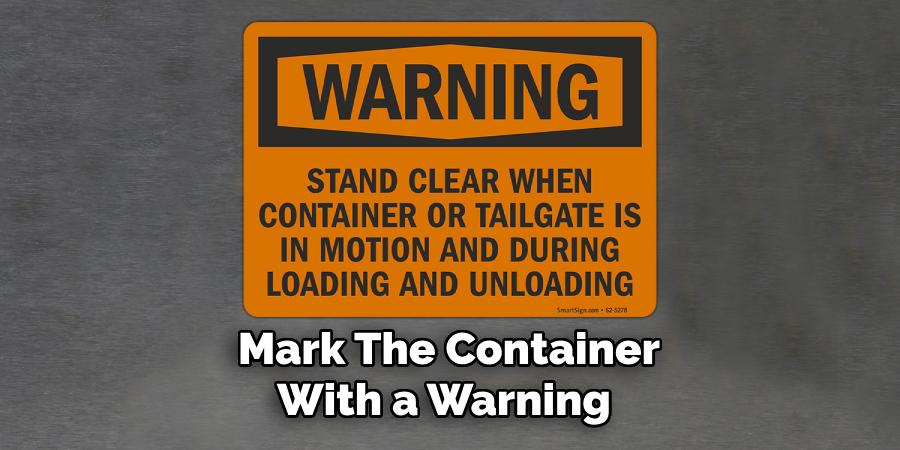
Mark the container with a warning such as “Danger: Broken Glass” to alert sanitation workers to handle it carefully. Depending on your local waste management policies, you may need to bring the glass waste to a specific recycling center or disposal facility.
Avoid leaving the bagged glass in areas accessible to children, pets, or unaware individuals. Proper disposal ensures the safety chain is complete, preventing harm to others and contributing to environmental responsibility.
Step 10. Review and Reflect on the Incident:
Once the area is safe and clean and the glass waste has been properly disposed of, take a moment to review and reflect on the incident that led to the shower door shattering. Consider what might have caused the breakage—is it a result of wear and tear, a specific impact, or possibly a defect in the glass itself? Understanding the cause can help prevent future occurrences.
If the breakage was due to an identifiable and rectifiable reason, take the necessary steps to address it, such as adjusting the door’s alignment, replacing weakening hinges, or even consulting with a professional for a more thorough assessment.
This reflective practice not only enhances your immediate environment’s safety but also empowers you with the knowledge to mitigate risks and protect your home and loved ones from similar accidents.
By following these ten steps, you can effectively and safely clean up after a shattered shower door. Remember to always prioritize safety and take the time to thoroughly clean and inspect the area to prevent future incidents.
5 Additional Tips and Tricks
- Use Bread to Pick Up Tiny Shards: Press a slice of bread gently over the area where the glass shattered. The soft texture of the bread is perfect for capturing tiny shards of glass that might be difficult to see.
- Apply Duct Tape for Residual Pieces: Wrap a piece of duct tape around your hand with the sticky side out and pat down the area where the glass broke. This method is effective for picking up small pieces of glass that the broom or vacuum may have missed.
- Use a Potato to Absorb Glass Particles: Cut a raw potato in half and press it onto the affected area. The potato’s starchy texture will help absorb any remaining glass particles.
- Wipe Down with Vinegar Solution: Mix equal parts water and vinegar in a spray bottle. Spray the solution onto the affected area and use a clean cloth to wipe it down. Vinegar has powerful cleaning properties that can help remove any lingering glass fragments.
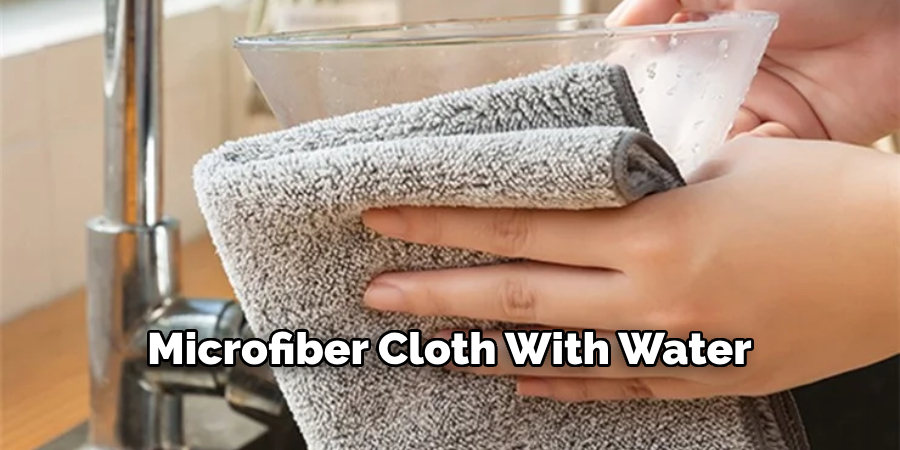
- Use a Wet Cloth to Attract Glass Pieces: Dampen a microfiber cloth with water and gently run it over the area where the glass shattered. The tiny pieces of glass will stick to the wet cloth, making it easier to clean up.
With these additional tips, cleaning a shattered shower door can be even more efficient and thorough.
5 Things You Should Avoid
- Do Not Use Bare Hands: Avoid picking up glass shards with your bare hands to prevent cuts or injuries. Always wear protective gloves when handling broken glass.
- Avoid Using a Regular Vacuum Cleaner: Using a regular vacuum cleaner to clean up shattered glass can damage the machine and potentially spread glass particles into the air. Use a shop vac designed for heavier debris instead.
- Don’t Sweep Too Vigorously: Sweeping shattered glass with too much force can spread smaller shards across a wider area, making cleanup more difficult. Sweep gently and in one direction.
- Don’t Dispose of Glass in Regular Trash Bags: Putting shattered glass into regular trash bags can cause the bags to tear, posing a risk to you and sanitation workers. Wrap the glass in several layers of newspaper or use a cardboard box for disposal.
- Avoid Walking Barefoot Near the Area: Small, invisible pieces can linger even after you think you’ve cleaned up all the glass. Always wear shoes around the shattered glass area until you are confident all remnants have been completely removed.
By avoiding these common mistakes, you can ensure a safer and more effective clean-up process for your shattered shower door.
What Causes Shower Doors to Shatter?
Shower doors can shatter for a variety of reasons, including:
- Impact: Dropping a heavy object onto or against the glass door can cause it to shatter. This could be anything from a shampoo bottle to a razor.
- Temperature Changes: Sudden changes in temperature, such as hot water hitting cold glass, can cause shower doors to break due to thermal stress.
- Flawed Glass: If the glass used in your shower door has any imperfections or small cracks, it can be more susceptible to shattering.
- Installation Issues: If a shower door is not installed properly, it can put added pressure on the glass and cause it to break over time.
These are just a few examples of common causes of shower door shattering, but it’s important to note that accidents can happen, and sometimes it may not be possible to pinpoint the exact cause. That’s why taking precautions like using safety glass or installing protective film can help prevent shattered shower doors in the future.
Can You Replace a Shattered Shower Door on Your Own?
While replacing a shattered shower door on your own is possible, it’s not always the best idea. Installing a shower door requires precise measurements and specialized tools, which can be challenging for someone without experience. It’s also important to ensure the new door is installed correctly to prevent future accidents.
If you’re unsure of your abilities or uncomfortable with the process, hiring a professional contractor to replace your shattered shower door is best. They have the expertise and equipment to properly install the new door and ensure its safety.
Conclusion
How to clean up shattered shower door can initially seem like a daunting task, but with the right approach and precautions, it can be managed safely and efficiently.
Utilizing unusual but effective methods such as using bread, duct tape, raw potatoes, vinegar solutions, and wet cloths, can significantly ease the cleanup process. Equally important is knowing what to avoid, such as using bare hands, regular vacuum cleaners, vigorous sweeping, improper disposal, and walking barefoot near the area.
By following these steps and precautions, the cleanup can be thorough, minimizing the risk of injury and ensuring all glass shards are effectively removed. Remember, safety should always come first; by wearing protective gloves and carefully adhering to these tips and tricks, you can handle the aftermath of a shattered shower door with confidence and caution.

