Are you tired of seeing dirty and stained walls in your bathroom? Keeping them clean is essential not only for aesthetic purposes but also for maintaining proper hygiene. Bathrooms are the most humid areas of the house, making them prone to mold, mildew, and soap scum buildup.
Cleaning the walls in your bathroom is an essential task to maintain hygiene and keep the space looking fresh and inviting. Over time, bathroom walls can accumulate grime, soap scum, and mildew, particularly in the humid environment typical of this area. Regular cleaning prevents the build-up of these unsightly and potentially harmful substances and extends the life of your paint or wallpaper.
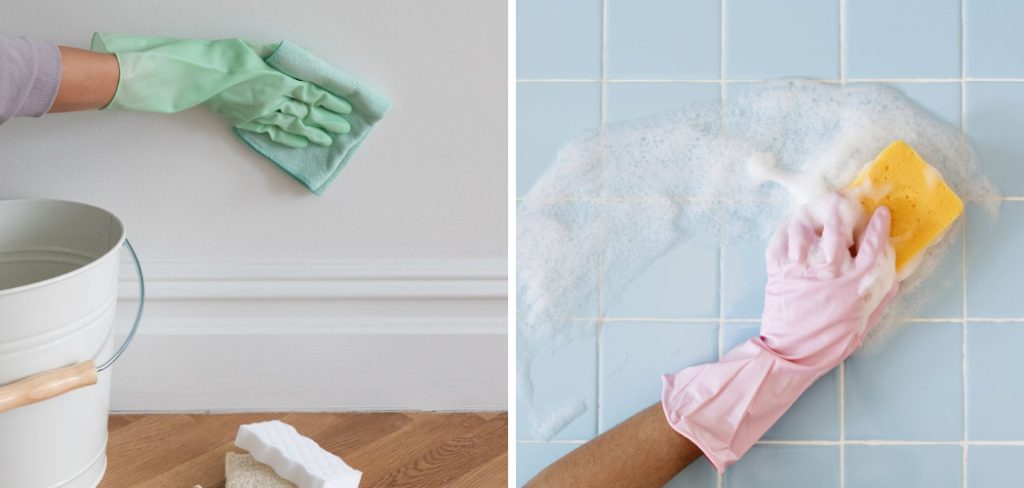
In this guide on how to clean walls in bathroom, we will walk you through effective and efficient methods for cleaning your bathroom walls, ensuring they remain spotless and sanitary.
What Will You Need?
Before we delve into the cleaning process, gather all the necessary supplies. Some of the essentials include:
- Broom or vacuum cleaner with brush attachment
- Mild detergent or dish soap
- Warm water
- Sponge or microfiber cloth
- Bucket
- Rubber gloves
- Scrub brush (soft-bristled)
- Distilled white vinegar
- Spray bottle
- Old towels or clothes
Now that you have all your supplies ready follow these simple steps to get your bathroom walls shining in no time.
10 Easy Steps on How to Clean Walls in Bathroom
Step 1: Dust Off the Walls
Begin by dusting off the walls to remove any loose dirt, cobwebs, or debris that may have accumulated. This step is crucial as it prevents dirt from becoming wet and more difficult to remove when you start washing the walls. Use a broom with soft bristles or a vacuum cleaner with a brush attachment to gently sweep across the entire surface of the walls. Consider corners, edges, and around fixtures where dust and dirt gather. If you notice any cobwebs in the corners or crevices, remove them altogether. This initial dusting will make the subsequent cleaning steps more effective and efficient.
Step 2: Prepare Your Cleaning Solution
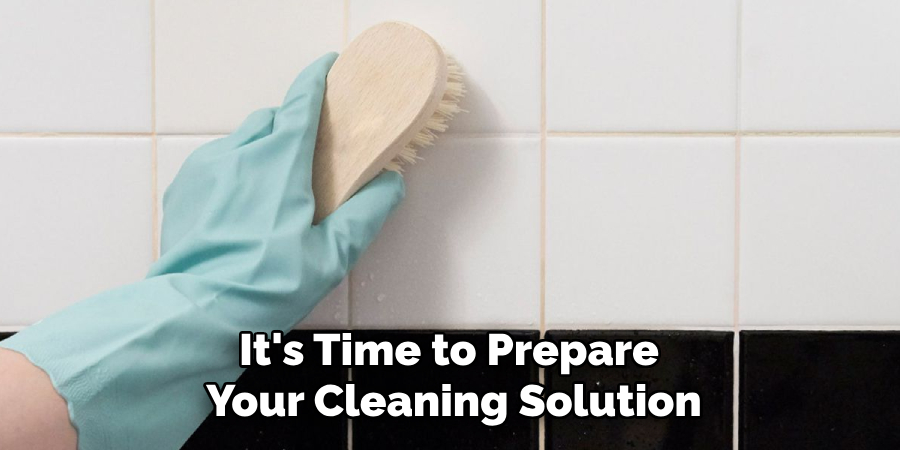
Once the walls are dust-free, it’s time to prepare your cleaning solution. Combine warm water with a mild detergent or dish soap in a bucket. If you’re dealing with more stubborn stains or mildew, add a cup of distilled white vinegar to the solution. Vinegar is a natural disinfectant and helps to cut through grime and buildup. Mix the solution well, creating a soapy consistency that will aid in loosening dirt without harming your paint or wallpaper.
Step 3: Test a Small Area
Before you start cleaning the entire wall, testing your cleaning solution on a small, inconspicuous area is always a good idea. This ensures that the detergent does not damage the paint or wallpaper. Dip your sponge or microfiber cloth into the cleaning solution and gently scrub a small wall patch. Wait a few minutes and then check for any discoloration or damage. You can proceed with the rest of the wall if everything looks good.
Step 4: Apply the Cleaning Solution
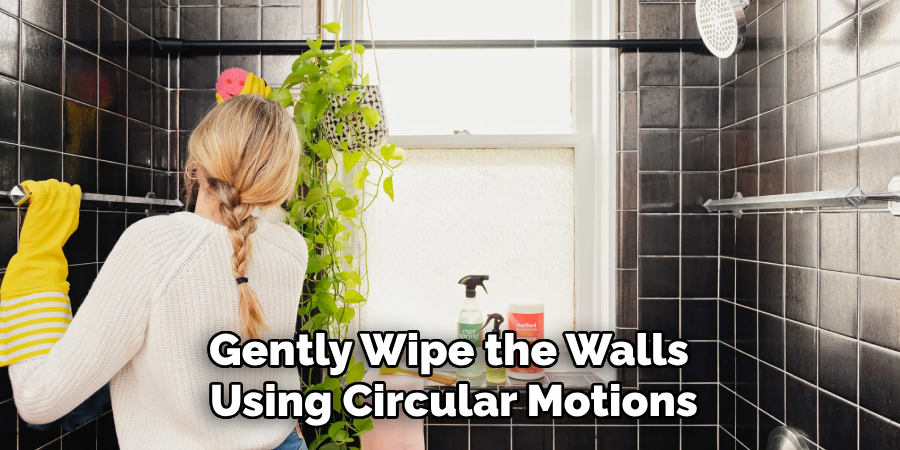
Dip your sponge or microfiber cloth into the warm, soapy water bucket, wringing out excess liquid to avoid drenching the wall. Starting from the top of the wall, work in small sections to prevent streaks from forming. Gently wipe the walls using circular motions, covering all areas evenly. For areas with stubborn stains or soap scum buildup, allow the cleaning solution to sit for a few minutes before scrubbing with a soft-bristled brush.
Step 5: Rinse the Walls
After scrubbing the walls with the cleaning solution, it’s essential to rinse off any soap residue, as it can leave streaks or attract more dirt over time. Fill a separate bucket with clean, warm water. Use a clean sponge or a microfiber cloth, dampened with clean water, to wipe down the walls, ensuring you remove all traces of soap and dirt. It’s helpful to rinse the sponge or cloth frequently in the bucket of clean water during this process.
Step 6: Dry the Walls
Drying the walls is important to prevent water stains and mold growth. Use old towels or cloths to dry the surface of the walls thoroughly. Start from the top and work your way down to ensure that any drips will be caught as you move along. Use a smaller cloth or a paper towel to absorb any remaining moisture for areas around fixtures, corners, and crevices.
Step 7: Address Stubborn Stains and Mildew
If you encounter stubborn stains or spots of mildew that were not removed during the initial cleaning, mix a more concentrated solution using distilled white vinegar and water in a 1:1 ratio. Pour the solution into a spray bottle and target the affected areas. Allow it to sit for 10-15 minutes to penetrate and break down the stains. Use a soft-bristled scrub brush to gently scrub the area, not damaging the paint or wallpaper. Rinse the cleaned areas thoroughly with clean water and dry them well with a cloth.
Step 8: Clean Tile Grout
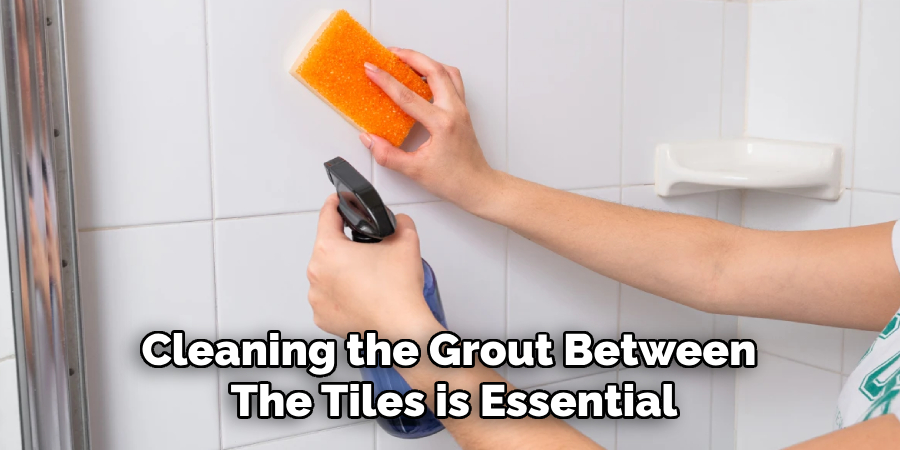
For bathrooms with tiled walls, cleaning the grout between the tiles is essential. Use a small brush, like an old toothbrush dipped in baking soda and water paste, or a grout cleaner to scrub the grout lines. Pay special attention to areas with visible discoloration or mildew. Once you’ve washed the grout, rinse the tiles and grout with clean water and dry them thoroughly to prevent mold growth.
Step 9: Regular Maintenance
Establish a regular cleaning routine to keep your bathroom walls clean and sanitary. Wipe down the walls with a damp microfiber cloth every week to prevent the buildup of dirt and soap scum. Regularly check for signs of mold or mildew and address them promptly using the methods outlined above. Keeping your bathroom well-ventilated by using exhaust fans or opening windows can also help reduce humidity and prevent mold growth.
Step 10: Restore and Protect
After cleaning and drying your bathroom walls, consider applying a protective sealant or mildew-resistant paint to help safeguard against future buildup and stains. These products can create a protective barrier that repels moisture and makes subsequent cleanings easier. Following these steps will keep your bathroom walls looking pristine and contribute to a healthier and more pleasant living environment.
Following these steps, you can efficiently and effectively clean your bathroom walls, leaving them spotless and sanitary.
5 Additional Tips and Tricks
- Use White Vinegar for Soap Scum: Fill a spray bottle with equal parts white vinegar and water. Spray the solution onto the bathroom walls and let it sit for 10 minutes before wiping it down with a soft cloth. The acidity in vinegar helps break down soap scum and mineral deposits effectively.
- Baking Soda for Stubborn Stains: Combine baking soda and water to create a paste, then apply it to stubborn stains on the bathroom walls. Let the paste sit for 15 minutes before gently scrubbing with a sponge. Rinse with water and pat dry.
- Prevent Mold with Tea Tree Oil: Add a few drops to a spray bottle filled with water and mist the bathroom walls. Tea tree oil has natural antifungal properties that help prevent mold growth. Use this solution regularly to keep mold at bay.
- Squeegee After Every Shower: Invest in a good quality squeegee and use it to wipe down the walls and glass surfaces after every shower. This simple practice can significantly reduce soap scum buildup and keep your bathroom walls cleaner for longer.
- Deep Clean with a Steam Cleaner: Use a handheld steam cleaner for a thorough deep clean. The high-temperature steam effectively loosens dirt, grime, and bacteria, making it easier to wipe away. Plus, it reaches into the grout lines and other hard-to-reach areas without the need for harsh chemicals.
5 Things You Should Avoid
- Using Abrasive Scrubbers: Avoid using abrasive scrubbers or steel wool as they can scratch the surface of your bathroom walls. Scratches mar the appearance and create grooves where grime and mildew can accumulate.
- Harsh Chemical Cleaners: Avoid harsh chemical cleaners that contain bleach or ammonia. These substances can damage certain bathroom wall finishes and compromise air quality, posing health risks.
- Ignoring Ventilation: Pay attention to proper ventilation when cleaning your bathroom. The moisture can linger without adequate airflow, promoting mold and mildew growth. Always ensure your bathroom fan is on or windows are open.
- Over-Wetting the Walls: Excessive use of water or cleaning solutions can seep into the wall material, especially if it’s porous. This can lead to water damage or mold buildup. Always use just enough liquid to clean without soaking the surfaces.
- Using Hot Water on Cold Surfaces: Avoid using hot water to clean cold surfaces, as the sudden temperature change can cause some materials to crack or warp. Stick to lukewarm water to avoid potential damage.
Conclusion
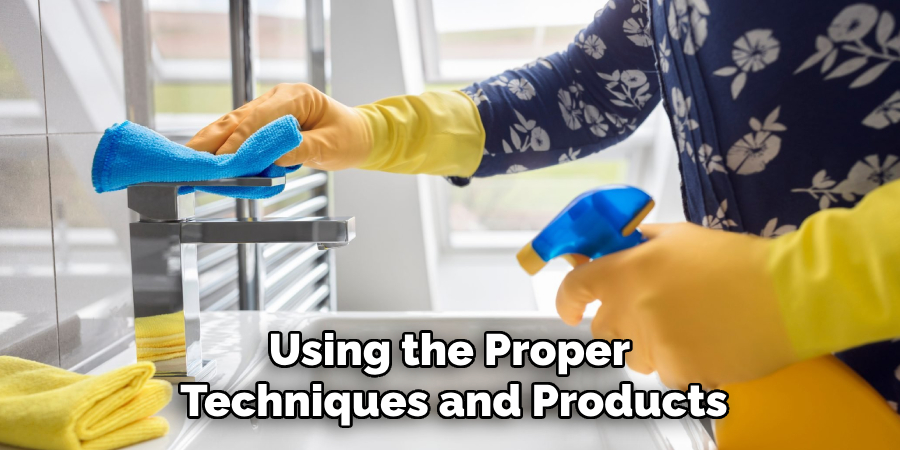
How to clean walls in bathroom is essential for both hygiene and aesthetics. By following a routine cleaning schedule and using the proper techniques and products, you can prevent the buildup of soap scum, mold, and mildew, ensuring your bathroom remains a welcoming and healthy space.
Opt for natural cleaning solutions like white vinegar, baking soda, and tea tree oil to free your bathroom from harsh chemicals. Regularly wiping down surfaces with a squeegee and investing in tools like a steam cleaner can make the task more accessible and more effective. By avoiding common mistakes, such as using abrasive scrubbers or ignoring ventilation, you can extend your bathroom walls’ lifespan and keep them pristine.
With these tips and tricks, maintaining clean bathroom walls becomes a manageable task contributing to a fresher, more inviting bathroom environment.