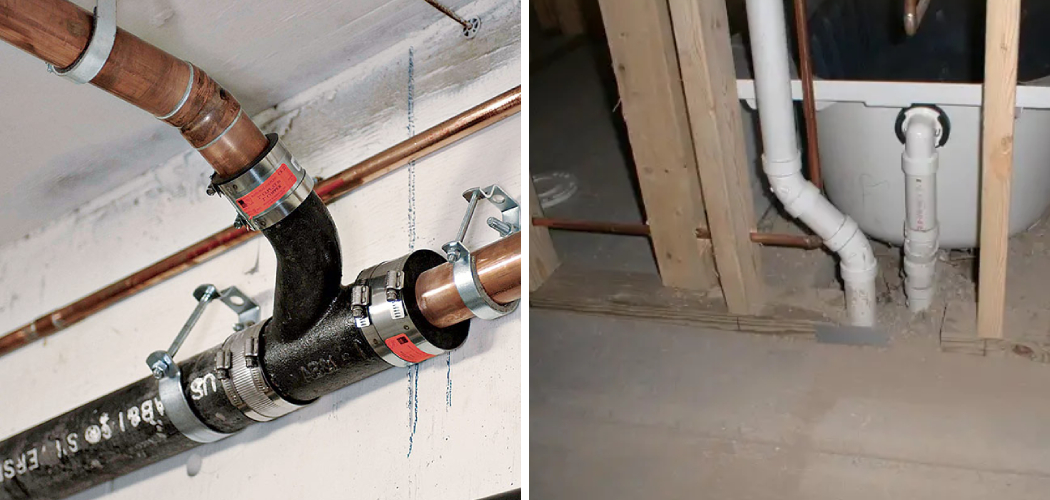
Successfully connecting a shower drain to an existing drain system is a crucial step in bathroom renovations or new shower installations. This process ensures that water is efficiently directed away, preventing leaks and potential water damage.
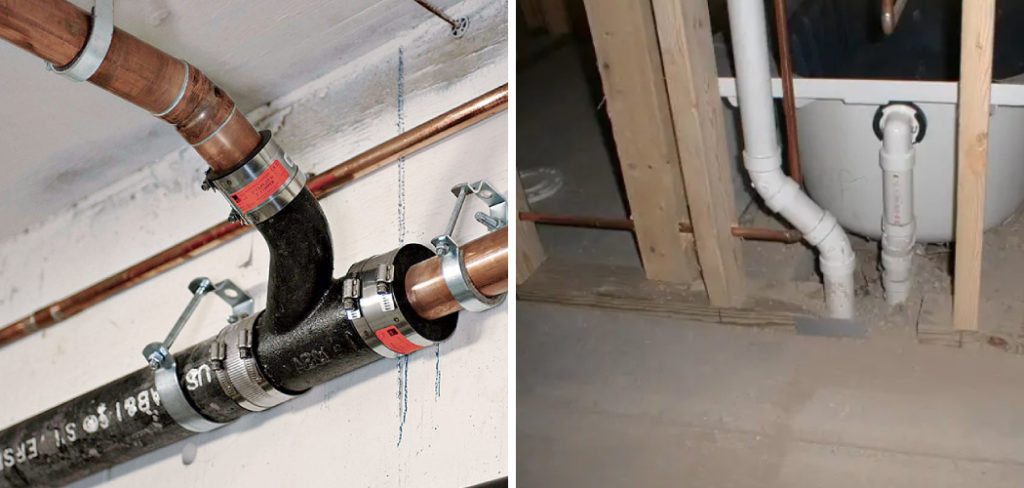
In this guide on how to connect a shower drain to an existing drain, we will walk you through the essential steps and considerations to achieve a secure and properly functioning shower drain connection. Whether you’re an experienced DIYer or new to home improvement projects, our comprehensive instructions will help you complete the task with confidence and precision.
What is a Shower Drain?
A shower drain, also known as a floor drain or waste outlet, is an essential component of any shower. It is responsible for collecting and directing water from the shower to the plumbing system.
Most modern showers have a built-in drain system that includes a pan or base with a central outlet connected to the main plumbing lines. However, in older homes or custom showers, you may need to connect the shower drain directly to an existing drain line.
Materials Needed
Before starting the installation process, it’s essential to gather all the necessary materials and tools. Here are some common items you will need:
Shower Drain Kit:
A shower drain kit typically includes a strainer, gasket, and various connecting parts. Make sure to purchase one that is compatible with your existing plumbing system.
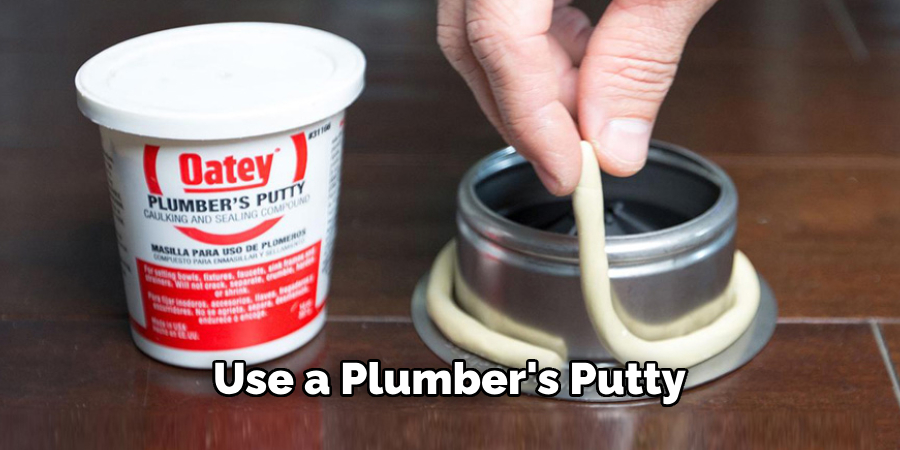
Plumbers Putty or Caulk:
These sealants are used to create a watertight connection between the shower drain and the shower pan or base.
Wrenches or Pliers:
You will need these tools to tighten and secure any fittings during the installation process.
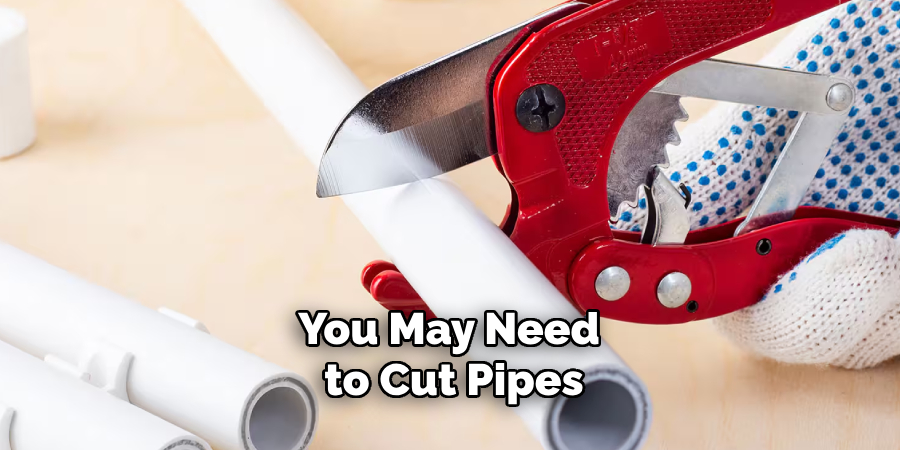
Pipe Cutter:
If necessary, you may need to cut pipes to fit them into your existing plumbing system. A pipe cutter is a handy tool for this task.
7 Steps Guide on How to Connect a Shower Drain to an Existing Drain
Step 1: Determine the Location and Size of the Existing Drain Pipe
Before you can connect a new shower drain to your existing drain system, it’s crucial to identify the location and size of the existing drain pipe.
Start by locating the existing drain line under the floor of the shower area. This might involve removing part of the subfloor or drywall, so be prepared with the appropriate tools like a saw or drill.
Once the drain pipe is visible, measure its diameter using a tape measure or caliper. Common drain pipe sizes include 1.5 inches or 2 inches, but it’s essential to have an accurate measurement to ensure compatibility with your new shower drain kit. Knowing the exact location and size of the pipe will help you select the appropriate fittings and make the necessary adjustments for a secure connection.
Step 2: Remove the Old Drain System
With the existing drain pipe identified and measured, it’s time to remove the old drain system. Begin by dismantling the shower area around the drain, which might necessitate removing tiles or breaking up the shower pan, depending on your shower’s construction. Use a screwdriver or wrench to detach any screws, bolts, or fasteners securing the drain cover and strainer.
Next, use a pipe wrench or pliers to loosen and remove any connecting pipes or fittings attached to the old drain.
If the drain is glued or cemented in place, a pipe cutter or reciprocating saw will be necessary to carefully cut through the pipes without damaging the surrounding areas. Be cautious while cutting to avoid harming the main drain line. After removing the old drain system, clean and prepare the area for the new shower drain installation.
Step 3: Install the New Shower Drain
Follow the instructions provided with your shower drain kit to assemble and install the new drain. Usually, this involves inserting a gasket into the drain opening on top of the shower pan or base, attaching the strainer over the gasket, and securing it with screws or bolts. Make sure to use a plumber’s putty or caulk around the edges of the drain to create a watertight seal.
Otherwise, if you’re connecting the shower drain directly to an existing drain line, use appropriate fittings such as couplings or elbows, to make the connection. Make sure all connections are secure and leak-free before moving on to the next step.
Step 4: Connect the New Drain to the Existing Pipe
With the new shower drain securely installed in the shower pan or base, the next step is to connect it to the existing drain pipe.
Begin by selecting the appropriate fittings, such as couplings or elbows, to match the diameter and type of both the new drain and the existing pipe. Use a pipe cutter to trim any excess length from the existing pipe or the new connecting pipes as needed, ensuring a precise fit.
Dry-fit the pieces together first to ensure they align correctly and make any necessary adjustments. Once satisfied with the alignment, apply PVC cement or another appropriate adhesive to the pipe ends and fittings. Quickly assemble the connections, pressing firmly to ensure a tight bond. Hold the pieces together for a few moments to allow the adhesive to set.
Step 5: Check for Leaks
Before proceeding, it’s essential to check for any leaks in the new connections. Turn on the shower and let the water run through the drain while inspecting each connection point for any signs of leakage. If you notice any leaks, tighten or adjust the fittings as needed until there are no more leaks.
Although PVC cement and other adhesives are designed to create a tight seal, it’s always best to check for leaks before proceeding with the next steps.
Step 6: Install the Drain Cover
With the shower drain now securely connected to the existing drain line, it’s time to install the drain cover. First, place a thin layer of plumber putty or caulk around the edges of the drain opening, ensuring an additional watertight seal. Next, carefully place the new drain cover over the strainer and press down firmly. Use screws or bolts provided with your kit to secure the cover in place.
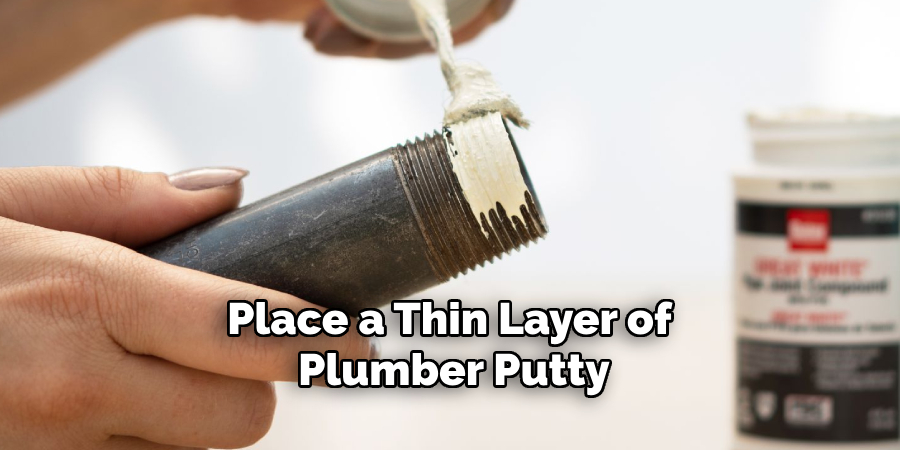
It’s essential to make sure the drain cover is flush with the shower floor and that there are no gaps where water can seep through.
Step 7: Test the Drain System
Once everything is installed and secured, it’s time to test the new drain system. Turn on the shower and let water flow through the drain for a few minutes. Observe how well the water drains and if any issues or leaks occur. If everything seems to be functioning correctly, congratulations, you’ve successfully connected your new shower drain to an existing drain line!
The final and essential step is to clean up the area, removing any tools, debris, or excess caulk or putty.
Following these steps on how to connect a shower drain to an existing drain will help you connect your new shower drain to an existing drain line successfully. However, if you’re not confident in your plumbing abilities or encounter any challenges during the process, it’s always best to seek professional assistance from a licensed plumber.
Frequently Asked Questions
Q: Can I Install a New Shower Drain Myself?
A: Yes, it is possible to install a new shower drain yourself with the right tools and knowledge. However, if you’re not confident in your abilities or encounter any difficulties, it’s best to seek professional help from a licensed plumber. Improper installation can cause leaks and other issues, which could end up being more costly to fix in the long run.
Q: What Type of Shower Drain Should I Choose?
A: Choosing the right shower drain depends on various factors such as the type of shower you have (tiled or one-piece), the size and location of your existing drain pipe, and personal preferences. It’s essential to measure and double-check all necessary dimensions before purchasing a new shower drain to ensure compatibility with your existing system.
Q: Do I Need Any Special Tools for Installing a New Shower Drain?
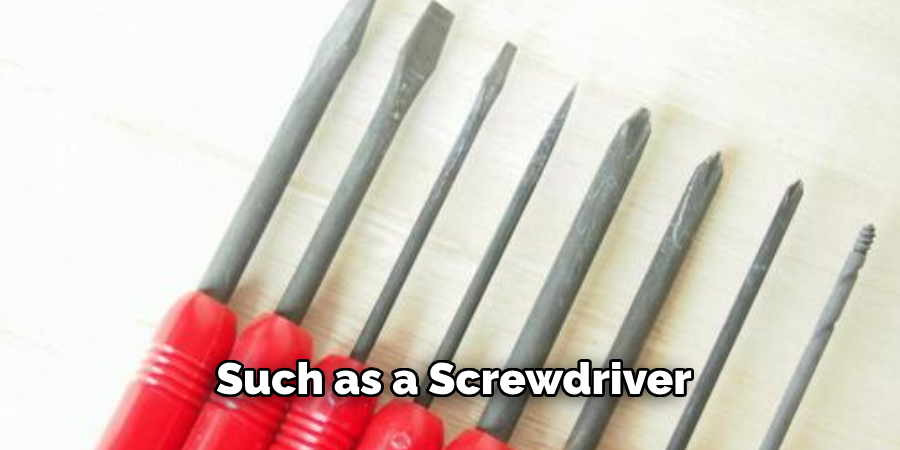
A: While some tools may be necessary, such as a screwdriver or wrench, for removing the old drain, most new shower drain kits come with all the necessary tools and fittings for installation. However, if you’re connecting the new drain to an existing pipe, you may need additional tools such as a pipe cutter or reciprocating saw.
Q: How Often Should I Replace My Shower Drain?
A: It’s recommended to replace your shower drain every 10-15 years to prevent potential issues such as leaks and clogs. However, it also depends on the quality and condition of your current drain. If you notice any signs of wear or damage, it’s best to replace the drain sooner rather than later.
Overall, regular maintenance and keeping an eye out for any potential issues will help prolong the lifespan of your shower drain. So, it may be a wise idea to have a professional plumber inspect your drains periodically for any signs of wear or damage.
Conclusion
Connecting a shower drain to an existing drain line may seem like a daunting task, but with the right tools and steps, it can be easily accomplished.
By following this guide on how to connect a shower drain to an existing drain and carefully selecting appropriate fittings and making secure connections, you can successfully install a new shower drain in your bathroom without the need for professional assistance.
Remember to always double-check for leaks and test the system before completing the installation process. Enjoy your newly connected shower drain! So don’t hesitate to take on this DIY project and enjoy your newly connected shower drain!

